wikiHow is a “wiki,” similar to Wikipedia, which means that many of our articles are co-written by multiple authors. To create this article, 10 people, some anonymous, worked to edit and improve it over time.
There are 11 references cited in this article, which can be found at the bottom of the page.
wikiHow marks an article as reader-approved once it receives enough positive feedback. In this case, 91% of readers who voted found the article helpful, earning it our reader-approved status.
This article has been viewed 58,345 times.
Learn more...
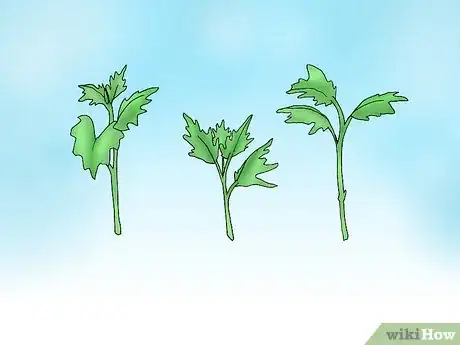
Propagating plants means making more of them. When you do this via cuttings, you duplicate the parent plant so you get exactly the same variety. When you grow from seed, the result isn’t always as predictable. Chrysanthemums perform best when young, so it’s a good idea to grow new plants from fresh cuttings each year rather than trying to keep older plants going for a second season.
Steps
Taking and Rooting Chrysanthemum Cuttings
-
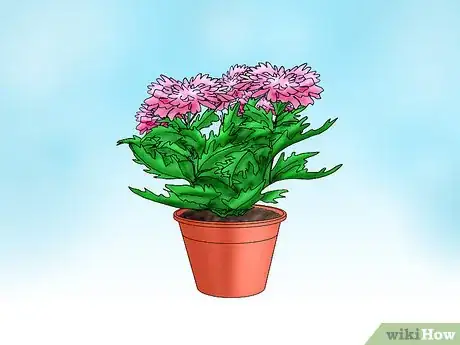
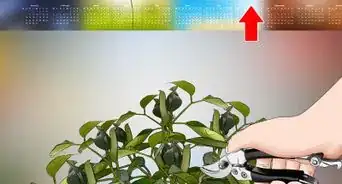
1Take chrysanthemum cuttings in the springtime. Spring is the best time to take cuttings from last year’s Chrysanthemums. You should have cut these back after flowering the previous fall so they will still be quite short.[1]
-
2Move the plants indoors a couple of months before taking the cuttings. Ahead of taking cuttings, move the outdoor plants into a cool indoor space such as an unheated (but frost-free) conservatory.[2]
- A temperature of about 45 °F (7 °C) is ideal. Do this in mid-winter, say around January.
- Water the plants once you bring them inside – in about a month they will have enough growth to take cuttings from, provided you keep the soil moist and the temperature around 45–50 °F (7–10 °C).[3]
Advertisement -
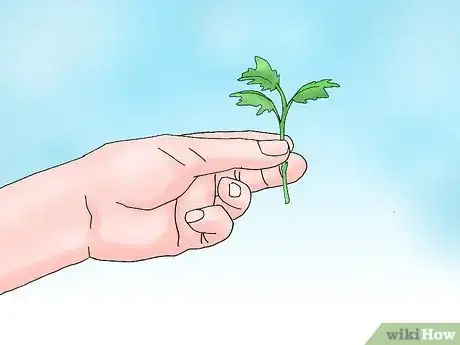
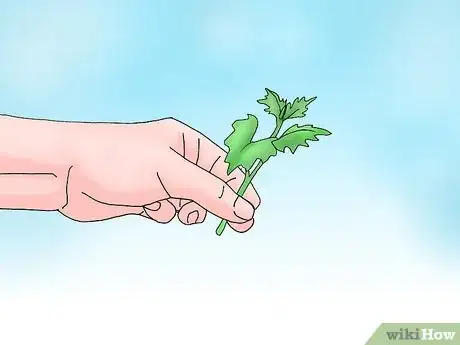
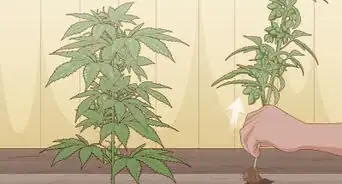
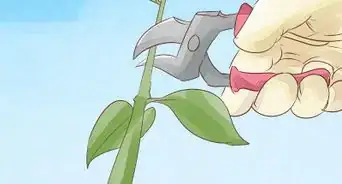
3Cut a number of 3 inch (7.6 cm) stems from the established chrysanthemum plant. Chrysanthemum cuttings can just be snapped off the parent plant with your fingers, or using a sharp clean knife.[4]
- Take fresh healthy stems of about 3 inches (7.6 cm) in length from as far down the plant as possible. Try to keep the cuttings uniform in length.
- Usually, only about a third of the cuttings will take, so it’s best to take three times as many cuttings as you want new plants.
- Remove the lower leaves from each stem, leaving only the ones at the very top.
-
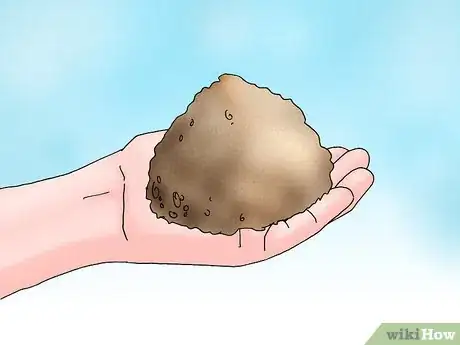
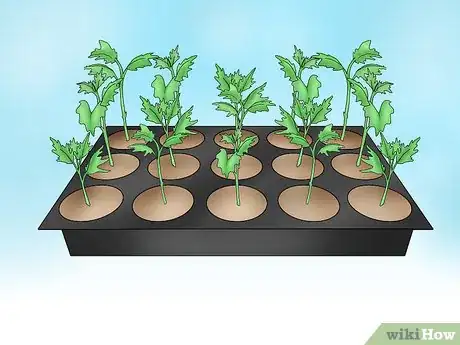
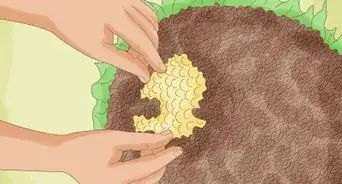
4Prepare the compost mix. Take a plug tray or individual pots filled with a cutting compost or a compost and perlite mix. If using a mix, take 4 parts regular compost to 1 of perlite. You might like to sprinkle some more perlite on top of the compost trays.
-
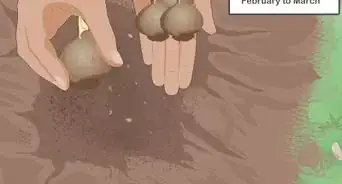
5Plant the cuttings. Before planting, dip the end of each cutting in hormone rooting powder to a depth of about half an inch on the cut end. Shake very gently to remove excess.[5]
- Use a slim stick, pencil or barbecue stick to make a hole in the compost. Put the cutting in the hole to a depth of about an inch and firm very gently with your fingers.
- Add a label with the name and date to the tray containing the cuttings and then water them.
-
6Enclose the trays with the cuttings in a clear plastic bag. If you do this, insert some sticks into the soil to stop the bag from touching the cuttings.[6]
- Alternately, cut the spout off a clear plastic drinks bottle and invert it over the cutting to make a mini greenhouse.
- You can also put them into a heated propagator unit – this heats the cuttings from below, which may help them to root.
-
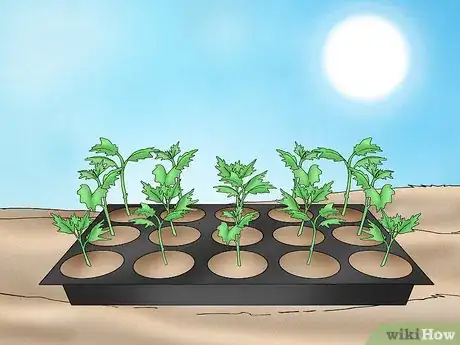
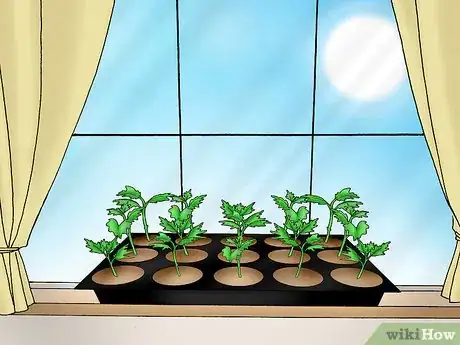
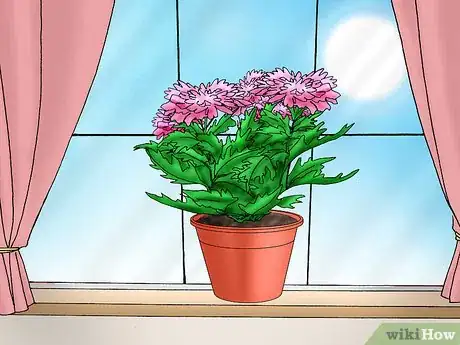
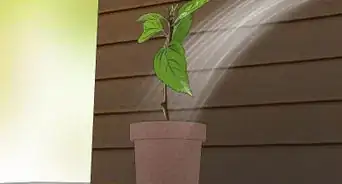
7Keep the cuttings in a cool, well-lit location until they take root. Keep the chrysanthemum cuttings in a well-lit place out of direct sunlight. A window ledge that doesn’t receive full sunlight is ideal. The temperature should be fairly cool but above freezing.
- The cuttings should root in about 4 weeks. When you see roots appear underneath the plant, replant them into individual pots.[7]
Planting the Cuttings Outdoors
-
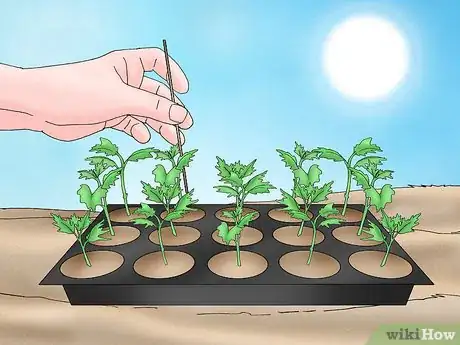
1Stake the established cuttings for additional support. Once the plants get established it’s recommended that you stake them using a slim stake such as a wooden barbecue or kebab stick. Gently tie the main stem to the stake using string or wire ties.
-
2Allow the cuttings to harden off before planting outdoors. If grown indoors or under glass, the cuttings will need some time to adjust to life outdoors by ‘hardening off’. This lets them acclimatize to the moving air and different humidity and temperatures of the outside without being shocked so much that their development is badly affected.
- To harden plants off, move plants sown inside your home to a cooler space such as an unheated greenhouse. You can leave your plants outside during the day but bring them in at night.
- Plants grown under glass, especially in a heated greenhouse, also need to be hardened off in the outdoors. They can go outside permanently once all danger of frost passes.
-
3Prepare the chrysanthemum's outdoor location ahead of planting. A few weeks ahead of planting outside, prepare the chrysanthemum's new location, as follows:
- Dig in some well-rotted manure or compost a few weeks before planting outside and apply a general fertilizer such as blood, fish and bone.
- After planting you might consider a nitrogen-rich dressing such as dried chicken manure pellets applied to the surface of the ground.
Pinching Young Chrysanthemum Plants
-
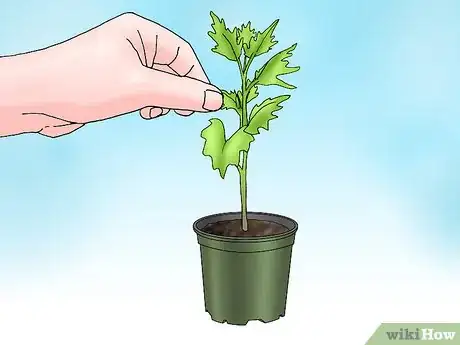
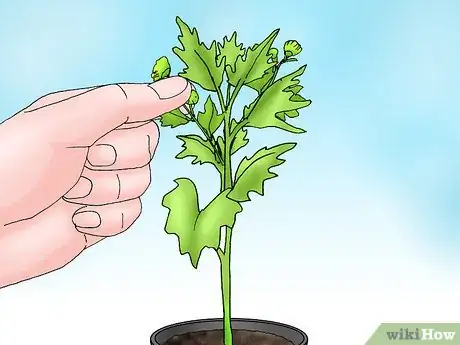
1Pinch the young chrysanthemums to encourage new growth. Once your cuttings get established and grow into young plants (usually by late spring) it’s good practice to pinch them to encourage new stems to form – this leads to bushy growth and more blooms.[8]
- Traditionally this is done on June 1st but anytime in early summer — once the plant has just over six leaf stems — is fine. Count the bottom six leaf stems on the main stem of the plant.
- Remove the main stem about a quarter inch above the upper leaf stem leaving only 6 leaf stems on the plant.
-
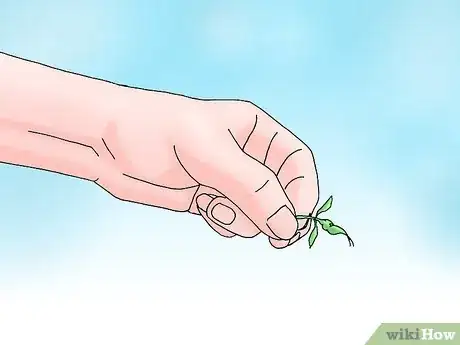
2Consider using the pinched off stems as cuttings. You can use the pinched off part of the plant as a cutting and try to root it. Just remove the lower leaves from the cut piece, shorten the stem to about 4 inches (10.2 cm) in length and repeat the steps in the sections above for rooting cuttings.
-
3Debud the plant a few weeks after pinching. After a few weeks you’ll see vigorous stems form below where you pinched the plant. You might like to disbud at this stage. This means removing any developing stems at the base of the main plant stem.
- It’s best to leave three or maybe four healthy stems at the top of the plant whilst removing any growing further down the stem.
-
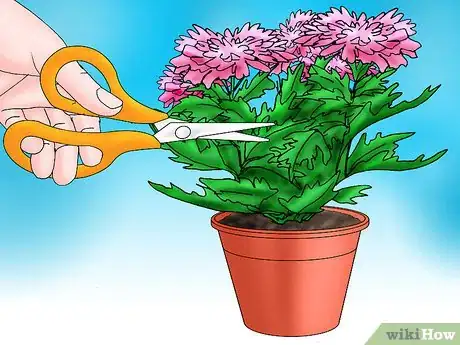
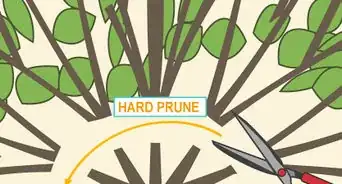
4Cut the chrysanthemum plants back after flowering. When flowering ends, cut the chrysanthemum plant back to about 8 inches (20.3 cm) from the ground. This helps the plant to store more energy for winter.
Overwintering Chrysanthemums
-
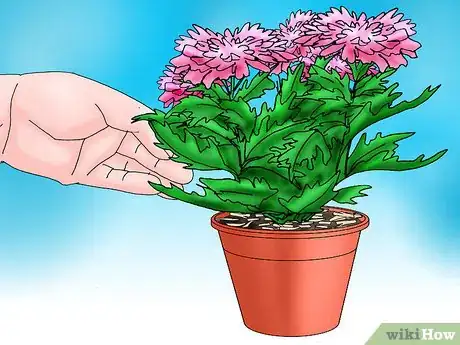
1Cover the chrysanthemums in a layer of mulch in milder climates. Some species of Chrysanthemum will survive outdoors over a mild winter, provided they have a good mulch and well drained soil.[9]
- Before the ground gets too cold in the fall, apply a 3 inch (7.6 cm) mulch of something like well rotted manure.
- This can go around the base of the plant.
-
2Lift the chrysanthemums and overwinter them indoors in colder climates. If you expect a cold winter where temperatures drop below -5 degrees, or your soil drainage isn’t very good, you are advised to lift your Chrysanthemums over winter.
- Dig up the chrysanthemums, remove any greenery and shake off the soil. Place in a tray of fairly dry compost.
- Store the plants in a frost-free place such as an insulated shed or a cool conservatory attached to your home. The compost just be kept slightly moist but never wet.
Community Q&A
-
QuestionCan I propagate them through cut flowers from bouquets?
 Community AnswerYes. Generally, any plant capable of growing from cuttings can be rooted from bouquets. Freshness counts in addition to handling, treatments with bleach, or additives to the stem.
 -
QuestionWhat is the best watering advice regarding cuttings (before the roots appear)?
 Community AnswerIn general, soil conditions should remain the same as for a rooted plant. Keep them moist and well-drained. They should be just slightly wetter than a rooted plant with free flow for drainage.
References
- ↑ https://www.motherearthgardener.com/diy/easy-chrysanthemum-cuttings-zb0z1803
- ↑ https://www.rhs.org.uk/plants/popular/chrysanthemum/growing-guide
- ↑ https://www.youtube.com/watch?v=pd0YGHQTw3U
- ↑ https://www.rhs.org.uk/plants/popular/chrysanthemum/growing-guide
- ↑ https://www.youtube.com/watch?v=NlaedS_gIRI
- ↑ https://todayshomeowner.com/growing-chrysanthemums-in-your-garden/
- ↑ https://hortnews.extension.iastate.edu/1997/3-14-1997/mumprop.html
- ↑ https://www.nytimes.com/1998/04/26/style/cuttings-hands-on-discipline-to-garner-more-bloom.html
- ↑ https://www.sundaygardener.net/how-to-overwinter-chrysanthemums/
