This article was co-authored by Chad Zani. Chad Zani is the Director of Franchising at Detail Garage, an automotive detailing company with locations around the U.S. and Sweden. Chad is based in the Los Angeles, California area and uses his passion for auto detailing to teach others how to do so as he grows his company nationwide.
This article has been viewed 5,137 times.
Proper maintenance of a vehicle's cabin air filter is crucial to ensure proper air quality as well as proper blower motor performance. The cabin air filter on any vehicle equipped is a great part of basic maintenance that almost anyone can complete. As a general rule of thumb, you should replace the cabin air filter in your vehicle every 15,000 to 30,000 miles. Only a few simple hand tools are necessary to perform this job.
Steps
Getting Started
-
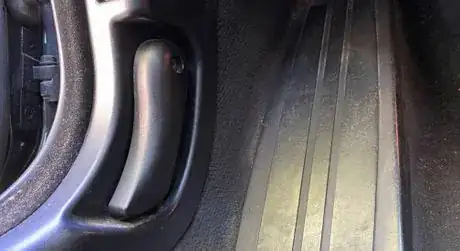
1Locate the vehicle's hood release. The vehicle's hood release is under the driver's side dashboard. Pull outwards on the lever until you hear the latch pop.
-
2Lift the safety release and open the hood of the vehicle.Advertisement
-
3Locate the cabin air filters. The cabin air filters are under the black plastic covers located on top of the cowl.
Changing the Passenger-Side Filter
-
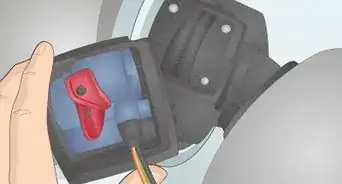
1Unplug the connectors on the passenger side filter cover. There are two connectors attached to the cover. Push down on the locking tab and pull out. Pull the wire outward and rest out of the way.
-
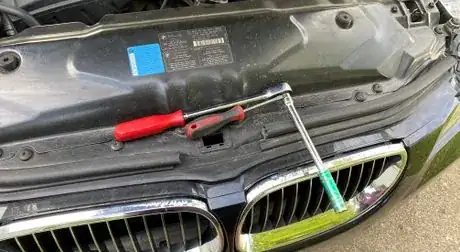
2Pry the locking clip off the filter housing. Use the flat-blade screwdriver to apply outward pressure on the clip and push over the locking tabs.
-
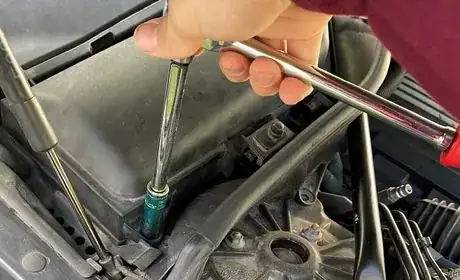
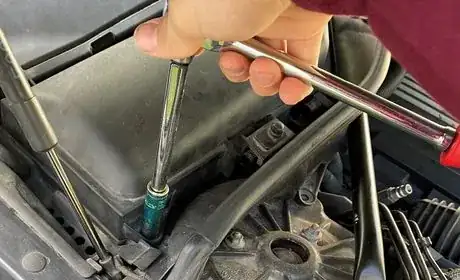
3Rotate the lock tab counterclockwise 90 degrees. Using the ratchet and 13mm socket, rotate the hex head lock tab 90 degrees to disengage the lock.
-
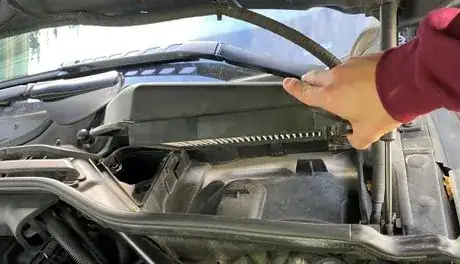
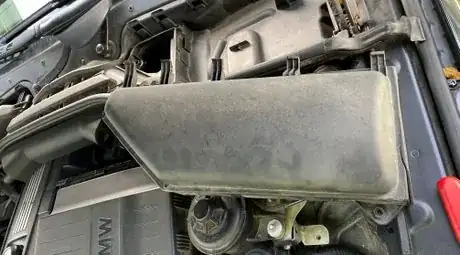
4Remove filter housing. Pull up and towards the front of the vehicle to remove the filter housing.
-
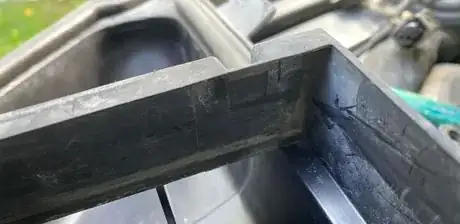
5Remove filter. With the filter housing removed, pull the filter out of the plastic retainers and out of the housing.
-
6Install the new filter. Be sure to install the new cabin air filter with the notch on the filter in line with the alignment tab on the housing.
-
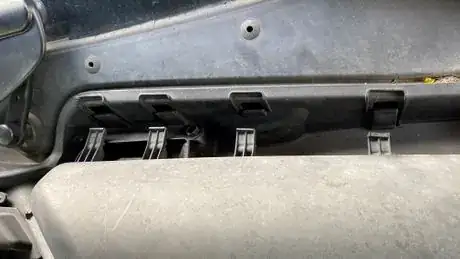
7Reinstall the filter housing. Align the tabs on the rear of the filter housing with the corresponding holes in the cowl and slide in and push down.
-
8Plug in both of the electronic connectors. Be sure to fully insert both connectors so the locking tab is fully engaged.
-
9Rotate the locking tab 90 degrees clockwise. Be sure to rotate the tab fully to ensure it is fully seated in the locked position.
-
10Reposition the locking clip back over the locking tabs. The locking clip may be repositioned in place with your hand or with the flat blade screwdriver if stubborn.
Changing the Driver-Side Filter
-
1Unclip the locking tab from the driver-side filter housing. This process is the same as the passenger side utilizing the flat blade screwdriver.
-
2Rotate the locking tab 90 degrees counterclockwise. Using the ratchet and 13mm socket, rotate the locking tab 90 degrees counterclockwise to disengage the locking tab.
-
3Remove the filter housing. Lift up and towards the front of the vehicle to remove the filter housing.
-
4Remove the old cabin air filter. With the filter housing removed, pull the filter out of the housing.
-
5Install the new cabin air filter. Be sure to note the position of the alignment notch on the filter and housing while installing.
-
6Reinstall filter housing. Be sure to align the tabs with the corresponding holes in the cowl, and push in and down on the housing.
-
7Rotate the locking clip 90 degrees clockwise. Using the ratchet and 13mm socket, rotate the locking tab 90 degrees clockwise. Be sure to fully engage the locking tab.
-
8Reposition the locking clip over the locking tabs. Push the locking clip over the locking tabs with your hand or use the flat-blade screwdriver if the clip is stubborn.
Finishing Up
-
1Remove all tools from the engine bay. Ensure you do not leave any of the tools used for the repair in the engine bay as they may be lost or potentially cause damage.
-
2Close the hood. Close the hood of the vehicle ensuring that it has fully latched. If it has not fully latched, the vehicle will alert you on the dash when powered on.
Things You'll Need
- Replacement Cabin Air Filters
- Flat Blade Screwdriver
- 3/8 Drive Ratchet
- 13mm Socket
- 6 Inch Extension














-Beetle-Step-5-Version-3.webp)
