This article was co-authored by wikiHow staff writer, Hunter Rising. Hunter Rising is a wikiHow Staff Writer based in Los Angeles. He has more than three years of experience writing for and working with wikiHow. Hunter holds a BFA in Entertainment Design from the University of Wisconsin - Stout and a Minor in English Writing.
There are 17 references cited in this article, which can be found at the bottom of the page.
This article has been viewed 80,874 times.
Learn more...
Over time, wood will start to rot as it’s exposed to moisture. Not only is it unsightly, but it can also cause damage to your home if it’s left untreated. Luckily, rot is easy to remove and replace. Whether you choose to use epoxy, a wood filler, or another piece of wood to patch the rotted area, you can have your home looking good as new!
Steps
Removing the Rotted Area
-
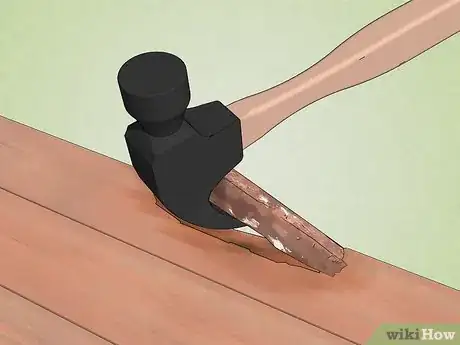
1Claw out rotted wood out with a hammer. Use a claw hammer to dig out loose rot. Place the claw of the hammer at the base of the rot. Apply pressure as you pull the claw back towards you. Remove as much as you can without disturbing the healthy wood.[1]
- Don’t force the wood to remove it. Only get rid of the soft, rotting wood.
-
2Use a router with a V-shaped bit to remove any remaining rotten wood. Hold the router so the bit is 1⁄8 inch (3.2 mm) from the back edge of the wood. Use short back and forth strokes to grind away any rot you couldn’t reach with the hammer. Grind the wood until you reach healthy and solid wood. Harder wood will be more difficult for the router to cut through.[2]
- If rot is left inside the wood, there is a chance that it can start rotting again.
Advertisement -
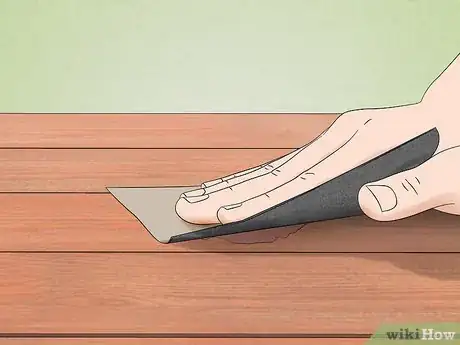
3Sand off paint and surface rot. Many patching solutions will not stick to existing paint, so it needs to be removed. Either use a paint scraper or coarse sandpaper, around 60 grit, to remove any residue that is on the surface of the wood. Apply an even amount of pressure as you work in a circular motion.[3]
- Dirt, rust, or primer should also be removed from the wood’s surface before moving on.
-
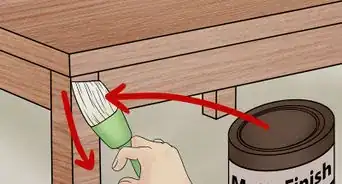
4Apply 4-6 coats of wood restorer to the area. Use the provided brush to paint the restorer over the entire area. Let the restorer set for 2 minutes in between coats so it can soak into the wood. Let the restorer dry completely for 2 hours before working on it again.[4]
- Wear rubber gloves when working with the restorer to prevent it from coming into contact with your skin.
Patching the Area with Epoxy
-
1Paint the wood with a bonding agent. Use a wide paintbrush to apply a thin coat of bonding agent to the wood. Coat the entire area you’re making a patch for with the agent. This helps the epoxy adhere to the area better.[5]
- Epoxy bonding agent can be purchased at hardware stores.
-
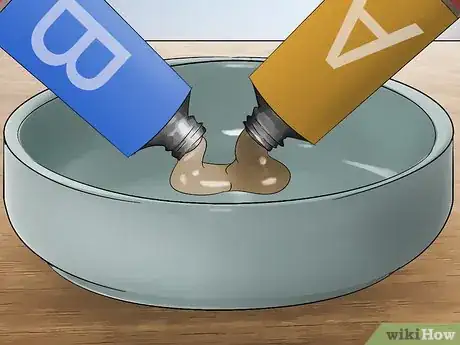
2Mix a 2-part epoxy with a putty knife on a non-porous surface. Dispense enough epoxy to fill the rotted out area. Mix both parts of the epoxy thoroughly until it is a uniform color. Use a flat piece of clear plastic or glass as a mixing palette so the epoxy does not stick to it. Most epoxies have a 1:1 ratio for mixing, but follow the specific instructions on the package.[6]
- Use a gun applicator to dispense the epoxy in pre-measured ratios.
- Work with the epoxy within 30 minutes of mixing it, or else it will dry out.
-
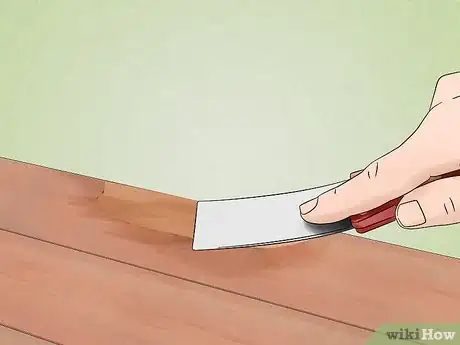
3Shape the epoxy on the wood with the putty knife. Use a generous amount of epoxy and push it into the rotted area. Make sure it comes into contact with the wood that’s still present. Press with the edges of the putty knife to compact the epoxy.[7]
- Use a scrap piece of wood as a straightedge if you want to make clean, flat edges.
-
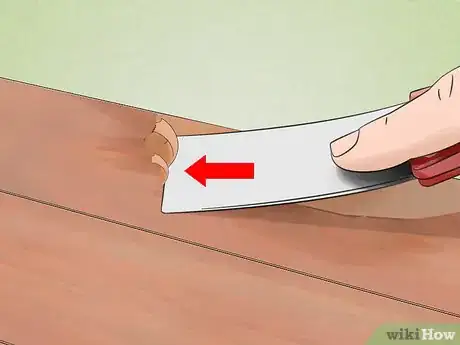
4Scrape off excess epoxy with a clean putty knife. Carefully use the edge and corners of the knife to match the epoxy to the edges of the existing wood so it has a clear, uniform look. Use a clean putty knife to smooth the edges of the epoxy.[8]
- Trace the profile of the wood onto a plastic putty knife and cut it out with a strong pair of scissors to precisely match the edges.
-
5Let the epoxy set overnight. It takes 24 hours for the epoxy to completely dry. Once the epoxy has dried, it is ready to be sanded, primed, and painted.[9]
- If the epoxy is outdoors, it needs to be primed and painted. Otherwise, the sun will wear it away.
Making a Wood Patch
-
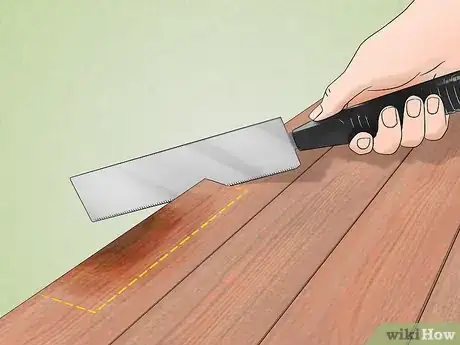
1Make a smooth and straight cut in the wood using a Japanese hand saw. Place the teeth of the saw that are closest to the handle onto the line you want to cut. Apply pressure to the saw and pull it down at a 45-degree angle to make the cut. Repeat the cut until you can remove the wood by hand.[10]
- Mark the line you want to cut with a pencil so you stay straight.
-
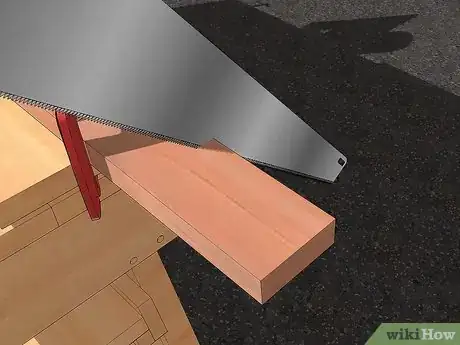
2Trim a piece of cedar to the size of the hole you’re filling. Use a saw to cut the patch to the correct size. Make sure that the wood fits snugly in the rotted out area. If it’s too loose, it will not fit flush with the existing wood.[11]
- Cedar is commonly used as a patch since it is known for being rot resistant.
-
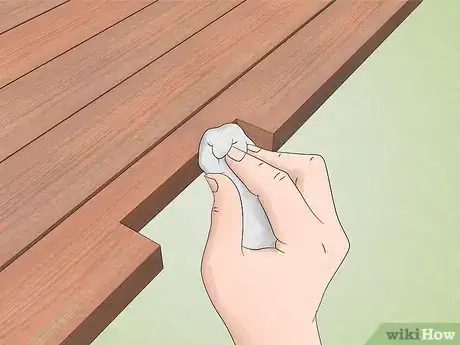
3Dampen the exposed wood with a wet rag. The glue you’ll be using activates with moisture. Use a damp cloth to rub the exposed wood where you’ll be placing the patch as well as the patch. It should feel slightly wet to the touch.[12]
-
4Apply polyurethane glue to the wood and place the patch. Squeeze the glue from the container directly onto the wood. Spread it so it covers the entire exposed area. Press the patch against the wood tightly so the glue can begin to set.[13]
- Polyurethane glue foams and expands before it hardens so it can fill in any small gaps.
- Do not touch the uncured glue with your bare hands or tools. It will be extremely difficult to remove.
-
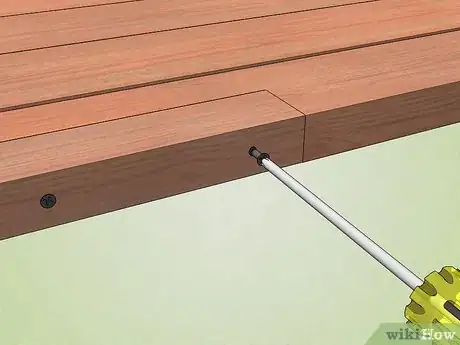
5Drill 2 screws into each side of the patch to hold it in place. Use screws long enough to reach the baseboards. Place one on each side of the patch to hold it in place while the glue sets.[14]
-
6Sand any excess glue off the patch after 6 hours. It takes 6 hours for the polyurethane glue to completely dry and set. Use a fine-grit sandpaper on the hardened glue to wear it down level with the wood.[15]
Using Wood Filler for Patching
-
1Pour a 3 in (7.6 cm) diameter circle of wood filler on a non-porous surface. Put the wood filler on a piece of plastic or glass so it does not stick or get caught in the material. Make sure the circle is about 1⁄2 inch (13 mm) thick so you have enough to mix initially.[16]
-
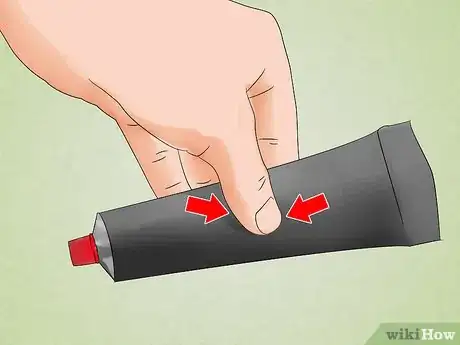
2Squeeze the tube of hardener with the cap still on. The hardening agent will separate in the tube, so firmly squeeze it with your fingers to ensure it is mixed together before you open it.[17]
-
3Put a 3 in (7.6 cm) strip of the hardener on the filler and mix. Use a putty knife to stir the filler and the hardener together for about 2 minutes. When it’s thoroughly mixed, it should have a light red color.[18]
- The wood filler has a working time of 10 minutes, so only use small amounts at a time.
- Keep the mixture spread thin so it will have a longer working time.
-
4Apply the filler to the wood with a putty knife with firm pressure. Spread the filler 2 inches (5.1 cm) beyond the problem areas of the wood. Keep a constant pressure on the putty knife so the wood filler completely adheres. Spread the wood filler until you reach the desired thickness.[19]
-
5Let the filler dry for 30 minutes. The wood filler will completely set within a half hour in temperatures cooler than 75 °F (24 °C). In warmer temperatures, it may take as little as 10 minutes for it to set.[20]
Sanding and Painting Patched Wood
-
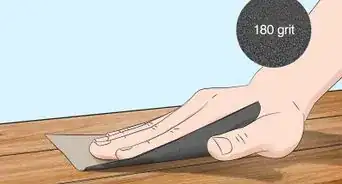
1Smooth the patch with sandpaper. Make sure the edges of your patch are flush with the existing wood so it has a uniform look. Start with a coarse sandpaper, around 60 grit, and work down to a fine-grit paper, like 200 grit, for a completely smooth finish.[21]
-
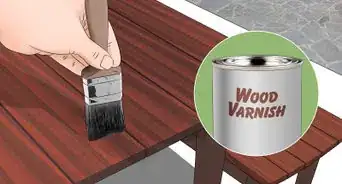
2Use a matching stain if the original wood is stained. Paint a coat of the stain onto the wood and let it dry. Be careful not to overlap layers of existing stain since this may make the color appear darker in that spot.[22]
- Patches of wood filler may stain a slightly different color than the actual wood. Test the stain on a small part of the filler to see how it holds the stain.
-
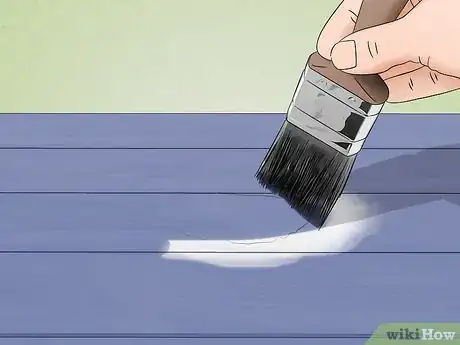
3Paint at least 2 layers of primer if the wood is painted. Use thin coats of grey or white primer so you can apply it evenly. Let it dry for 10 minutes before you start on another coat.[23]
- Use a spray primer for a more even coat and to avoid the look of brush strokes.
-
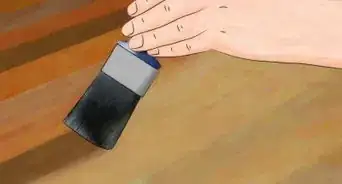
4Apply a coat of paint after the primer has dried. Mix the paint with a stir stick so it’s not separated when you use it. Paint thin coats with a paintbrush so it evenly layers. Use long strokes that cover the entire length of the wood so it has a smooth finish.[24]
- The paint should dry within 10 minutes unless it is very humid.
Expert Q&A
-
QuestionHow do you fix rotted wood on a window frame?
 Michael FoxMichael Fox is a Window Repair Specialist and the President at Window Repair Systems and WindowHardwareDirect.com, based in Westminster, South Carolina. With over 25 years of experience, Michael specializes in commercial window repair and service. He holds a business degree from Monroe Community College and SUNY Brockport. Michael has helped Window Repair Systems and WindowHardwareDirect.com become an industry leader in commercial window repair and hardware distribution, servicing schools and businesses and training large public school systems.
Window Repair Specialist For a rotted window sash, just remove the sash, unhook the balances, and reinstall an identical sash. If the entire trim is rotted, you'll need to remove all the compromised wood and find the source of the moisture. Then, fill in this spot with caulk or sealant tape and install the new trim.
Warnings
- If the rotted wood is structural, like a wooden beam or floor, consider replacing it rather than repairing it.⧼thumbs_response⧽
- Wear gloves when working with any chemical product so it doesn’t come into contact with your skin.⧼thumbs_response⧽
Things You’ll Need
Removing Rotted Wood
- Hammer
- Electric router
- Paint scraper
- Sandpaper
- Wood restorer
Epoxy Method
- Epoxy bonding agent
- Paintbrush
- 2-part epoxy
- Non-porous mixing surface
- Putty knife
- Straightedge
Wooden Patch Method
- Japanese hand saw
- Piece of cedar wood
- Wet rag
- Polyurethane glue
- Drill
- Screws
- Sandpaper
Wood Filler Method
- Wood filler and hardener
- Non-porous mixing surface
- Putty knife
Sanding and Painting Patched Wood
- Sandpaper
- Grey or white primer
- Wood stain
- Paint
References
- ↑ https://www.thisoldhouse.com/how-to/how-to-repair-rotted-trim-epoxy
- ↑ https://youtu.be/3l5q0xaQEf8?t=1m9s
- ↑ https://youtu.be/3l5q0xaQEf8?t=1m20s
- ↑ https://youtu.be/o1lOaPhhC-s?t=1m17s
- ↑ https://youtu.be/3l5q0xaQEf8?t=1m25s
- ↑ https://youtu.be/3l5q0xaQEf8?t=2m14s
- ↑ https://youtu.be/3l5q0xaQEf8?t=2m32s
- ↑ https://youtu.be/3l5q0xaQEf8?t=3m11s
- ↑ https://youtu.be/3l5q0xaQEf8?t=3m22s
- ↑ https://www.thisoldhouse.com/how-to/how-to-repair-rot-damage-dutchman
- ↑ https://www.thisoldhouse.com/how-to/how-to-repair-rot-damage-dutchman
- ↑ https://www.thisoldhouse.com/how-to/how-to-repair-rot-damage-dutchman
- ↑ https://www.thisoldhouse.com/how-to/how-to-repair-rot-damage-dutchman
- ↑ https://www.thisoldhouse.com/how-to/how-to-repair-rot-damage-dutchman
- ↑ https://www.thisoldhouse.com/how-to/how-to-repair-rot-damage-dutchman
- ↑ https://youtu.be/o1lOaPhhC-s?t=2m34s
- ↑ https://youtu.be/o1lOaPhhC-s?t=2m49s
- ↑ https://youtu.be/o1lOaPhhC-s?t=3m
- ↑ https://youtu.be/o1lOaPhhC-s?t=3m31s
- ↑ https://youtu.be/o1lOaPhhC-s?t=3m36s
- ↑ https://www.thisoldhouse.com/how-to/how-to-repair-rot-damage-dutchman
- ↑ https://youtu.be/o1lOaPhhC-s?t=4m8s
- ↑ https://www.bobvila.com/articles/30124-dream-it-do-it-how-to-paint-wood-furniture/
- ↑ https://www.bobvila.com/articles/30124-dream-it-do-it-how-to-paint-wood-furniture/
About This Article
To repair rotted wood, you’ll need to remove the rot, fill in the gaps, then paint the surface. Use the claw of a hammer to dig out rotted areas from your wood. If there’s any surface rot or paint on the wood, you can use a paint scraper or coarse sandpaper to get rid of it. After you’ve removed the rotted wood and any paint, you can apply a few coats of wood restorer to solidify any soft wood. Fill the gaps with epoxy or wood filler. Then, sand the surface until it’s smooth. If you plan to paint the wood, make sure you use a couple of coats of primer first so the paint will stick. For more tips, including how to make a wood patch to fill rotted wood, read on!
