This article was co-authored by wikiHow Staff. Our trained team of editors and researchers validate articles for accuracy and comprehensiveness. wikiHow's Content Management Team carefully monitors the work from our editorial staff to ensure that each article is backed by trusted research and meets our high quality standards.
There are 10 references cited in this article, which can be found at the bottom of the page.
This article has been viewed 16,061 times.
Learn more...
Diesel engines have a reputation for being especially loud because they produce more pressure and vibrations than gasoline engines. This can be an inconvenience if you drive a diesel truck, lawnmower, or similar vehicle. While noise is a fact of life for diesel engines, there are some ways to reduce the noise. The easiest way is installing soundproofing foam under the hood to block the noise. You can also have your mechanic give the vehicle a tune-up to reduce any clattering in the engine.
Steps
Insulating the Hood
-
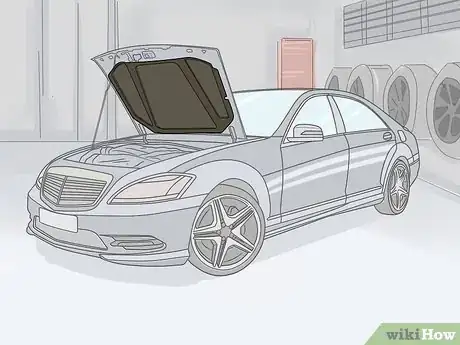
1Get soundproofing foam or a hood liner to install under your hood. A layer of foam under the hood can dampen the sound from a diesel engine. Check an auto parts store for hood liners or foam designed to reduce noise. Make sure the product is designed for hood installation so it can withstand the heat from the engine.[1]
- Some products are specifically designed and shaped for car hoods. They already have adhesive material on the back, so you don’t need any extra glue to attach it.
- Other insulators are just foam sheets, which will also work. These require glue or contact cement to attach.
- Once you apply the foam cover, it’s very difficult to remove. Measure carefully before pressing the foam down, since you can't peel it off to try again.
-
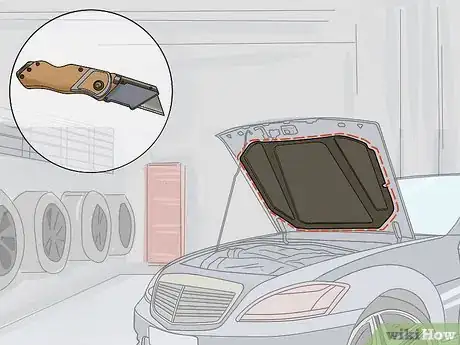
2Cut the liner to fit under your hood. Measure the length and width of the underside of your hood. Use a utility knife or sharp pair of scissors and cut the foam to fit those measurements. Hold the foam against the hood underside to confirm that you’ve cut it to the correct size.[2]
- Most cars and trucks have an indentation under the hood. This is a good spot to put the foam so it’s out of the engine’s way.
- Lawnmowers or smaller vehicles may not have an indentation, so cut the foam to fit under the whole hood.
- Wear gloves while you’re cutting the foam to prevent cuts.
Advertisement -
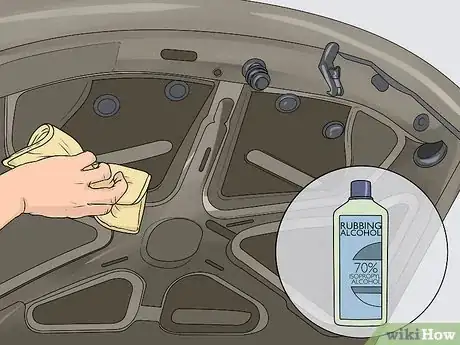
3Clean and wipe down the underside of the hood with alcohol. Any dust or debris will prevent the foam from sticking properly. Pour some rubbing alcohol onto a clean rag and wipe the underside of the hood. Remove any grease or other material. Re-wet the rag as needed, or use a fresh one if the hood is very dirty.[3]
- Mineral spirits or vinegar will also work to clean the hood.
- If possible, removing the hood makes this job easier.
-
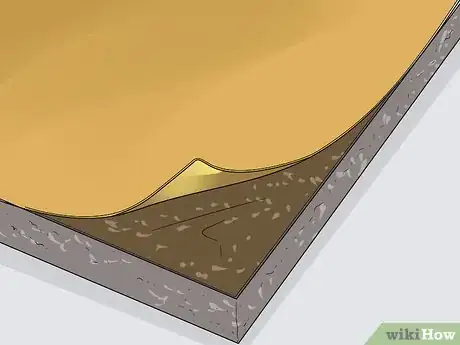
4Peel the paper backing off if the foam has an adhesive strip. If you got a specialized hood lining, then it will have an adhesive strip on the back. Carefully peel the paper off when you’re ready to install the lining. Don’t touch the adhesive strip with anything.[4]
- Be very careful and don’t let the adhesive section stick to itself. This is very sticky and you probably won’t be able to separate it.
-
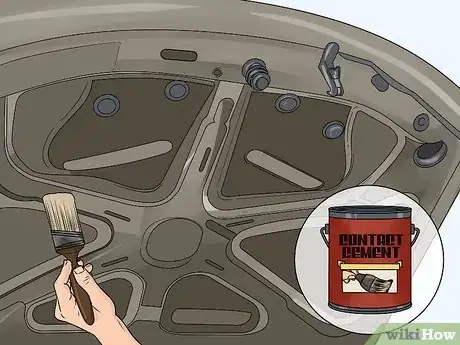
5Apply contact cement to the foam if it doesn’t have adhesive already. Lay the hood cover on the ground next to the car with the back facing up. Open a can of contact cement and dip in a disposable brush. Spread a thin layer onto the back of the foam. Allow it to sit for 2-4 minutes to get tacky before attaching the foam to the hood.[5]
- The contact cement is very sticky, so don’t let any drip around the sides of the foam. Wear gloves to prevent it from getting on your skin.
- Some contact cement comes in a spray bottle. If you have this type, work in a well-ventilated area or outdoors to avoid inhaling the fumes.
- Depending on the type of contact cement you use, it may also instruct you to apply some to the hood. Follow the directions on the product that you use.
-
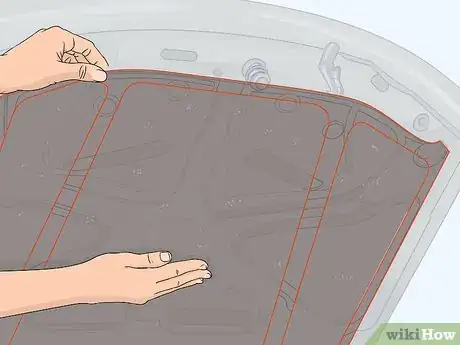
6Press the foam into position under the hood. Grab the foam from the front so it doesn’t stick to your hands. Align it in the spot you want it, then press it down. Run your hands along the foam with even pressure to work out any air bubbles and spread the lining flat.[6]
- Make sure the lining is aligned properly before you press it down. It’s very hard to remove once you install it, and you probably won’t be able to get it off for another try without ripping the foam.
Making Internal Adjustments
-
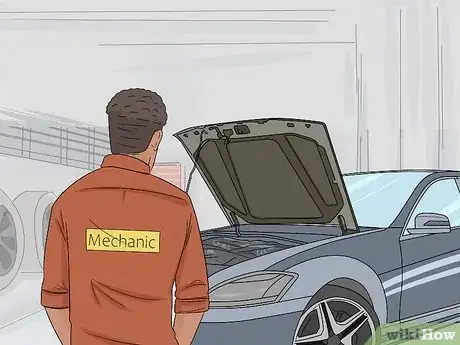
1Ask a mechanic to reduce the space between your engine valves. If the valves in your engine are misaligned, there could be too much space between them. This could make them rattle and increase the running noise. If the engine is still too loud after installing the hood lining, bring it to your mechanic for a tune-up. Ask them to adjust the valves so they’re the correct distance apart. This could cut down on the engine noise while the vehicle is running.[7]
- You could also adjust the valves yourself, but this is a complicated job that requires a lot of mechanical experience. Don’t attempt it if you aren’t skilled with working on engines.
-
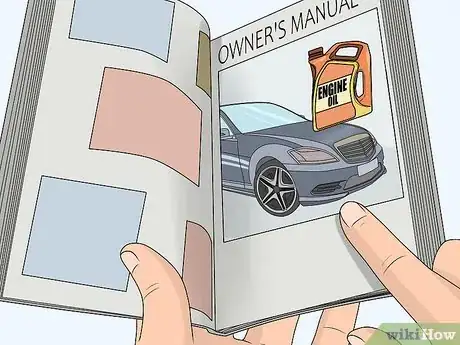
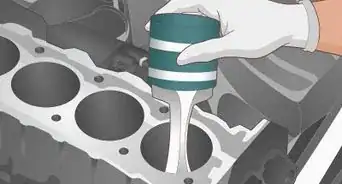
2Use the oil recommended for your engine. In some cases, using the incorrect oil for your engine can make it run harder. Check your owner’s manual or with the manufacturer for the correct oil for your vehicle. If you’re using the incorrect oil, change it and use the recommended type.[8]
- Do not add a different type of oil without draining out the old oil first.
- There are some noise-reducing oils available at auto stores. However, these may not be the recommended oils for your engine, so don't use them unless the manufacturer recommends them. It’s better to use the recommended oil and deal with the noise other ways.
-
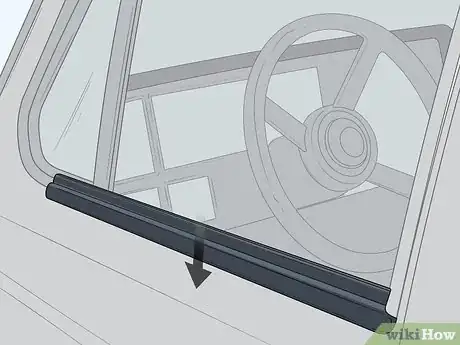
3Replace worn-out or cracked window seals to block more noise. If your window seals are brittle and cracking, they won't block much noise. Get a new set of seals designed for your vehicle model. Roll down your windows and pull the seals on the bottom of the windows straight up to remove them. Then, align the new seals with the slot on the bottom of each window. Press down until they snap into place.[9]
- If the old window seals are stuck in place, use a pair of pliers to pull them off.[10]
- Make sure you use window seals for your vehicle model. Seals from a different vehicle may not fit properly.
- You can also ask your mechanic to do this for you if you aren't sure how to do it.
-
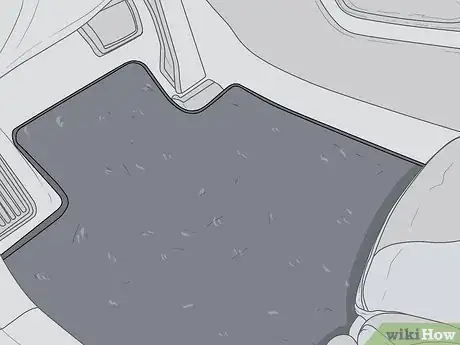
4Use sound-dampening mats in your cabin. While this solution won’t reduce the noise outside the vehicle, it will make your cab quieter. Get sound-dampening mats and place them on the floor in front of the driver’s and passenger seat of your vehicle. This will reduce the engine noise entering the cab.[11]
- For a riding lawnmower or similar vehicle without a closed cab, this won’t be possible.
-
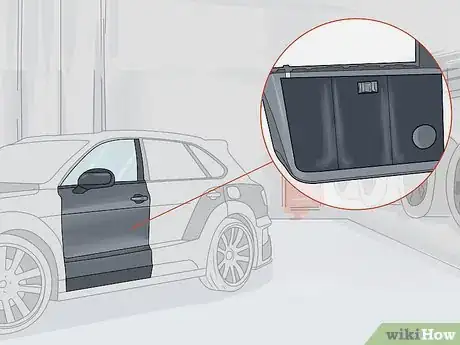
5Install deadening pads inside the doors. Get a roll of sound deadening foam. Then, remove the door panel to access the inner part of the door. Pack the foam into all the empty space within the door, and seal it back up for a more soundproof cabin.[12]
- You can buy deadening pads from auto parts stores or online. Get a product with good reviews to block the most sound.
- The door may already have some foam material in it for soundproofing. If the foam is in good condition, pack the new foam around it. If it's brittle, dusty, and falling apart, pull it out and replace it all with the new foam.
Things You’ll Need
- Foam hood lining
- Contact cement
- Paintbrush
- Rubbing alcohol
- Scissors or utility knife
- Sound-dampening mats
Warnings
- If your engine is still loud, wear ear protection while it’s on. The constant noise can damage your hearing over time.⧼thumbs_response⧽
References
- ↑ https://www.military.com/off-duty/autos/3-ways-to-reduce-loud-car-noises.html
- ↑ https://youtu.be/lg-9aT_zVtY?t=25
- ↑ https://youtu.be/n31j45mns-8?t=201
- ↑ https://youtu.be/lg-9aT_zVtY?t=40
- ↑ https://youtu.be/n31j45mns-8?t=225
- ↑ https://youtu.be/lg-9aT_zVtY?t=32
- ↑ https://youtu.be/lbZuUn_nqnc?t=50
- ↑ https://www.machinerylubrication.com/Read/562/oil-change-filter-sensors
- ↑ https://www.military.com/off-duty/autos/3-ways-to-reduce-loud-car-noises.html


-Step-13.webp)

