wikiHow is a “wiki,” similar to Wikipedia, which means that many of our articles are co-written by multiple authors. To create this article, 28 people, some anonymous, worked to edit and improve it over time.
wikiHow marks an article as reader-approved once it receives enough positive feedback. In this case, 100% of readers who voted found the article helpful, earning it our reader-approved status.
This article has been viewed 161,069 times.
Learn more...
Stucco is a fine plaster that can be used as a coating for walls and other surfaces. One downside to stucco is that it can become damaged over time, needing a repair.
Steps
Prep
-
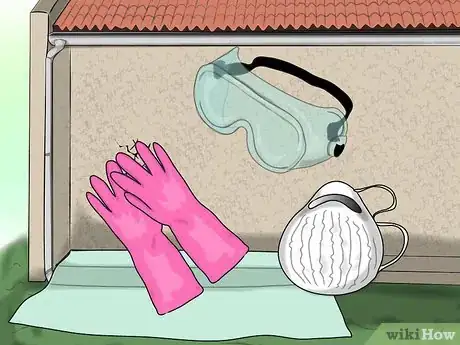
1Gather safety equipment. It is highly reccomended that you wear eye protection, a dust mask, and gloves.[1]
-
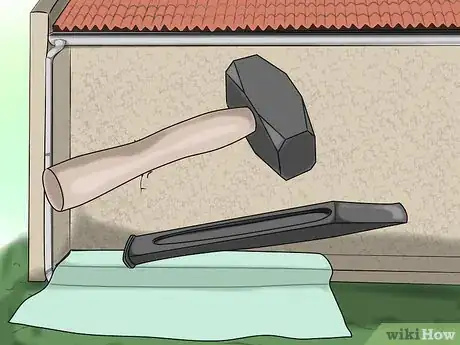
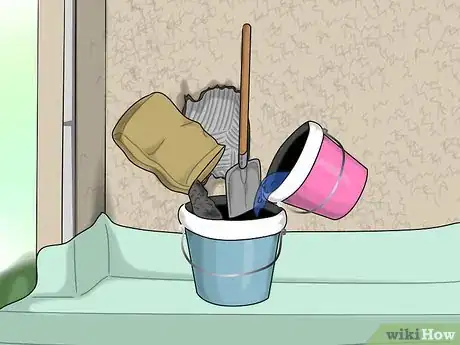
2Gather your equipment. See the Thing's You'll Need section below.[2]Advertisement
-
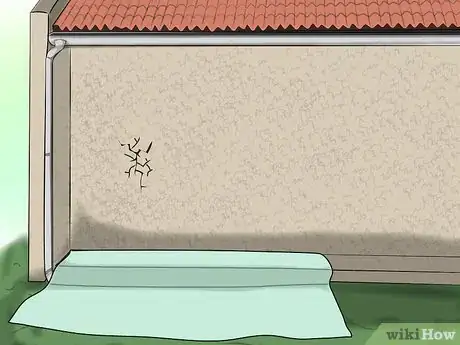
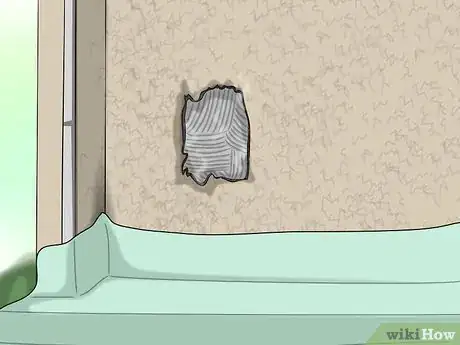
3Cover areas around the damaged Stucco. Place something along the lines of a tarp,over areas that could possibly get dust or soot on them while chopping.
Chopping and Lathing
-
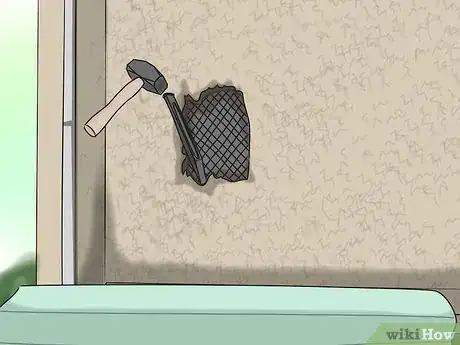
1Chop the Stucco. Use a hammer and chisel to break off the damaged stucco and lath from the sheathing of the wall, but you must leave some lath around the damaged area, as the new lath will be tied to the old. The stucco should fall off fairly easily. If you wet down the wall, it will reduce the dust that comes off at this step.[3]
-
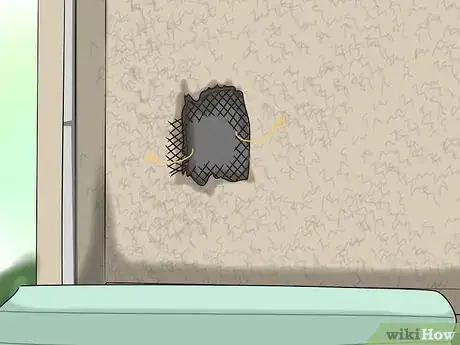
2Pull back the old metal lath. from the non-damaged stucco in the outside of the patch area. This is the lath previously described as important that should not be removed. Pulling it back will allow you to work it a little more comfortably.
-
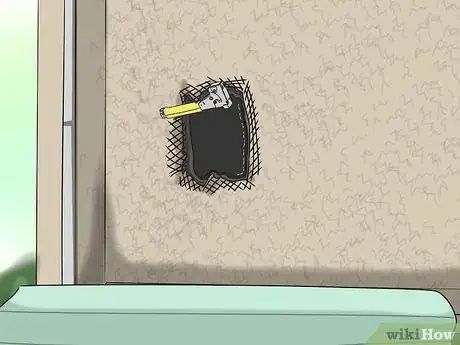
3Cut a piece of the double D tar paper. Cut it as big as the uncovered portion of the lath. Use the hammer tacker to stick the piece on the sheathing.[4]
- It is best to have the new piece go behind the old tar paper at the top (so if any moisture gets inside the wall, it will run out and away from the wood) and to have the new tar paper in front of the old tar paper at the bottom (so that is any moisture gets in the wall, it will run outside, away from the wood).
- Use as few staples as possible because holes in the tar paper can let water in.
-
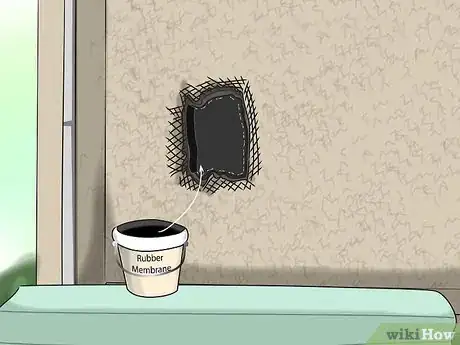
4Seal the outside edge of the metal lath. Use the rubber membrane to seal of the outside edge of the lath. The rubber membrane may not stick well to the area being sealed off. In that case, tack a few staples in or improvise in order to keep it in place. Instead of rubber membrane, which is quite expensive, you can use a tube of Polyurethane sealer, which costs less and was used by builders for this purpose prior to the invention of rubber membrane.
-
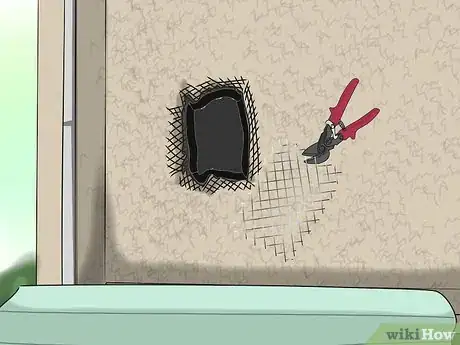
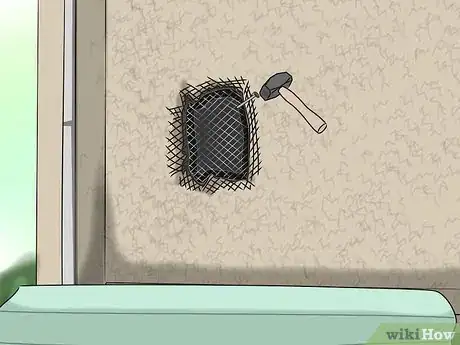
5Cut a piece of metal lath. Cut the piece size to fit into the patch area. The metal lath should be large enough to fit beyond where the metal lath from the good stucco on the outside edge can fit over the cut piece.[5]
-
6Seat the lath. Place the lath in the patch and place a few nails in that will keep it in place.
-
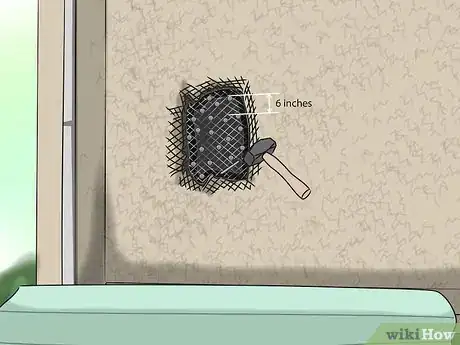
7Nail in the lath. Place nails in places that will provide a good anchor to the lath. Don't worry about hitting studs because it is only a patch. The nails should be spaced about 6 inches (15.2 cm) apart.[6]
-
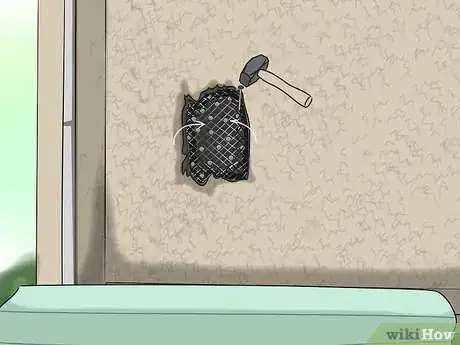
8Overlap the lath. Take the old lath that you bent outwards and bend it over the new piece of lath you installed. Place nails where the two pieces overlap.
Scratch Coat
-
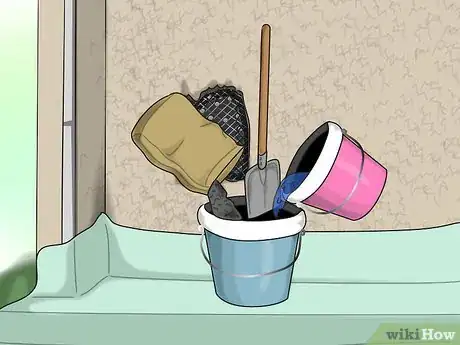
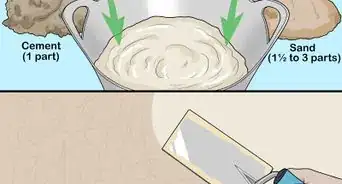
1Mix and prepare cement. Make sure it does not dry and harden.[7]
-
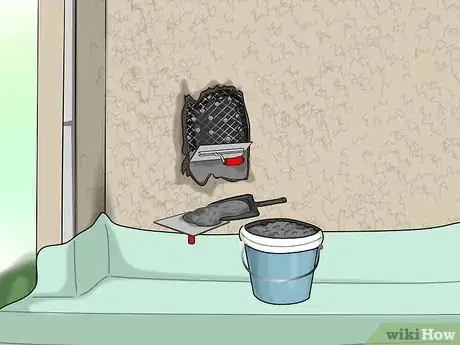
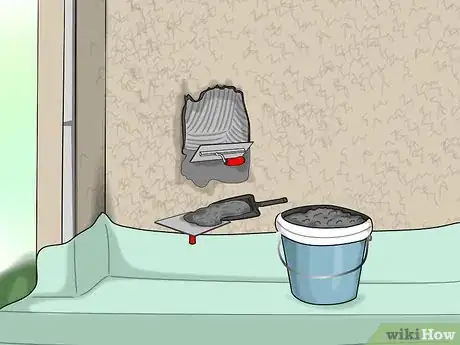
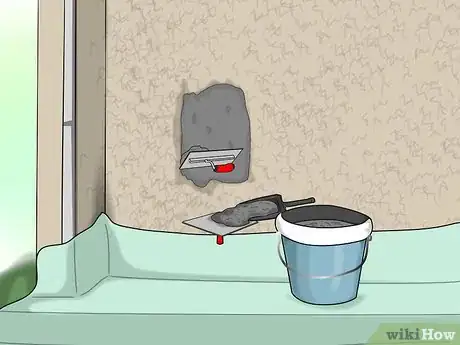
2Apply the cement to the patch. Use the scoop to place some cement on your hawk. Use your trowel to take the cement off the hawk and spread it onto the wall. Skim just enough cement over the lath so that it is covered.[8]
-
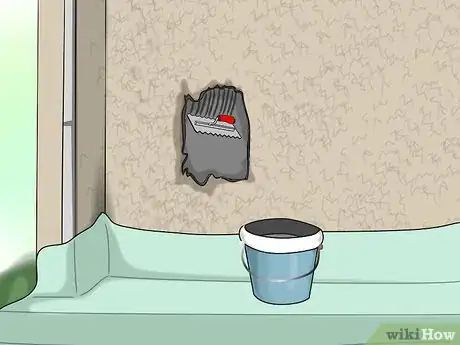
3Scratch the patch. Use the scratcher to scratch the entire skimmed area.[9]
-
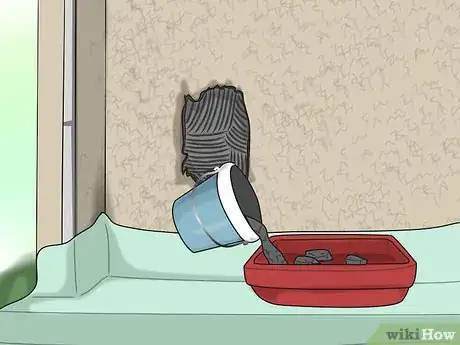
4Make more cement. If your current batch is dried out, mix a new one.
-
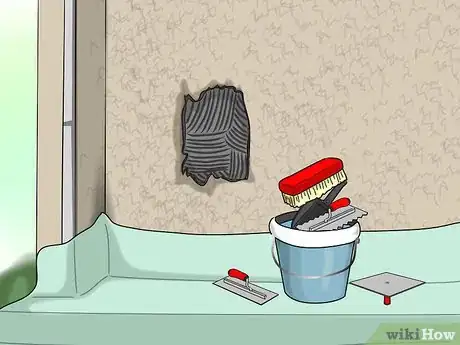
5Clean your tools. Clean them so they don’t get ruined. Use a wash brush and bucket of water, or whatever else that may work.
-
6Wait for the scratch coat to dry. You will know the patch is dry when it turns from a dark grey to a light grey.
Brown Coat
-
1Mix cement. Mix enough to fill the patch twice.
-
2Apply cement to the patch. Scoop cement out of the bucket and place in the hawk. Use the trowel to spread the cement onto the wall. The brown coat must be level with the surrounding wall of the patch, so use enough mud to fill the patch in adequately.
- If the stucco sags, wait 5 minutes for the stucco to harden some and then level it again.
- If you wet the existing wall, it will help the new stucco to adhere to the old. Stucco does not stick to oil, mold, dust, dry, loose or very smooth surfaces.
-
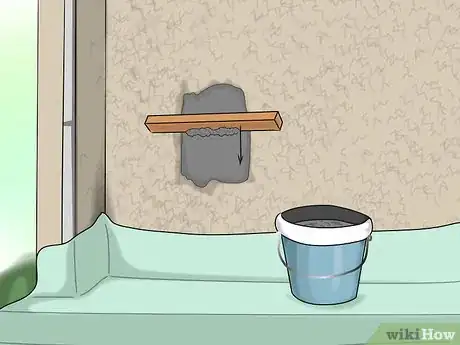
1Level the patch area. When the patch has been filled in with cement, use the darby and scrape down across the patch area. Wetting the darby makes the process work smoother. If the stucco sags, wait 5 minutes for the stucco to set some and then level it again.[10]
-
2Fill in any holes. If any holes exist after running the darby across the patch, throw some cement in the holes and repeat the leveling process. You must now immediately begin the next part, floating.[11]
Floating
-
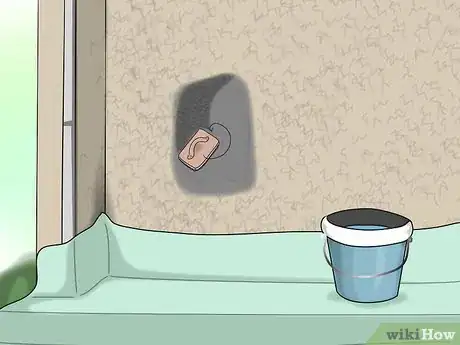
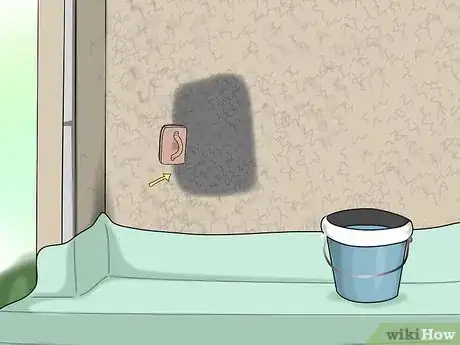
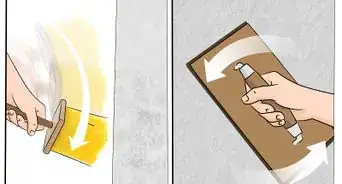
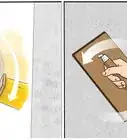
1Rough the patch area. Use a swirling motion with the wet float to start leveling the wall. Be careful not to press too hard against the wall so that you dig into it, but use enough pressure so that you are effectively roughing up the surface of the wall.
-
2Make sure the new patch and wall are connected. Make sure the outside edge of the patch is smoothed out onto the existing wall with the float. You may apply more pressure on the outside of the patch for this purpose.
-
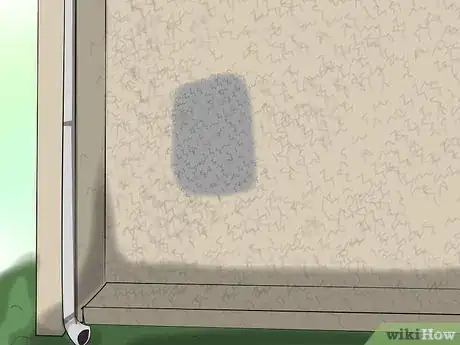
3Finishing up. When the patch is roughed up and evened out with the area previously existing wall around it the job is complete. Make sure the patch cures before putting a finishing coat on.
Mixing Guide
This mixing guide is separate from the flow of the instructions because it will need to be done more than once. Whenever the instructions say to mix cement, reflect back to the mixing guide. The following will assume one full five gallon bucket of cement will be mixed.
-
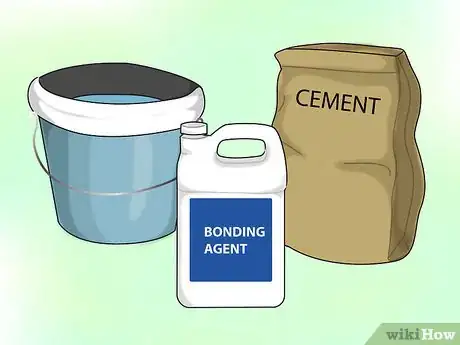
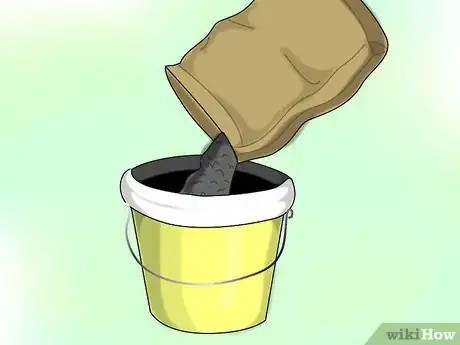
1Gather the necessary materials needed to make a batch of the cement. These materials include a bag of pre-mixed cement (with fibers), bonding agent, and water.
-
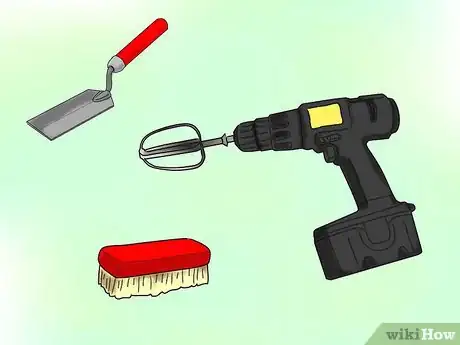
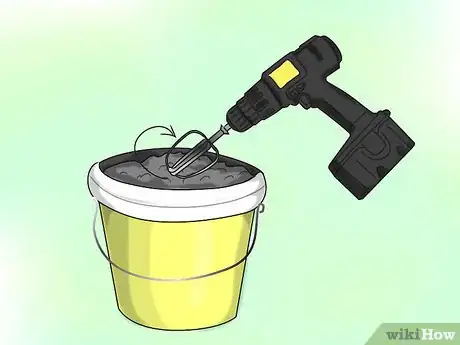
2Gather the necessary tools. A margin trowel for scraping the edges of the bucket. An electric drill and beater for mixing the cement. A wash brush is recommended for cleaning the tools after mixing the cement.
-
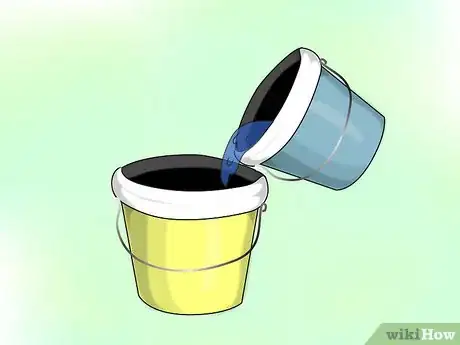
3Fill the bucket. You will want to fill it up about ¼ full with water.
-
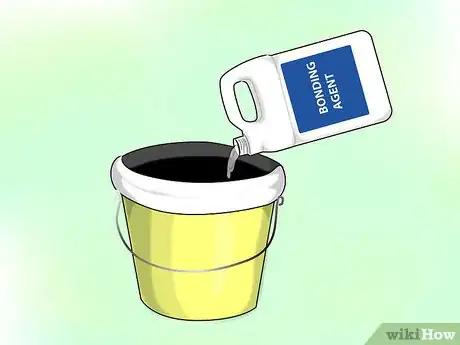
4Add bonding agent. You'll want to add roughly 16 ounces. On a very large area, you can just paint the bonding agent on the edges of the old stucco and not mix it into the stucco.
-
5Fill the bucket with cement. You can now fill the rest of the bucket with the pre-mixed cement.
-
6Mix the cement. Mix the bucket with the electric drill and beater until the right consistency is met. You will know the cement is at the right consistency when it is not soupy, but it keeps its form fairly well. You may need to add some water, check the cements consistency. If the stucco runs off a trowel that is held up vertically, the mixture has too much water in it.
-
7Don't over mix the stucco or it will set faster and be harder to apply to the wall. If you are starting, you can fill the bucket with a couple of inches of water, then add a half bucket of stucco, add a couple inches more of water and let it sit for 3 minutes so the water absorbs into the stucco. This will permit you to mix the stucco less so that you can work with it longer.
Warnings
- This guide makes the following assumptions:
- Problem area has been identified
- The sheathing and studs behind the old stucco are not rotted to the point where they wouldn’t make a good anchor point.
- The patch in this article will not include the finish coat due to the many variations in textures for stucco finish coats.
- Patchwork around windows and doors will need to have flashing and rubber membrane installed. Stucco at the bottom of a wall may require weep screed (unless it is evident there was none there originally).
- The person doing the patchwork will need a fair amount of construction knowledge. As in they have done different home projects before or work in construction.
⧼thumbs_response⧽
Things You'll Need
Primary tools List
- Trowel- primary tool for spreading cement on wall
- Hawk- tool used for holding cement mix in one hand while spreading the cement on the wall using the trowel with the other.
- Darby or 2x piece of wood- This is used to even the patch out with the rest of the wall.
- Margin trowel or pointed trowel- For placing cement in tight areas.
- Drill and beater- This is the easiest way to mix the cement. Improvise and you may not need an electrical drill and beater.
- Wash brush- For cleaning tools.
- Aviation snips- for cutting small pieces of metal lath
- Snips- for cutting large pieces of metal lath
- Scoop- Used to scoop the cement mix out of the bucket. Improvise to use anything else for the same purpose.
- Scratcher- This is used literally to scratch the stucco during the scratch coat. Anything may be used in its place for the same purpose.
- Hammer tacker (stapler)- This tool looks similar to a hammer. You load staples into the device and pound on things in order for a stapler to come out.
- hammer
- chisel
- Tape measure
- Chalk or other device that can be used for marking
- float (This looks like a trowel with a sponge on the side without the handle)
- 5 gallon (18.9 L) buckets (The more you have the easier the process will be. These will be used for mixing in, holding water, collecting garbage and debris, and hauling around tools.)
Other tools
- work clothes (this is a dirty process so don’t wear any clothes you plan on wearing out next Friday night)
- Dust mask
- Eye protection
- Work gloves
Materials
- Metal Lath
- Double D tar paper
- Nails
- dry cement mix (To simplify this guide, assumptions will be made that the user is using a premixed bag of cement made for stucco. These pre-mixed bags will often include the fibers in the mix. I recommend asking someone in the store you are buying the materials from to help you find the right mix.
- Staples
- rubber membrane- This stuff comes in rolls. One side is a white plastic film and the other side is a sticky black tar like material.
- fibers (If you buy a bag of cement with fibers then you do not need to buy additional fibers)
- bonding agent- This is a white liquid that looks just like milk. Ask a person at the place you purchase the materials to ensure you buy the right product.
- Water (a hose with a nozzle comes in handy for clean-up)
- covering materials (tarps, tape, poly, anything that will cover up an area that could get messy throughout the process)
References
- ↑ https://www.realtor.com/advice/home-improvement/damaged-stucco-repair-easy/
- ↑ https://www.realtor.com/advice/home-improvement/damaged-stucco-repair-easy/
- ↑ http://www.altaengineeringco.com/images/pdf/Perfecting%20Stucco%20Patching%20by%20Brett%20Newkirk,%20P.E..pdf
- ↑ https://www.homeadvisor.com/cost/siding/stucco-crack-repair/
- ↑ https://www.homeadvisor.com/cost/siding/stucco-crack-repair/
- ↑ https://www.homeadvisor.com/cost/siding/stucco-crack-repair/
- ↑ https://www.realtor.com/advice/home-improvement/damaged-stucco-repair-easy/
- ↑ https://www.realtor.com/advice/home-improvement/damaged-stucco-repair-easy/
- ↑ https://www.realtor.com/advice/home-improvement/damaged-stucco-repair-easy/
About This Article
To patch stucco, start by removing any damaged stucco from the wall and pulling back the metal lath underneath. Next, use a hammer and nails to secure a piece of double D tar paper to the hole, and seal the edges with rubber membrane. Then, secure a new piece of metal lath over the area with nails before applying cement to the patch with a trowel. Once the cement has dried, apply more wet cement over the top and spread it flat using a darby. Finally, rough up the surface of the cement using a wet float so that it matches the texture of the wall around it. For tips on how to mix cement so that it doesn’t dry too quickly, read on!
