This article was co-authored by Ollie George Cigliano. Ollie George Cigliano is a Private Chef, Food Educator, and Owner of Ollie George Cooks, based in Long Beach, California. With over 20 years of experience, she specializes in utilizing fresh, fun ingredients and mixing traditional and innovative cooking techniques. Ollie George holds a BA in Comparative Literature from The University of California, Berkeley, and a Nutrition and Healthy Living Certificate from eCornell University.
There are 10 references cited in this article, which can be found at the bottom of the page.
This article has been viewed 60,686 times.
Pasteurizing foods at home will ensure that they don't contain dangerous bacteria, such as salmonella, that can make you sick. In particular, it's important to pasteurize raw milk and raw eggs. If you have a compromised immune system, pasteurizing other liquids, such as homemade cider and juice, can also protect you from getting sick. The key with pasteurization is to get the food up to a very specific temperature for a certain amount of time in order to kill bacteria. This will make the food safe for consumption without cooking it.
Steps
Pasteurizing in a Double Boiler
-
1Set up a double boiler on your stove. Fill the bottom pan of a double boiler with approximately 2 inches (5.1 cm) of water. Then place the smaller pan on top of the bottom one and pour the liquid or food you are pasteurizing into it. Set the double boiler on a burner on your stove.[1]
- If you do not have a double boiler, you can use the combination of a large stockpot and a small saucepan, metal bowl, or thick glass bowl. The smaller dish must be small enough to rest in the top of the larger stockpot without the bottom of it sitting in the water.
- To prevent the bottom of the smaller dish from touching the bottom of the larger stockpot, place a metal cookie cutter inside the stockpot and rest the smaller dish on top of it.[2]
Tip: Since the liquid you are pasteurizing will not actually reach a boil, you can fill the top dish of the double boiler fairly high. However, leave at least 1–2 inches (2.5–5.1 cm) of empty headspace at the top of the dish to further reduce the risk of overflow.
-
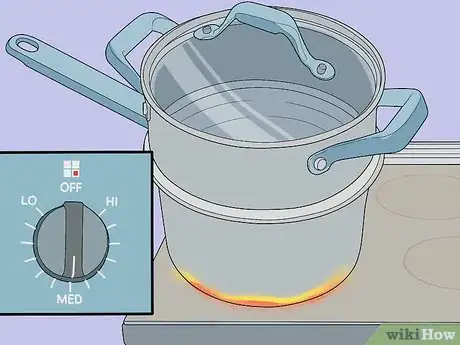
2Heat the double boiler over medium heat so that the water simmers. Turn on your burner and allow the water in the bottom of the double boiler to come to a simmer. You will know it's simmering when you start to see steam coming out between the two levels of the double boiler.[3]
- Once the water comes to a simmer, turn down the heat to low or medium-low. The goal is to control the heat by keeping the water at a steady simmer instead of a rolling boil.
Advertisement -
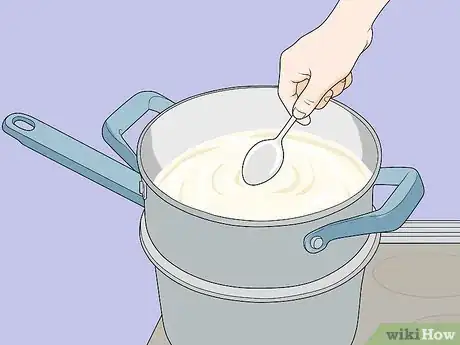
3Stir the liquid or food you are pasteurizing constantly. Use a spoon to stir the contents in the top of your double boiler as it heats up. This reduces the risk of the liquid getting too hot, burning, or curdling.[4]
- If any skin forms while the liquid heats, remove it with a ladle or spoon.
-
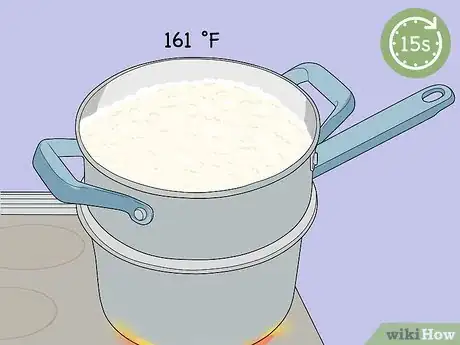
4Pasteurize the food or liquid at 161 °F (72 °C) for 15 seconds for a quick option. There is a risk of scalding or cooking the food or liquid with this technique, though it's much faster than the other option. Check the temperature of the food or liquid by inserting a thermometer into it. The tip of the thermometer should only be about two-thirds deep into the liquid. Do not allow it to rest on the bottom or sides of the dish.[5]
-
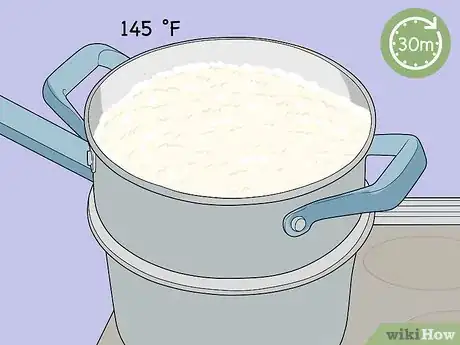
5Pasteurize the food or liquid at 145 °F (63 °C) for 30 minutes as an alternative. While this option takes longer, there's a lower chance of cooking the food or liquid. Insert a thermometer into the liquid so it's submerged about two-thirds deep and isn't touching the bottom or sides of the double boiler. Make sure the temperature never drops below 145 °F (63 °C) for at least 30 minutes.[6]
Tip: Keeping your food or liquid at the correct temperature requires watching it closely. Check the temperature throughout the pasteurization and adjust it as necessary. Don't walk away from it so that it doesn't overflow or not get pasteurized cause the temperature is too low.
-
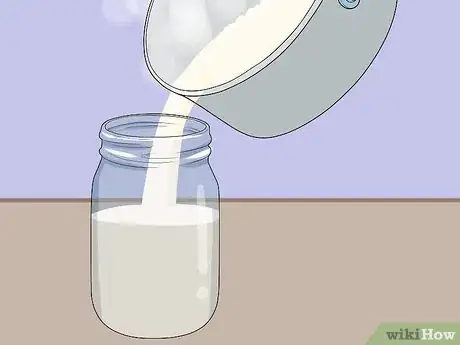
6Pour the hot food or liquid into your sterilized containers. Carefully pour the food or liquid into previously sterilized containers as soon as you remove it from the heat. Leave 1–2 inches (2.5–5.1 cm) of empty headspace at the top of each jar. After filling the jars, cover them with an appropriate lid.[7]
- You may wish to use a funnel or ladle to minimize accidental spills.
-
7Cool the containers right away with cold water. Place the filled containers in a cold water bath. The easiest way to do this is to set them in your sink and fill it up with cold water. Add a tray of ice cubes to the water to cool them down even quicker. Allow them to sit in the cold water for 15 minutes. This should bring them close to room temperature.[8]
- You can also use a large basin, bowl, or pot for this step.
- However, extremely cold temperatures could shock the glass and cause it to break. You should not place the containers in the refrigerator or freezer immediately after filling them.
-
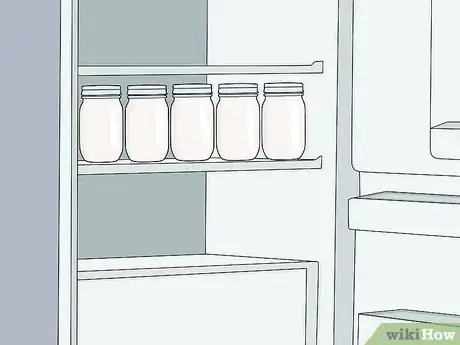
8Store the pasteurized items in your refrigerator. After rapidly cooling the jars in cold water, transfer them to a refrigerator. Keep them in the fridge until you are ready to use them.
- The food or liquid should cool to a temperature below 40 °F (4 °C) within the first 6 hours.[9]
- Pasteurized milk can last for up to 2 weeks, while juice and cider may last twice that amount of time.
Using Direct Heat to Pasteurize
-
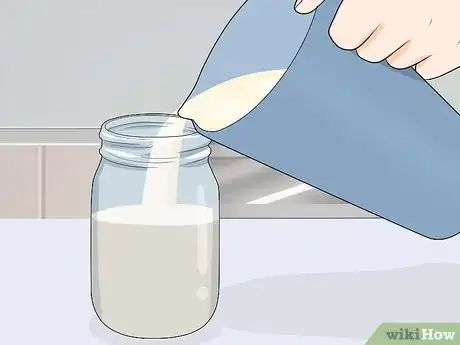
1Pour the food or liquid you want to pasteurize into sterilized containers. Pour the food or liquid into previously sterilized glass containers. Leave 1–2 inches (2.5–5.1 cm) of empty headspace at the top of each container. Seal the containers with lids that provide a good seal. Note that a tightly sealed lid is essential for this method so that the water doesn't get into your pasteurized liquid.[10]
- The liquid can expand during the pasteurization process, and if the containers are too full when this happens, they could break.
- If you want to pasteurize eggs still in their shells, you can put them directly into the pot without a container.
-
2Place the containers into a large stockpot and then fill it with water. Set the glass containers in the bottom of a large stockpot. Fill the stockpot with enough water to cover the jars with 2–3 inches (5.1–7.6 cm) of water.
- It's a good idea to place a clean dish towel or jar rack at the bottom of the stockpot to help prevent the glasses from moving around and crashing into each other while they are pasteurizing.
-
3Heat the water to 175 °F (79 °C) for 20 minutes. Place the filled stockpot on your stove over medium heat. Gradually heat the water until it reaches a temperature of 175 °F (79 °C), then hold that temperature for 20 minutes before removing the glass jars. Use a cooking thermometer to monitor the temperature of the water.[11]
- Heat the water slowly. Rapid heating can break the glass and may disrupt the pasteurization process.
- Submerge the tip of the thermometer two-thirds deep into the water. Do not allow it to come into contact with the sides or bottom of the pan.
Tip: As an alternative, you can use a sous vide machine, if you have one, to heat the water in your stock pot. These machines, also called an immersion circulator, heat water to a very specific temperature and keep it there for as long as you want.[12]
-
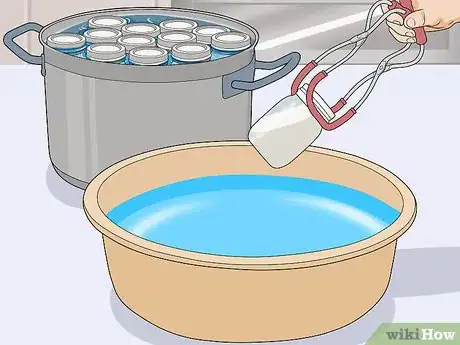
4Remove the jars and cool them quickly in water. Carefully remove the jars from the hot water with tongs or a jar lifter. Submerge them in cool water for 15 minutes to get them close to 44 °F (7 °C) quickly.[13]
- Fill a clean sink or basin to do this. Use cold water from the tap and add a tray of ice cubes to bring the temperature down a bit quicker.
- Do not place the hot bottles directly in the freezer or refrigerator. This extreme temperature change can shock the glass and cause it to break.
-
5Store the jars in your refrigerator. After cooling the filled glasses in cool water, move them to a refrigerator. Store them there until you are ready to use them.
- Note that the pasteurized liquid should stay below 44 °F (7 °C) at all times.
- When stored in the refrigerator, pasteurized milk can last for up to 2 weeks. Juices and ciders can last up to a month in the refrigerator.
Sterilizing Your Storage Containers
-
1Place your glass containers in a large stockpot. Carefully arrange your storage containers and covers in a large stockpot in order to sterilize them. They should be able to stand upright without knocking into each other.
- Note that the size of your stockpot will vary depending on the size of your storage containers, and the size of your storage containers will vary depending on how much you are aiming to pasteurize.
- While some people try to sterilize jars in a dishwasher, it doesn't guarantee sterilization the way that boiling containers does.[14]
Tip: To prevent the containers from knocking into each other during the sterilization process, you may wish to place a clean dish towel at the bottom of the stockpot. Do so now instead of waiting until after the water boils.
-
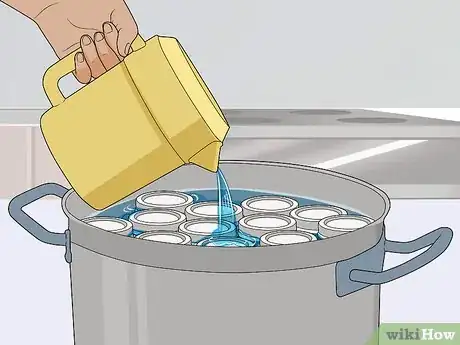
2Fill the stockpot with water until it covers the jars by 2 to 3 inches (5.1 to 7.6 cm). Put enough water into the stockpot to completely cover the storage containers so that they are heated evenly. Set the stockpot on the stove once it is full.[15]
- It is best to arrange the containers inside of the stockpot before bringing the water to a boil. Glass tends to crack or otherwise break when exposed to rapid changes in temperature, so submerging the jars after the water has already reached a boil can be risky.
-
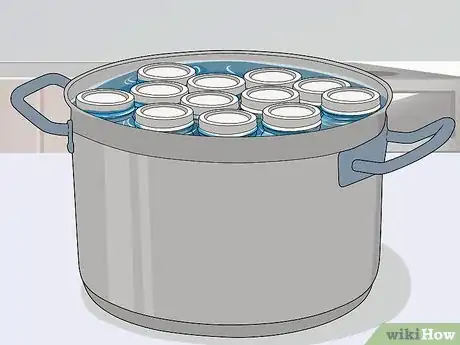
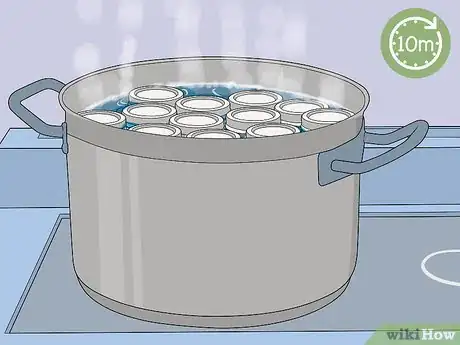
3Boil the water for 10 minutes. Turn on your burner to high heat. Continue heating the water until it reaches a steady boil and then turn down the heat to keep the water at a low boil. Allow the containers and covers to stay submerged for 10 minutes after the water comes to a full boil.[16]
- The containers may bump into each other a bit while being boiled. However, if the water is at a low boil, the containers should not hit each other enough to damage them.
-
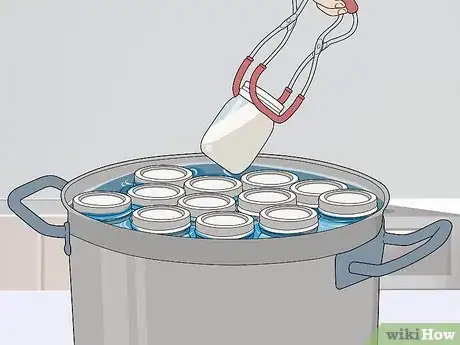
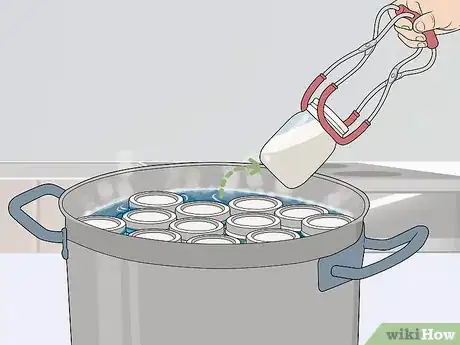
4Remove the containers from the water. Turn the burner off once the jars are sterilized. Then carefully lift the containers and covers out of the hot water using tongs or a canning jar lifter. [17]
- Use caution when removing the glass containers since they can still break easily at this stage.
-
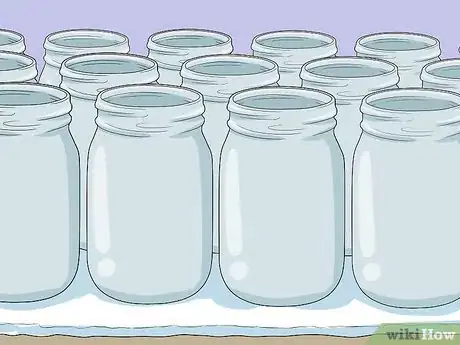
5Let the containers dry on your counter. Set them aside on clean, dry dish towels and allow them to air dry. Do not place the containers in a refrigerator or freezer to speed the cooling process.[18]
- Putting the containers in the refrigerator or freezer while they are hot could cause the glass to break.
- You do not need the containers to cool completely to room temperature. Containers that are slightly warm are less likely to break during pasteurization.
Things You'll Need
Pasteurizing in a Double Boiler
- Stove
- Refrigerator
- Double boiler (large stockpot and small saucepan, metal bowl, or thick glass bowl)
- Metal cookie cutter (optional)
- Spoon
- Ladle and/or funnel
- Cooking thermometer
- Sterilized glass containers with lids
- Sink or basin
Using Direct Heat to Pasteurize
- Stove (or sous vide machine, if available)
- Refrigerator
- Sterilized glass containers with lids
- Large stockpot
- Cooking thermometer
- Jar tongs
- Sink or basin
Sterilizing Your Storage Containers
- Stove
- Large stockpot
- Glass jars and lids
- Jar tongs
- Clean, dry dish towels
References
- ↑ https://www.thekitchn.com/double-boilers-what-are-they-a-132018
- ↑ http://www.eatwell101.com/make-a-double-boiler-how-to-set-up-a-bain-marie-homemade-double-boiler
- ↑ https://myhealth.alberta.ca/Alberta/Pages/how-to-pasteurize-milk.aspx
- ↑ https://extension.oregonstate.edu/sites/default/files/documents/8836/sp50932homepasteurizationofrawmilk.pdf
- ↑ https://myhealth.alberta.ca/Alberta/Pages/how-to-pasteurize-milk.aspx
- ↑ https://myhealth.alberta.ca/Alberta/Pages/how-to-pasteurize-milk.aspx
- ↑ https://myhealth.alberta.ca/Alberta/Pages/how-to-pasteurize-milk.aspx
- ↑ https://myhealth.alberta.ca/Alberta/Pages/how-to-pasteurize-milk.aspx
- ↑ https://myhealth.alberta.ca/Alberta/Pages/how-to-pasteurize-milk.aspx
- ↑ http://www.electricscotland.com/food/preservation/chapter22.htm
- ↑ http://www.electricscotland.com/food/preservation/chapter22.htm
- ↑ https://www.washingtonpost.com/recipes/pasteurized-eggs/15842/?utm_term=.573bc537af1a
- ↑ https://www.britannica.com/topic/food-preservation/Sterilization
- ↑ https://ask.extension.org/questions/334041
- ↑ https://nchfp.uga.edu/publications/nchfp/factsheets/sterilizing.html
- ↑ https://nchfp.uga.edu/publications/nchfp/factsheets/sterilizing.html
- ↑ https://www.wbur.org/hereandnow/2017/09/15/kathy-gunst-canning
- ↑ https://www.wbur.org/hereandnow/2017/09/15/kathy-gunst-canning






-Step-11.webp)
