This article was co-authored by Renée Plevy. Renée Plevy is an Internationally Acclaimed Portrait Artist from New York/Palm Beach who has painted The Grand Dames of Palm Beach and various celebrities and community leaders. With over 50 years of experience, Renée specializes in painting realistically in oil and capturing the soul of the person. She has studied under internationally renowned portrait artists John Howard Sanden, David Leffel, Robert Beverly Hale, Clyde Smith, and Leonid Gervits. Renée is featured in over 68 shows and galleries including a one-woman museum show at the Paterson Museum. She has garnered numerous awards including “Artist of the Year” from The Bloomfield Art League and First Prize from the Boca Raton Museum Artist’s Guild. Renée has even painted a portrait of celebrity, Vanilla Ice. She also teaches at the Boca Raton Museum Art School - formerly at SVA in Manhattan.
There are 8 references cited in this article, which can be found at the bottom of the page.
This article has been viewed 22,517 times.
Whether you’re shipping a painting to your home or to a friend, if you want it to arrive in one piece, it needs to be packaged correctly. Fortunately, packaging a painting for shipping is pretty easy to do. Start by covering and protect the painting with glassine paper, bubble wrap, and foam boards so it won’t get damaged in transit. Pick the right box or tube for your painting so it fits and there’s extra room to add packaging materials and padding. Stick it in the box or shipping tube, add some material to keep it from moving around, and then seal it off with packing tape.
Steps
Protecting the Painting
-
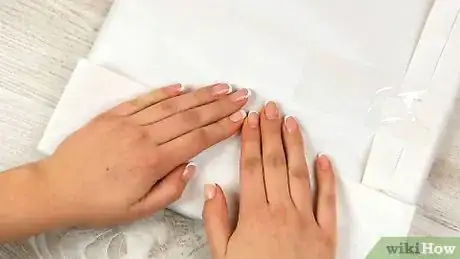
1Cover the front of the painting with glassine paper. Glassine is a smooth and glossy paper that’s resistant to air, water, and grease, which will keep the front of your painting protected while it’s being shipped. Lay the glassine paper over the surface of the painting. Wrap the paper around the edges of the painting and use painter’s tape to secure the paper to the backside of the painting.[1]
- You can find glassine paper at craft supply stores, department stores, and online.
- If you’re shipping a very small piece, you can trim the glassine paper with scissors and cover your painting with it.
-
2Roll up an unframed painting so it will fit into a shipping tube. Lay the painting face down on a clean and even surface so the glassine paper forms a layer between them. Take the bottom edge of the painting and pull it over to create a soft arch and begin rolling it up toward the top edge. Continue rolling the painting until you meet the top edge and then secure it with a piece of painter’s tape.[2] [3]
- Don’t fold or bend the painting or you could damage it or create creases.
Advertisement -
3Tape 4 strips of painter’s tape over the glass of framed paintings. If you’re shipping a framed or mounted painting that has a glass covering, take 4 strips of painter’s tape and form 2 “X” shapes from the edge of the frame that overlap in the center to form a star pattern. Make sure the strips of tape are securely attached to the glass to prevent pieces from coming loose and damaging the painting if it breaks in transit.[4]
- Don’t use scotch or duct tape or you’ll leave behind a sticky residue on the glass.
Alternative: Wrap cling film tightly over a glass-covered painting to hold the pieces in place and keep them from puncturing the artwork if they accidentally break while the painting is being shipped.
-
4Put cardboard corner protectors on mounted or framed paintings. If you have a mounted or framed painting, slide cardboard corner protectors over each of the corners of the frame. Use strips of painter’s tape to secure them to the frame so they don’t fall off.[5]
- You can find cardboard corner protectors at shipping supply stores and online.
- Wrap the corners with loose pieces of cardboard if you don’t have corner protectors.
-
5Wrap a layer of bubble wrap around the entire painting. Wrap bubble wrap over the entire frame of the painting to form a protective layer. Place the smooth side of the bubble wrap against the surface of the painting, with the bubbles facing outward so they don’t leave impressions in the artwork. Secure the bubble wrap by apply painter’s tape to the edges to hold it in place.[6]
- For rolled, unmounted paintings, wrap a single layer of bubble wrap around the rolled-up painting and secure the edges of the bubble wrap with a piece of painter’s tape.
-
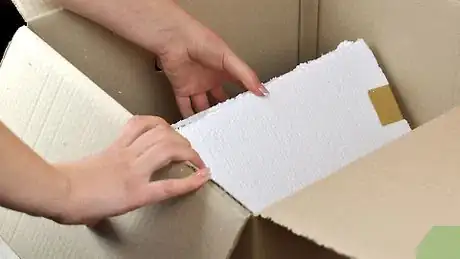
6Place your mounted painting between 2 foam boards cut to size. Take 1⁄2 inch (1.3 cm) thick foam boards and mark the dimensions of your painting on the boards with a pencil. Use a utility knife to cut out the foam boards so they’re the same size as your painting. Place 1 board on each side of the painting and line up the edges so they’re even.[7]
- You may be able to find foam boards that fit your dimensions, but you’ll likely need to trim them down to size.
- If you don’t have any foam boards, you can use pieces of cardboard that you cut to size, but they won’t provide as much protection.[8]
-
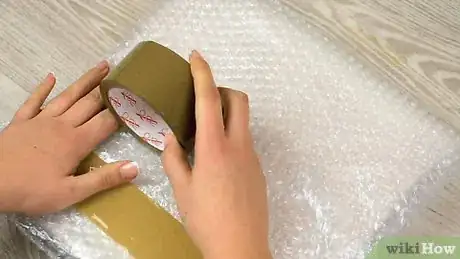
7Use packing tape to secure the foam boards around your painting. Hold the foam boards in place with your hands and wrap strips of packing tape around the edges to sandwich the boards around your painting. Don’t tape them so tight that the tape creates impressions in the boards or the excessive pressure could damage the painting.[9]
- Wiggle the boards with your hands to make sure they’re secure.
- You can find packing tape at shipping supply stores, department stores, and online.
Choosing the Right Container
-
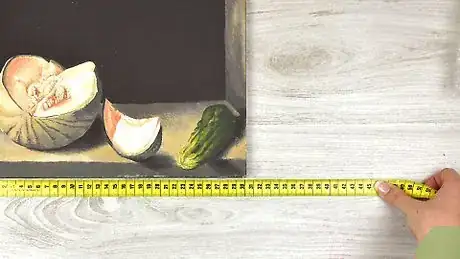
1Measure the length, height, and width of the painting. Use a ruler or tape measure to find the measurements of your painting. If the painting is mounted in a frame, be sure to measure the width of it so you can choose an appropriate box. Write down your measurements so you have them handy and can use them to choose the best container for your painting.[10]
-
2Add 6 inches (15 cm) to each measurement. Calculate extra space for packaging and padding that you’ll add to keep your painting from moving around. Add the extra length to all of the measurements that you took so your final calculation is accurate and consistent.[11]
- For example, if your painting had a length of 10 inches (25 cm), a height of 12 inches (30 cm), and a width of 4 inches (10 cm), then adding the extra space for packaging and padding will give you a length of 16 inches (41 cm), a height of 18 inches (46 cm), and a width of 10 inches (25 cm).
-
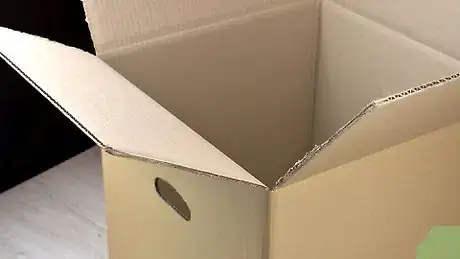
3Choose a corrugated picture box for framed or mounted paintings. Go to a box supply store or look online and select a pre-measured mirror or picture box that matches the measurements of your painting, including the extra space for cushioning. Choose a new, double-walled corrugated box to minimize movement and reduce the risk of damage to your painting.[12]
- Look online for a box supply store in your area for boxes with specific dimensions.
- You may not be able to find a box that fits your dimensions at your local post office.
Shipping Tip: Don’t re-use a box! Your painting will be less protected by a recycled box and will look less professional when it arrives at its final destination.
-
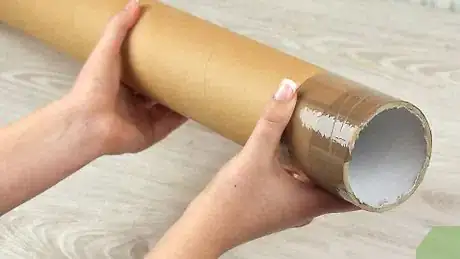
4Select a shipping tube for unmounted, rolled-up paintings. Unmounted artwork can be rolled up and placed in a shipping tube to be protected while they’re being shipped.[13] Measure the shortest side of the painting while it’s flat and then add 4 inches (10 cm) to the measurement to allow for extra space for padding and choose a shipping tube that fits the measurement.[14]
- For instance, if the shortest side of your unmounted painting measures 10 inches (25 cm), then choose a shipping tube that’s at least 14 inches (36 cm) long.
- You can find shipping tubes at box supply stores, office supply stores, and online. Your local post office may have some shipping tubes on hand, but they may not match your measurements.
Shipping the Painting
-
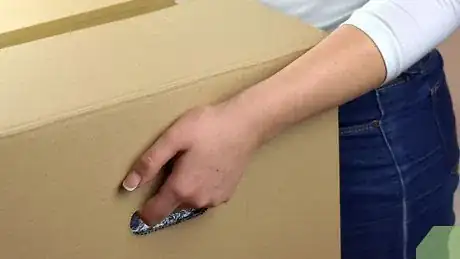
1Place a framed or mounted painting into the container. If you’re shipping a framed or mounted painting, take the wrapped painting and slide it into the frame or mirror box. Insert it so that it’s completely inside of the box. There will be a little bit of excess space around the painting inside of the box.[15]
- Don’t force the painting into the box or you could damage it.
-
2Slide a rolled-up painting into the shipping tube. For rolled-up paintings, take the roll that’s wrapped in a layer of bubble wrap and gently slide it into the shipping tube. Slide it all the way to the bottom of the tube, leaving a small amount of space at the top and around the painting.[16]
- Do not place the end cap on the tube until you’ve filled the extra space inside of it.
-
3Use bubble wrap to fill voids in the shipping container. Take strips of bubble wrap and slide them into the space around your painting to add additional cushioning. Make sure you add bubble wrap to the top and bottom areas and use any excess to fill the spaces between the painting and the packaging.[17]
- Give the package a good shake to make sure the painting doesn’t move around inside of it.
- Packing peanuts can settle and leave parts of the painting exposed to potential breakage.
-
4Seal the container with 2 in (5.1 cm) packing tape. Use the packing tape to cover all of the seams on the top and bottom of the box or the end caps on the shipping tube. Apply vertical strips of the tape to the sealed flaps of boxes to provide extra strength and keep them from bending easily in transit.[18]
- Don’t use duct tape or scotch tape, which may peel off during shipping.
-
5Bring the package to the post office or shipping company to mail it. The post office or shipping company will inspect and weigh the package and give you a price for the cost of shipping. They’ll also provide you with a label and tracking number that you can use to check the status of your package while it’s in transit.
- Keep the tracking number handy and go online to see when your package is delivered.
- You may also be able to purchase insurance for your package in case it gets lost, stolen, or damaged.
Expert Q&A
-
QuestionHow do I ship large art prints?
 Renée PlevyRenée Plevy is an Internationally Acclaimed Portrait Artist from New York/Palm Beach who has painted The Grand Dames of Palm Beach and various celebrities and community leaders. With over 50 years of experience, Renée specializes in painting realistically in oil and capturing the soul of the person. She has studied under internationally renowned portrait artists John Howard Sanden, David Leffel, Robert Beverly Hale, Clyde Smith, and Leonid Gervits. Renée is featured in over 68 shows and galleries including a one-woman museum show at the Paterson Museum. She has garnered numerous awards including “Artist of the Year” from The Bloomfield Art League and First Prize from the Boca Raton Museum Artist’s Guild. Renée has even painted a portrait of celebrity, Vanilla Ice. She also teaches at the Boca Raton Museum Art School - formerly at SVA in Manhattan.
Portrait Artist & Educator Roll up the prints or canvas without a frame and use a shipping tube to save some money.
Things You’ll Need
- Ruler or tape measure
- Glassine paper
- Bubble wrap
- Cardboard corner protectors (for shipping framed or mounted paintings)
- 2 foam boards 1⁄2 inch (1.3 cm) thick
- Utility knife
- 2 in (5.1 cm) packing tape
- Painter’s tape
References
- ↑ https://youtu.be/GGRkygKnsbs?t=84
- ↑ Renée Plevy. Portrait Artist & Educator. Expert Interview. 7 May 2021.
- ↑ https://www.artbusinessinfo.com/how-to-pack-artwork.html
- ↑ https://www.artbusinessinfo.com/how-to-pack-artwork.html
- ↑ https://www.artbusinessinfo.com/how-to-pack-artwork.html
- ↑ https://youtu.be/GGRkygKnsbs?t=182
- ↑ https://youtu.be/SYu4VJDA2g4?t=15
- ↑ https://adcfineart.com/blogs/news/how-to-pack-paintings-for-shipping
- ↑ https://www.artbusinessinfo.com/how-to-pack-artwork.html
- ↑ https://www.artbusinessinfo.com/how-to-pack-artwork.html
- ↑ https://www.artbusinessinfo.com/how-to-pack-artwork.html
- ↑ https://www.artbusinessinfo.com/how-to-pack-artwork.html
- ↑ Renée Plevy. Portrait Artist & Educator. Expert Interview. 7 May 2021.
- ↑ https://www.artbusinessinfo.com/how-to-pack-artwork.html
- ↑ https://www.artbusinessinfo.com/how-to-pack-artwork.html
- ↑ https://www.agora-gallery.com/advice/blog/2016/10/06/how-to-roll-artworks-for-shipping/
- ↑ https://youtu.be/GGRkygKnsbs?t=687
- ↑ https://www.artbusinessinfo.com/how-to-pack-artwork.html
About This Article
The best way to package a painting for shipping depends on if it's framed or not. If it's not framed, cover the front of the painting with glassine paper, which you can get at most craft stores, to protect it from damage on its journey. Then, roll the painting up and slide it into a shipping tube. For a framed painting, either cover the front of the painting with glassine paper if it's exposed, or make an "X" over the glass with painter's tape if your painting has a glass covering. Slide cardboard corner protectors over the corners of the frame, then wrap the entire painting in bubble wrap. Finally, sandwich the framed painting between 2 pieces of foam board. Place your packaged painting in a shipping box, and it's ready to go! For tips on how to choose the right box to ship your painting in, scroll down.
