This article was co-authored by wikiHow staff writer, Christopher M. Osborne, PhD. Christopher Osborne has been a wikiHow Content Creator since 2015. He is also a historian who holds a PhD from The University of Notre Dame and has taught at universities in and around Pittsburgh, PA. His scholarly publications and presentations focus on his research interests in early American history, but Chris also enjoys the challenges and rewards of writing wikiHow articles on a wide range of subjects.
There are 7 references cited in this article, which can be found at the bottom of the page.
This article has been viewed 18,368 times.
Learn more...
While physically moving a bird nest is usually pretty easy, doing so legally and humanely can be much more complicated. Before moving any bird nest, confirm that it is legal to do so where you live—you might be surprised! If you are permitted to move the nest, make an alternate nest nearby and carefully move the hatchlings—not unhatched eggs—there.
Steps
Nests with Eggs or Empty Nests
-
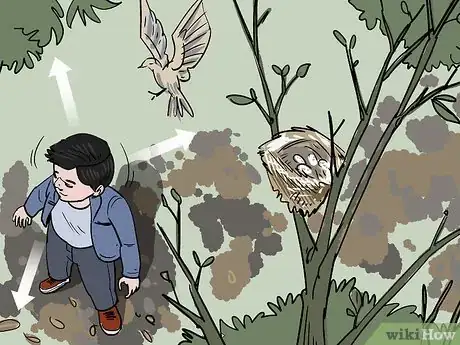
1Look around the nest for signs that it's active. If there are adult birds hanging around the nest and you see them gathering nesting materials (straw, grass, etc.) in their beaks, the nest is likely active. The presence of eggs or hatchlings means the nest is definitely active. If you aren't able to get a good look at the nest itself, watch for signs like:[1]
- Lots of adult birds chirping in the area
- The sound of hatchlings squawking
- Recent bird droppings beneath the nest
-
2Leave active nests with eggs where they are if it's safe to do so. Assume any nest with eggs in it is active during the nesting season, even if you don't see any adult birds nearby. If you move a nest with eggs in it, even if only a short distance, the parent(s) will almost certainly abandon the nest, meaning the eggs will never hatch.[2]
- Either wait until the eggs hatch before moving the nest or leave the nest alone for a month or so until the hatchlings leave the nest.[3]
- If it’s outside the normal bird nesting season and you haven’t seen any activity for several days, you can safely assume the eggs have been abandoned and likely dead. In this case, it’s usually legal to remove and dispose of the nest.[4]
Advertisement -
3Call a pro ASAP if an active nest is creating a safety hazard. In most cases, the best advice is just to leave a bird nest alone. However, sometimes birds build nests in unsafe places! For example, a nest blocking the exhaust vent for a furnace or water heater can cause carbon monoxide to build up in your home. If an active nest is creating a safety hazard, call a professional wildlife rehabilitator or wildlife control expert immediately to help you deal with the situation.[5]
- Don’t use the blocked appliance vent until you can get a pro out to your house.
- Removing the nest yourself may be illegal where you live. It's best to call in a pro who can deal with the nest in a legal and humane manner.
-
4Leave empty or inactive nests alone during nesting season, if possible. In cooler climates, the nesting season often lasts from late winter to late summer, but check with a wildlife rehabilitator or other bird expert where you live. Regardless of whether the nest seems to be active or not, the most humane—and often the only legal—option is to leave it be until nesting season concludes.[6]
- Most bird species don’t use the nest for longer than about a month after the eggs hatch, so any problems you’re having with an active nest will be short lived.
-
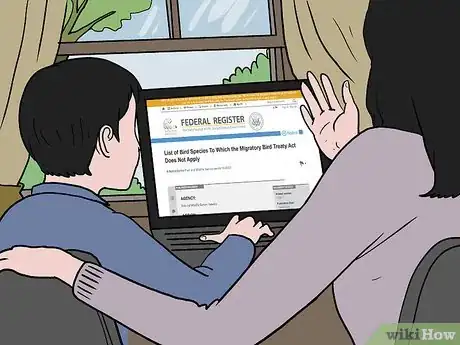
5Check your area’s wildlife laws before disturbing the nest. Many nations have stringent laws that severely restrict your ability to disturb nesting areas for a wide range of birds, even on your own property. Contact your government’s environmental affairs, natural resources, wildlife management, or similar department for guidance. For example:
- United States. The federal Migratory Bird Treaty Act of 1918 makes it illegal to disturb active nesting sites for a wide range of species.[7] Check for species exceptions at https://www.federalregister.gov/documents/2020/04/16/2020-06782/list-of-bird-species-to-which-the-migratory-bird-treaty-act-does-not-apply.
- United Kingdom. The Wildlife and Countryside Act of 1981 protects practically all species of wild birds, as well as their nests and eggs. Nests that are clearly no longer in use can typically be removed, as can unhatched eggs—but the latter only during specific times of year.[8]
- Canada. A combination of laws and treaties protects nearly all wild bird species, including active nests and eggs. Contact Environment Canada for more information.[9] Species exceptions may include the American crow, brown-headed cowbird, common grackle, house sparrow, red-winged blackbird, and European starling.[10]
-
6Remove the abandoned or empty nest only if it’s legal. Once you’re fully confident that you can and should move the empty nest, either knock it down or pull it down and dispose of as much of it as you can in a trash bag. To prevent a new nest from appearing in the same spot, use humane prevention options. Place mesh screening over vents, for instance, and seal off openings on your home’s exterior with siding, trim work, caulking, expanding foam, or other options.[11]
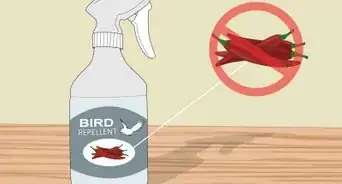
- If bird welfare considerations are important to you, limit or avoid using metal spikes to prevent bird nesting, and definitely skip bird repellent gels—despite their claims, these sticky substances can cause birds a lot of problems, including possibly interfering with their ability to fly.
- Have a pest control technician look over your home’s exterior and give advice on the best options for preventing birds from nesting.
Nests with Hatchlings
-
1Inspect the nest to confirm there are hatchlings, not eggs, in it. Listen for the sounds of squeaky chirping and try to get a look into the nest from a safe distance that won’t disturb or scare off the parents. If you spot or hear hatchlings in the nest and absolutely have to move it, you can proceed.[12]
- It's always best to leave the any nest alone if you can.
- Consider contacting a local wildlife rehabilitator for advice before moving the hatchlings.
-
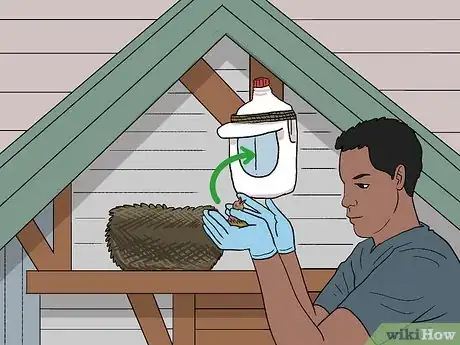
2Create a substitute nest out of a wicker basket, milk jug, or birdhouse. Buying or building a birdhouse is always a great choice here, but simple DIY alternatives work as well. A wicker basket that’s similar in size to the existing nest is a good option, for instance. Or, create a substitute nest out of a plastic 1 US gal (3.8 L) milk jug as follows:[13]
- Rinse and dry the jug, then screw the cap back on.
- Make a U-shaped cut, about 3–4 in (7.6–10.2 cm) in width, in the front of the jug with a utility knife.
- Lift the flap created by the U-shaped cut and bend it so that it projects outward, acting as a cover for the “front door” of the nest.
-
3Place the new nest in a shaded spot as close as possible to the existing nest. If you’re using a wicker basket, for instance, you might nestle it in a nearby notch in the tree branch that contains the current nest. Or, you could use twine to hang a birdhouse or milk jug from a nearby branch, porch beam, house soffit, etc. Just make sure that the new location gets lots of shade and no intense sunlight.[14]
- Move quickly once you reach this point, since you have no choice but to be in close proximity to the existing nest. If you hang around too long, the odds of the hatchlings being abandoned increases.
-
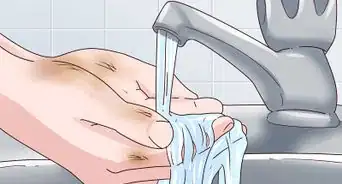
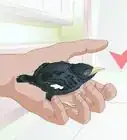
4Transfer the hatchlings and nesting material to the new nest with great care. Wash your hands and put on sterile gloves if desired. Carefully pluck up each hatchling with your fingers, along with some of the nesting material beneath it, and set it in your other palm. Gently place the hatchling and the nesting material into the new nest, then repeat with the other hatchlings.[15]
- If the new nest isn’t close enough to the old nest to do a direct transfer, temporarily place the hatchlings and nesting material in a large serving bowl or similar vessel. Then complete the transfer into the new nest.
- Ignore the old saying that you should never touch a baby bird or else it’s mother will abandon it. This is untrue, but you should definitely handle hatchlings with care and wash your hands thoroughly both before and after.
-
5Remove the old nest completely but quickly. Once it's empty, grab the old nest and seal it in a trash bag. If the nest is on your home, try to quickly install a humane nest-prevention option, such as covering an opening with mesh screening. If you can't complete the prevention measures within 5-10 minutes, wait a few weeks until the new nest is no longer in use before doing them.[16]
- Leaving the old nest in place may cause confusion and increase the odds of the hatchlings in the new nest being abandoned. Other birds might also claim the empty nest as their own.
-
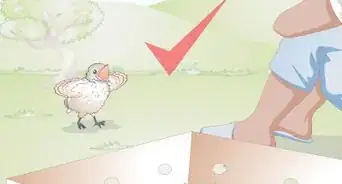
6Observe the new nest for 30-60 minutes from indoors or at least 100 ft (30 m) away. If you linger in the vicinity of the new nest, the parent(s) will definitely not return. If possible, go inside and watch through a closed window. In many cases, one or both parents will follow the sound of the squawking hatchlings to the new nest and resume care within 15-30 minutes.[17]
- If no adult birds return to the nest within 30 minutes, and definitely within an hour, call a wildlife rehabilitator. Otherwise, the hatchlings will almost certainly not survive.
References
- ↑ https://www.allaboutbirds.org/news/top-three-signs-that-birds-are-nesting-near-you/
- ↑ https://www.humanesociety.org/resources/what-do-about-house-sparrows
- ↑ https://animals.mom.com/can-you-move-a-birds-nest-with-baby-birds-in-it-12265422.html
- ↑ https://www.rspb.org.uk/birds-and-wildlife/advice/how-you-can-help-birds/nestboxes/frequently-asked-questions/
- ↑ https://www.humanesociety.org/resources/what-do-about-house-sparrows
- ↑ https://animals.mom.com/can-you-move-a-birds-nest-with-baby-birds-in-it-12265422.html
- ↑ https://www.fws.gov/birds/policies-and-regulations/laws-legislations/migratory-bird-treaty-act.php
- ↑ https://www.rspb.org.uk/birds-and-wildlife/advice/how-you-can-help-birds/nestboxes/frequently-asked-questions/
- ↑ https://spca.bc.ca/faqs/can-move-bird-nest/
- ↑ https://www.ontario.ca/page/remove-bird-nests-or-eggs
- ↑ https://www.humanesociety.org/resources/what-do-about-house-sparrows
- ↑ https://www.rspb.org.uk/birds-and-wildlife/advice/how-you-can-help-birds/nestboxes/frequently-asked-questions/
- ↑ https://www.humanesociety.org/resources/what-do-about-house-sparrows
- ↑ https://www.humanesociety.org/resources/what-do-about-house-sparrows
- ↑ https://www.humanesociety.org/resources/what-do-about-house-sparrows
- ↑ https://www.humanesociety.org/resources/what-do-about-house-sparrows
- ↑ https://www.humanesociety.org/resources/what-do-about-house-sparrows
