This article was co-authored by Jurdy Dugdale, RN. Jurdy Dugdale is a Registered Nurse in Florida. She received her Nursing License from the Florida Board of Nursing in 1989.
This article has been viewed 84,545 times.
Having a knee brace that fits you right is key for stabilizing an injured knee. To get the right size, you need to measure the knee in the right place and while the leg is upright. This can be accomplished with the help of another person and a tape measure that easily wraps the knee.
Steps
Starting With the Right Tools and Position
-
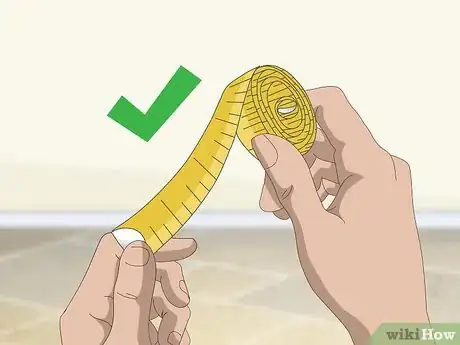
1Get a soft, flexible measuring tape. In order to be able to measure the circumference of your leg, you need a measuring tape that it not stiff. The easiest tapes to use are those made for measuring for sewing, as they are made to measure parts of the body.
- Flexible measuring tapes are available at most craft, sewing, and big box stores.
-
2Find someone to help you. In order to get a perfect measurement, it's important to have another person to help you. If you have one, your physiotherapist is an ideal person to help. This will allow you to position your leg correctly while they do the actual measuring.[1]
- This process can be done on your own if absolutely necessary. However, it is much easier to have an assistant.
Advertisement -
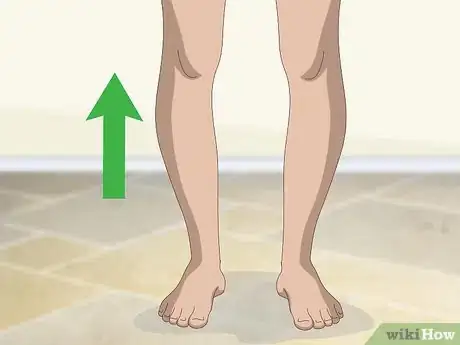
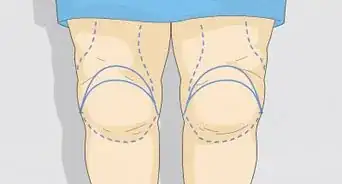
3Stand up. To measure correctly for a knee brace, you should be in your normal standing position. This allows the knee and leg to be easily measured and it gives an accurate reading.
- When standing, your leg is not normally totally straight. Your knee should have a small bend that is about 30 degrees.
- If you have an injury that doesn't allow you to put pressure on your leg, simply extend it as much as you can. Then take your measurements without the foot touching the ground.
-
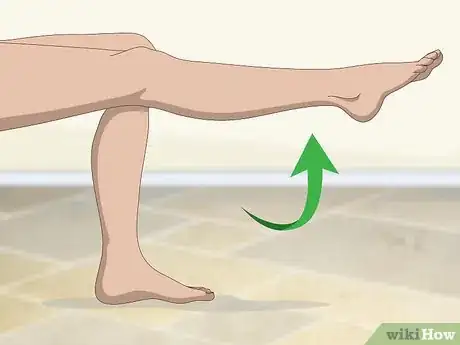
4Sit to take measurements if standing is too painful. Sitting can also be an option if you can't find someone to assist you. Stretch your legs out straight in front of you as best as you can.
Taking Measurements
-
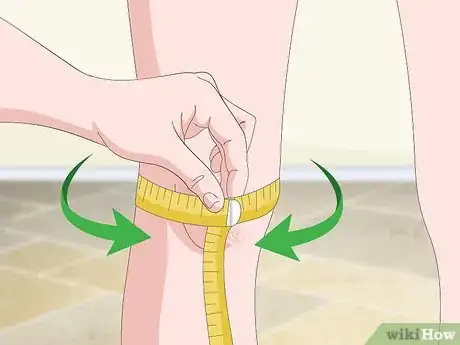
1Measure the distance around the injured knee. Locate the center of the knee cap. Have your helper place the end of the measuring tape on that point and then wrap the tape around your knee until it comes back to rest on the end of the tape. Read the measurement at the point where the tape meets.[2]
- Write down your measurements as you go.
-
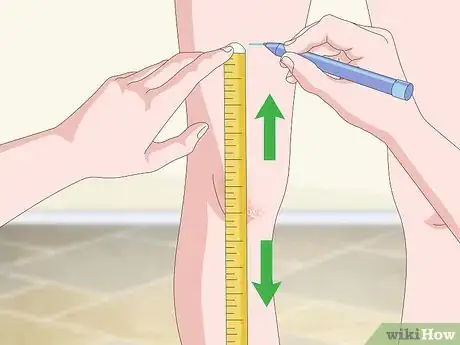
2Measure above and below your knee. Identify which spot is the most painful and mark that with a felt marker. Many knee braces require a measurement of your leg above and below this point. To do this, have your helper measure up 6 inches (15 cm) from the injured area and mark that spot with your finger or a washable felt pen. Then have your helper measure around your leg at the spot you have marked.[3]
- Repeat this process below your knee as well.
- The distance you need to go from the knee cap varies by brace, so check with the manufacturer's website to figure out what exact measurements are required.
- Having an upper and lower measurement will ensure that the support pieces of the brace you pick fit around your thigh and calf.
-
3Keep the measuring tape tight and level. Don't let the measuring tape sag or get twisted while you have it wrapped around the knee. This can impact that measurements that you get.
- The measuring tape doesn't need to be so tight that it cuts off your circulation. You simply want to make sure that it is getting a true measurement of the circumference of your leg.
Using Measurements to Pick the Right Size
-
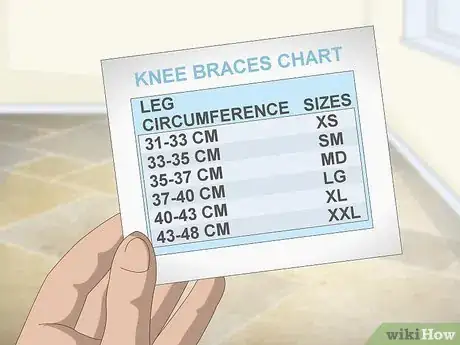
1Look up the size chart for the knee brace you want to use. Every company that makes knee braces has their own sizing chart and range of sizes. Whatever knee brace you are going to use, look up the company online and do a search for their size chart.[4]
- There are usually links to size charts on web pages where you buy knee braces. So, if you have found a knee brace that you want to buy online, simply look at the web page for this type of link.
-
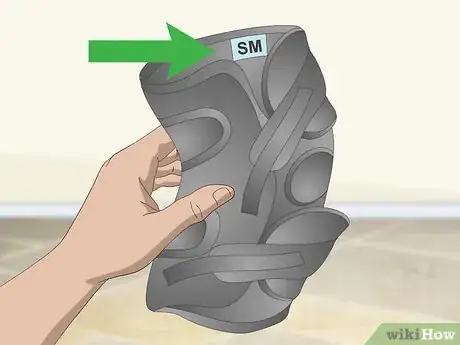
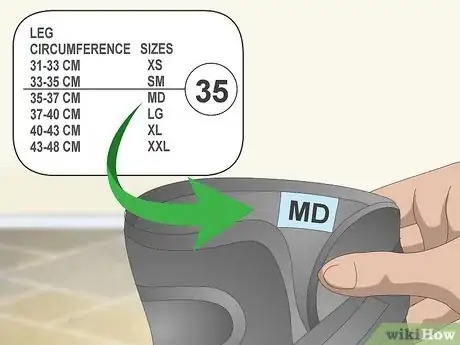
2Pick the size that corresponds with your measurements. In general, knee braces come in small, medium, large, and several extra large sizes. Your knee measurements can help you find the right size. Find your measurements on the chart and move across the chart to identify your size.[5]
- Some sizing charts only use the circumference of the knee, while others require several measurements to narrow down your correct size.
-
3Pick a larger size if your measurements fall between 2 sizes. Sometimes with your specific measurements, a sizing chart says you could pick between 2 sizes. It's almost always a good idea to pick the larger of the 2 options, as knee braces that are on the large side can be strapped down but knee braces that are too small may not even fit at all or they may cut off circulation.
- This is especially important if you have large thighs or calves, as the larger brace will likely fit your whole leg better.
References
About This Article
To measure your leg for a knee brace, you’ll need a soft measuring tape and a washable marker. First, measure around the kneecap of your injured leg and record the measurement. Make sure you keep the tape tight so the measurements are accurate. Then, identify the most painful spot of your knee and mark it with your pen. Measure 6 inches above the spot and measure around your leg at this point. Once you’ve written down that measurement, measure 6 inches below your most painful spot and take the measurement around your leg at this point too. After you’ve recorded your 3 measurements, look up the sizing chart for the brand of knee brace you’re getting, since they can vary by company. Then, compare your measurements with the knee brace sizes on the chart. For more tips from our Medical co-author, including how to choose between different braces, read on.








Medical Disclaimer
The content of this article is not intended to be a substitute for professional medical advice, examination, diagnosis, or treatment. You should always contact your doctor or other qualified healthcare professional before starting, changing, or stopping any kind of health treatment.
Read More...