This article was co-authored by wikiHow Staff. Our trained team of editors and researchers validate articles for accuracy and comprehensiveness. wikiHow's Content Management Team carefully monitors the work from our editorial staff to ensure that each article is backed by trusted research and meets our high quality standards.
There are 13 references cited in this article, which can be found at the bottom of the page.
This article has been viewed 113,004 times.
Learn more...
As the warmer weather approaches, water fights are the perfect solution to cooling off and having fun. If you don’t have a water gun handy, there are a few ways you can construct your own, ranging from the simplistic to the heavy duty. Gather up your water bottles and a few household items to become the Tony Stark of water wars.
Steps
Using Just a Bottle
-
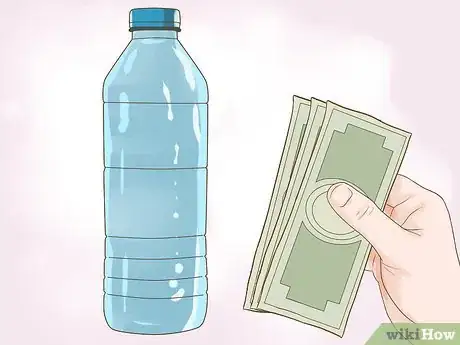
1Purchase a water bottle. A basic plastic bottle of water you purchase from the store works well. Any brand will do, and the size of the bottle doesn’t particularly matter. Make sure the water bottle is easy to carry and can hold enough liquid to last a water fight! Water bottles come in a variety of shapes and sizes.[1]
-
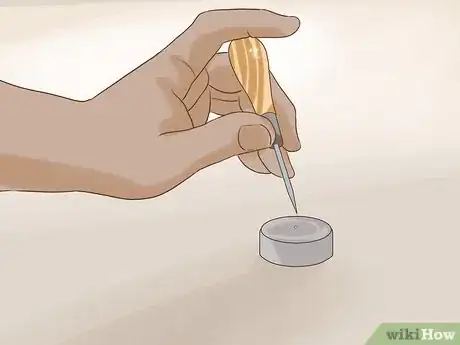
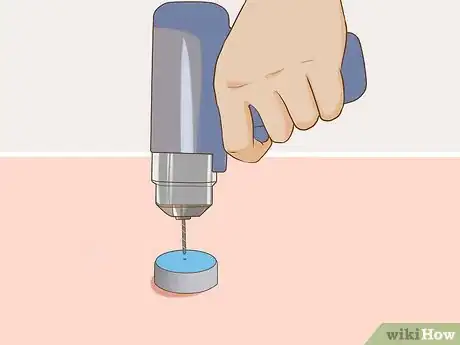
2Pierce a small hole in the bottle cap. Use a small drill or nail to create a small hole in the cap of the bottle. This is where the water will be shot from. The size of the hole will determine the size of the stream, and thus, how quickly water is expended.
- An awl and small hammer may also be used to easily create a hole in the bottle cap.[2]
- Water bottles that have a “squeeze” top can be used as a water gun right off the bat! Just pull the top open and squeeze the bottle to launch a stream of water.
Advertisement -
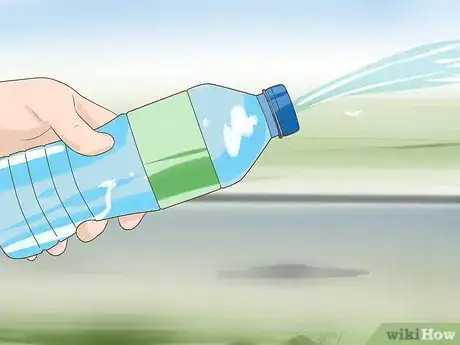
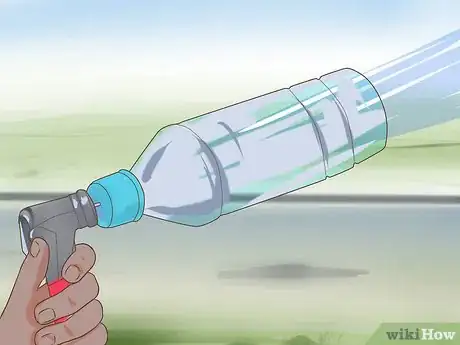
3Squeeze the water bottle. Squeeze the body of the water bottle to produce a stream of water. This method only works using the air within the bottle and the remaining liquid. It’s fairly limited in terms of stream and volume, but can do in a pinch.
Making a Simple Pressurized Water Gun
-
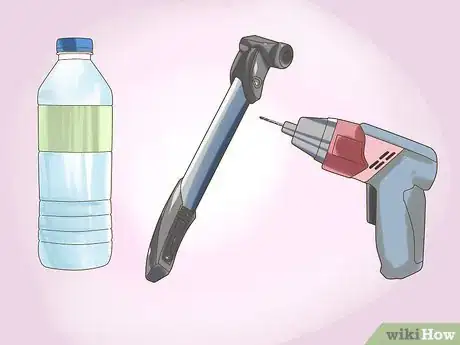
1Purchase your materials. A pressurized water gun goes through water quickly, and using a large water bottle helps alleviate this issue. Choose a bottle that has a resealable cap so that you can refill the bottle when it has run out of water.
- Other materials you'll need include a hand-held bike pump, a small drill or tack, and tape.
- Bear in mind that you’ll be carrying the bottle while you use it as a water gun. A two liter bottle full of liquid can be somewhat heavy, roughly weighing 4 pounds.[3]
-
2Pierce a hole in the bottle cap. You will be inserting a bike pump needle into the opening you make, so make sure the hole is large enough. It may be roughly the same size, or a bit smaller, to fit the needle correctly.
- A tight or snug fit for the needle is ideal, as this keeps the water gun from “falling apart” easily during use.
- Using an hand drill or awl makes creating the hole easier, but be careful not to make the hole too large.[4]
-
3Insert the bike pump. Place the needle of the bike pump into the hole you created. You may use a bit of force if the hole is slightly smaller than the needle. This will help create a snug fit.
- Apply some tape around the hilt of the needle, where it meets the bottle. This can help adhere the needle and pump to the bottle.
- Use a hand pump for making this squirt gun. Hand pumps are easier to carry around than other types of pumps, and better facilitate actual water gun play.[5]
-
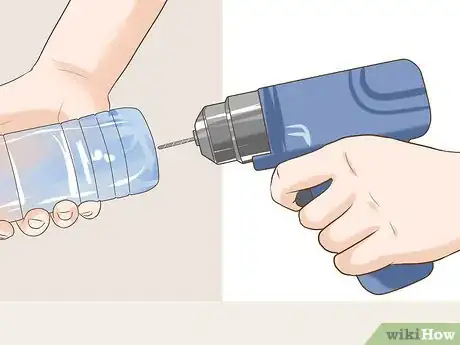
4Create a hole elsewhere on the bottle. This is where the water will spray from. A small hole works well, as the water will be fired through pressure created by the bike pump. Choose a spot that allows you to easily aim the bottle while pumping.[6]
- Puncturing multiple holes close to one another will create a wider “spray” effect. However, this will limit the distance the water gun fires, as the pressure will be divided between both holes.
- A large hole will create a large stream of water, but will more quickly consume the water, and requires greater pressure to travel further.
-
5Pump the bike pump. Holding the pump and bottle in position, start pumping the bike pump. As air is pumped into the bottle, pressure will build, forcing water out of the only opening available – the hole you created earlier.
- Make sure the bottle is able to let out enough water to handle the pressure. You may have to adjust the size of the firing hole to get a smooth stream.
- If the bottle feels like it is “inflating” and no water is coming out of the bottle, stop pumping and adjust the hole. You don’t want to risk any explosive events, such as the bike pump needle launching from the bottle.[7]
- Fill the bottle full of ice to give your victims a chilling blast of ice cold water.
Making a PVC Water Gun
-
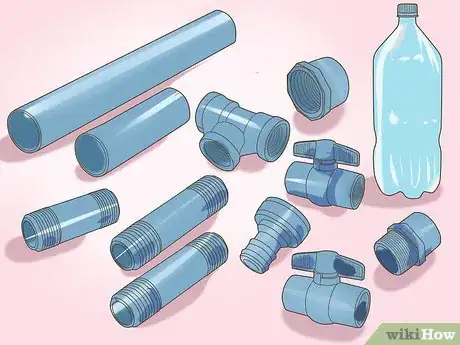
1Purchase your materials. Creating a PVC water gun requires a few common piping parts. These can be found at most hardware stores, such as Home Depot or Lowes. You will want a few hardware tools as well, which may also be found at the same stores.
- You will want the following materials: a 6 inch piece of 1/2" PVC, a 3 inch piece of ½” PVC, a tee with a threaded side outlet, two 4 inch PVC nipples, one 2 inch PVC nipple, a threaded PVC cap, two threaded ball valves, a garden hose adapter (hose to ½” female thread), a ½” male adapter (female slip to male threaded), and a 2 liter water bottle.
- Think of the water gun as being made of three parts: the bottle adapter, the fill assembly, and the nozzle assembly.
-
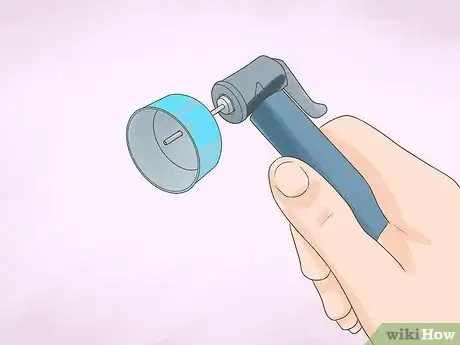
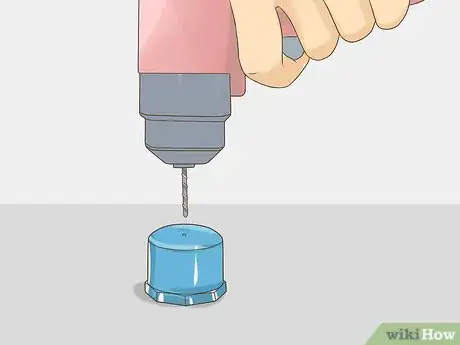
2Build the nozzle. Drill a small hole into a PVC cap. The size of the hole you create will determine the size of the water stream that is created. The smaller the hole, the smaller the stream.
- Check online for resources related to working with PVC pipe. There are many guides available for identifying, connecting, and modifying piping.
- Note that a larger water stream means you’ll have to fill up the bottle more often!
-
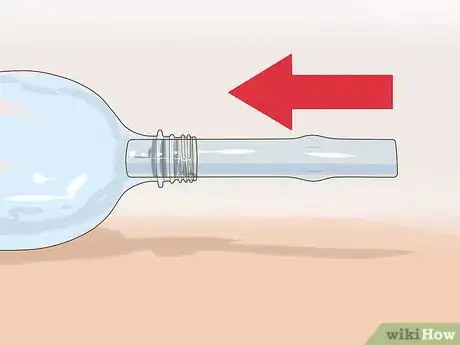
3Create the bottle adapter. The bottle adapter connects the water bottle to the gun mechanism. Heat the middle of the 6 inch ½” PVC pipe with a heat gun. When the plastic is softened, press the opposite openings of the pipe toward one another (like pushing an accordion closed). This will flare out the pipe, creating a small bulge in the center. Place this pipe into the bottle so that the bulge snugly fits in the bottle opening, and allow to cool.
- Make sure to heat just the middle portion of the PVC pipe. Leave the ends of the pipe cool so that you can use your hands to compress the pipe.
- If the tube does not fit snug enough, remove the tube, reheat, and compress once again.[8]
-
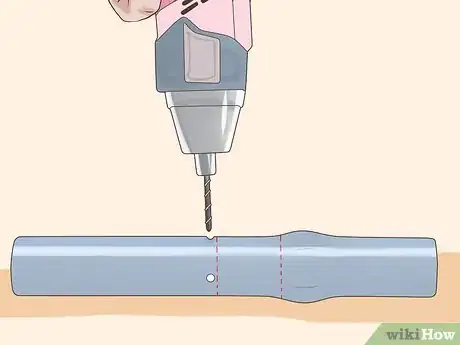
4Vent the bottle adapter. Remove the adapter from the bottle and mark where the rim of the bottle meets the pipe, as well as where the pipe is first fully inside the bottle. Drill 2 or 3 small holes around the second line (the line where the pipe is first fully inside the bottle.) These holes allow the water to more effectively drain into the piping.
- As a softer material, wood and metal drill bits both work well on PVC pipe.[9]
- On many bottles, about 1 and ¼” inches from the bottom of the pipe are where the pipe first becomes fully enclosed in the bottle.
-
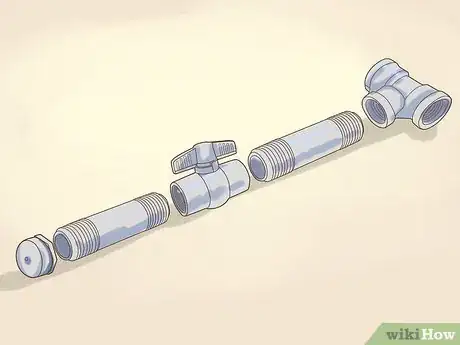
5Build the nozzle assembly. The nozzle assembly is the piping that connects the nozzle to the "trigger" of the gun. Attach the nozzle to a 4 inch nipple. Connect the nipple to a threaded ball valve. Afterwards, connect the other side of the threaded ball valve into another 4 inch nipple, and plug the entire assembly into the tee. Use Teflon tape to assemble these pieces.[10]
-
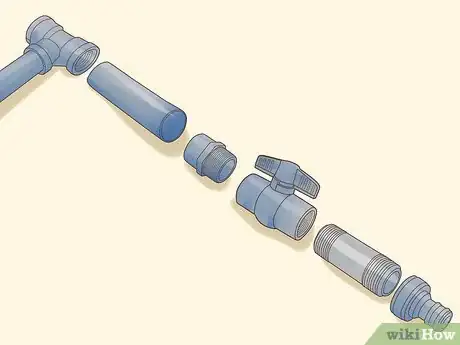
6Build the fill assembly. The fill assembly is where the hose connects to the gun in order to fill the gun with water. Connect a 3 inch PVC pipe to the female slip to male threaded adapter. Connect a 2 inch nipple to the ½” female threaded to garden hose adapter. You should now have two “parts.” Connect these two parts using a second ball threaded ball valve. The threaded joints can be connected with Teflon tape, but PVC primer and cement are needed to attach the PVC pipe to the tee and adapter.
-
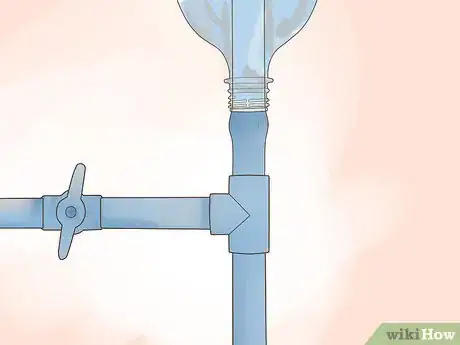
7Attach the bottle adapter to the bottle. Place the bottle adapter created earlier into the remaining open tee and cement it in place. Adhere a little cement to the inside of the 2 liter bottle, and place it on top of the bottle attachment. Allow several hours for all of the cement pieces to set.
- Don’t cement the bottle in place until you are sure the bottle fits snugly onto the attachment.[11]
-
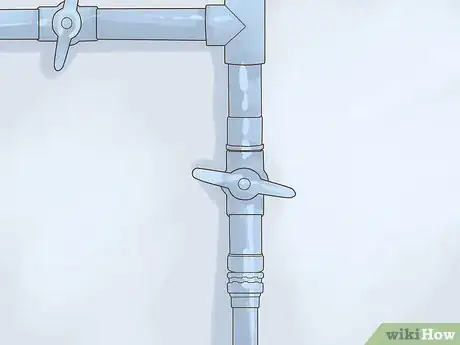
8Attach the water gun to a hose. Screw a hose into the bottom of the gun and turn on the water. Make sure the bottom ball valve is open to allow water into the bottle.[12] Once enough water has entered the bottle, close the bottom ball valve and remove the hose from the water gun. You will now have a “loaded” water gun.
-
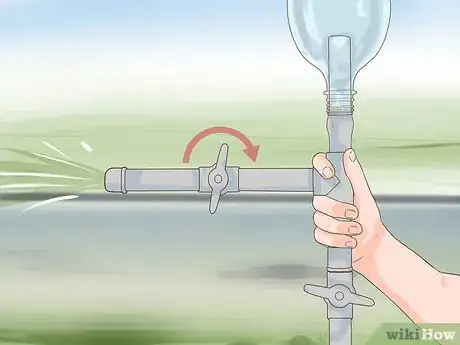
9Release the nozzle ball valve. To fire the water gun, open the valve that is connected to the nozzle of the gun. The internal pressure of the bottle and piping will force water through the nozzle hole, produce a stream of water! Close the nozzle valve to cease firing.
- Keep a hose nearby for whenever you need to fill the gun back up.[13]
Community Q&A
-
QuestionIt needs too many materials, what else can I do?
 Community AnswerIf you want a super easy squirt gun, get a plastic water bottle and a thumbtack. Stab the cap of the water bottle and fill it up with water if not already filled. Now you can just squeeze the bottle at your chosen victims.
 -
QuestionWill water get inside my pump?
 ZackTop AnswererYes. In this type of construction, you can expect water to get into everything including the pumping mechanism.
 -
QuestionWhere can you buy PVC parts?
 MyfavoritefoodCommunity AnswerYou can find them at any general supply store, such as Home Depot. Online sources sell them too.
Warnings
- Pressurized water guns may rupture or explode if built incorrectly. Be careful when constructing.⧼thumbs_response⧽
Things You'll Need
- A 6 inch piece of 1/2" PVC
- A 3 inch piece of ½” PVC
- A PVC tee with a threaded side outlet
- Two 4 inch PVC nipples
- One 2 inch PVC nipple
- Threaded PVC cap
- Two threaded ball valves
- Garden hose adapter (hose to ½” female thread)
- ½” male adapter (female slip to male threaded
- 2 liter water bottle
- Bike pump
- Awl (optional)
References
- ↑ http://www.thebottleguide.com/plastic-bottles/
- ↑ https://abeautifulmess.com/diy-bottle-cap-earrings/
- ↑ http://www.centrafoods.com/blog/the-ultimate-list-of-olive-oil-conversions-calculations
- ↑ http://www.motherearthnews.com/homesteading-and-livestock/sewing-awl-zmaz76ndztak.aspx
- ↑ https://www.trails.com/how_2679_use-bicycle-pump.html
- ↑ http://www.sscentral.org/homemade/lam.html
- ↑ http://www.sscentral.org/physics/works.html
- ↑ http://rainonatinroof.com/2015/02/how-to-use-a-heat-gun/
- ↑ http://makezine.com/projects/skill-builder-pvc-pipe/
- ↑ http://www.familyhandyman.com/plumbing/how-to-glue-and-join-pvc-plastic-pipe/view-all
- ↑ http://www.plumbing-geek.com/solvent-cement.html
- ↑ http://www.constructionknowledge.net/public_domain_documents/Div_15_Mechanical/HVAC/Valves_DOE_Fundamentals.pdf
- ↑ http://www.atterberry.net/funstuff/pvc-water-gun/
