This article was co-authored by wikiHow Staff. Our trained team of editors and researchers validate articles for accuracy and comprehensiveness. wikiHow's Content Management Team carefully monitors the work from our editorial staff to ensure that each article is backed by trusted research and meets our high quality standards.
This article has been viewed 51,995 times.
Learn more...
A turtle costume is a fun, easy, cute costume idea. Whether you're trick or treating, going to a costume party, or just want to dress up, this is an inexpensive and simple costume to create on your own. While the base of the costume is the same, there are a couple of ways to create your shell. Choose whichever one appeals to you and get started.
Steps
Collecting Your Materials
-
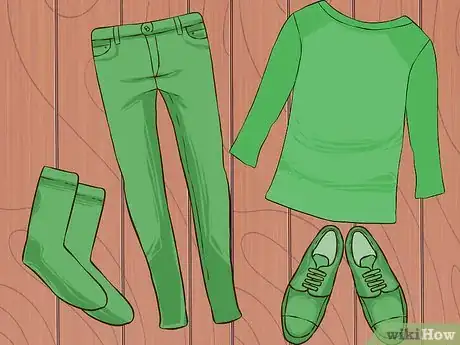
1Find green clothes. Rummage through your wardrobe looking for green pants, socks, shoes and shirts of the same shade. If you are missing an item of clothing, visit your local thrift store. The clothing is often separated by color and the prices are cheap.[1]
- Wear one of the items you already have when you go shopping. This ways you can match the colors at the store.
- Look for hoodies to give you that green cover on your head.
- Consider wearing tights and a leotard. If you choose to do this, match the leotard to your shell color.
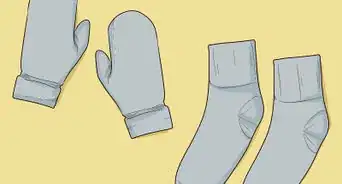
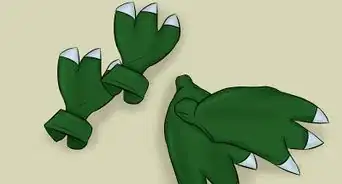
- Look for green mittens to cover your hands. You can also use green body paint for your hands if you can’t find green mittens.
-
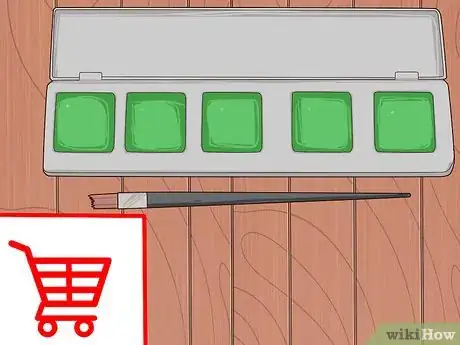
2Purchase green makeup. Decide in advance whether you want to cover all of your skin in green or if you would rather opt for some green accents on your face.
- Face paint can be found at a costume shop or hobby shop. If Halloween is coming up, you may also be able to find it available in the seasonal section of your local pharmacy.[2]
Advertisement -
3Get the items you will need to make the Shell of your choice. Decide which method you will use to create your shell and make sure you get everything you will need.
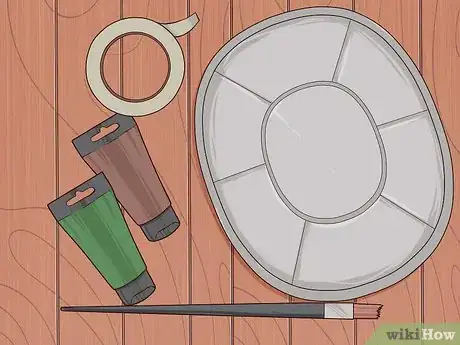
- If you are making a shell out of a roasting pan, get a disposable aluminum roasting pan. These can be found in grocery stores and Dollar Stores/Pound Shops etc in the baking section. Look for a pan with an oval shape which has a pattern stamped into the bottom for catching grease, which looks similar to the pattern on a shell. These are usually used for roasting large birds like turkeys.[3]
- Choose your paint. You will want some dark brown and dark green spray paint. If you choose to make some color accents on your shell, you can also pick up some water-based acrylics and big paint brushes at your local hobby shop.[4]
- Purchase some painters tape. This is available at a hobby shop or hardware store. You want to get some which is thin and will fit in the molded lines of the pan, about 3/4 inch wide.[5]
- Pick up some wide brown ribbon. You may be able to find this in the stationery section of your local Target or Walmart. You can also get ribbon at a hobby shop or fabric store. This is going to be used to strap the shell to your back. Opt for a ribbon which is strong and will be comfortable on your shoulders.
- If you choose to make your shell out of felt, you will need some dark green and light green felt along with a few other items. Make sure you purchase enough dark green felt to create an oval which will cover your back, as well as another oval 3 inches (7.6 cm) larger than the first. You will need half as much light green felt.
- Get a glue gun and glue sticks.
- This method requires a sewing machine and you will want to get dark green thread if you don’t already have some.
- Purchase a large bag of stuffing. Thicker stuffing used for stuffed animals is a better choice then a softer pillow stuffing.
- Find one or two large pieces of cardboard. You will need a surface large enough to create an oval large enough to cover your back. You may want two ovals of the same size to reinforce the base of your shell.
- Pick up some wide dark green ribbon to match your dark green felt. You may be able to find this in the stationary section of your local Target or Walmart. You can also get ribbon at a hobby shop or fabric store. This is going to be used to strap the shell to your back. Opt for a ribbon which is strong and will be comfortable on your shoulders.
- If you are making a shell out of a roasting pan, get a disposable aluminum roasting pan. These can be found in grocery stores and Dollar Stores/Pound Shops etc in the baking section. Look for a pan with an oval shape which has a pattern stamped into the bottom for catching grease, which looks similar to the pattern on a shell. These are usually used for roasting large birds like turkeys.[3]
Making the Shell Out of a Roasting Pan
-
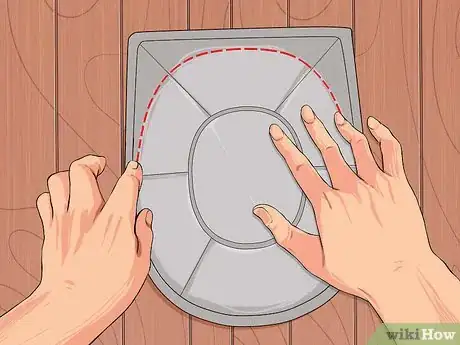
1Mold the roasting pan to look more like a turtle shell. The pan is already pretty close to looking like a turtle shell, which is really convenient. It is also easily malleable if you would like to make any adjustments.
- If the lip on the pan is really large, fold it over into the inside of the pan to reduce the squared corners. Avoid cutting this section, which could leave sharp edges.
- Push out from the inside of the pan to round out the bends in the roasting pan until the sides look more rounded like a turtle shell.
-
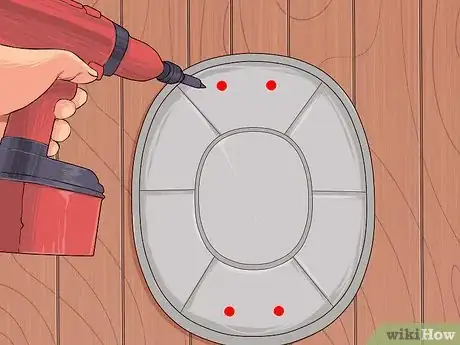
2Poke four holes in the pan. This is where the ribbon will be threaded to hold the pan on your back, so think about where the straps of a backpack would go. Put two holes in the top corners of the pan and two in the bottom. It is helpful to put the top holes and little wider apart and the bottom holes a little closer together by about one inch. This has the effect of cinching the straps near your waist. The holes should be about the size of the width of a pen or pencil.
- Use a drill to make these holes if you have one.
- The pan can also be punctured with other sharp tools like scissors or a screwdriver.
-
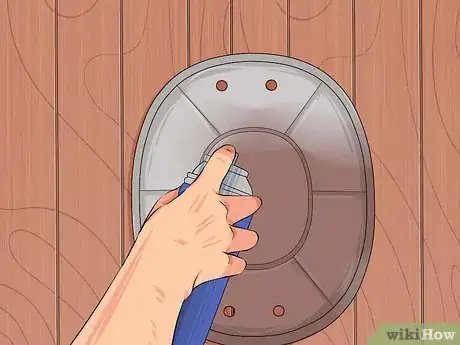
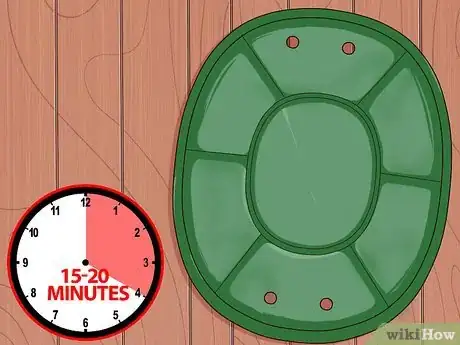
3Paint the roasting pan to look like a turtle shell. You will want to cover both the inside and outside of the pan, as some of the inside may be visible. Spray paint the entire roasting pan with your dark brown spray paint on the inside and outside of the pan. Allow this layer to dry for about 15-20 minutes.
-
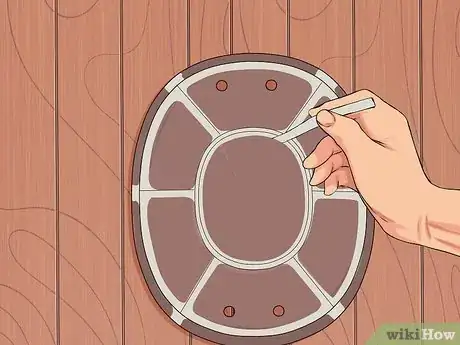
4Cover the molded lines in the bottom of the roasting pan with the painters tape. These will become the lines between the scales of the turtle shell and you want them to remain the dark brown color.
- If your tape is too wide for the crevices, cut it to fit.
-
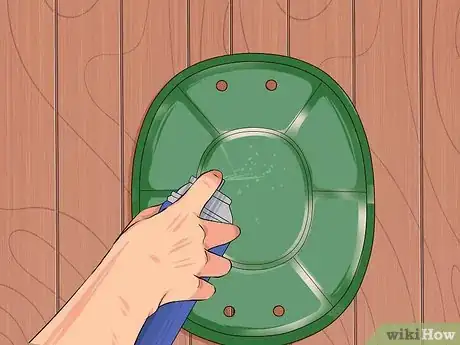
5Spray paint the outside of the pan with green spray paint. Don’t worry about making this layer too thick. Allowing some of the brown to show through the green paint will give the shell a nice textured look.
- For even more texture, use a large paint brush and green acrylic paint to dry brush on the green color. Squeeze the paint onto a palette and apply a small amount of paint to the brush without using any water. Lightly brush the green over the brown spray paint using cross strokes.
-
6Allow your completely painted shell to dry for another 15-20 minutes. You want to make sure it is completely dry before you move on. Make sure it is dry to the touch, especially along the edges where it may have gathered excess paint.
-
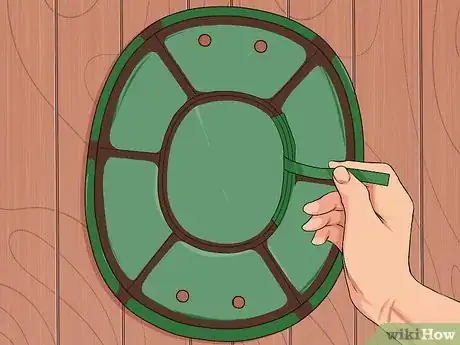
7Remove the painters tape to reveal the brown lines between the scales. The tape should not remove any of the paint underneath it. If it does, you can touch these areas up with a brown marker.
-
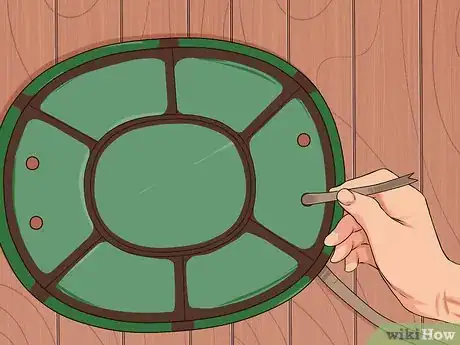
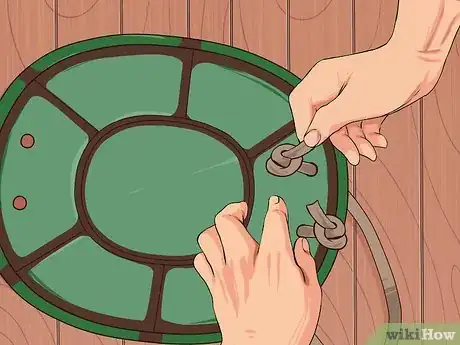
8Push the brown ribbon through the hole in the top of the shell. You can use a pencil or screwdriver to help you get the ribbon through the hole. You will want to push it from the inside to the outside of the pan so that the majority of the ribbon is hanging on the inside to create your shoulder strap.
-
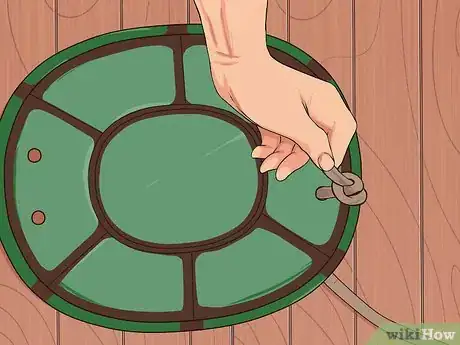
9Tie a knot in the short ribbon end on the outside of the pan. Make sure the knot is big enough that it will not slip through the hole. If it is too small, tie it a second time to make the knot bigger.
-
10Repeat this process on the other side of the top of the shell. You should now have two ribbons hanging from the top of the shell on the inside of the pan.
-
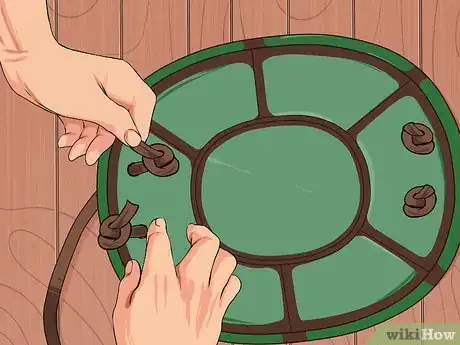
11Complete the shoulder straps. Push the ends of the ribbons into the holes in the bottom of the shell to make two shoulder straps. You will want to push them from the inside out again. Don’t tie knots yet.
- In order to get the straps the correct length, it is best to have a friend hold the shell in place on your back before you tie knots in the bottom of the ribbons.
- Pull the ribbons tight until the shell feels secure on your back, then tie knots in both ribbons to complete the shoulder straps.
Building a Shell Using Felt
-
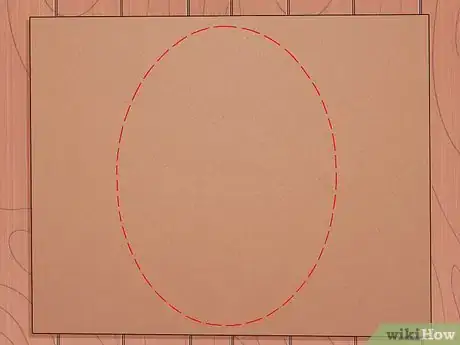
1Cut an oval out of the cardboard. This should be an appropriate size to fit on your back. If the cardboard seems flimsy, you could cut a second oval out of cardboard and glue the two together for reinforcement.
-
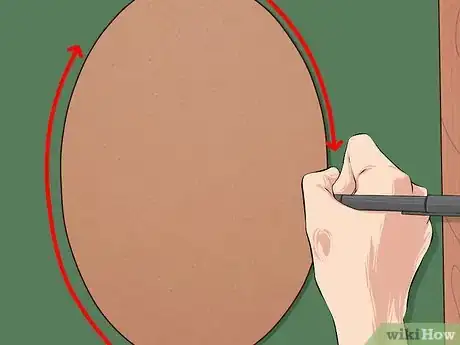
2Trace that oval on a piece of dark green felt. Place the cardboard oval on top of the dark green felt. Using a pencil, hold the tip as close as you can keep it to the edge of the cardboard as you trace around the oval onto the felt.
- It is useful to keep one edge of the oval on the edge of the felt to make it easier to cut from the felt.
- Make sure you are saving enough felt to create a second, larger oval.
-
3Cut the oval out of the dark green felt. Using fabric scissors, carefully cut the oval from the fabric staying on the pencil line as much as possible.
-
4Create a second, larger oval out of the dark green felt. Place the cardboard oval on the remainder of the dark green felt.
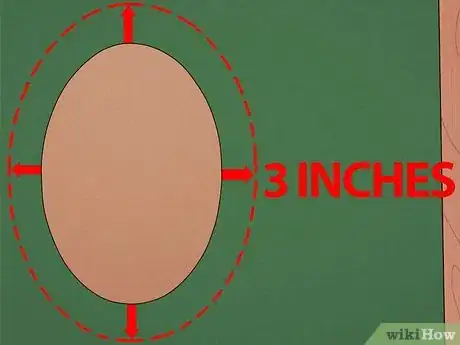
- Measure three inches from the edge of the cardboard oval and move around the cardboard drawing dots on the felt three inches from the edge of the cardboard all the way around the oval.
- Connect the dots with a pencil to draw an oval three inches larger than the original oval
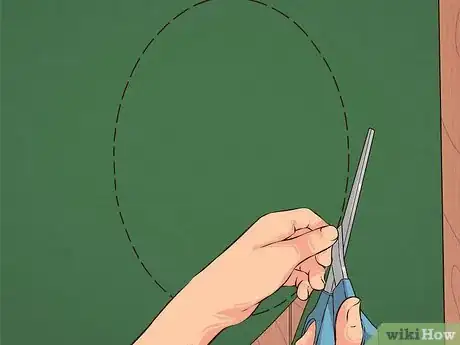
- Using fabric scissors, carefully cut this oval out of the dark green felt.
-
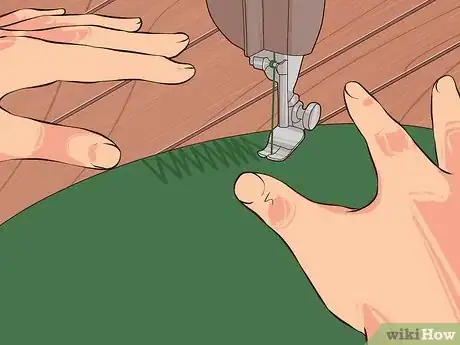
5Sew around the edge of the larger oval with a dark green thread. Machine baste this oval using as long a stitch as possible.
-
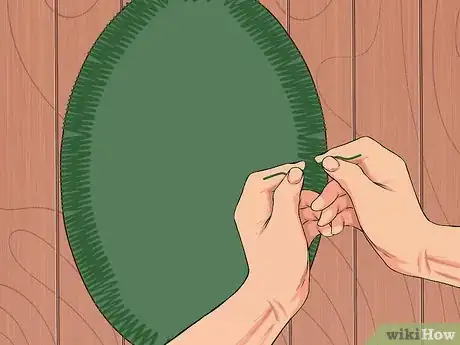
6Gather the edges of the large oval. Pull one of the threads on the large oval to draw the edges in toward the center of the oval. Tie a knot in both threads to hold them in place.
-
7Fill the large oval with stuffing. Don’t skimp on the stuffing. Use as much as you can possible get into the oval.
-
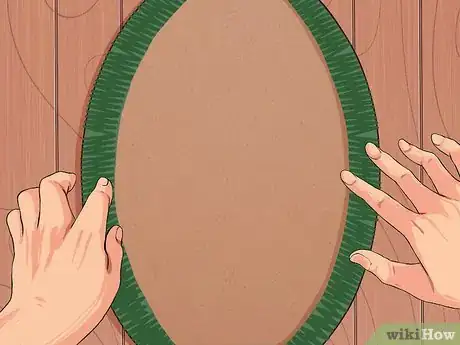
8Attach the large oval to the cardboard base. Place your cardboard base on top of the stuffed oval. Wrap the edges of the felt over the cardboard and attach it to the cardboard using hot glue.
-
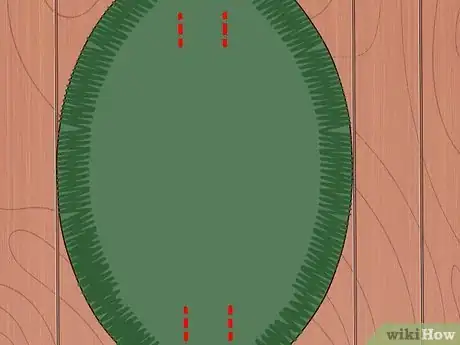
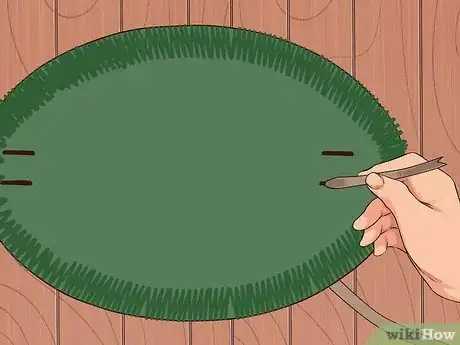
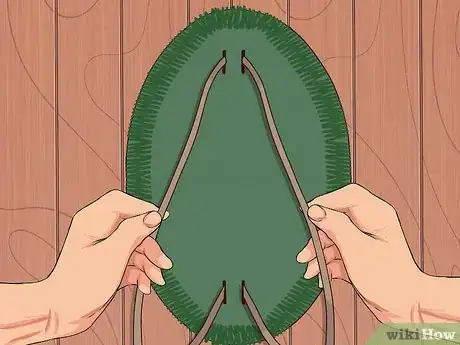
9Cut slits in the top and bottom of the smaller oval where you will place the ribbons to create straps. Think of these straps as those on a backpack to help you place them.
- Place the slits in the bottom of the oval about one inch closer together than the slits on the top in order to create a cinching effect near the waist to keep the shell more secure on your back.
- Pinch the felt between your thumb and forefinger where you are going to create the slit in order to cut within the fabric as opposed to starting from the edge.
-
10Add the ribbons to create straps. Push the edge of the ribbon through the slits in the top of the small oval. The smaller bit of the ribbon will be on the underside of the felt oval. The length will create the straps. Push the other end of the ribbons through the slits in the bottom of the oval.
-
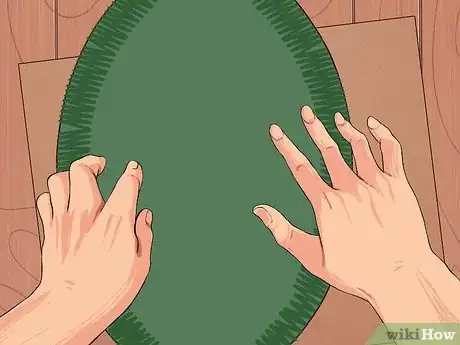
11Secure the smaller oval and ribbons to the cardboard base. Attach the top of the straps first, then glue the oval over the gathered edges of your shell to create a back to your shell.
- Place the oval over the cardboard to completely cover the back of your shell.
- Glue the small part of the ribbon to the cardboard to create the top of the straps.
- Attach the small felt oval to the cardboard using hot glue around the edges. Start at the top and working your way down. Stop before you reach the bottom of the oval.
- Attach the bottom of the straps to the cardboard before gluing the rest of the oval onto the cardboard. It is helpful to place the shell on your back at this point to get the appropriate length for your straps before gluing them.
- Finish gluing the rest of the oval over the cardboard base.
-
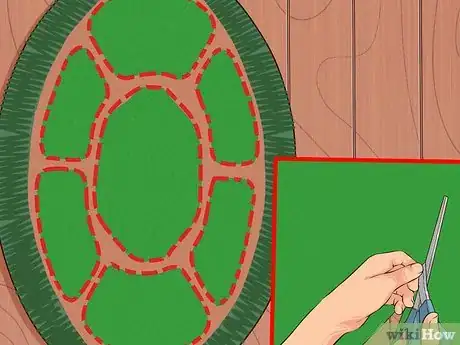
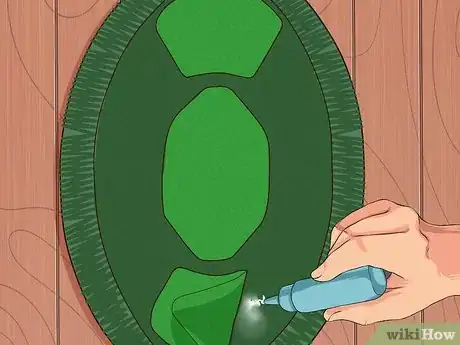
12Cut shell scales from the lighter green felt. You will need several shapes to cover the shell. Use hexagons,[6] squares and a four-sided shape with one rounded side, resembling an ice-cream cone shape.
- Cut 5 hexagons out of the lighter green felt. The top and bottom lines should be longer than the other lines creating the triangular points on the sides. Cut two of these hexagons in half.
- Make enough small squares to cover the entire edge of the shell, leaving space between each tile to let the dark green felt show through the space between the squares.
- Cut 6 of the four-sided shapes which will cover the top and the bottom of the shell. These shapes will create the scales filling the top and the bottom of the shell between the hexagonal scales. They should have one short side for the bottom, then two sides splaying out at a diagonal and a rounded top.
-
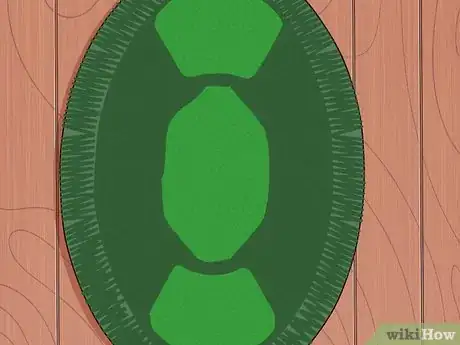
13Attach the three whole hexagons to center of the rounded part of the shell. Start by placing one in the very center of the shell with the long sides running on the top and bottom of the hexagon so the shape is placed longways.
- Leaving enough space to allow the dark green felt to make lines between the scales, glue one hexagon above the center one, and the other hexagon below the center one.
-
14Match the pointed edges of the half hexagons to the point edges of the whole hexagons where they are placed on the shell. The points of the half hexagons should fit between the points of the top and center, and bottom and center whole hexagons.
-
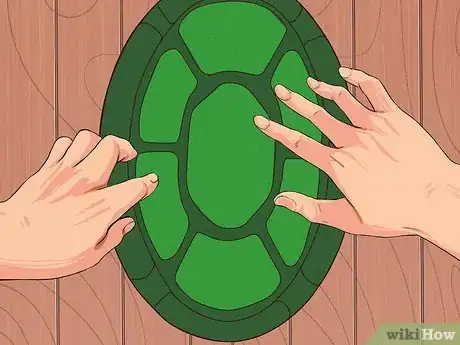
15Glue the half hexagons in place. The points will face toward the center of the shell with the cut end facing the edge of the shell. Leave enough space between the scales to allow the dark green felt to create lines between the scales.
-
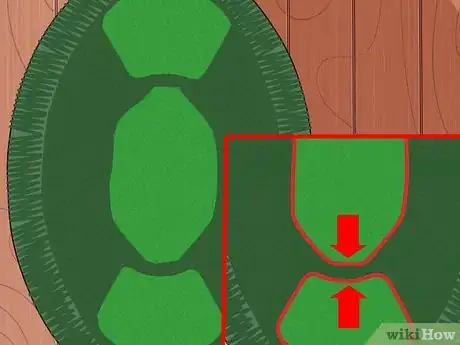
16Fit the four-sided pieces into your mosaic to complete the scales. It may be helpful to design these shapes once the others are in place to make sure that they fit appropriately to cover the top and bottom edges of the shell while leaving space between the shapes to allow the dark green bottom layer to create lines between the scales. Glue these 6 shapes in place.
-
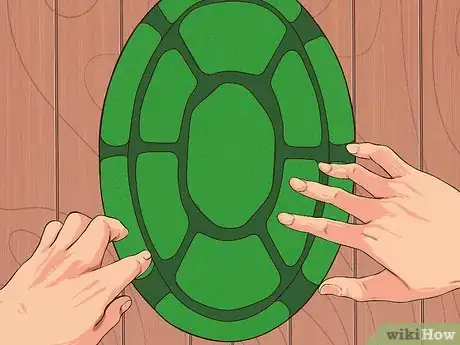
17Finish the scales with the small squares. Glue the squares all the way around the edges of the shell to complete the scales. Leave enough space between the square to allow the dark green felt to show through and create lines all the way around the squares.
- It is helpful to place the squares all the way around the shell before gluing them to make sure that you have enough space to fit them all completely within the edges.
- If you don’t have enough space when you complete your circle, you may need to cut one of the squares to fit the space available. Finish at the bottom of the shell.
Putting it All Together
-
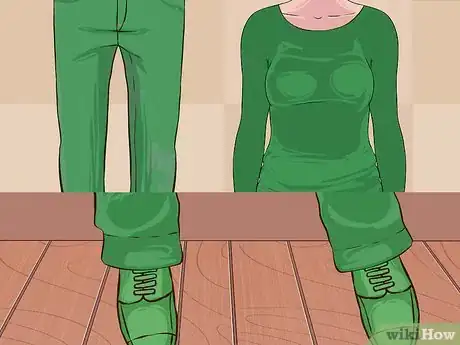
1Put on your green clothes. Cover yourself in green from head to toe with green shoes, socks, pants and shirt.
- A green hoodie is a good option to cover your head in green. You can also try skull cap hat.
- You may opt for green tights and a brown leotard to match your shell.
-
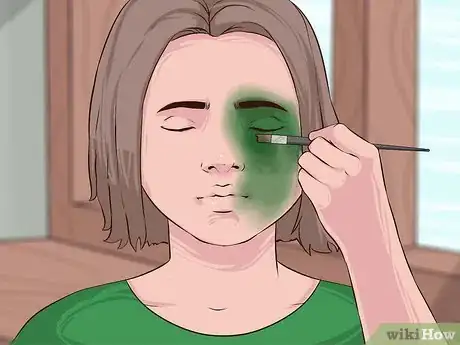
2Apply green makeup. Don’t forget your face when it comes to your costume. You can use as much or as little makeup as you choose.
- Apply a full layer of green face paint to cover your face, neck and ears. Cover your skin in green a little past the collar of your shirt to make sure you’re skin color won’t show when your shirt shifts as you move. If you didn’t find green mittens, you will also want to paint your hands.
- If you choose not to completely cover your skin in green, you can opt to just do some green highlights like eyeshadow.
-
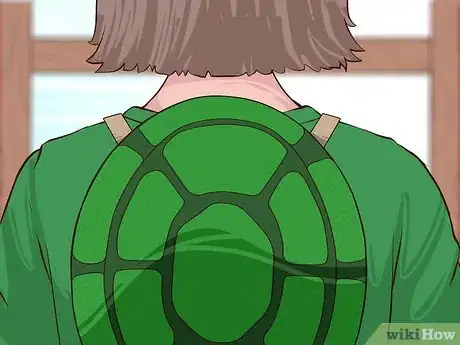
3Attach your shell to your back. Put your arms through the straps and make sure it’s snug. If the shell shifts around too much as you move, take it off and shorten the straps about an inch on each side.
References
- ↑ http://www.lifehack.org/articles/featured/a-basic-guide-to-thrift-store-shopping.html
- ↑ http://www.face-painting-fun.com/face-paints.html
- ↑ http://www.webstaurantstore.com/durable-packaging-oval-foil-roast-pan-18-x-14-x-3-50-case/61240010.html
- ↑ https://www.grainger.com/product/RUST-OLEUM-Dark-Green-Rust-Preventative-2FP63
- ↑ http://www.goodhousekeeping.com/home-products/painters-tape-reviews/g1708/best-painters-tape/
- ↑ https://www.mathsisfun.com/geometry/hexagon.html
