wikiHow is a “wiki,” similar to Wikipedia, which means that many of our articles are co-written by multiple authors. To create this article, 37 people, some anonymous, worked to edit and improve it over time.
wikiHow marks an article as reader-approved once it receives enough positive feedback. In this case, several readers have written to tell us that this article was helpful to them, earning it our reader-approved status.
This article has been viewed 643,694 times.
Learn more...
Telescopes make distant objects appear nearer, using a combination of lenses and mirrors.[1] If you happen to have no telescopes or binoculars at home, and you can make one yourself! Take note that the images may appear upside down.
Steps
Making a Telescope with Magnifying Glasses
-
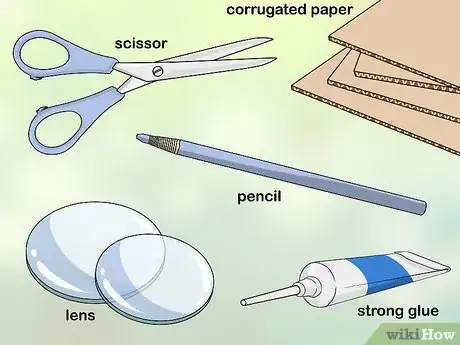
1Gather all your materials. You'll need a piece of corrugated paper that is about 24 inches in length (this is a ridge material, easily available from paper stores or craft stores). You'll need two magnifying glasses that are NOT the same size. You will also need strong glue, scissors, and a pencil.[2]
- If the magnifying glasses are the same size, the telescope won't work.
-
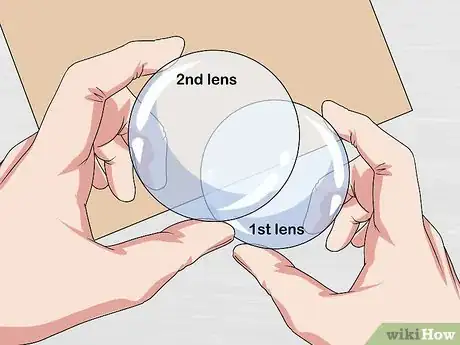
2Hold one magnifying glass (the bigger one) between you and the paper. The image of the print will look blurry.[3] Place the second magnifying glass between your eye and the first magnifying glass.Advertisement
-
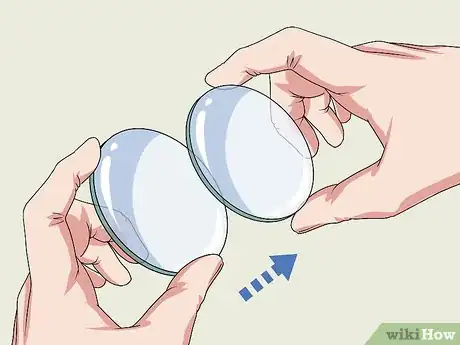
3Move the second glass forward or backward until the print comes into sharp focus. You will notice that the print appears larger and upside down.
-
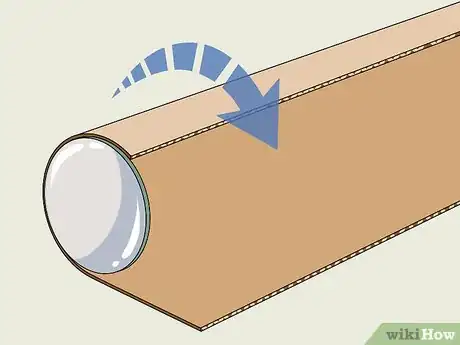
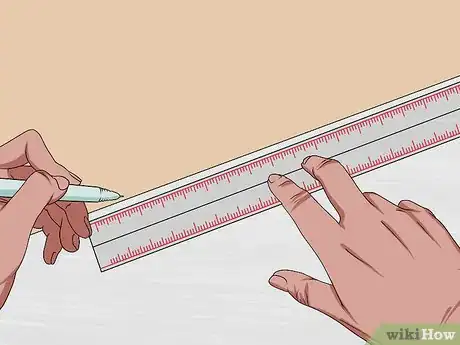
4Wrap the paper around one of the magnifying glasses. Mark the diameter on the paper with the pencil. Make sure that it is pulled tight.[4]
-
5Measure along the edge of the paper from the first mark. You will need to measure about 1 1/2 inches from the mark. This will create the extra length to glue around the magnifying glass.
-
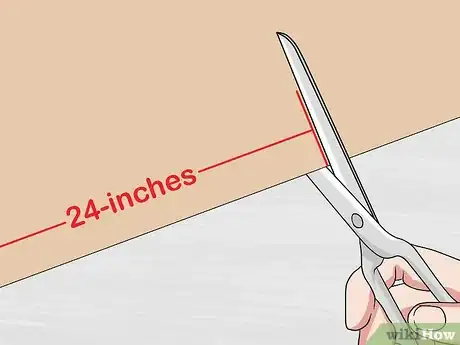
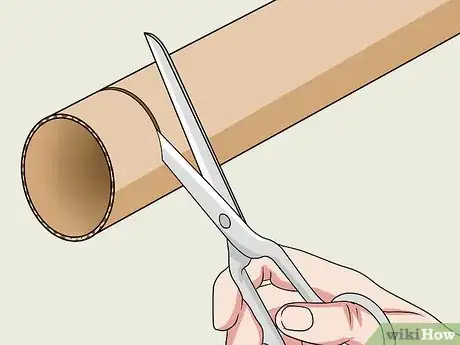
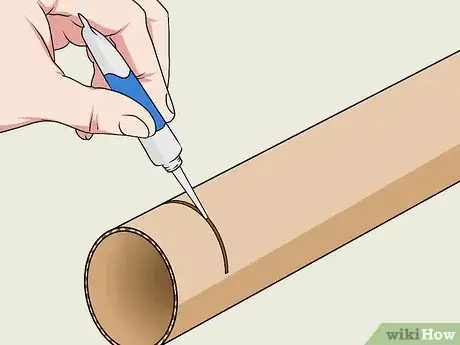
6Cut down the marked line on the paper to the other side. You should be cutting across the width of it (don't cut lengthwise). The paper should be about 24 inches in length on one side. Cut a slot in the cardboard tube near the front opening about an inch (2.5 cm) away. Do not cut all the way through the tube. The slot should be able to hold the large magnifying glass.
-
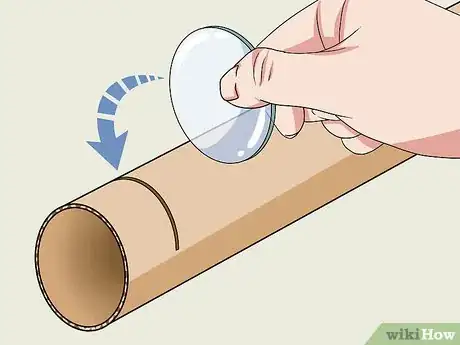
7Cut a second slot in the tube the same distance from the first slot as was written down between the two glasses. This is where the second magnifying glass will go.
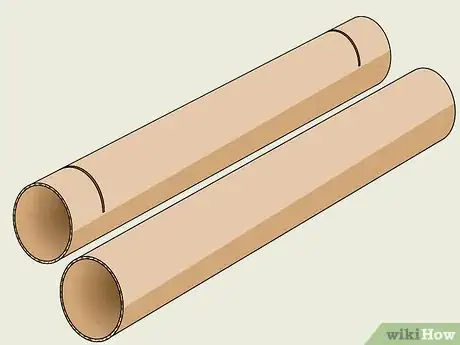
- You should now have two lengths of corrugated paper. One piece should be slightly larger than the other.
-
8Place the two magnifying glasses in their slots (big one at front, little one at back) and tape them in with the duct tape. Leave about 0.5 - 1 inch (1 - 2 cm) of tube behind the small magnifying glass and cut off any excess tube remaining.
-
9Glue first length of paper around one of the magnifying glasses. You'll need to glue the edges of the paper together as well, since you've left about 1 1/2 inches of paper.
-
10Make the second magnifying glass tube. This one will need to be slightly bigger than the first one. Not too much bigger, only so that the first will fit into the second one.
-
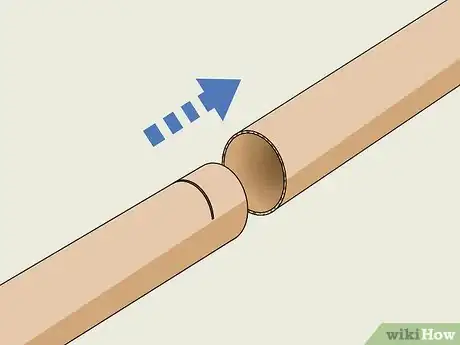
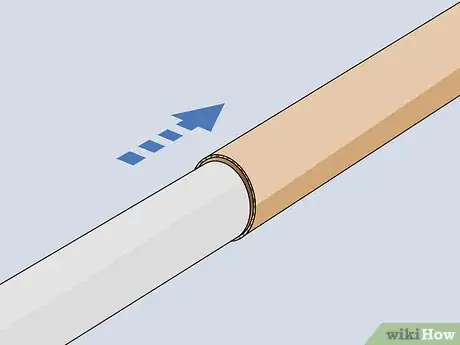
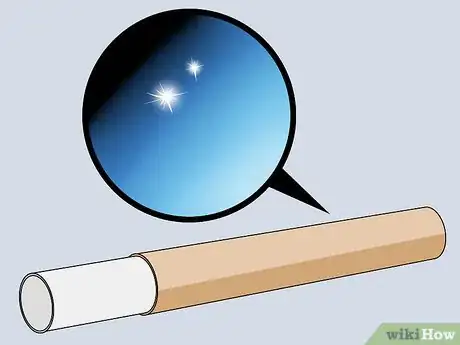
11Slot the 1st tube into the 2nd. You can now use this telescope for looking at things farther away, although it will be difficult to view the stars clearly.[5] This type of telescope is really good for viewing the moon.
- The images will be upside down, since astronomers don't care about up and down in space (there is no up or down in space, after all). if you wish to align the image with gravity, you can use two prisms aligned in an "N" shape to correct the image, but you will have to re-position the lenses.
Making a Telescope with Lenses
-
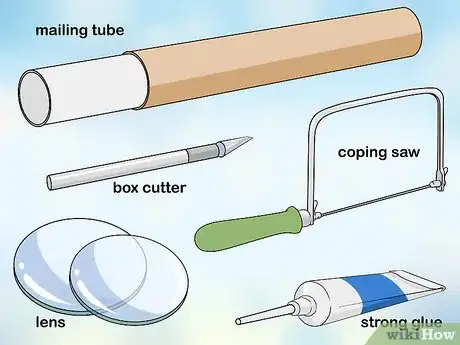
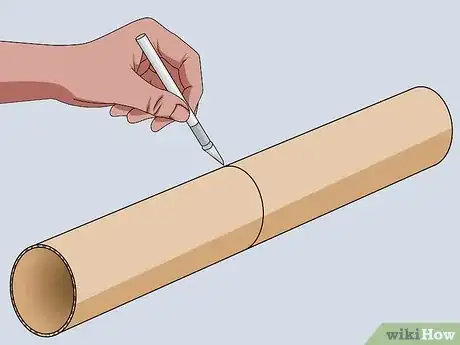
1Gather materials. You'll need two lenses, a mailing tube that has an inside tube and an outside tube (you can get this at the post office or office supply store; it should have a diameter of 2 inches and a length of 43.3 inches), a coping saw, a box cutter, some strong glue and a drill.[6]
- Lenses should be a different focal length. For best results get a concave-convex lens with a diameter of 49 mm, and a focal length of 1,350 mm and a plano-concave lens with a diameter of 49 mm, and a focal length of 152 mm.
- It's very easy to order lenses off the internet and they aren't very expensive. You can get the pair of lenses for about $16.
- The coping saw is the most effective for making clean, straight lines, but you can use any other kind of saw or cutting device if you need to.
-
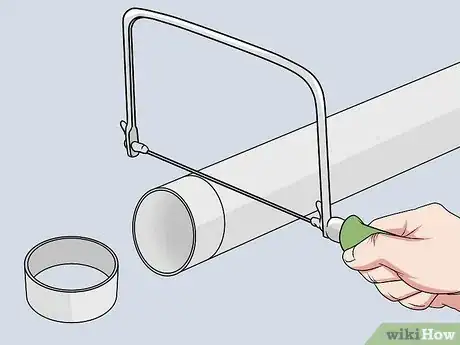
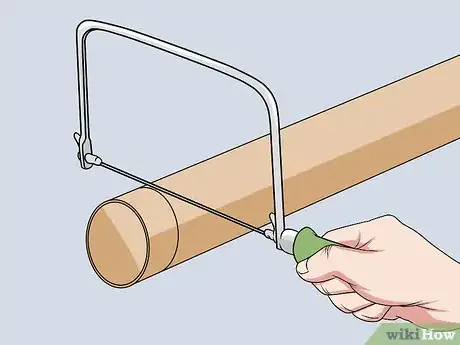
2Cut the outer tube in half. You'll need both sections, but the inner tube will act to space them out. The lenses will go in either section of the outer tube.
-
3Cut 2 pieces from the inner tube of the mailing tube. These will be your spacers and they should be about 1 to 1.5 inches in diameter. Make sure you cut clean and straight with the coping saw (or other tool).[7]
- The spacers hold the second lens in place at the end of the outer section of the mailing tube.
-
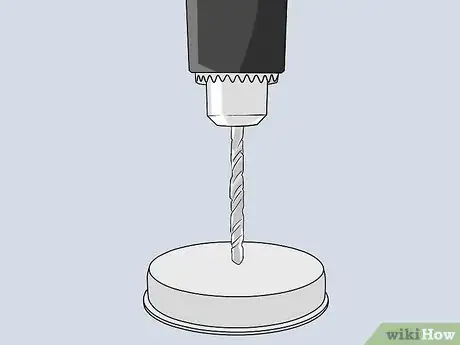
4Make eye-hole in mailing tube cap. Use the drill to apply light pressure to the middle of the cap to create your eye hole. Again, this will need to be as smooth and as clean as possible to create the best viewing results.[8]
-
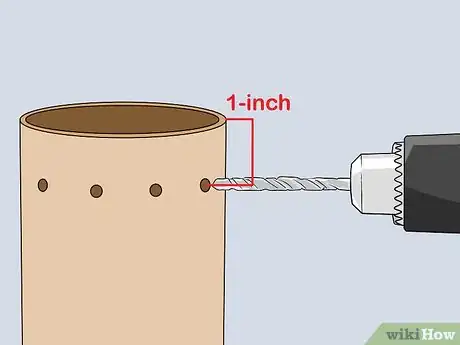
5Drill holes on the outside of the large tube. You'll need to make the holes where the lens is going to be placed in the outer tube, because the holes allow you to put glue into the inner part of the tube. Near the end of the inner tube is the best place, about an inch in.
- You'll also need to the make holes at the end of the outer tube for the eyepiece and the cap.
-
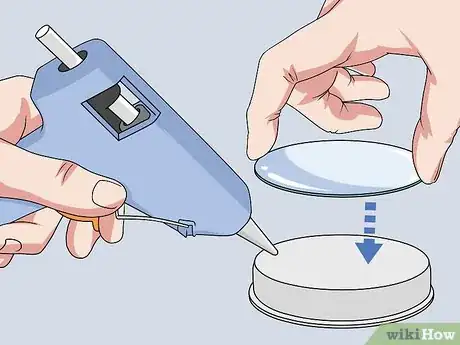
6Glue eyepiece lens against removable cap. The eyepiece lens is the plano-concave lens and the flat side needs to be against the cap. You'll glue through the holes you made and turn the lens to spread the glue. Press tube against lens until the glue is dry.
-
7Cut off closed end of outer tube. You'll end up sticking the inner tube into the outer tube through this hole.[9]
-
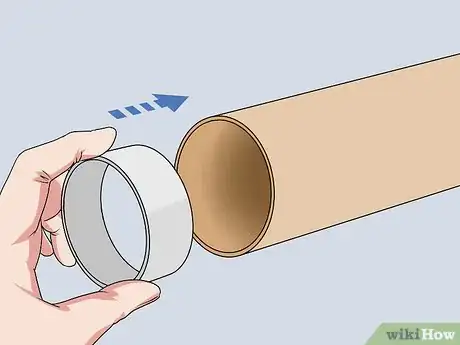
8Insert first spacer into outer tube. The spacer will need to lie flat on the inside of the outer tube to hold the concave-convex lens in place. You'll need to drill the holes and put the glue in like you did with the eyepiece.
-
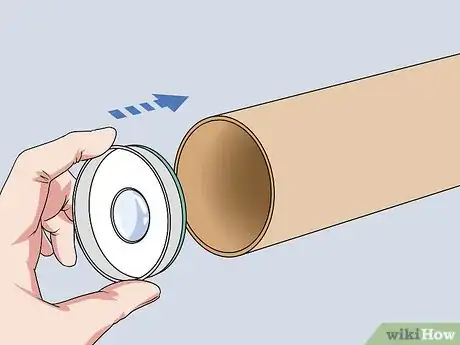
9Insert lens and second spacer. You'll need to make the holes, put the glue in and spread it around. Press firmly until the glue has dried.
-
10Insert inner tube into outer tube. You can slide the pieces as necessary to get the right focus. Since this is about 9x you should be able to see the moon's surface really well and even Saturn's rings. Anything else will be too far away for your telescope.
-
11Enjoy the finished telescope. The project is finished, and you should now be able to use your telescope to gaze at the night sky.
Community Q&A
-
QuestionHow can I improve this simple telescope?
 gimhan sandeepaCommunity AnswerYou can increase the magnification power of the lenses, and also add a third or fourth lens.
 -
QuestionAre there any effects from looking at the sun?
 Community AnswerYou should not look at the Sun with a telescope, even for a second, as this could cause permanent blindness.
 -
QuestionHow I turn the upside down image to a virtual image?
 Community AnswerYou have to insert one more lenses in between but by doing so the size or length of the telescope will be double or more than double what it is now.
Warnings
- Do Not Look Directly at the Sun or any other Bright objects using telescope, it may DAMAGE your eyes.⧼thumbs_response⧽
- Be careful not to drop the magnifying glass, it breaks easily.⧼thumbs_response⧽
Things You'll Need
For the magnifying glass telescope:
- Two magnifying glasses, not the same size
- A roll of corrugated paper
- strong glue
- scissors
- a pencil
For the lens telescope:
- Two lenses: concave-convex lens with a diameter of 49 mm, and a focal length of 1,350 mm and a plano-concave lens with a diameter of 49 mm, and a focal length of 152 mm
- A mailing tube with inner and outer tubes
- Coping saw
- Box cutter
- Drill or electrician's punch
- Glue
References
- ↑ https://spaceplace.nasa.gov/telescopes/en/
- ↑ http://www.planet-science.com/categories/experiments/outdoors/2011/10/make-a-telescope.aspx
- ↑ https://science-explorations.info.yorku.ca/files/2020/04/2020_April_Cardboard-Telescope.pdf
- ↑ https://science-explorations.info.yorku.ca/files/2020/04/2020_April_Cardboard-Telescope.pdf
- ↑ https://science-explorations.info.yorku.ca/files/2020/04/2020_April_Cardboard-Telescope.pdf
- ↑ http://www.space.com/24114-how-to-build-a-telescope-science-fair-projects.html
- ↑ http://galileo.rice.edu/lib/student_work/astronomy96/mtelescope.html
- ↑ https://www.space.com/24114-how-to-build-a-telescope-science-fair-projects.html
- ↑ http://galileo.rice.edu/lib/student_work/astronomy96/mtelescope.html
About This Article
To make a telescope, start by wrapping a piece of 24 inch long corrugated paper around the diameter of a magnifying glass lens. Next, glue the paper into a tube shape and use scissors to cut 2 slots into it about 1 inch from each end. Then, place two magnifying glass lenses of different sizes into the slots and glue them into place. Finally, make another tube slightly larger than the first and slide the tube with the lenses into it. For tips on how to use a mailing tube to make a telescope, read on!
