This article was co-authored by wikiHow Staff. Our trained team of editors and researchers validate articles for accuracy and comprehensiveness. wikiHow's Content Management Team carefully monitors the work from our editorial staff to ensure that each article is backed by trusted research and meets our high quality standards.
This article has been viewed 137,818 times.
Learn more...
A scrolling marquee is moving text added to a website, but HTML is no longer commonly used for this feature and is not recommended. The HTML tag for scrolling marquees has been deleted from the standard HTML library. To accomplish a scrolling marquee in HTML, the best option currently is to use CSS, since these two languages integrate seamlessly in modern website design.
Steps
Using CSS
-
1
-
2If you're using Windows, download the developer toolset. Unlike on Mac, there is no self-extracting installer for Windows. Windows users will need to install a number of developer tools to use webkit. All necessary tools and specifications can be downloaded hereAdvertisement
-
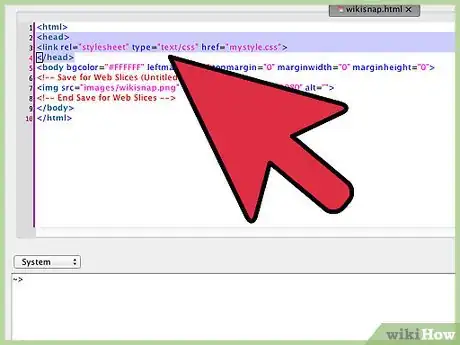
3Add a CSS reference to your HTML file. Open your HTML file and reference your CSS style sheet with the following code:
.<head>
<link rel="stylesheet" type="text/css" href="mystyle.css">
</head>- You can write the CSS reference before creating the CSS file, but you must be sure that the CSS filename matches the one in your code (in this example, “mystyle.css").
- Your HTML and CSS code will remain separate, but run together when you load your HTML file.[2]
-
4Create a “div” line in your HTML file. Your code might look something like:
.<div class="marquee">Scrolling text goes here.</div>- div is an HTML element that defines the area on the page that will contain components of the code, in this case your scrolling marquee.
-
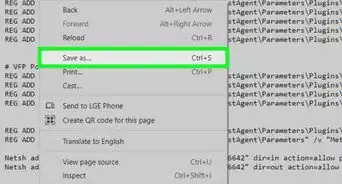
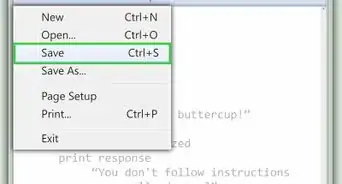
5Save your HTML file. “Go to File > Save As…” Append your HTML file with a .html extension.
-
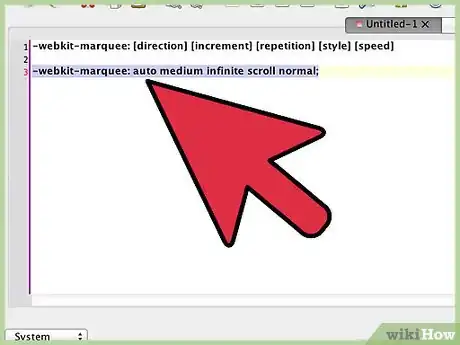
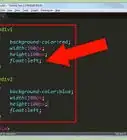
6Open a separate text document for your CSS style sheet. The shorthand syntax for creating a scrolling marquee with CSS is : “-webkit-marquee: [direction] [increment] [repetition] [style] [speed]”. The webkit tag is necessary because the CSS module that contains the marquee class is part of the Webkit CSS specification.[3]
- [direction] will define which direct the marquee scrolls
- [increment] measures the pixel distance between each step of the scroll
- [repetition] is the number of times the marquee will run
- [style] can determine a simple scroll or bouncing text
- [speed] is how fast the text moves.
-
7Set values to define the marquee. Set the values in the brackets (remove the brackets, since they are just a placeholder). This will tell your marquee how to act on the page. Your code might look like:
.-webkit-marquee: auto medium infinite scroll normal;- The 'auto' direction uses the default right-to-left, 'medium' sets a default interval of 6 pixels, 'infinite' sets the marquee to run an unlimited number of times, 'scroll' sets the style to a linear movement, and 'normal' is a default setting for scrolling speed.
-
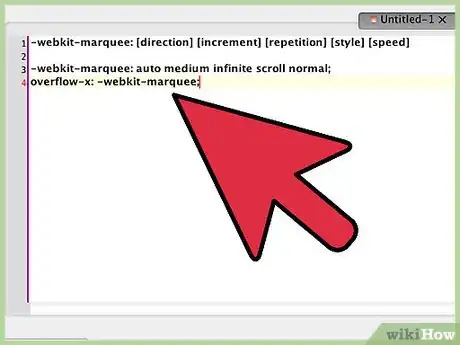
8Set an 'overflow' on a new line. Add .overflow-x: -webkit-marquee; to a new line in your code. This will make the text scroll continuously along instead of stopping at the edge of the div.[4]
- 'overflow-x' specifies what to do with text that exceeds the limit of the space on the x-axis.
- '-webkit-marquee' is directing the overflow command towards the marquee module in webkit.
- Your full code might look like:
.-webkit-marquee: auto medium infinite scroll normal;
overflow-x: -webkit-marquee;
-
9Save your CSS file. “Go to File > Save As…” Append your CSS file with a .css extension.
-
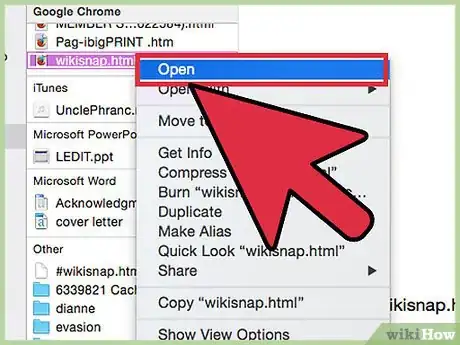
10Open your HTML file with your browser. Drag and drop the file to your browser to open. Your scrolling marquee will display on the page.
- Use a webkit supported browser, like Chrome or Safari to make sure the marquee displays as expected.
Using HTML
-
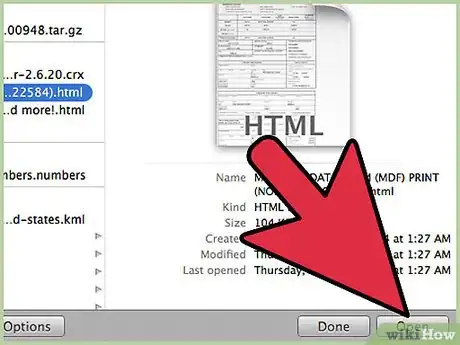
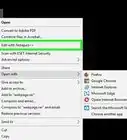
1Open your HTML document. Note that using the HTML marquee tag is outdated and strongly discouraged in web design. HTML files can be opened with a simple text editor If you are starting from scratch, open a text file and enter this sample code:
- .<marquee style=”background-color:#000080;”direction=”right” loop=”20” width=”75%”>This is a scrolling marquee</marquee>
-
2Set a background color. You can change the background of your marquee by specifying a hexadecimal (hex) value, or a RGB (Red Green Blue) value after the "background-color:" part of the code. The default value listed in the sample code, #000080, is navy blue.
- For example:
.<marquee style=”background-color:#000080;”></marquee> - A full list of colors and their values can be found online.[5]
- For example:
-
3Set a scrolling direction. Change the “direction” attribute in the code to any of the following: right, left, up or down.
- For example:
.<marquee direction=”right”</marquee>
- For example:
-
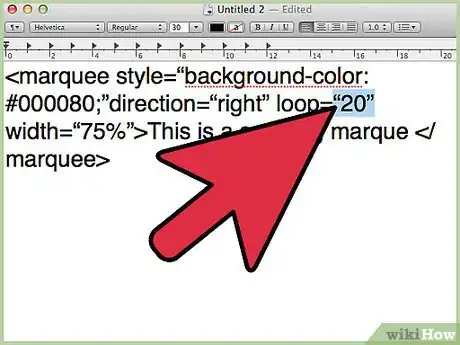
4Specify the number of loops for your marquee. The “loop” attribute controls how many times the marquee should loop. If you want it to run continuously, leave out this attribute entirely.
- An example with the attribute omitted could be:
.<marquee style=”background-color:#000080;”direction=”right” width=”75%”>This is a scrolling marquee</marquee>
- An example with the attribute omitted could be:
-
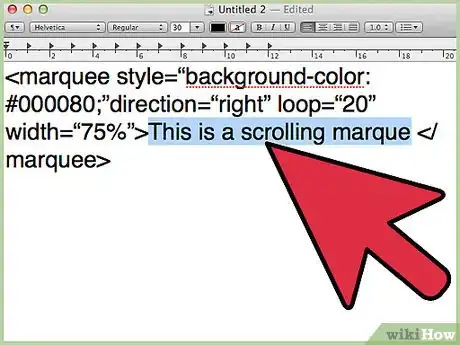
5Specify the marquee text. The text inside the <marquee> tag and the </marquee> tag will be the scrolling text of your marquee. Write whatever you want your marquee to say here.
- For example:
.<marquee>Watch this text scroll by!</marquee>
- For example:
-
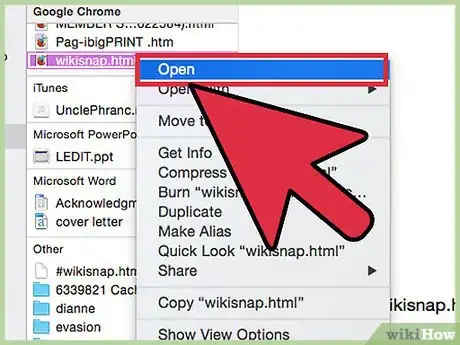
6Load your HTML file. Drag and drop the file to your browser to open. Your scrolling marquee will display on the page.
Warnings
- The <marquee> element is deprecated, which means that is not correct HTML, and it should not really be used. Pages may return errors if they include this tag, and it may cause problems with some browsers.⧼thumbs_response⧽


