X
wikiHow is a “wiki,” similar to Wikipedia, which means that many of our articles are co-written by multiple authors. To create this article, 17 people, some anonymous, worked to edit and improve it over time.
This article has been viewed 26,777 times.
Learn more...
Scratch is a free, fun, and safe online programming environment and community for coders of all ages. If you're new to Scratch, follow this quick guide for signing up, creating your first project, and making connections on the Scratch discussion forums.
Steps
Part 1
Part 1 of 3:
Creating a Scratch Account/Get started
-
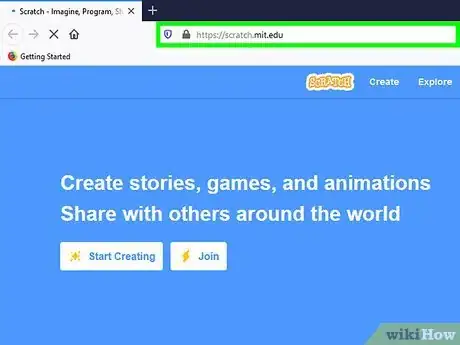
1Go to the Scratch main page. Scratch 3.0 is different than the original Scratch because it is mobile compatible.
-
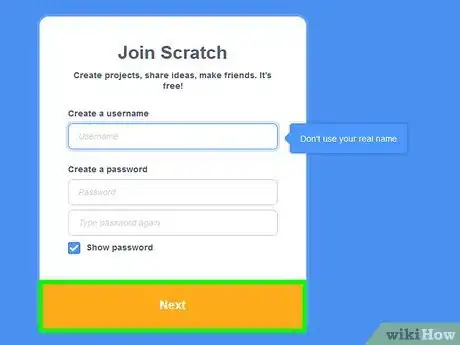
2Click the "Join Scratch" button on the homepage to create a new account on Scratch. You can find this button on the left of the "Sign in" button at the top of the page. Scratch will then ask you what you want your username and password to be. Scratch will also ask for your email, so they can send you emails about your Scratch account and occasional updates.
- Don't enter your real name on scratch. You might get blocked if the Scratch Team finds out you have a username that is inappropriate or is your real name. Instead, choose a creative name that represents you.
- Scratch will also ask you When you were born?, Where do you live?, and What is your gender?.
Advertisement -
3Confirm your email address. Log in to Gmail with the email address you have typed in, then go to Gmail. It should ask you to confirm your new account. Click "confirm my account" to confirm the account.
- Type a valid email. Invalid emails will not allow Scratch to send the confirmation link to the correct inbox, and as a result, you will not be allowed to share, comment, star, and heart projects.
- Confirming your email address will allow you to share projects, comment, and post forums in the Discussion Forums.
-
4Create and code some Scratch 3.0 projects and meet the community! If you are respectful to other users and have used scratch productively, after about 2 weeks you will be invited to become a Scratcher(New Scratcher is when you just joined)!
- Read the Scratch Community Guidelines before joining Scratch.
- Meet other people by joining studios and following people.
Advertisement
Part 2
Part 2 of 3:
Creating and Coding an Easy Project
-
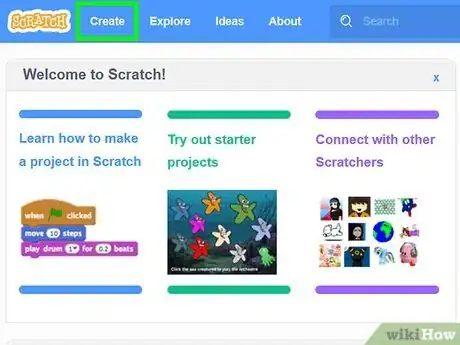
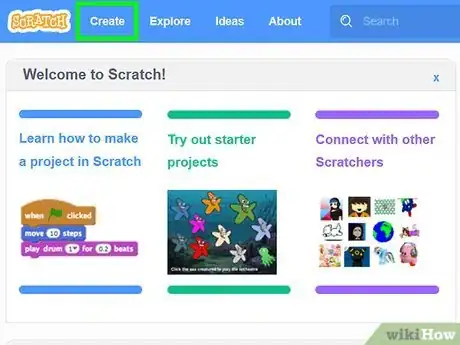
1Click the Create project button in "My Stuff" or at the top of your Scratch screen.
- The first thing you see in the sprites section after your new project finishes loading should be a Scratch Cat Sprite. If you want that sprite for your project, leave it. If you want a new sprite, go to the Sprite Library to add a sprite. Or, you can upload a sprite from your device for your project.
-
2Understand what each block means. Most of this requires you to explore by yourself. Testing the block combinations is essential to help you learn how it works.
- Motion blocks move the sprite. The sprite can move forwards or backward to the direction it is pointing at.
- Looks blocks can make the sprite's costume change, make the sprite speak on the screen, change the size, and it contains other effects, such as ghost and color effects.
- Sound blocks are used when you are going to add sound to your project.
- Events blocks are the "When green flag Clicked", "When space Key Pressed" blocks, and so on.
- Control blocks allow you do decide whether you want something to repeat. Also, if you want a situation where if something is happening, then this happens in the project, use the if-then blocks.
- Sensing blocks, for example, is used when two colors or sprites are touching, something is "happening". The sensing part in that example is the if the two colors are touching part. Those blocks are the light blue blocks.
- Operators blocks are the addition, subtraction, multiplication, and division blocks.
- Variables are used when you want for example a score. You can also create a list. Create a cloud variable when you want something to store in Scratch. You can only use the cloud variables once your status changes from a New Scratcher to a Scratcher.
- Try dragging the blocks together yourself. Experiment with the different combinations of different blocks. Then, in the next step in this article, you will start coding with the blocks. If you understand the blocks, great, you can start coding now! If you don't, that is fine, because in the next few steps, you can learn how to start an easy project off by yourself.
-
3Drag the blocks in the workspace to code. You can drag the blocks into the workspace of your sprite. There are the motion blocks, "looks" blocks, sound blocks, Events, Control, Sensing, Operators, Variables, Lists, and "my blocks".
- You can make your own blocks. Define what your block will do with coding blocks. Then, you can use your blocks in a project.
- To delete a block, drag it back to the blocks section, hold and then release to delete.
-
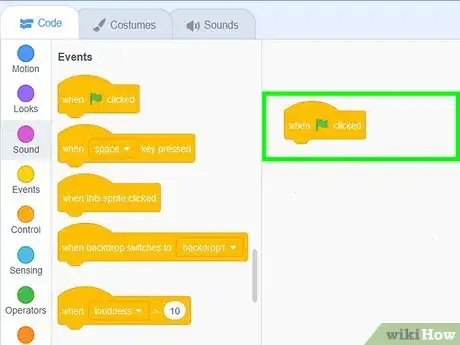
4Start your project by dragging the "When Green flag Clicked" block into your workspace. Then, drag a "move 10 steps" block and click on the green flag at the top corner of the project. See how the sprite moves. The sprite will move 10 steps forward. Now, try to change the "10" into "100". Notice how the sprite moves more steps. Remember to put a "go to x:0, y: 0" block right after the "When Green Flag Clicked" block, so your sprite will return to the spot where it had started, and not keep moving forwards or backward. Make the sprite move up and down, or vertically, by changing the "y" axis. Use the "change y by ( )" block. If you want to allow your sprite to move horizontally, change the "x" axis by using the "change x by ( ) block. "
- The When Flag Clicked block is essential for every project. That is the block that runs your code.
- This step is an additional step for beginners to see how the code is put together. As you start, this will all make sense to beginners.
- The example code below is an example of an easy code. Usually, you will not need the "my Blocks" for such an easy code, but this easy project demonstrates how to use the "My Blocks".
-
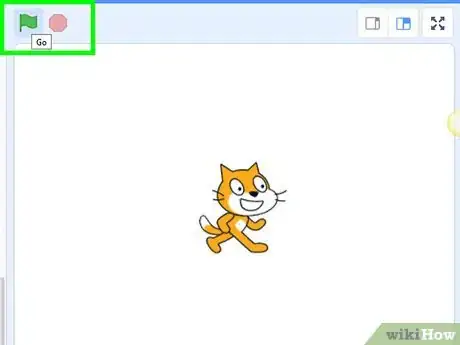
5Click the green flag to run your project. By clicking on the Green Flag, you will run your code you did. Click on the red stop sign next to the green flag to stop running your project.
- Click on the green flag multiple times during your coding process to see if you have coded what you've wanted. That way, if something goes wrong, you can always go back to your code and check what is it you don't like about it.
-
6Use an extension for more advanced projects. Not all advanced projects use an extension. Extensions include pen, translate, and text to speech. Those are extras that can make your project more interesting.
- The pen extension is for coding projects that involve the project viewer drawing in your project.
- The text to speech extension allows the sprite to speak. Voices such as squeak and meow are available.
- The translate extension can translate text. You can type the text you want it to translate and the language you want it to translate it to.
-
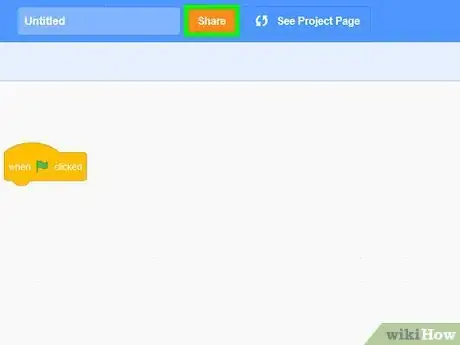
7Share your project. The purpose of scratch is not only to code, but it is also for you to present your projects for everyone else in the Scratch community to see, like, and comment. Name your project an appropriate name, and then share it! See "project page" to preview your project before sharing.
- You can turn comments off to disable commenting on your project.
- Star and heart your project if you like it.
-
8Create more projects. Create amazing projects with Scratch 3.0! Besides creating projects, have fun while coding too! Some project ideas are
- Platformers - make a platformer, which can be controlled by arrow keys or mobile controls, such as a joystick;
- Snake game - make a snake game where when the "snake" touches the "apple", the "snake" grows longer.
- Parallax - create a parallax, where you can see things in different perspectives when you move your mouse.
- Tutorial - create a tutorial project to teach other scratchers how to do something.
Advertisement
Part 3
Part 3 of 3:
Discussing in the Forums
This is optional, but it's suggested because it will allow people to review your projects.
-
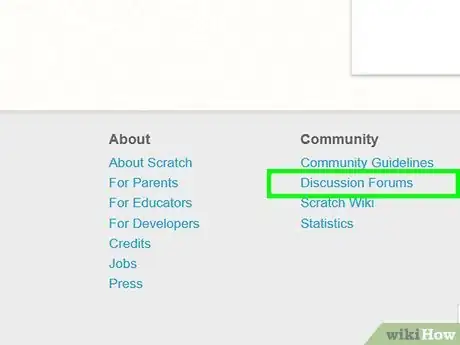
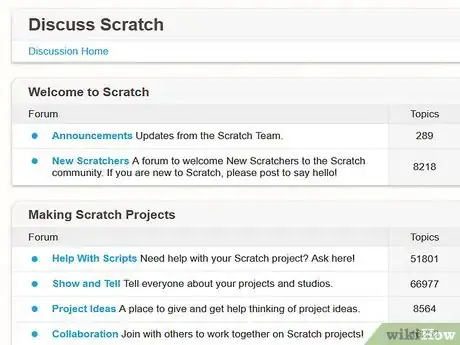
1Scroll down to the bottom of a scratch page. Click on "Discussion Forums". That is a place where you get to meet other people, and of course, ask questions and present yourself to the Scratch Community.
-
2See the categories. In the Scratch Discussion forums at the bottom of the Scratch Page, you should see different categories to post your topic. The different categories are for you to find topics and posts easier.
- On some devices, the forums might load a little slowly. Be patient, that is because the forums hold a lot of information.
-
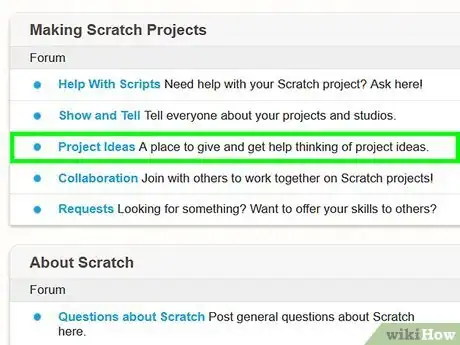
3Go to Project Ideas, or Questions About Scratch to ask your question. You can choose which category your topic should be in.
- Choose an appropriate category for your post to be in.
- Remember to follow your new discussion to receive messages about it. You will receive messages from it if someone posted a forum on your topic.
- You can close your topic you created 24 hours later by scrolling to the bottom or top and click the button that says "Close Topic". Then, nobody can post forums on your topic anymore.
Advertisement
Community Q&A
-
QuestionHow do I become famous?
 RainyTop AnswererBe kind and helpful to other Scratchers. Follow them and leave nice comments on their projects. Join active studios and post interesting projects. It might take a while, but you'll get there!
Advertisement
Warnings
- Although Scratch is a safe place to learn, some users can still be rude. If that happens, click report on the user's profile, or click report on the rude comments.⧼thumbs_response⧽
- You will get banned or blocked if you are disrespectful, or being inappropriate. Remember scratch is full of people of different ages and races. Be respectful.⧼thumbs_response⧽
- Scratch might block you because of multiple reasons, such as being disrespectful, not following the guidelines, having an inappropriate username, and so on.⧼thumbs_response⧽
Advertisement
About This Article
Advertisement
