This article was co-authored by wikiHow Staff. Our trained team of editors and researchers validate articles for accuracy and comprehensiveness. wikiHow's Content Management Team carefully monitors the work from our editorial staff to ensure that each article is backed by trusted research and meets our high quality standards.
This article has been viewed 69,077 times.
Learn more...
A peg gun is similar to a rubber band gun but is created by modifying a simple wooden clothespin into a miniature weapon. It is also often called a clothespin gun, toothpick gun, or a matchstick gun, as you can use it to launch these items with significant force. Knowing how to construct such a device can liven up any office. Just be sure to always use your peg gun with caution.
Steps
Altering The Clothes Pin
-
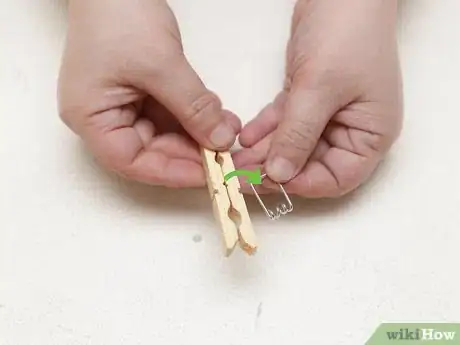
1Remove the spring. Hold the clothespin so a metal clasp of the spring is on top and one piece of the wood in directly above the other. Grab the handle of the top piece, then gently lift and push it to the side so the spring comes loose from the bottom piece. Be careful not to break the clothespin or bend the spring.[1] The spring will still be loosely attached to the top piece. You can easily take the spring off now that the bottom piece is removed.
-
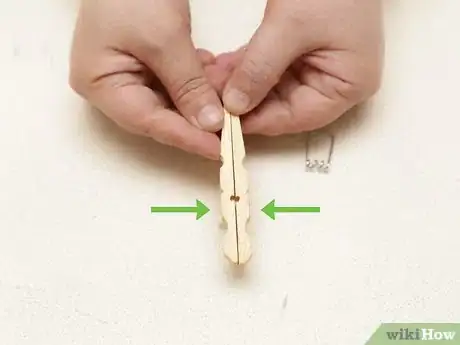
2Turn the wooden pieces around. Rotate the clothespin pieces so the flat surfaces on the back are pressed together. The thicker ends should be together on one side, with the thinner ends making a point on the other side. Make sure the center notches in the wood that held the spring clasps are lined up so they form a small circular hole between the two pieces.Advertisement
-
3Mark the areas to cut. Grab a pen or marker. You will want to draw the lines that will mark the areas you will need to chisel with your utility knife.[2]
- You can label the wooden pieces on the inside edge of the wood to help keep them straight. Mark one piece with a T for the top piece and one with a B for the bottom piece to help keep them from getting confused.
-
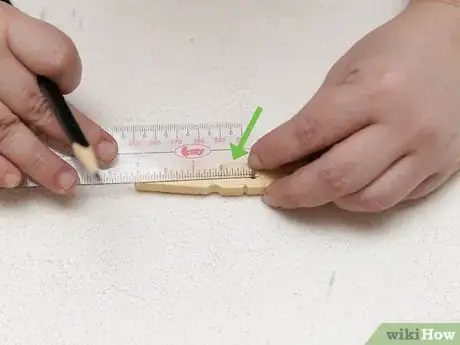
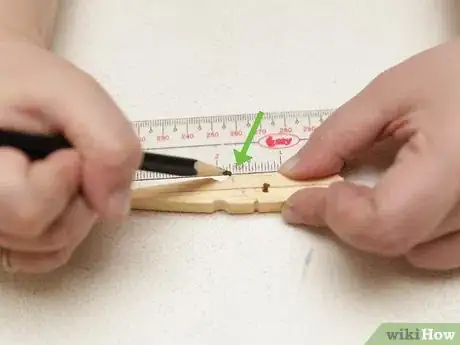
4Measure a half-inch from the circular hole on the side of the top piece. Take your pen or marker and make a small mark on the top piece of wood. You should draw it at the corner, where the top piece of wood meets the bottom piece.
-
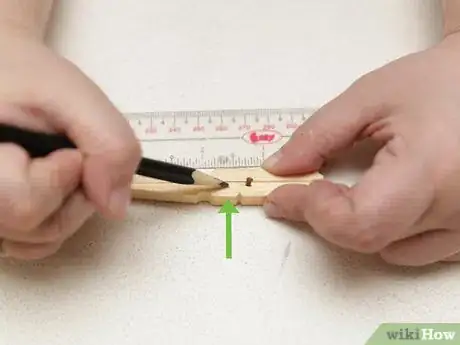
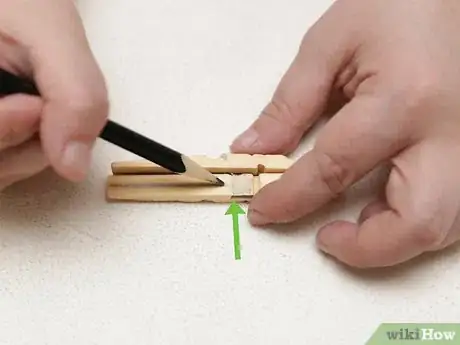
5Make another small line on the bottom piece at the first indentation. Starting from the pointed ends of the wood, look for the first indention along the bottom piece of the gun. It will be about an inch from the pointed ends along the lower edge of the wood. Draw a small 1 cm mark at the top back corner of the indented arc. The mark should be at a 45-degree angle, so it points toward the other line you previously drew on the top piece.
-
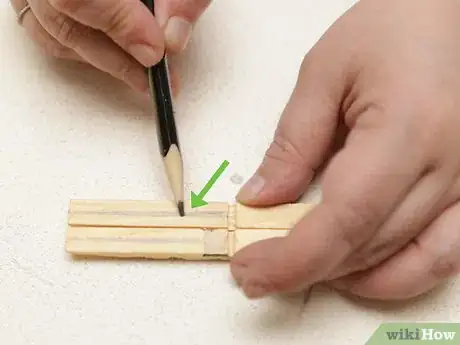
6Draw the firing chamber. Take apart the pieces so the inner portions are facing you. Make a line across the inside of the top piece, even with the first mark that you drew on the side. The line should be parallel to the center notch for the spring. Finally, shade the area between the line you drew and the notch for the spring. It should form a small square on the top piece.
-
7Draw a line along the length of the barrel. Draw a straight line on the inside of both pieces from the notch for the spring toward the pointed end of the clothespins. The lines should be centered on the clothespin. You may want to use a ruler to get the lines as straight as possible.
-
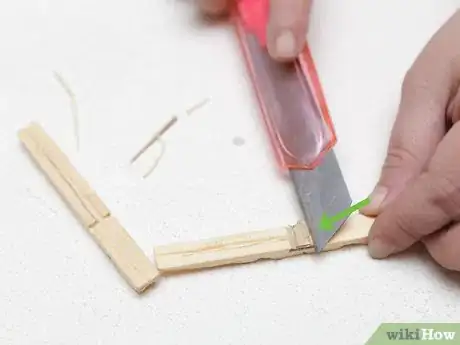
8Carve out the wood. Use the utility knife to chisel away the pieces where marked. Trim the center line on both pieces to make a barrel of the gun. Trim away the small square on the top piece to make the firing chamber. Then carve the small notch across the indent on the bottom piece to hold the front clasp of the spring trigger.
Constructing the Peg Gun
-
1Apply some wood glue to the flat inside portions of the clothespin. Use a brush to apply the glue lightly on the surface, or put some glue on a flat surface and lightly touch the clothespin pieces to get a thin coating. You want a to cover the surface completely and thoroughly, but be sure you don't get glue into the notches that were cut away to make the chamber, barrel and trigger notch.
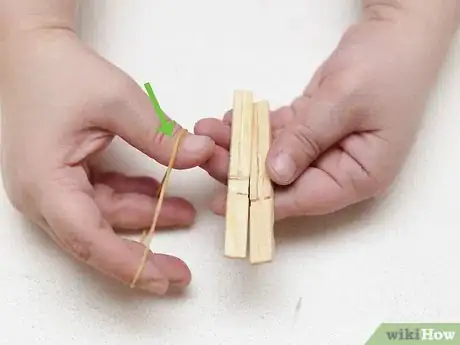
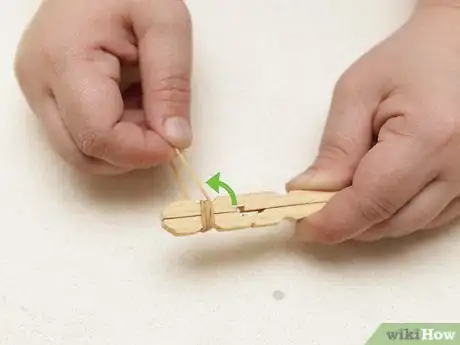
- If you don't have any glue you can use a rubber band. Wrap the rubber band around the thick end of the clothespins to hold them together.[3]
-
2Place the clothespin pieces back-to-back. Press the pieces together firmly. Wipe away any glue that seeps out the edges. Let pieces sit until the glue is completely dry.
-
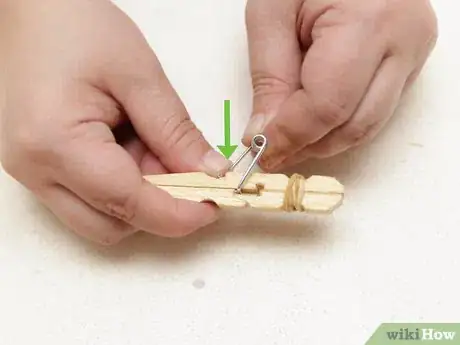
3Reattach the spring to the wood. Take one end of the spring and fit it through the center hole in the clothes pin. Fit the other end into the notch that was whittled into the bottom of the gun. The spiral coil of the spring will stick out along the bottom of the gun and serve as the trigger.
Firing the Peg Gun
-
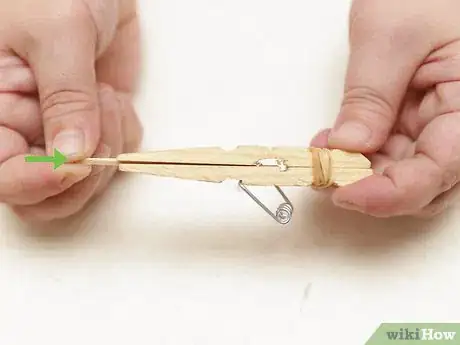
1Load the ammo. Put a matchstick or toothpick into the barrel of the gun. It should slide easily the channel that was carved. Keep going until you reach the metal spring.
-
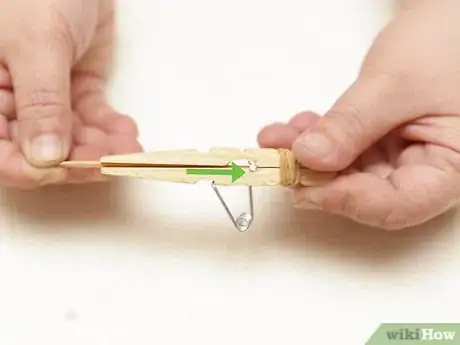
2Cock the gun. Using the toothpick or matchstick, push back the spring. Keep pushing the spring backward until the part of the spring in the center of the gun locks into place at the back of the chamber.[4]
-
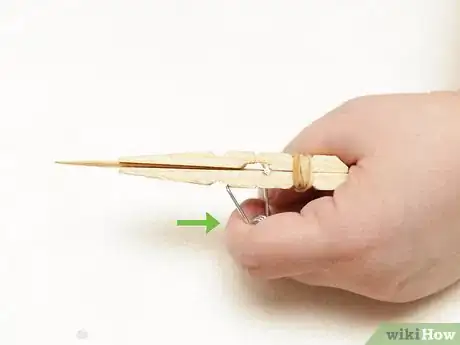
3Pull the trigger. Find your target, then pull back the spring by coiled portion. The force of the spring clasp popping forward will send your ammo flying.
- Be careful not to injure anyone with your powerful weapon. No one wants a toothpick in the eye!
Warnings
- Peg guns are small, but can still cause potential injury. Always use caution.⧼thumbs_response⧽
Things You'll Need
- Wooden clothes peg
- Rubber bands or wood glue
- Small hand saw or utility knife.
- Matchsticks or toothpicks
