This article was co-authored by César de León, M.Ed. and by wikiHow staff writer, Eric McClure. César de León is an Educational Leadership Consultant and currently serves as an Assistant Principal for the Austin Independent School District in Austin, TX. César specializes in education program development, curriculum improvement, student mentorship, social justice, equity leadership, and family and community engagement. He is passionate about eradicating inequities in schools for all children, especially those who have been historically underserved and marginalized. César holds a Bachelor’s degree in Education and Biology from Texas State University and a Master’s degree in Educational Leadership from The University of Texas at Austin.
There are 21 references cited in this article, which can be found at the bottom of the page.
wikiHow marks an article as reader-approved once it receives enough positive feedback. This article has 31 testimonials from our readers, earning it our reader-approved status.
This article has been viewed 3,559,760 times.
As a teacher, developing a thoughtful lesson plan is an essential part of your job. Not only do your lesson plans lay out everything you’ll do in a given class, but they can be shared with subs to complete your lessons when you’re out sick, and administrators can use them to provide feedback and monitor your classroom. While writing a lesson plan may seem like a daunting task at first, take it from a former teacher that they’ll soon become second nature. In this article, we’ll walk you through what you need to include in each lesson plan, show you how to use your lesson plan to make you a better teacher, and walk you through what a class might look like based on your plans.
Things You Should Know
- A lesson plan outlines what you’ll teach in a given lesson and provides justification for why you’re teaching it.
- Every lesson plan needs an objective, relevant standards, a timeline of activities, an overview of the class, assessments, and required instructional materials.
- Overplan in case your lesson ends early and tailor your plans to suit the needs of your students.
Steps
Sample Lesson Plans
Constructing a Lesson Plan
-
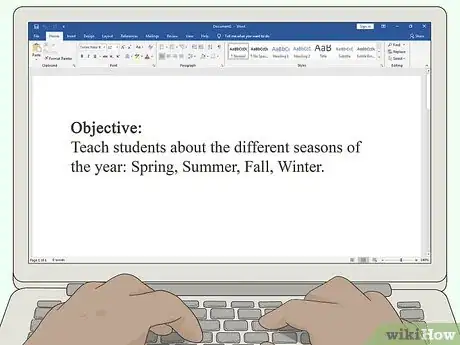
1Set your objective for the lesson. At the beginning of every lesson, write your lesson plan goal at the top. The objective should be one sentence, contain a strong verb, and communicate what students will know or be able to do by the end of the lesson. If you want to add a bit extra, add how they might do this (through video, games, flashcards, etc.).[1]
- An example of a good objective might be, "Students will be able to analyze nonfiction texts by performing a close reading on a historical document."
- Most teachers will use Bloom’s taxonomy when choosing their objective verb.
- Teachers often abbreviate “Students will be able to” with “SWBAT” on their lesson plans.
- Many teachers start with the objective then work their way out from there, choosing class activities last. This is called “backmapping” and it’s the most widely accepted lesson organization style around today.[2]
-
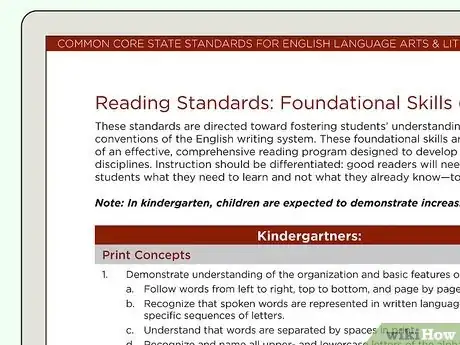
2Include the standards that you’re covering in your objective. So, you know what the students will learn, but why are they learning it? In all likelihood, you’re teaching in a state or district with educational standards—sets of info all students need to know before graduating. In almost all states, these are the Common Core Standards (CCSS). Include the standard(s) on your lesson plan either above or below your objective. There will always be at least 1 standard, but a lesson may touch on 2-3 of them.[3]
- Our previous objective aligns nicely with the CCSS R.L.8.2, which reads “Determine a theme or central idea of a text and analyze in detail its development over the course of the text…”
- A handful of states, including Florida, Virginia, and Texas, refuse to adopt common core. They have their own state standards.
- If you’re still in school to become a teacher, you may not have specific standards you need to cover just yet.
- Many schools will allow teachers to cover the objectives in whatever order they’d like so far as they cover all of them. Some schools will map out the standards to cover in their curriculum, though.
Advertisement -
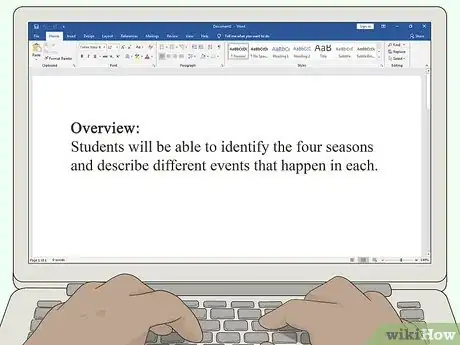
3Provide an overview of the lesson’s activities. Use broad strokes to outline the big ideas for the class and what you’re going to cover. Don’t worry about being super specific. This is just general info to help you and others get a sense for what the class will entail.[4]
- For example, if your class is about Shakespeare's Hamlet, your overview might be “Introduction to Hamlet. Historical context, biographical info, and preliminary information. We’ll cover the folio, character list, and assign reading roles. Start Act 1 if time allows.”
- A single overview may get you through multiple classes, so you may find yourself copy and pasting the same overview into multiple plans. That’s totally okay!
-
4Map out your activities and timeline for the class. Some schools won’t force you to map out every single minute of a lesson, but you’ll likely find it helpful to be specific when you’re just starting out. If there's a lot to cover in a fixed amount of time, break your plan into sections that you can speed up or slow down to accommodate changes as they happen.[5] You might write:
- 1:00-1:10: Warm up. Bring class into focus and recap yesterday's discussion on great tragedies; relate it to Hamlet.
- 1:10-1:25: Present information. Discuss Shakespearean history briefly, focusing on his creative period 2 years before and after Hamlet.
- 1:25-1:40: Guided practice. Class discussion regarding major themes in the play.
- 1:40-1:55: Freer practice. Class writes single paragraph describing current event in Shakespearean terms. Individually encourage bright students to write 2 paragraphs, and coach slower students.
- 1:55-2:00: Conclusion. Collect papers, assign homework, dismiss class.
-
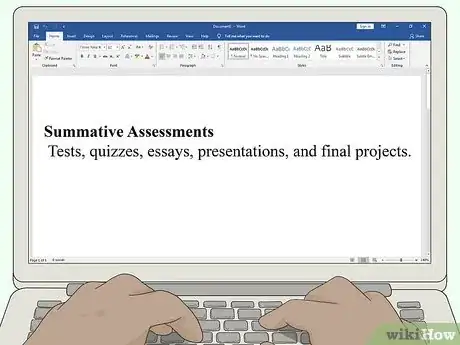
5Include the formative or summative assessments you’ll use. This may or may not be a separate section depending on the template you’re using. If there isn’t a separate section for it, mention it in your timeline. Every individual class should include an assessment of some kind. List the type of assessment you’re going to include or use in the class.[6]
- Formative assessments are instructional tools. They’re anything you use to check if students are learning so you can adjust your lessons. Examples include: class discussions, teacher questions, pop quizzes, group work, surveys, and self-reflections.
- Summative assessments are how you prove a student learned something. They occur at the end of lesson arcs, units, or sections. Examples include: tests, quizzes, essays, presentations, and final projects.
- All summative assessments (outside of tests and quizzes) have rubrics, which are the set of standards you’re judging students on. You do not need to include your rubrics in the lesson plan, but you should be making rubrics.
-
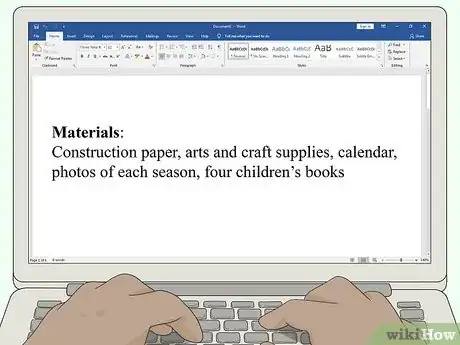
6List the instructional materials you need for the class. Provide a simple list of the materials that you and your students will need to complete the class. This is more for subs and department heads than you. Remember, any teacher should be able to pick your lesson plan up and complete your lesson for you.[7]
- You might list textbooks, worksheets, novels, calculators, or whiteboards. If you need to borrow a TV or need a link to a specific YouTube video, include that, too.
- Skip the basic school supplies every student needs. You don’t need to mention pens, pencils, etc.
- Need a worksheet or special materials for a class but don’t want to spend super long making them from scratch? Check out Teachers Pay Teachers. Seasoned educators sell their instructional material to other teachers for cheap!
Adjusting Your Lesson Plans Efficiently
-
1Script out what you’re going to say if you’re nervous. New teachers often find solace in scripting out a lesson. While this takes way more time than a lesson should, you might find it helpful. It may ease your nerves if you know exactly what questions you want to ask and where you want the conversation to go.[8]
- Over time, you’ll need to do this less and less. Eventually, you'll be able to go in with practically nothing at all!
-
2Allow for some wiggle room in your timeline. Don’t treat your schedule like it’s some rigid set of rules you have to follow down to the T. If your timeline says you’ll change activities at 1:15 but the students are getting something valuable out of the what you’re doing, go ahead and push things back to 1:20 or 1:25! While you should try to stick to this plan within reason, it’s okay to deviate.[9]
- If you find yourself constantly running over your schedule, know what you can and cannot scratch. What must you cover in order for the children to learn most? What is just fluff and time killers?
-
3Tailor your lessons to suit your students’ needs. What are your kids like? What is their learning style (visual, auditory, tactile or a combination)? What might they already know, and where might they be deficient? Focus your plan to fit the overall group of students you have in class, and then make modifications as necessary to account for students with disabilities, those who are struggling or unmotivated, and those who are gifted.[10]
- Odds are you'll be working with a pile of extroverts and introverts. Some students will benefit more from working alone while others will thrive in pair work or in groups. Knowing this will help you format activities to different interaction preferences.[11]
- You'll also wind up having a few students that know just about as much as you do on the topic and some that, while smart, look at you like you're from another planet. If you know who these kids are, you can plan accordingly.
-
4Use a variety of different instructional styles to keep things fresh. Some students do well on their own, others in pairs, and yet others in big groups. So long as you're letting them interact and build off each other, you're doing your job. But since each student is different, try to allow opportunities for all types of interactions. Your students (and the cohesion of the class) will be better for it![12]
- Really, any activity can be manipulated to be done separately, in pairs, or in groups. If you have ideas already mapped out, see if you can revamp them at all to mix it up.
-
5Design your lessons to account for different learning styles. You're bound to have some students that can't sit through a 25-minute video and others who can't be bothered to read a 2-page excerpt from a book. Neither is dumber than the other, so do your students a service by switching up your activities to utilize every student's abilities.[13]
- Every student learns differently. Some need to see the info, some need to hear it, and others need to literally get their hands on it. If you've spent a great while talking, stop and let them talk about it.
- You will likely have some students with IEPs, or Instructional Educational Plans. These are legal documents for students with special needs that require specific instructional adjustments.
-
6Over-plan in case you run out of material. Knowing that you have plenty to do is a much better problem than not having enough. Even though you have a timeline, things can change. If something might take 20 minutes, allow it 15. You never know what your students will just whiz through![14]
- The easiest thing to do is to come up with a quick concluding game or discussion. Throw the students together and have them discuss their opinions or ask questions.
-
7Make it easy enough for a substitute to perform your lesson. On the off-chance something happens and you can't teach the lesson, you'll want to have a plan someone else could understand. The other side of this is if you write it in advance and forget, it'll be easier to jog your memory if it's clear.[15]
- Avoid using shorthand or acronyms that only you’ll be able to understand.
-
8Keep a few spare lessons in your back pocket if things go wrong. In your teaching career, you're going to have days where students whiz through your plan and leave you dumbfounded. You'll also have days where tests got moved, half the class showed up, or the video you had planned got eaten by the DVD player. When these days show up, it helps to have a spare activity ready to go.[16]
Presenting the Lesson
-
1Warm your students up with a bell ringer activity. At the beginning of every class, the students' brains aren't primed yet for the content. Ease your students into every lesson with a little warm up known as a bell ringer. These are 3- to 5-minute quick activities that serve as introductions to your lesson.[17]
- The warm up can be a simple game (possibly about vocab on the topic to see where their current knowledge lies (or what they remember from last week!). Or, it can be questions, a mingle, or pictures used to start a conversation. Whatever it is, get them talking and thinking about the topic.
-
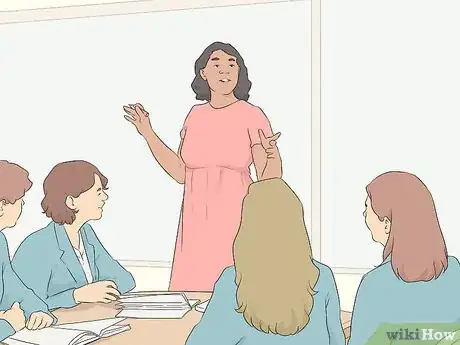
2Set expectations and present the key information. Explain what class is going to entail for the day and lay down any unique rules or norms for the lesson. This may take a few minutes if you’re just working on a group project or something, or take nearly the whole class if you’re lecturing.[18]
- Go over the objective at the beginning of class! Always let your students know why they’re doing what they’re doing.
-
3Oversee some guided practice for rote skills. Now that the students have received the information, you need to devise an activity that allows them to put it into action. However, it's still new to them, so start off with an activity that has training wheels. Think worksheets, matching, or using pictures. You wouldn't write an essay before you do a fill-in-the-blank![19]
- This is often explained by teachers as “I do, we do, you do.” In other words, you show them how to do it. Then, the whole class does it together. Finally, the students do it on their own.
- If you have time for two activities, all the better. It's a good idea to test their knowledge on two different levels -- for example, writing and speaking (two very different skills). Try to incorporate different activities for students that have different aptitudes.
-
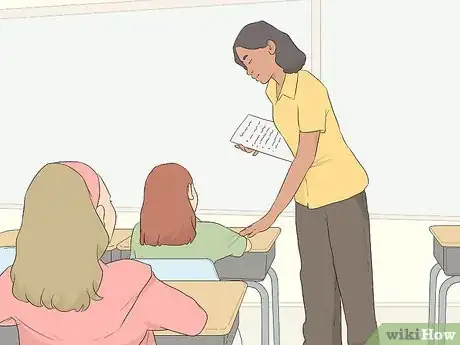
4Check the student work and assess their progress. After the guided practice, assess your students. Do they seem to understand what you've presented so far? If so, great. You can move on, possibly adding more difficult elements of the concept or practicing harder skills. If they're not getting it, go back to the information. How do you need to present it differently?[20]
- If you've been teaching the same group for a while, odds are you know the students who might struggle with certain concepts. If that's the case, pair them with stronger students to keep the class going.
- You don't want certain students left behind, but you also don't want the class held up, waiting for everyone to get on the same level.
-
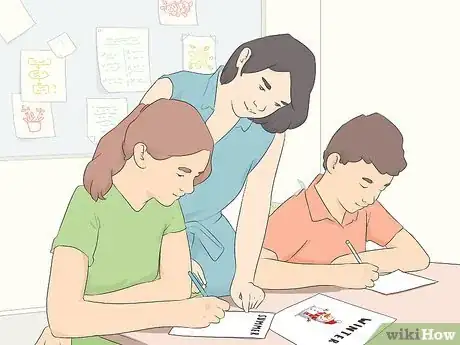
5Do a freer practice to let students try things on their own. Now that the students have the basics, allow them to exercise their knowledge on their own. That doesn't mean you leave the room! It just means they get to do a more creative endeavor that lets their minds really wrap around the information you've presented to them. How can you let their minds flourish?[21]
- It all depends on the subject at hand and the skills you want to use. It can be anything from a 20-minute puppet making project to a two-week long dalliance with the oversoul in a heated debate on transcendentalism.
-
6Leave time for questions. If you have a class with ample time to cover the subject matter, leave ten minutes or so at the end for questions. This could start out as a discussion and morph into more probing questions on the issue at hand. Or it could just be time for clarification -- both will benefit your students.[22]
- If you have a group full of kids that can't be paid to raise their hands, turn them amongst themselves. Give them an aspect of the topic to discuss and 5 minutes to converse about it. Then bring the focus to the front of the class and lead a group discussion. Interesting points are bound to pop up!
-
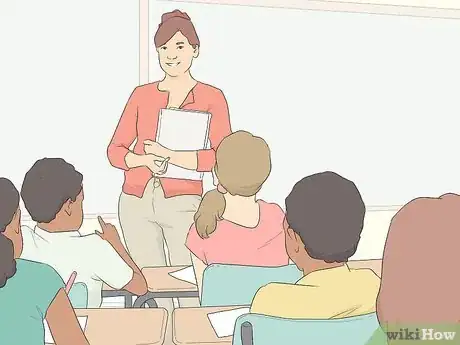
7Conclude the lesson with some upbeat praise and final notes. In a sense, a lesson is like a conversation. If you just stop it, it seems like it's left hanging in mid-air. It's not bad...it's just sort of a strange, uncomfortable feeling. If time allots for it, sum up the day with the students. It's a good idea to literally show them they've learned something.[23]
- Assign and hand out any homework at the end of the class.
Expert Q&A
Did you know you can get premium answers for this article?
Unlock premium answers by supporting wikiHow
-
QuestionWhat is a unit plan?
 César de León, M.Ed.César de León is an Educational Leadership Consultant and currently serves as an Assistant Principal for the Austin Independent School District in Austin, TX. César specializes in education program development, curriculum improvement, student mentorship, social justice, equity leadership, and family and community engagement. He is passionate about eradicating inequities in schools for all children, especially those who have been historically underserved and marginalized. César holds a Bachelor’s degree in Education and Biology from Texas State University and a Master’s degree in Educational Leadership from The University of Texas at Austin.
Educational Leadership Consultant A unit plan is for teachers to plan out what they're going to be teaching in a given amount of time. Usually, unit plans are based on a weekly basis. So if a unit is two weeks, it tends to be a collection of tests to make sure that the students are learning whatever the teacher is teaching during that unit, quizzes, which are smaller types of assessments, and, of course, the material that the teacher is teaching.
 -
QuestionHow do I address other factors in the lesson plan?
 wikiHow Staff EditorThis answer was written by one of our trained team of researchers who validated it for accuracy and comprehensiveness.
Staff Answer wikiHow Staff EditorStaff Answer
 -
QuestionHow do you evaluate the students on their learning?
 wikiHow Staff EditorThis answer was written by one of our trained team of researchers who validated it for accuracy and comprehensiveness.
Staff Answer wikiHow Staff EditorStaff Answer
References
- ↑ https://www.nea.org/professional-excellence/student-engagement/tools-tips/5-tips-improve-your-lesson-plan
- ↑ https://www.calstate.edu/csu-system/why-the-csu-matters/graduation-initiative-2025/co-requisite-mathematics-summit/Handouts/Backmapping_example_and_template.pdf
- ↑ https://drexel.edu/soe/resources/student-teaching/advice/how-to-write-a-lesson-plan/
- ↑ https://iris.peabody.vanderbilt.edu/module/cnm/cresource/q4/p16/
- ↑ https://www.nea.org/professional-excellence/student-engagement/tools-tips/5-tips-improve-your-lesson-plan
- ↑ https://poorvucenter.yale.edu/Formative-Summative-Assessments
- ↑ https://jan.ucc.nau.edu/~slm/AdjCI/Lessonplan/Elements.html
- ↑ https://awildsurmise.medium.com/improving-teaching-scripting-5950e1d15f54
- ↑ https://assets.publishing.service.gov.uk/government/uploads/system/uploads/attachment_data/file/511257/Eliminating-unnecessary-workload-around-planning-and-teaching-resources.pdf
- ↑ César de León, M.Ed.. Educational Leadership Consultant. Expert Interview. 11 November 2020.
- ↑ https://onlineprograms.ollusa.edu/ma-in-counseling/resources/learning-styles-of-introverts-and-extroverts
- ↑ http://www.auburn.edu/~nunnath/engl6240/seating.html
- ↑ https://teach.com/what/teachers-know/learning-styles/
- ↑ https://www.ascd.org/el/articles/pacing-lessons-for-optimal-learning
- ↑ https://www.chalk.com/introduction-to-lesson-planning/why-lesson-plan/
- ↑ https://www.edutopia.org/blog/having-an-off-day-josh-stock
- ↑ https://www.ou.edu/education/centers-and-partnerships/zarrow/transition-education-materials/transition-bell-ringers
- ↑ https://poorvucenter.yale.edu/teaching/teaching-how/chapter-2-teaching-successful-section/running-class
- ↑ https://readingrecovery.clemson.edu/home-2/reading-comprehension/lesson-structure/guided-practice/
- ↑ https://readingrecovery.clemson.edu/home-2/reading-comprehension/lesson-structure/guided-practice/
- ↑ https://www.teachingenglish.org.uk/article/free-practice
- ↑ https://teaching.cornell.edu/teaching-resources/engaging-students/using-effective-questions
- ↑ https://www.tefl.net/elt/ideas/younglearners/finishing-preschool-english-lessons/
- ↑ César de León, M.Ed.. Educational Leadership Consultant. Expert Interview. 11 November 2020.
- ↑ https://assets.publishing.service.gov.uk/government/uploads/system/uploads/attachment_data/file/511257/Eliminating-unnecessary-workload-around-planning-and-teaching-resources.pdf
About This Article
If you need to make a lesson plan, start by creating a timeline based on the length of the class or the school day. As you get to know your class throughout the year, try to tailor your lesson plan to their strengths. For instance, some groups might learn better by taking notes during a lecture, while others might benefit more from group discussions or worksheets. Try to include several different activities during each class period so the kids don’t get bored, and also to appeal to the different learning styles in the classroom. Read on for sample lesson plans and more tips on how to budget your time!


