wikiHow is a “wiki,” similar to Wikipedia, which means that many of our articles are co-written by multiple authors. To create this article, 22 people, some anonymous, worked to edit and improve it over time.
There are 8 references cited in this article, which can be found at the bottom of the page.
wikiHow marks an article as reader-approved once it receives enough positive feedback. This article received 22 testimonials and 93% of readers who voted found it helpful, earning it our reader-approved status.
This article has been viewed 354,789 times.
Learn more...
Heating pads are easy to make at home and can be used to relieve a number of the different aches and pains that you might experience. Whether you have a migraine, muscle pain, menstrual cramps, or just want to warm yourself up, having a heating pad ready to go is a good idea. Heating pads can be especially effective to relieve lower back pain. There are a few different methods, depending on what materials you have available and how much time you want to spend sewing.
Steps
Making a Heating Pad with a Sock
-
1Fill an old sock with uncooked rice. The most simple method for a reusable rice-filled heating pad. It just requires an old sock, some rice, a microwave, and something to tie or sew the sock shut. First of all, get hold of a good-sized clean cotton sock that you won't miss, and then pour in the rice.
- There is no fixed amount of rice to use, but it is recommended that the sock be at least half or three-quarters full.[1]
- Don't overfill it though. There should be a bit of flexibility so that the pad can rest comfortably on your skin.
- You want it to be able to mold itself to the shape of your body a little.[2]
- Some alternative fillings to rice include corn, barley, oatmeal, and beans.[3]
-
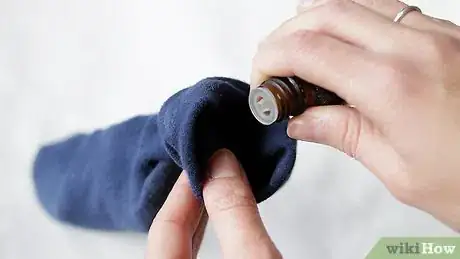
2Consider adding lavender oil. If you are making a heating pad to try to soothe your headaches, you can add some herbal ingredients to help. The most commonly cited extra ingredient is lavender oil. Simply mix in a few drops, 4-6, of essential 100% lavender oil in with your rice.[4]
- It's best to mix this in before you put the rice in the sock.
- Other suggestions for herbal additions include marjoram, rose petals, and rosemary.[5]
- You can use dried herbs.
Advertisement -
3Tie or sew shut the sock. Once you have added the rice, you need to secure it by closing up the sock. For those that are handy with a needle and thread, it'll be straight forward enough just the sew shut the open end of the sock.
- An even easier option is just to tie off the end of the sock.
- Tie it as close to the end of the sock as possible.
- Tie it as tight as you can as you don't want any rice slipping out.
-
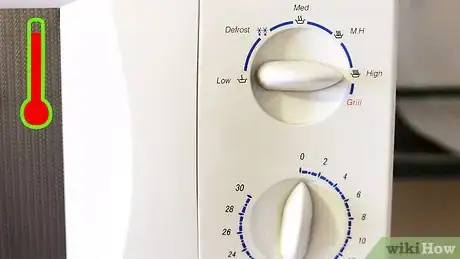
4Heat it up in the microwave. Now you have made your rice sock all you need to do is heat it up in the microwave. Simply put your secured sock in the microwave and heat it up. The length of time you will need to put it in will depend on the size of the sock and the amount of rice you have used.
- One and a half to two minutes should be long enough.
- Keep an eye on it and don't leave it unattended.
- As a safety precaution you can put a cup of water alongside the sock. If you have added dried herbs, this is a good idea.[6]
Using a Zip-Lock Freezer Bag
-
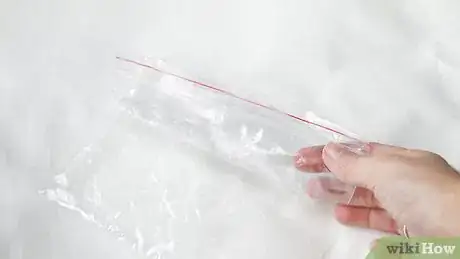
1Grab a zip-lock freezer bag. This is a very quick and easy way to make a heating pad. All you need is a zip-lock freezer bag and some uncooked rice. Make sure the freezer bag is microwave safe, if not it'll melt and smoke and be a disaster. If you have just found a freezer bag around the kitchen and aren't sure if it's microwave safe, don't use it.
-
2Pour rice into the bag. Once you are certain you have a bag you can use in the microwave, pour in some rice. Fill the bag so that it is about three-quarters full with uncooked rice and then secure it with the zip-lock across the top.[7]
-
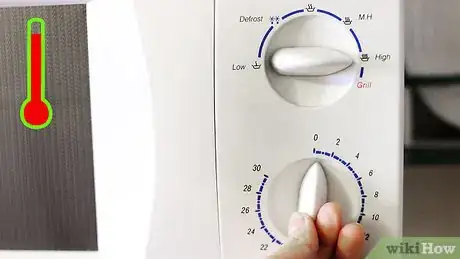
3Pop it in the microwave. Warm it up in the microwave for a minute, adding another second to a minute if necessary. Once it is heated up, take it out of the microwave and wrap it in a hand towel or other piece of insulating fabric.[8] You don't want to put the heated bag directly onto your skin.
Sewing a Heating Pad
-
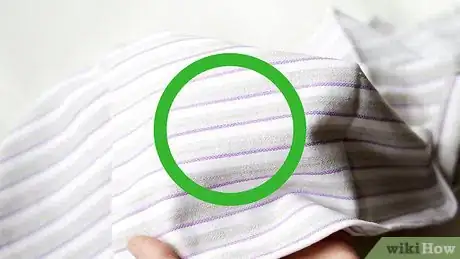
1Get your chosen fabric. You choose pretty much whatever you like to make the heating pad, but you will want to use cotton fabric, such as a T-shirt or a pillowcase. Cotton is able to withstand high heats so this is the best choice for your fabric. Ask yourself if what you have chosen would handle being ironed a high heat as a basic guide to its suitability.[9]
- Make sure nobody is going to miss whatever you decide to use.
-
2Cut it to size. In theory, you could make your heating pad in whatever size or shape you like, providing it will fit in the microwave when you're done. The obvious shape to use would be a rectangle, but the same basic methods apply to whichever shape you opt for. Cut two pieces of fabric to your desired shape that are the same size.[10]
- If you using a rectangle something like a book can be a handy template.
- You can use a plate for a circular one.
- You can also use a sleeve from an old shirt.[11]
-
3Pin the two pieces of fabric together. Once you have your two equal size and shape pieces of fabric you need to pin them together in preparation for sewing. You should have the side of the fabric you want to be displayed on the finished article facing inward now. When you sew it together it will be inside out.[12]
- Doing it this way means that the stitching will be more hidden and neater.
-
4Sew along the edges. Now you need to sew the two pieces of fabric together. You can do this either on a machine or by hand, whichever is best for you. Sew along the sides, but be sure to leave a gap of an inch or two on one side. You will need this to turn it the right way out, and to add the rice.[13]
- Push the fabric through this gap to turn it the right way out.
- This might be a bit tricky, so be fairly careful, especially if your sewing isn't the best and could come loose.
-
5Pour in the rice and sew it shut. Now pour in the rice so it is around three-quarters full. You might find it helpful to use a funnel to get the rice in, especially if the hole is small. Go ahead and sew shut the gap you left. Now your pad is full of rice it could be tricky to maneuver with a sewing machine, so you might find it easier to sew this bit by hand.[14]
Using your Heating Pad
-
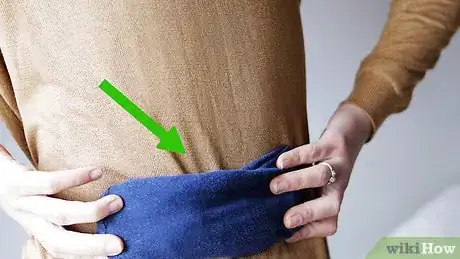
1Use it for lower back pain. There is some evidence that adding heat to your lower back can help relieve pain there, as heat can release tension in muscles. To use your heating pad for this simply lay it on your lower back or the part of your back which is sore. Leave it there for fifteen to twenty minutes.[15]
-
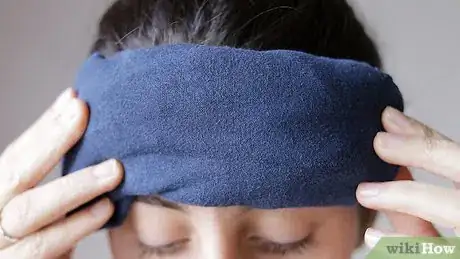
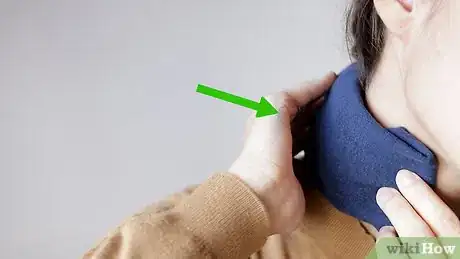
2Use it for headaches. Heating pads can also be used for headaches and migraines in a similar way as for back pain. The heat relaxes tense muscles which can ease the pain in your head which is caused by a headache or migraine. Just place the pad on your head or neck to feel the benefits.[16]
-
3Use your heating pad for other aches and pains. As the heat from your heating pad relaxes muscles, you can use it to relieve pain anywhere on your body that you feel discomfort or aching. Pads like this are often used to ease tense neck and shoulder muscles as well as back pain.[17]
-
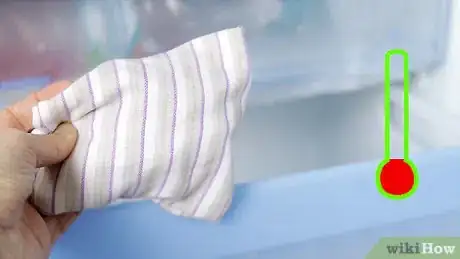
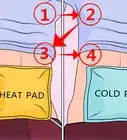
4Consider using it as a cold press. You can also use the same heating pad as a cold press, simply by cooling it in the freezer first. There is less proof that cold will be as effective for lower back pain as heat will be.[18] If you are using a plastic bag, be sure to wrap it in a towel before applying it to your skin.
Community Q&A
-
QuestionI don't have a microwave. Is there any substitute?
 Community AnswerAnother method for making a heating pad is soaking a kitchen towel in hot water, than putting it in a Ziplock bag. It works the same.
 -
QuestionDo I need to throw away the rice after I am done or can I re-microwave it again?
 Community AnswerYou don't need to throw it away, as it is reusable. But it is a good idea to replace it every year or so, or more often if used with high frequency.
 -
QuestionHow long does the heat last?
 Community AnswerOn average, these last about 20 minutes.
Warnings
- Keep an eye on anything you put in the microwave.⧼thumbs_response⧽
Things You'll Need
- A bath towel/ hand towel
- A zip-lock bag
- A microwave
- Water
- Fabric
- A sock
- Sewing equipment
References
- ↑ http://tipnut.com/make-your-own-microwave-heating-pad/
- ↑ http://tipnut.com/make-your-own-microwave-heating-pad/
- ↑ http://www.jbbardot.com/how-to-make-an-easy-homemade-moist-heating-pad-or-cold-pillow/
- ↑ http://www.diynatural.com/homemade-heating-pad/
- ↑ http://tipnut.com/make-your-own-microwave-heating-pad/
- ↑ http://tipnut.com/make-your-own-microwave-heating-pad/
- ↑ http://tipnut.com/make-your-own-microwave-heating-pad/
- ↑ http://tipnut.com/make-your-own-microwave-heating-pad/
- ↑ http://www.diynatural.com/homemade-heating-pad/
- ↑ http://www.diynatural.com/homemade-heating-pad/
- ↑ http://www.sewcanshe.com/blog/2014/12/16/diy-heating-pad-for-shoulders-and-neck
- ↑ http://www.diynatural.com/homemade-heating-pad/
- ↑ http://tipnut.com/make-your-own-microwave-heating-pad/
- ↑ http://www.diynatural.com/homemade-heating-pad/
- ↑ http://www.webmd.com/back-pain/tc/use-heat-or-ice-to-relieve-low-back-pain-topic-overview
- ↑ http://www.mayoclinic.org/diseases-conditions/migraine-headache/in-depth/migraines/art-20047242
- ↑ https://www.painscience.com/articles/heating.php
- ↑ http://www.webmd.com/back-pain/tc/use-heat-or-ice-to-relieve-low-back-pain-topic-overview
- Videos provided by Precious Stars Pads









Medical Disclaimer
The content of this article is not intended to be a substitute for professional medical advice, examination, diagnosis, or treatment. You should always contact your doctor or other qualified healthcare professional before starting, changing, or stopping any kind of health treatment.
Read More...