wikiHow is a “wiki,” similar to Wikipedia, which means that many of our articles are co-written by multiple authors. To create this article, 14 people, some anonymous, worked to edit and improve it over time.
This article has been viewed 41,799 times.
Learn more...
Ghost decorations and goodies are popular for spooky parties and events, especially Halloween. Here are a few ghoulish decorations, hauntingly sweet treats, and ghostly costumes that are simple enough for you to create for a ghost-themed event at any time of the year.
Ingredients
- 3 large egg whites
- 1/2 tsp (2.5 ml) cream of tartar
- 3/4 cup (180 ml) sugar
- 1/2 cup (125 ml) semisweet chocolate chips
Steps
Simple Ghost Decoration[1]
-
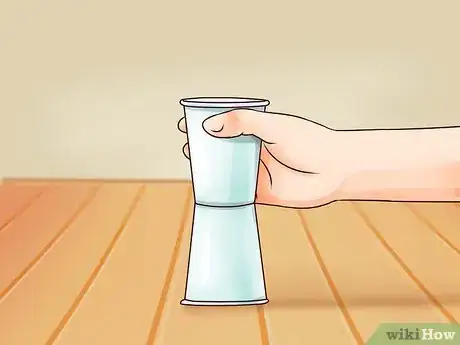
1Stack two paper cups together. Create a base out of 8 oz (250 ml) paper drinking cups. Place the first cup on the table upside-down and stack the second cup, right-side-up, on top of the first.
- If the structure seems unstable, you can strengthen it by taping the cups together. You only need this structure temporarily.
-
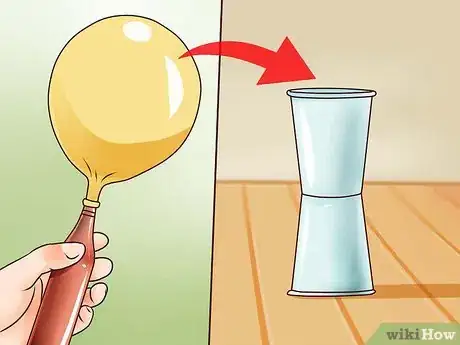
2Rest a small balloon on top. Inflate a small balloon and rest it inside the mouth of the top cup. The bottom should sit inside the cup, but the top should remain sticking out.
- The color balloon you use does not matter since it will only be used temporarily.
- Balloons meant for use as water balloons usually create the right size.
Advertisement -
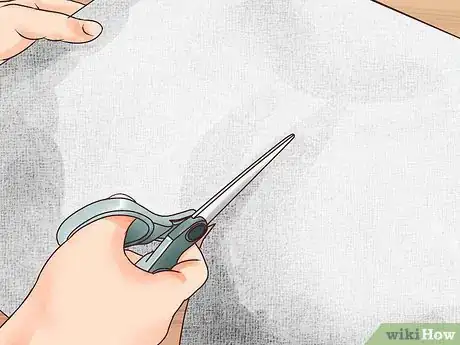
3Cut 8 inches (20 cm) of cheesecloth. The ends can be ragged. If anything, ragged ends will create a more realistic ghost.
- Choose white cheesecloth over off-white or beige colors.
-
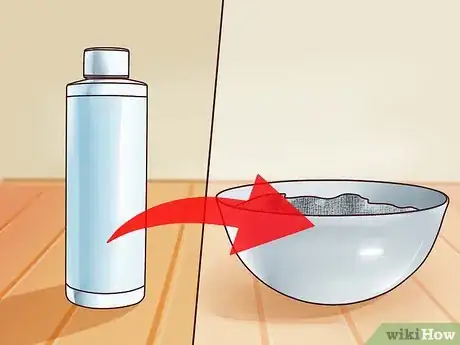
4Soak the cheesecloth in fabric stiffener. Dunk the cheesecloth into a bowl of fabric stiffener, coating each side well.
- Work quickly.
- Pour the fabric stiffener into a wide, low bowl to make this process as easy as possible.
-
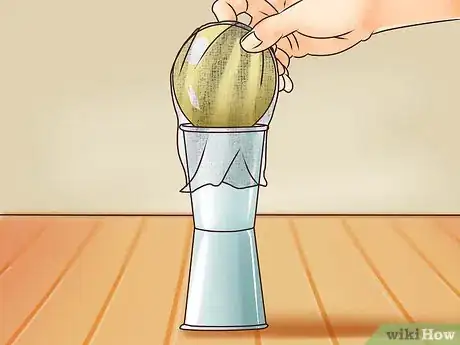
5Immediately drape the cheesecloth over the balloon. As soon as you remove the cheesecloth from the fabric stiffener, you must drape it over the balloon placed in your paper cup stand.
- The sides of the cheesecloth do not need to be precisely even, but they should be fairly similar in length.
- Let the fabric stiffener on the cheesecloth dry. This should take about 10 minutes.
-
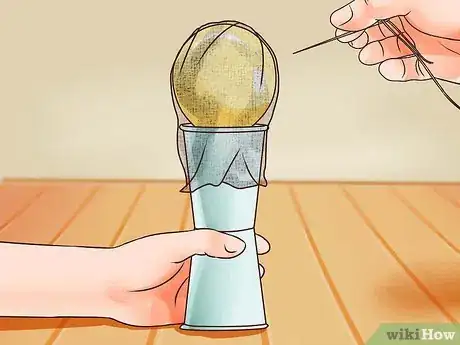
6Pop the balloon once dry. Stick a needle through the cheesecloth to pop the balloon.
- A hardened "ghost" shape should be left behind. Remove it from your paper cup stand.
-
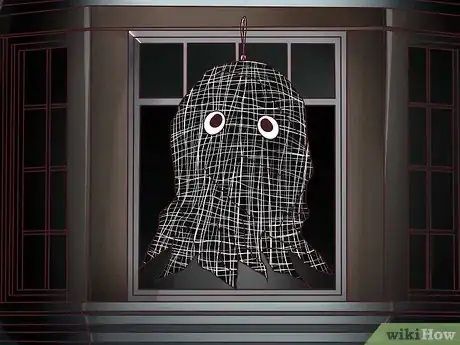
7Decorate the ghost. Use craft glue to fix two black felt circles on the ghost for eyes.
- Let the glue dry.
- Use your fingers to gently spread out and roughen the edges for a more ghost-like appearance.
- Thread fishing line, thread, or twine through the top of the ghost. Tie a knot and hang it up as a decoration.
Spookier Ghost Decoration[2]
-
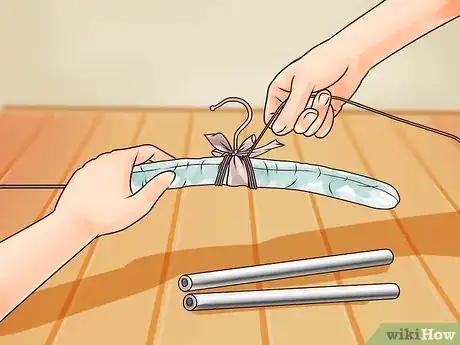
1Form the arms. The arms form an essential part of the ghost's "skeletal" structure and are created with clothesline wire, a padded clothes hanger, and polyethylene foam pipe insulation.
- Wrap the center portion of the wire around the padded portion of the hanger six times. Equal amounts of wire should hang off both ends.
- Slip the foam insulation over each piece of wire hanging from the center of the hanger. Slide the insulation as far as it will go so that each piece is directly against the padding of the clothes hanger.
- Use packing tap to hold the insulation in place.
- Straighten out the hook of the hanger so that it can be used as the "neck" of the ghost later on.
-
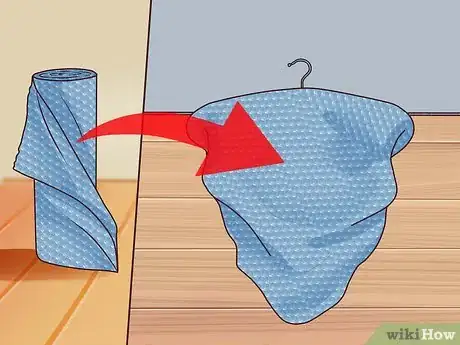
2Create a base for the torso. The torso is created by draping bubble wrap over your hanger.
- Trim large rectangles of bubble wrap over the top of the hanger. Each piece should be the same size, and the overall length should be twice the length you want for your finished ghost.
- Poke the straightened hook of the hanger through the center of the bubble wrap.
- Start with one piece of wrap and gradually add on other layers.
- Secure in place using packing tape.
-
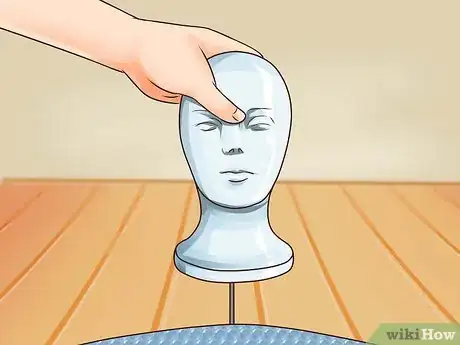
3Attach the head. Place a plastic foam wig head on top of the hanger, pushing down so that the straightened hook sticks through the center bottom of the foam.
- Secure with packing tape.
-
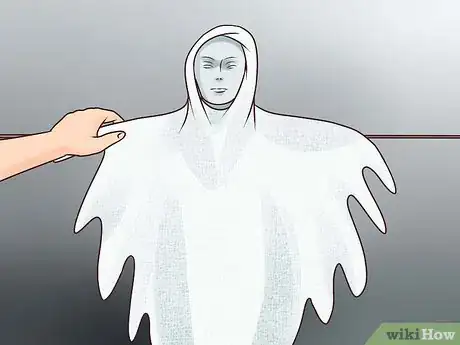
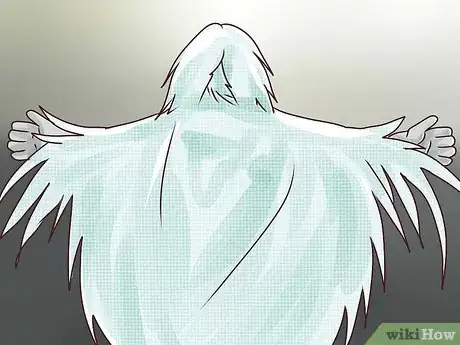
4Drape white fabric over the structure. Drape the center of the fabric over the center top of the head and let the rest hang down. Shred the bottom of the fabric with scissors to create a more ghost-like appearance.
- Save any scraps of fabric you cut or rip off.
- Use sheer white fabric or white fabric that has sheer pieces attached to it. Tulle works well, but other sheer, free-flowing fabrics work just as well.
- If you have trouble working with the fabric while the ghost is flat, temporary suspend it using fishing line tied around the neck.
-
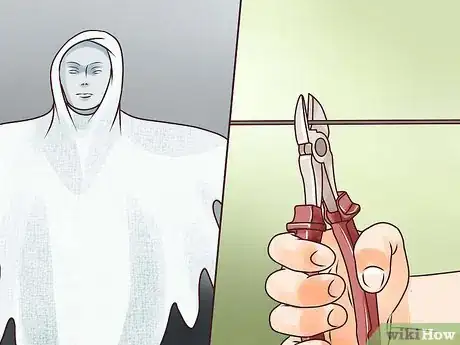
5Trim the arms. Use wire cutters or sharp crafting scissors to trim the arms to an appropriate length.
- Note that both sides of the clothesline wire arms should still be roughly equal to one another.
-
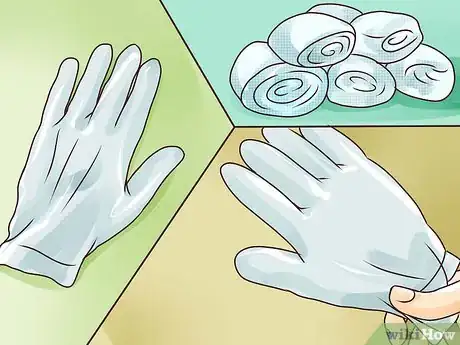
6Create hands. Stuff white gloves with cotton balls until they appear full. Tape the gloves onto the sharp wire edges of the arms.
- You can use plastic, rubber, or fabric gloves, but make sure to choose either clear or white gloves when making your choice.
-
7Fill in the figure. Glue scraps of torn fabric over the arms, head, and torso of the ghost.
- Once thee fabric has been completely used up, cut and shred pieces of white trash bag to fill the ghost figure in instead.
-
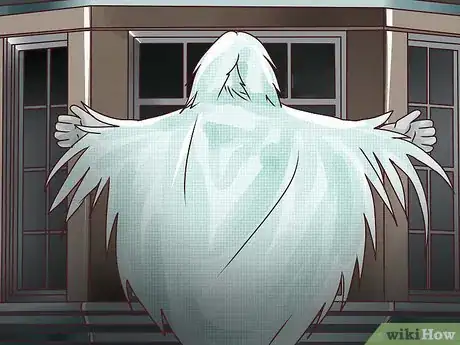
8Hang the ghost as a decoration. Thread fishing line or twine around the ghost's neck if you have not done so already. Use this line to hang the ghost from the ceiling, doorknob, or any other area you choose.
Ghost Meringues
-
1Preheat the oven to 200 degrees Fahrenheit (93 degrees Celsius). Meanwhile, prepare a baking sheet by lining it with parchment paper.
- Note that the taste and consistency of meringue cookies are delicate, so you should not use cooking spray or aluminum foil to line the tray. Stick with parchment paper.
-
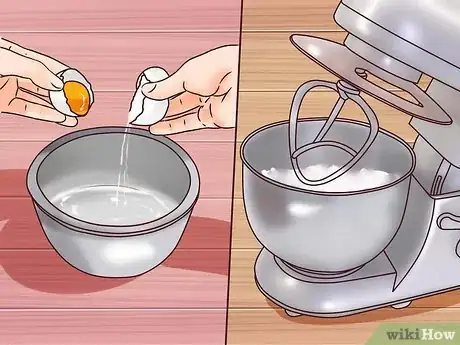
2Beat the egg whites and cream of tartar. Combine the two ingredients into a large metal or glass bowl and beat with an electric mixer on medium speed until frothy, soft peaks begin to form.
- With "soft peaks," the egg whites should be a solid, fluffy mass. When you remove the mixer from the egg whites, peaks or points should begin to form before deflating.
- Glass and metal bowls are best when beating egg whites because they tend to hold less grease than plastic bowls. The presence of grease can prevent your egg whites from whipping up correctly.
-
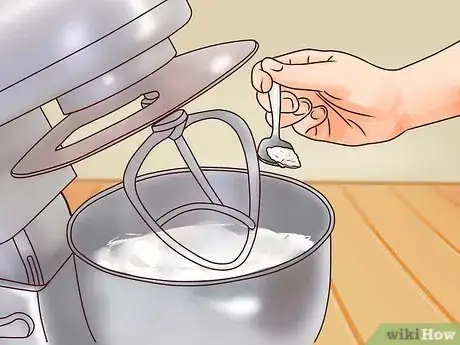
3Add the sugar and continue mixing. Sprinkle the sugar into your egg whites and continue beating at high speed for another 5 to 6 minutes, or until stiff peaks form.
- With "stiff peaks," the egg whites should form solid peaks or points when you remove the mixer. These peaks should hold their shape.
-
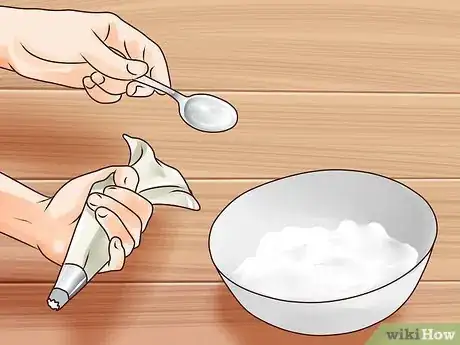
4Spoon the egg white into a pastry bag. Use a spoon or spatula to gently transfer the whipped egg whites into a pastry bag.
- Make sure that the bag is fitted with a large, round tip.
- Do not deflate or smash the egg whites into the bag since doing so will cause the air you just whipped into them to escape.
-
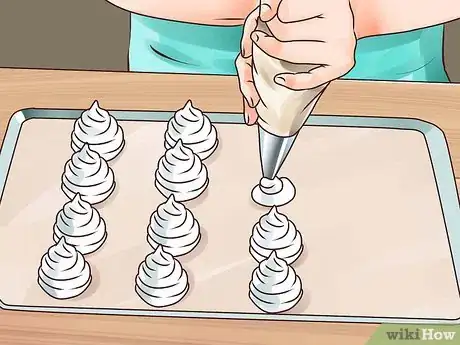
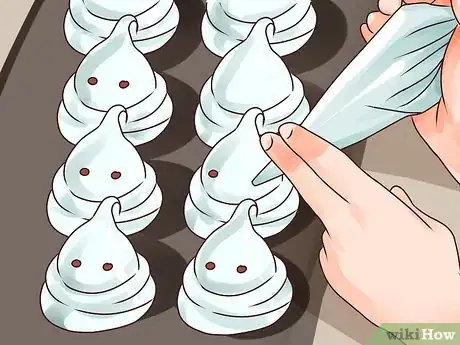
5Pipe 8 to 10 ghosts onto your baking sheet. Squeeze the egg whites out of the pastry bag and through the tip so that swirled ghosts are formed.
- Apply the egg whites to the baking sheet using a swirling motion. Each ghost should be made from one continuous, upward-swirling line of piped meringue.
- Swirl the meringue onto the sheet to form a spiral base, then gradually swirl the meringue in an upward tower shape so that the top is significantly thinner than the bottom of each ghost.
-
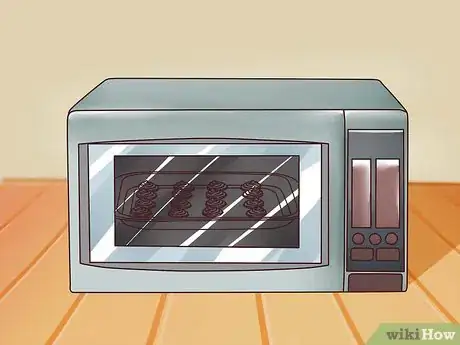
6Bake until dry. This will usually take about 1 hour to 1 hour and 15 minutes.
- Let cool on a wire rack before decorating.
-
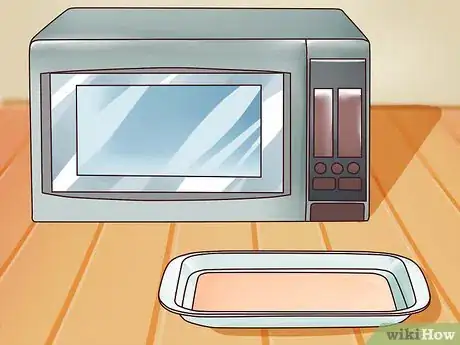
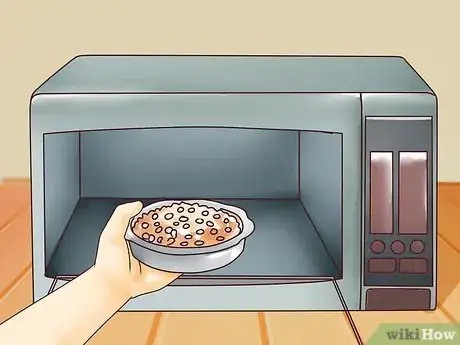
7Melt the chocolate chips. Place the chips in a microwave-save container and cook for 1 minute at 50 percent power.
- Stir the chips halfway through to prevent burning.
- Stir the partially melted chips after they come out of the microwave to melt any lumps that are still solid.
-
8Pipe the chocolate onto the cooled meringue ghosts. Transfer the melted chocolate into a resealable plastic sandwich bag. Cut a small corner off and pipe the chocolate through that corner and onto your ghost in the shape of eyes.
- Let the chocolate cool before displaying and serving.
Additional Ghost Crafts
-
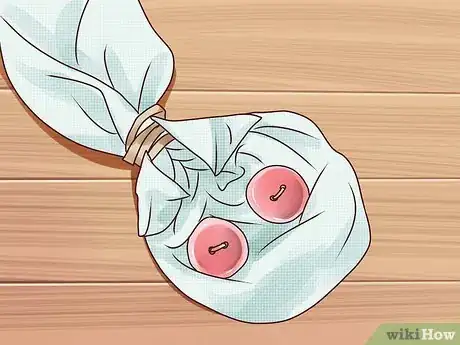
1Craft a simple ghost using felt. Place a ball of paper or fabric in the center of a felt circle. Tie off the head and let the rest of the felt hang down as the body.
- Use the same basic technique to make a ghost out of tissue or make a ghost from plastic grocery bags.
-
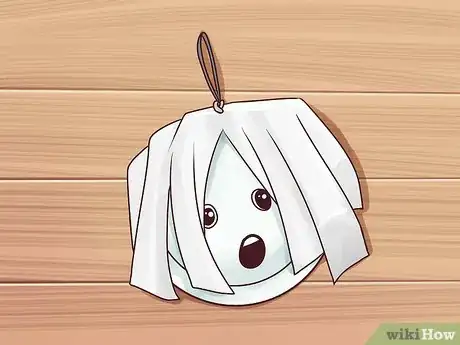
2Create a cute and easy paper plate ghost. Use a paper plate and strips of white tissue paper to create a ghostly face that you can glue or hang as a decoration. This craft is safe enough for kids to create.
-
3Make a ghost mouse using an old sock. An old white ankle sock can be used to make a cute ghost mouse. Decorate the sock with a face, ears, and a tail, then tie the body off from the head to give it a ghostly form.
-
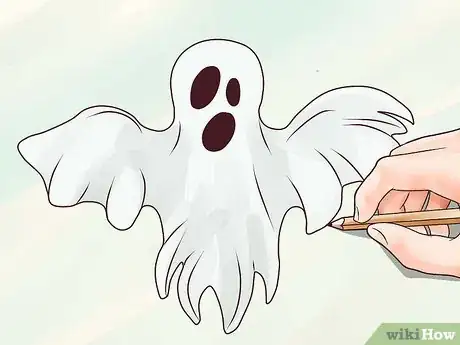
4Draw a ghost. You can draw an old-fashioned, traditional cartoon ghost with a few simple shapes. This drawing can be used to decorate posters and many other decorations.
-
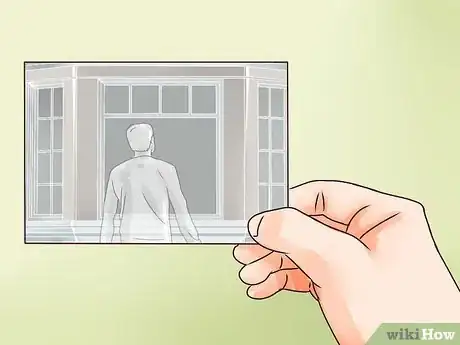
5Trick your friends into seeing a ghost in a photograph. By carefully manipulating two photographs together as you develop them, you can create a ghost-like afterimage from one photograph onto the other.
-
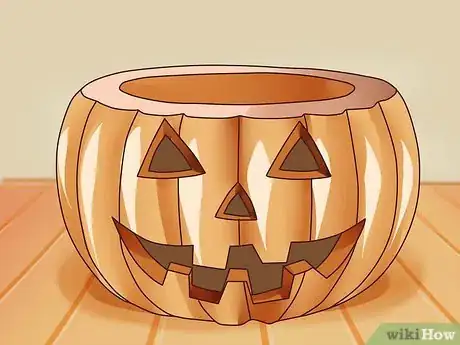
6Carve a ghost into your Jack-o-Lantern. Blend Halloween decorations together by carving the shape of a ghost directly into your pumpkin to create a spooky Jack-o-Lantern that will impress the neighbors.
Other Ghostly Recipes
-
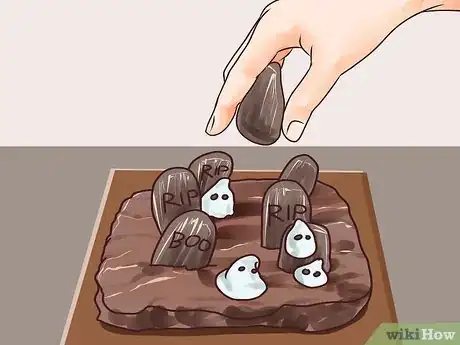
1Whip up a snack known as "ghosts in a dirt graveyard." The dirt is formed using crushed chocolate sandwich cookies and chocolate pudding. Make the grave stones and ghosts using cookies and whipped topping, respectively.
- Get creative with this theme to make other ghostly graveyard dishes. In addition to the standard dessert version, you can also make a cookie pizza or an appetizer centered around the same concept.
-
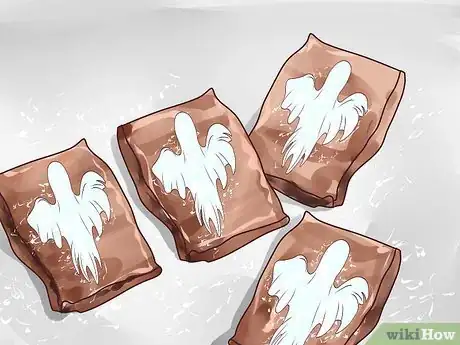
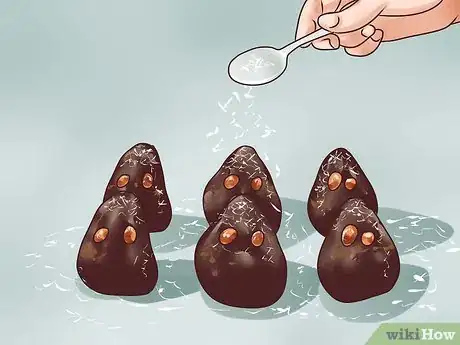
2Decorate your brownies with the shape of a ghost. A quick and easy way to decorate brownies and other frosted desserts is by sprinkling white sugar over a ghost stencil or template placed over the center of each serving.
-
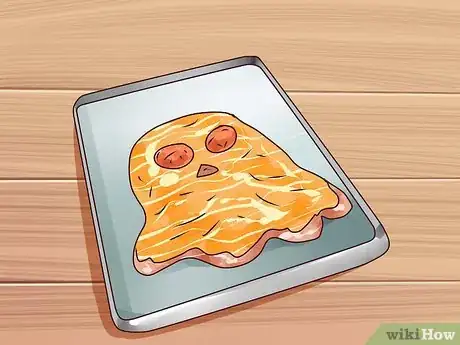
3Serve ghost-shaped pizza at your next Halloween party. Shape your favorite homemade or commercial pizza dough into the shape of a ghost and decorate with your favorite toppings.
-
4Make rich peanut butter and chocolate fudge ghosts. A few simple ingredients go into this fudge, which is then shaped into the form of a ghost and decorated accordingly.
Ghost Costumes
-
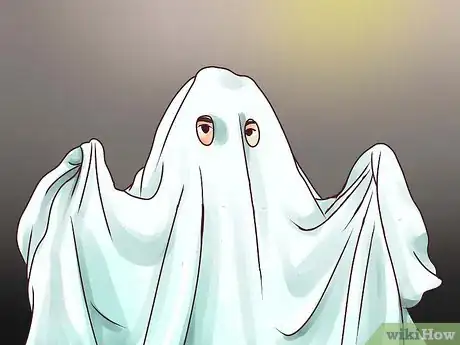
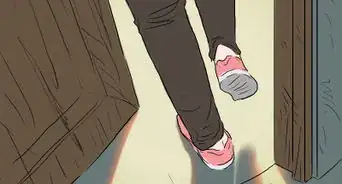
1Make a traditional ghost costume for Halloween. You can create a traditional ghost costume using little more than white fabric and scissors.
- For an even simpler alternative, make your ghost costume using an old bedsheet.
- You could also make normal clothes look ghostly by sprinkling them with baby powder. Complete the look with the right sort of makeup and hair style.
-
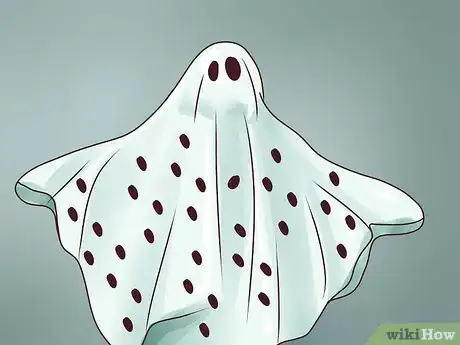
2Create Charlie Brown's ghost costume. Use the same basic method for creating a ghost costume, but instead of creating two holes for the eyes, cut many additional and unnecessary holes into the fabric.
Things You'll Need
Simple Ghost Decoration
- 2 paper cups
- 1 small inflatable balloon (water balloon size)
- Cheesecloth
- Scissors
- Fabric stiffener
- Wide-mouthed bowl
- Black felt
- Craft glue
Spookier Ghost Decoration
- 7 feet (2.1 m) clothesline wire
- Padded clothes hanger
- Two 3-foot (1 m) pieces of polyethylene foam pipe insulation
- Clear packing tape
- Bubble wrap
- Plastic foam wig head
- Sheer white fabric
- Fishing line
- White gloves
- Cotton balls
- White garbage bags
- Hot glue gun
Ghost Meringues
- Oven
- Shallow baking sheet
- Parchment paper
- Pastry bag
- Large, round tip for pastry bag
- Large glass or metal bowl
- Electric mixer
- Wire rack
- Microwave-safe dish
- Microwave
- Resealable plastic sandwich bags
References
About This Article
To make a fast and easy ghost decoration, stack two paper cups end to end and put an inflated balloon in the top one. Then, cut out 8 inches of cheesecloth, dip it in a fabric stiffener and drape it over the balloon. Once the fabric has stiffened, you can remove the fabric, glue eyes onto it, and hang it from the ceiling. Keep reading to learn how to make a scarier ghost with arms or how to bake candy ghosts!
