This article was co-authored by wikiHow staff writer, Hunter Rising. Hunter Rising is a wikiHow Staff Writer based in Los Angeles. He has more than three years of experience writing for and working with wikiHow. Hunter holds a BFA in Entertainment Design from the University of Wisconsin - Stout and a Minor in English Writing.
There are 12 references cited in this article, which can be found at the bottom of the page.
This article has been viewed 16,537 times.
Learn more...
When you combine dry ice and ethanol, it makes a super-cold liquid you can use to freeze things solid. While scientists use ethanol and dry ice baths for chilling chemicals, you can easily make one at home to see how objects react when they’re frozen. After you mix the ice bath, it will stay around −77 °C (−107 °F) until the dry ice sublimates. Just remember not to touch the dry ice or ethanol with your bare hands since it can cause frostbite.
Steps
Filling the Bath
-
1Wear insulated gloves and safety glasses. The dry ice and your ethanol bath will get extremely cold, so don’t touch it with your bare hands. Put on gloves that have an inner lining so your hands stay warm while you handle the ice. Since the fumes can also irritate your eyes, put on safety glasses so you stay protected.[1]
- If you don’t have insulated gloves, it’s okay to use disposable gloves as long as you don’t handle or touch the dry ice. Use a pair of tongs instead.
-
2Set up your workspace in a well-ventilated area. Dry ice and ethanol create fumes that can irritate your lungs or make it difficult to breathe if they build up in the room. If you’re making an ethanol bath at home, open a window or run a fan to circulate the air. If you’re in a lab setting, set up your experiment in a fume hood so the gases filter out of the room.[2]
- Dry ice is frozen carbon dioxide, which can cause asphyxiation if you work in an unventilated space.
- You don’t need to wear a mask as long as you don’t directly breathe in the fumes.
Advertisement -
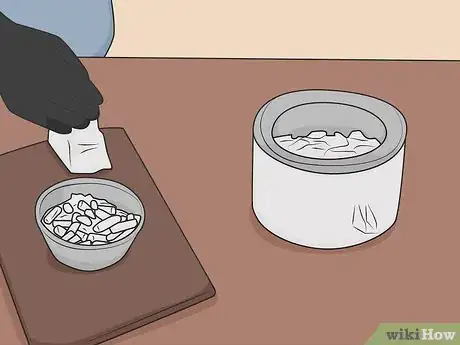
3Line the bottom half of a double-walled container with dry ice pellets. Check your local grocery stores to see if they sell dry ice or search online for an ice dealer near you. Set a double-walled or insulated container in your work area and scoop your dry ice into it. Avoid using a single-walled container since it will get extremely cold to the touch and could break. Fill the container halfway and shake it back and forth so they form an even layer.[3]
- You usually need to be at least 18 to buy dry ice.
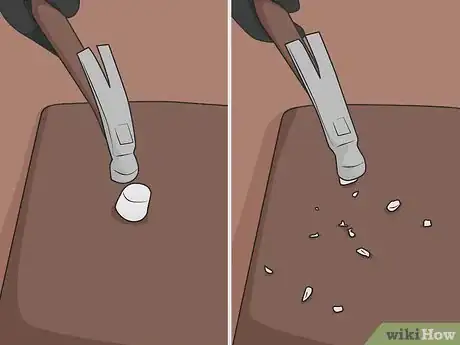
- If you can only buy a slab of dry ice, break it apart with a hammer so you can easily fit it in your container.
- You can also use a foam cooler placed inside of a larger cooler if you want to make a larger container.
- Avoid using a glass bowl or a container that can get damaged by extreme cold.
-
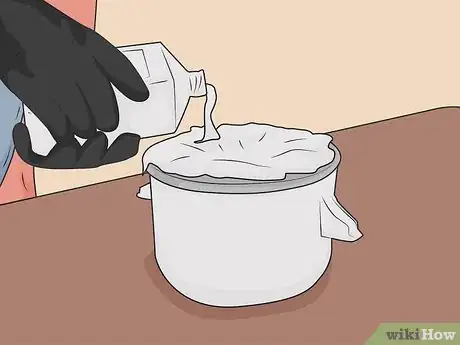
4Fill the container halfway with ethanol. Buy the purest ethanol you can get, or else the ice bath may have a more slushy consistency. Slowly pour the ethanol into the container. It’s normal for the ice to sublimate, or turn directly into a gas, but be careful not to breathe it in since it’s carbon dioxide. Add enough ethanol to just cover the tops of the pellets.[4]
- There usually aren’t age restrictions on ethanol since it’s not potable, but it may vary depending on your city or country.
- Don’t touch the ethanol after adding it to the dry ice since it will be extremely cold and cause frostbite.
Variation: You can also use isopropyl alcohol or acetone instead of ethanol. The cooling bath will still reach around −72 to −78 °C (−98 to −108 °F).
-
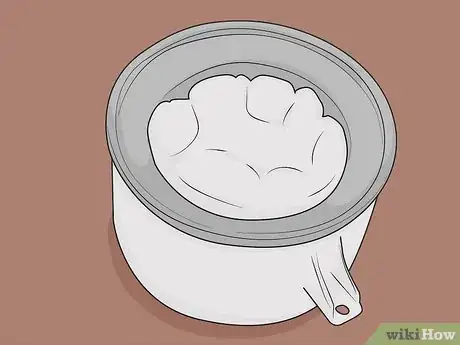
5Wait for the ethanol to stop bubbling to fill the rest of the bath. It’s normal for the ethanol to start bubbling as it cools down. As the ethanol gets colder, the bubbles will get slower or go away. Slowly add in more ethanol until the container is about ⅔-full so you can easily submerge items in it.[5]
- The new ethanol will bubble as well as you pour it in, so be careful that it doesn’t spill over the edge of the container.
Dipping Items in the Ice Bath
-
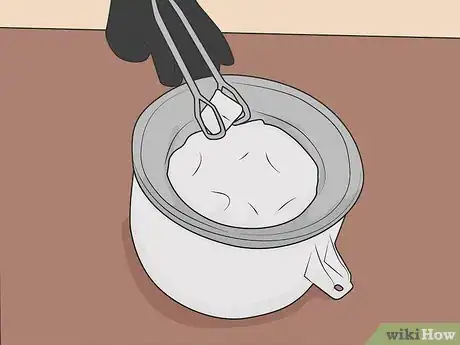
1Submerge the item in the ice bath with a pair of tongs. Use a pair of tongs that have an insulated handle so your hands don’t get cold. Securely grip the item you want to freeze in the tongs and dip them in the ethanol. Typically, it will take a few minutes for the item to freeze, but it may vary depending on the size and material.[6]
- If you’re trying an ethanol ice bath as a simple experiment, try submerging things like a bouncy ball, balloon, eraser, or piece of fruit to see how the texture changes.
- In an academic or laboratory setting, you may have to submerge the bottom of a beaker or flask to chill your chemicals.
Warning: Don’t eat any food you put in your dry ice bath since it will be contaminated with alcohol.
-
2Feel the frozen object to see how the ice bath hardened its texture. Pull the item out of the ethanol and set it on your work surface. Tap the item against the surface so you can see how it hardened and got brittle from the temperature change. If you want, you can even try hitting the object lightly with a hammer to see if it shatters apart.[7]
- For example, if you put an apple in your ice bath, it will feel dense and heavy like a baseball and will chip apart easily when you hit it.
-
3Add more dry ice and ethanol to the bath as they evaporate. Your dry ice will continue sublimating and disappear over time, and the alcohol may evaporate as well. Add small scoops of dry ice at a time so you don’t cause the ethanol to bubble over or overflow. If you notice there isn’t enough alcohol to submerge your items, pour in more until you can.[8]
- The first pieces of dry ice you put in will sublimate more quickly than ones you put in later since the ethanol will be colder.
Disposing of the Ethanol
-
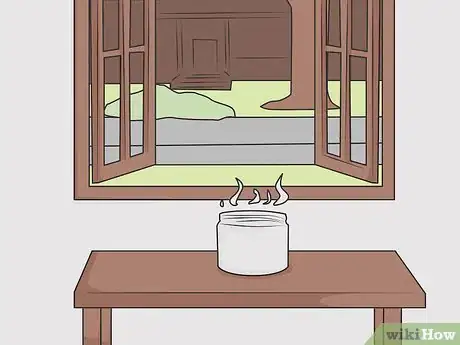
1Leave the ethanol in a well-ventilated space until it comes to room temperature. Whenever you’re finished, set your leftover ethanol and dry ice near a vent or window. Allow all of the gases to sublimate and evaporate so they don’t give off any more fumes. Wait until the ethanol is at room temperature again before handling it so you don’t hurt yourself.[9]
- Make sure other people in your household know not to touch or move the ethanol bath while it’s warming back up.
Warning: Ethanol is extremely flammable, so keep it away from open flames and heat sources.
-
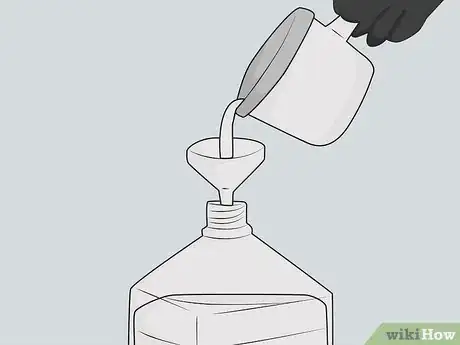
2Pour the ethanol into a plastic bottle with a cap. Find a large disposable bottle and make sure it has a tight screw-on cap. Use a funnel to pour the used ethanol into the bottle, being careful not to spill any. Seal the bottle once you transfer all of the ethanol so it doesn’t give off fumes or spill.[10]
- Avoid using old food containers for storing used ethanol since they aren’t acceptable for storing hazardous waste.
-
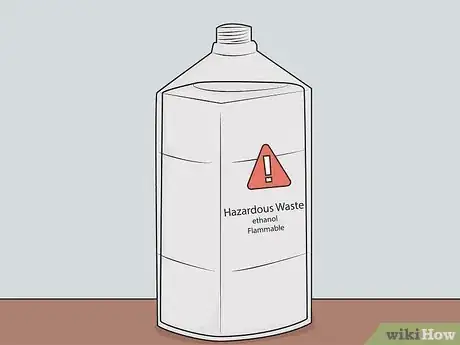
3Label the ethanol as hazardous waste with a marker. Use a permanent marker to write the words “Hazardous Waste” on the outside of the bottle. Include the words “ethanol” and “flammable” so others know exactly what you’re storing.[11]
- Never leave the bottle unlabeled, or else you may confuse or injure other people.
-
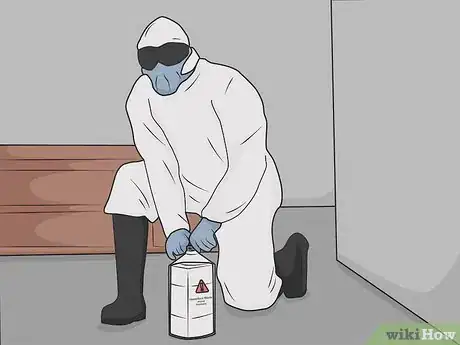
4Take the used ethanol to a hazardous waste disposal site. Contact your city’s waste management department and ask them how to properly throw away your ethanol. They may direct you to a hazardous waste disposal site, or let you know about special collection days where they will pick up the waste for you. Follow their directions carefully to get rid of your ethanol.[12]
- Do not rinse your ethanol down the drain since it’s flammable and the fumes could build up in sewers and pipes.
Warnings
- Don’t touch your ethanol ice bath with bare skin since it’s extremely cold and can quickly cause frostbite.⧼thumbs_response⧽
- Always wear safety glasses and gloves while working with dry ice and ethanol.[13]⧼thumbs_response⧽
- Dry ice and ethanol can create fumes that can irritate your lungs or cause difficulty breathing, so work in a well-ventilated area or under a fume hood if you have one available.[14]⧼thumbs_response⧽
- Ethanol is extremely flammable, so store it away from heat sources and open flames.[15]⧼thumbs_response⧽
Things You’ll Need
- Insulated gloves
- Safety glasses
- Double-walled container or ice bucket
- Dry ice pellets
- Ethanol
- Tongs
- Plastic bottle with a cap
- Marker
References
- ↑ https://www.ehs.washington.edu/system/files/resources/dryice.pdf
- ↑ https://www.ehs.washington.edu/system/files/resources/dryice.pdf
- ↑ https://youtu.be/l9v1K5jF_C0?t=24
- ↑ https://youtu.be/zjkzSW8sGlU?t=47
- ↑ https://youtu.be/l9v1K5jF_C0?t=52
- ↑ https://youtu.be/GLYBOOjj16k?t=387
- ↑ https://youtu.be/GLYBOOjj16k?t=410
- ↑ https://youtu.be/l9v1K5jF_C0?t=70
- ↑ https://youtu.be/l9v1K5jF_C0?t=74
- ↑ http://www.cwu.edu/ehs/sites/cts.cwu.edu.ehs/files/documents/CWU%20Laboratory%20HW%20Guidelines.pdf
- ↑ https://sites.chemengr.ucsb.edu/~ceweb/faculty/scott/Chemical%20SOPs/Ethanol.pdf
- ↑ https://www.epa.gov/hw/household-hazardous-waste-hhw
- ↑ https://www.ehs.washington.edu/system/files/resources/dryice.pdf
- ↑ https://www.ehs.washington.edu/system/files/resources/dryice.pdf
- ↑ https://www.nj.gov/health/eoh/rtkweb/documents/fs/0844.pdf


