This article was co-authored by wikiHow Staff. Our trained team of editors and researchers validate articles for accuracy and comprehensiveness. wikiHow's Content Management Team carefully monitors the work from our editorial staff to ensure that each article is backed by trusted research and meets our high quality standards.
There are 10 references cited in this article, which can be found at the bottom of the page.
This article has been viewed 53,558 times.
Learn more...
Wine vinegar is a delicious addition to soups, marinades, and salad dressings. However, the store-bought versions can be expensive and lack the layered flavors of homemade vinegar. Luckily, it’s easy and cheap to make your own wine vinegar at home. Find a starter, choose a wine, mix everything together, and let it ferment for a few months. After it’s ready, you can store it in glass or ceramic bottles in your pantry for up to one year.
Ingredients
- White or red wine
- Starter vinegar (mother of vinegar)
Steps
Mixing Wine Vinegar
-
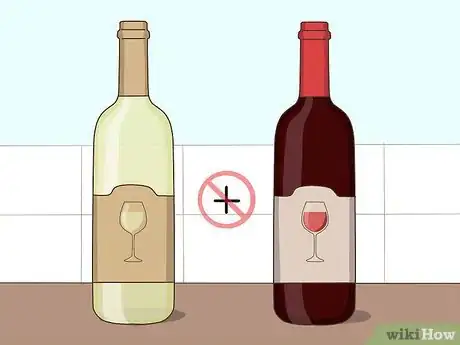
1Choose your wine. You can combine a few glasses of leftover wine or buy a fresh bottle to use. Don’t mix red and white wine together. Instead, either make white wine vinegar or red wine vinegar. Red wine vinegar is great for bold salad dressings, hot and sour soup and deglazing cooking pans. White wine vinegar is lovely in rich sauces and tart vinaigrettes.[1] For example:
- If you want to make white wine vinegar, choose a white wine you enjoy drinking, such as a chardonnay or pino grigio.
- To make red wine vinegar, choose a red wine that you enjoy drinking. For example, select a tasty merlot or cabernet.
- The more aromatic the wine is, the more flavorful the vinegar will be.[2]
-
2Find a “Mother of Vinegar”. This commercially available product is also called a vinegar starter or a mother. The bacteria in a mother creates vinegar when combined with wine, cider, or fresh fruit juice. You don’t have to use a mother when making wine vinegar. However, some people find that using a mother helps create wine vinegar faster.
- You can purchase this substance from wine and beer supply vendors or online.[3]
Advertisement -
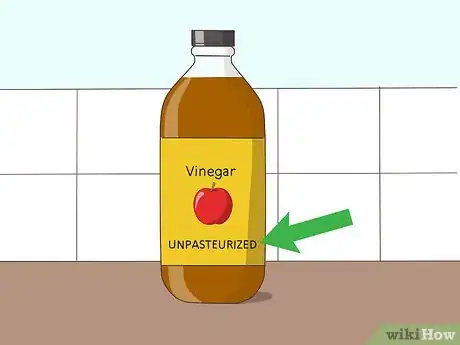
3Choose a live vinegar. If you don’t want to purchase a mother, use a live vinegar instead. Look for vinegars that are advertised as “unpasteurized,” “unfiltered,” and “active”. For example, Braggs organic apple cider vinegar is a live vinegar.
- If the vinegar is not advertised as "unpasteurized" or "active," it's not a live vinegar. If you use this ingredient, you won't be able to create wine vinegar.
-
4Mix the wine and starter together. Use a large, wide-mouthed jar or bowl made of nonreactive materials such as glass or ceramics.[4] Stir everything together well. This will evenly distribute the bacteria throughout the wine and aerate the mixture.
- If you’re using a live vinegar, add 3 tablespoons of vinegar for every cup of wine.[5]
- If you’re using a mother, follow the instructions on the package. Otherwise, add the mother to the wine and gently mix it in.
-
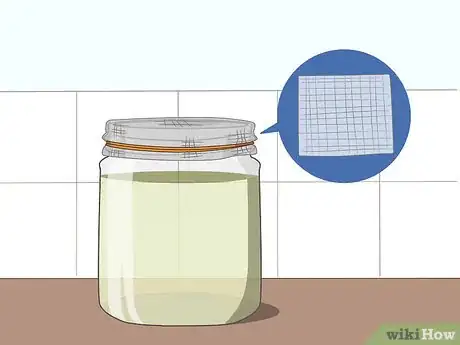
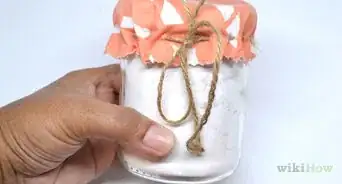
5Cover the jar with a cheesecloth. The cheesecloth will block out the light while letting air circulate through the mixture.[6] First, drape the cheesecloth loosely over the top of the jar. Next, secure the cheesecloth in place with a rubber band.
- Cheesecloth can be purchased at gourmet grocery stores, wine and cheesemaking supply depots, and online.
- You should be able to smell the wine vinegar when you place your face close to the cheesecloth. Otherwise, loosen the cheesecloth to allow air circulation.
Fermenting Wine Vinegar
-
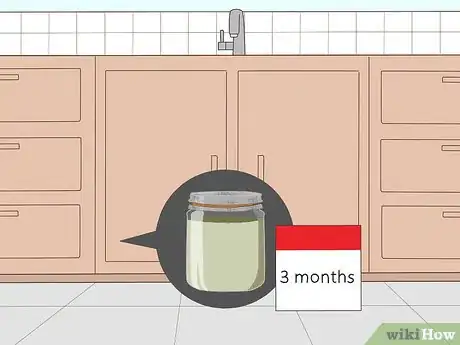
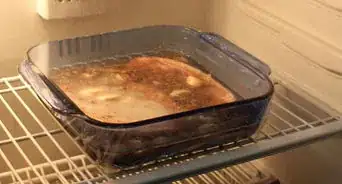
1Set the container in a cool, dark place. Place your cheesecloth-covered container in a dark corner of a pantry or under your sink. Choose a spot that won’t get much light or heat. The vinegar will need to sit for two to three months while it ferments.
- The optimal temperature range is 75 to 86 degrees Fahrenheit (24 to 29 degrees Celsius.) If you store your vinegar outside of this range, the process will take longer.[7]
-
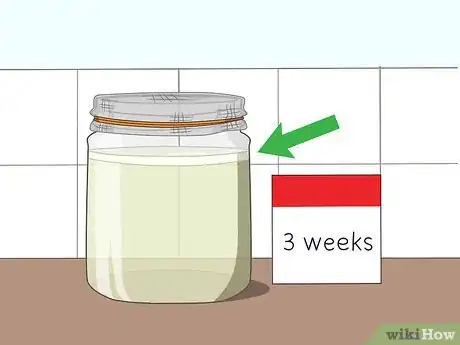
2Monitor your vinegar. After three weeks of fermentation, examine the vinegar for a gelatinous film. This is the new mother. Try not to disturb this layer or you’ll risk agitating the bacteria that creates wine vinegar.[8]
- If you don’t find a gelatinous layer after a few weeks, the wine isn’t turning into vinegar. This happens when you use pasteurized vinegar as a starter. Throw away your creation and start over, using live vinegar.
-
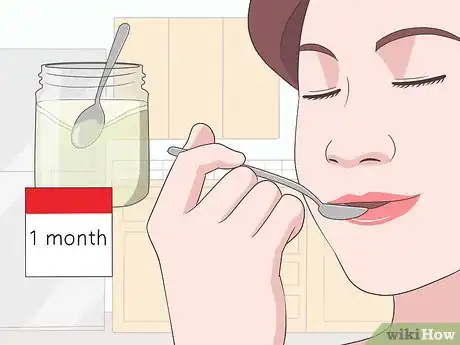
3Taste the vinegar for doneness. Begin tasting the wine vinegar periodically after one month of fermentation. To do so, gently push aside the mother with a spoon and gather a small sample of vinegar. You’re looking for a brightly tart, acidic taste.[9]
- If the wine vinegar isn’t ready yet, gently replace the mother and allow the vinegar to continue fermenting.
-
4Harvest the vinegar. Once your vinegar tastes ready, it’s time to harvest it. First, use a spoon to push the mother down into the vinegar. Next, pour away the apple cider into a large bowl. While you pour, use the spoon to block the mother and keep it in the jar.[10]
- Make sure the bowl has been cleaned well with hot water and soap before using it. Otherwise, you may introduce bad bacteria into your vinegar.
-
5Save the mother to use in new batch. Add more wine to the jar with the mother in it. Replace the cheesecloth and ferment the vinegar for another two to three months. Once the mother is used up, it will sink to the bottom and another mother will form on the vinegar.
- Once the mother sinks all the way to the bottom, you can scoop it out and throw it away.
- You can use this method to create wine vinegar indefinitely.
Storing Your Vinegar
-
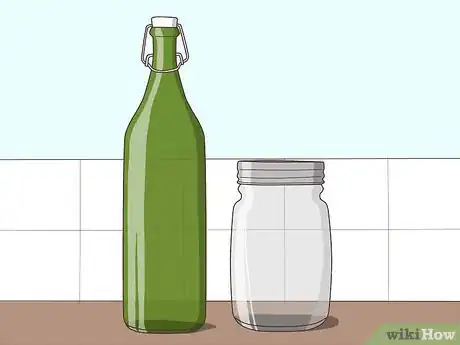
1Choose a secondary storage container. Choose a heat-proof container that’s made of a nonreactive ceramic or glass material. The container should also come with an airtight lid or cork. For example, purchase a swing-top or sealable wine bottle.[11] Some other examples of storage containers include:
- Mason jars with lids
- An old empty vinegar container
- A glass beaker with a cork
-
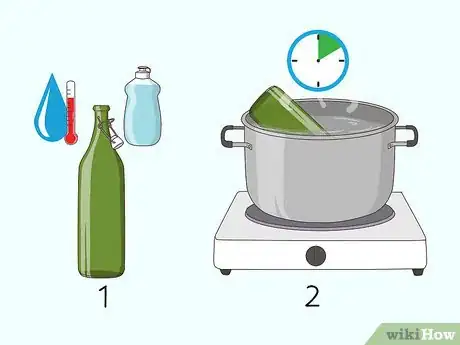
2Sterilize your storage container. Wash the container with hot water and a strong dish soap. Next, bring a pot of water to boil on your stove. Submerge the container in boiling water for ten minutes to sterilize it. Allow it to air dry completely.[12]
- Some dishwashers have a “sterilize” option that you can use instead.
-
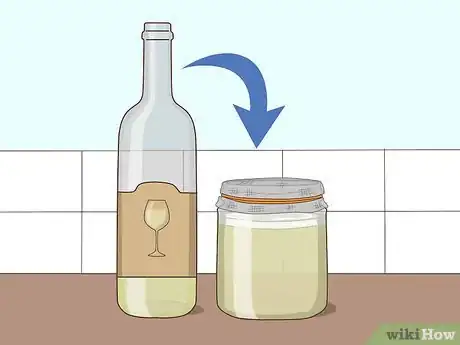
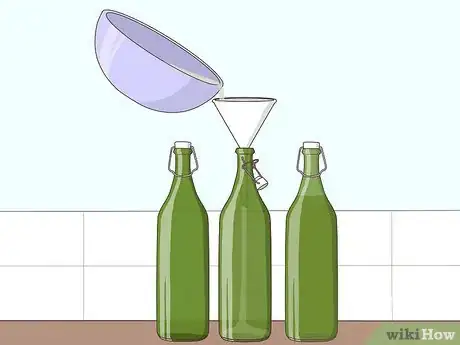
3Pour the vinegar into your storage container. Use a funnel to siphon the vinegar from the bowl to your storage container. Depending on how much vinegar you make, you may need two or three containers to collect everything. After pouring the vinegar, tightly secure the lid of the storage container.
- Store your wine vinegar in a cool, dark place such as your pantry for up to one year.[13]
Things You'l Need
- Sterile wide-mouthed jar
- Cheesecloth
- Rubber band
- Bowl
- Secondary storage container, such as a glass bottle
References
- ↑ http://www.thekitchn.com/5-essential-vinegars-for-your-pantry-stock-the-pantry-106888
- ↑ http://www.bonappetit.com/columns/seasonal-cooks-columns/article/how-to-make-your-own-red-wine-vinegar
- ↑ http://www.foodandwine.com/articles/the-virtue-of-homemade-vinegar
- ↑ http://www.wine-tastings-guide.com/how-to-make-wine-vinegar.html
- ↑ http://phickle.com/wine-vinegar-how-to/
- ↑ http://www.bonappetit.com/columns/seasonal-cooks-columns/article/how-to-make-your-own-red-wine-vinegar
- ↑ https://winemakermag.com/465-making-flavorful-vinegar
- ↑ http://phickle.com/wine-vinegar-how-to/
- ↑ http://www.epicurious.com/expert-advice/how-to-turn-wine-into-vinegar-article
