This article was co-authored by Quynh La. Quynh La is a Professional Baker and the Owner of Sugar Bakery & Cafe in Seattle, Washington. With over seven years of experience, she specializes in baking cakes, cookies, croissants, and bread. Quynh holds an AAS in Culinary Arts from South Seattle College and a second AAS in Specialty Desserts & Bread from Seattle Central College.
wikiHow marks an article as reader-approved once it receives enough positive feedback. In this case, 100% of readers who voted found the article helpful, earning it our reader-approved status.
This article has been viewed 92,167 times.
Ah, a crusty baguette with fresh butter - is there any greater culinary delight? French bread tastes wonderful fresh from the oven; once you start making it at home, you won't want to stop. Read on for simple instructions on making French bread. This recipe makes 2 or 3 large batons.
Ingredients
- 6 cups bread flour
- 1 tablespoon kosher salt
- 2 teaspoons yeast
- 2 cups warm water
Steps
Making the Dough
-
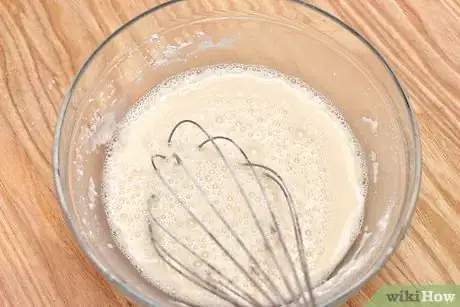
1Proof the yeast. Mix 1/4 cup of flour and 1/2 cup of warm water to make a slurry, then add the yeast and wait for it to proof. It will begin foaming when it's ready.
-
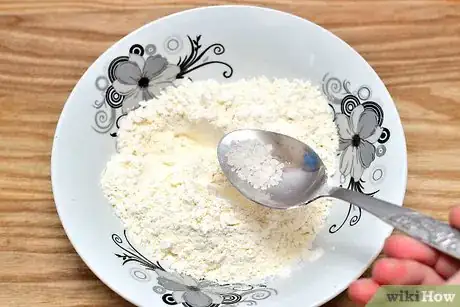
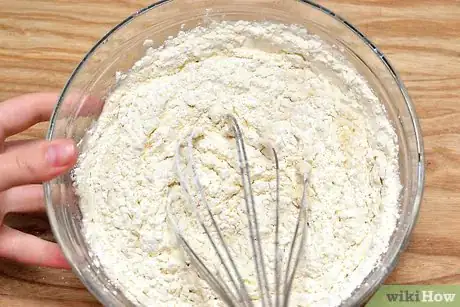
2Place the remaining flour and the salt in a mixing bowl. Whisk it to combine, or use a dough hook attachment on your mixer to stir it up.Advertisement
-
3Add the proofed yeast.
-
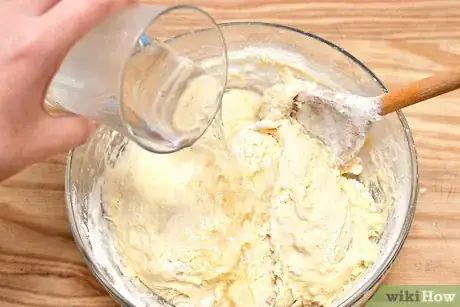
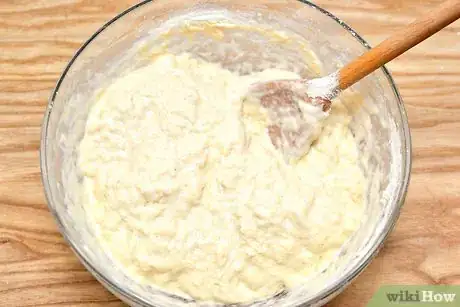
4Mix the dough and add water. Turn on the dough hook attachment at its lowest speed, or use a wooden spoon to mix the dough. Add water a few tablespoons at a time, mixing constantly, until the dough comes together and pulls away from the sides of the bowl.
-
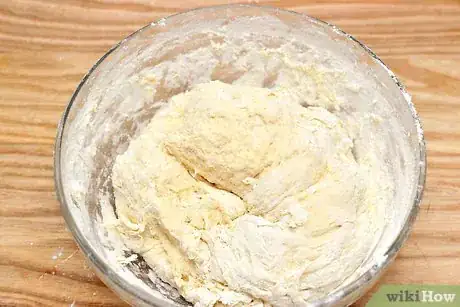
5Stop mixing and let the dough rest. Allow it to absorb the water for a few minutes. This will make it easier to get the final flour/water ratio correct.
-
6Continue mixing. Add additional water or flour slowly until the bowl is “clean,” without lots of bits of dough clinging to the sides. When you pinch the dough it should be just slightly sticky. If it seems too wet, add some more flour (try about ¼ to ½ cup) and process a bit more.
-
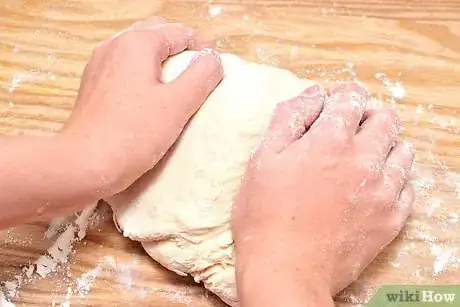
7Knead the dough. Turn on the dough hook attachment to a medium speed. If you are not using a machine, you will need to knead about 10 to 15 minutes by hand to distribute the ingredients and develop the gluten in the flour. Flour your work surface and hands, then turn out the dough onto the surface and knead.
-
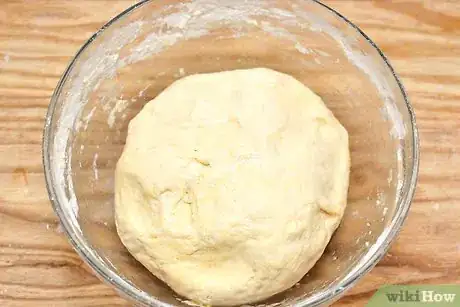
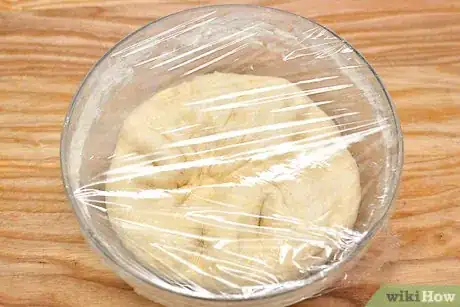
8Let the dough rise. Put the dough into a bowl 3 times larger than the amount of flour used. Oil the bowl with cooking oil, the place the dough in the bowl and cover it with plastic wrap or a kitchen towel. Set it in a warm area of the kitchen to rise.
- The first rising will take a couple of hours, depending on how warm a spot the bowl is left in. You can let the dough rise in the refrigerator overnight if you prefer.
-
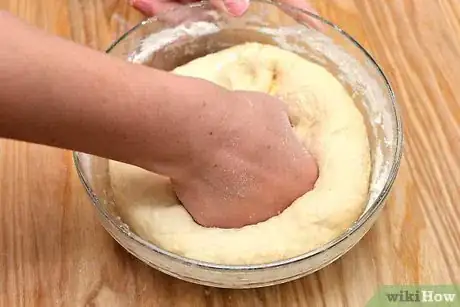
9Punch down the dough. After the dough has roughly tripled in volume, you should “punch down” the dough by poking it with your fingers to deflate it.
-
10Let the dough rise again. Place it back in an oiled bowl and cover with plastic wrap. Set it in a warm area to rise a second time. When it has doubled in size, punch it down again.
-
11Let the dough rise a third time. Three risings encourage smaller bubbles in the dough. If you want to speed the process or prefer a courser bread (more large bubbles), you can eliminate one or two of these risings.
Shaping the Dough
-
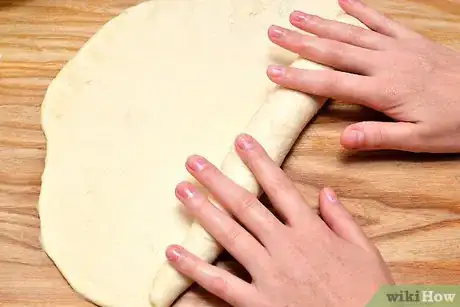
1Form batons or baguettes. Cut the dough into two or three lumps and work on one lump at a time. Flour your work surface and hands. Roll out the dough into a rectangle about as long as desired for the baton (a shorter, wider loaf) or baguette (long and thin). Starting at one long edge, roll the dough tightly into the baton or baguette shape and pinch the seam when done.
- Other shapes are certainly possible. A round loaf can be made by tucking the sides of the “lump” under to form a round, smooth loaf. A baguette is just a thinner baton.
-
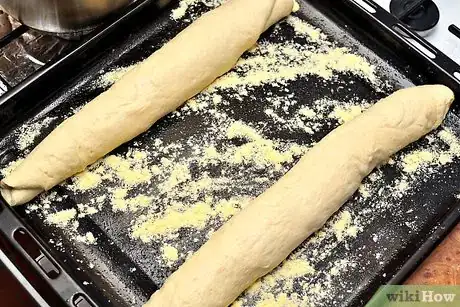
2Put the shaped dough into a baking pan. If you're using a cookie sheet, lightly oil and sprinkle with cornmeal; for holed sheets, lightly oil. You can fit two or three pieces on the same sheet.
-
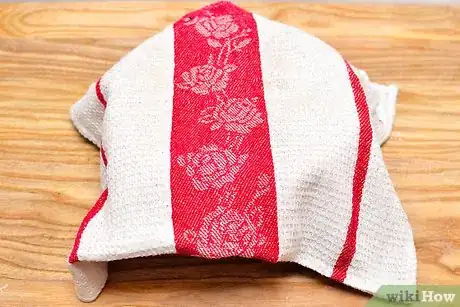
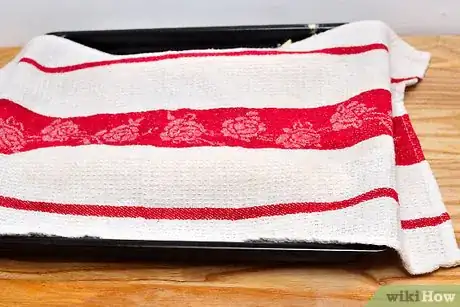
3Let the dough rise a final time. Cover the loaves on the sheet with a damp kitchen towel and let rise until roughly doubled in size. This should take about 45 minutes to an hour, depending on the temperature in your kitchen.
Baking the Bread
-
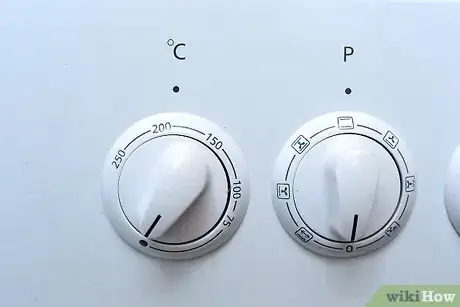
1Preheat on the oven to 450 degrees.
-
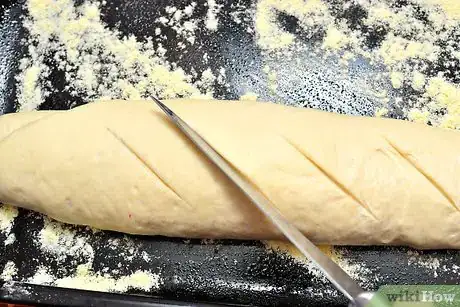
2Slit the loaves. Uncover the loaves and slit each loaf with a very sharp knife. (Artistic skills are helpful but not required). The usual pattern is a diagonal slicing about 1/2-inch deep and about 1 inch (2.5 cm) apart. More artistic types can create a “wheat sheaf” pattern.
- A salty crust is something many eaters prefer. Two possible techniques are to paint the loaves with a mixture of 1 egg white, about 1 tablespoon of salt, and 1/4 cup or so of warm water; or spray the loaves lightly with some water and sprinkle on coarse salt.
- For a really salty crust combine both approaches (paint first, then sprinkle).
-
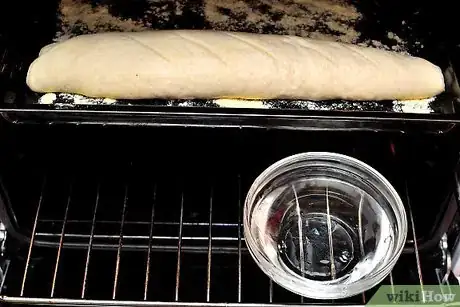
3Put the loaves in the oven and add moisture. When the oven is hot, put the loaves on a middle rack. Spray some water into the oven to make a moist baking environment. You want a moist environment to encourage the dough to rise without splitting the surface (the slitting with a knife predefines where it should split) and to develop the crust.
- Another technique is to put a pan of water on a bottom rack for the first 10 minutes.
- If you have a gas oven, the moisture levels in the oven will be higher naturally than for an electric oven.
- A real baker’s oven is ideal but they cost something like $12,000.
-
4After 10 minutes, turn the oven down to 350 degrees. Another spray with the water will also help with moisture and temperature.
-
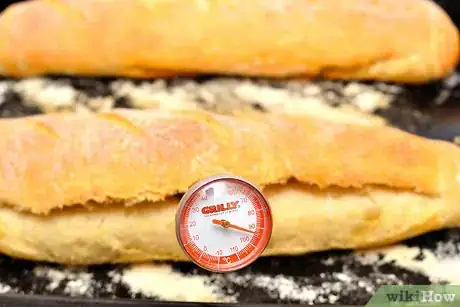
5Bake the bread for 20 more minutes. Remove the bread from the oven when the internal temperature is 190 degrees. Much cooler than this, the bread will be “doughy;” much hotter and it will be dry. You can measure the temperature with a thermometer.
-
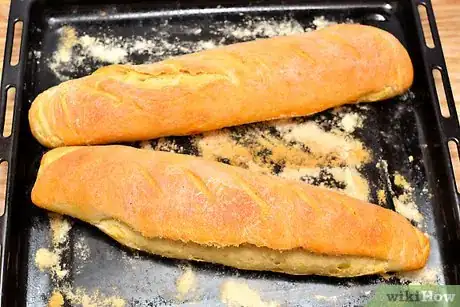
6Remove from the oven and put on a cooling rack. When cool, the bread can be eaten immediately. Some purists insist on tearing off chunks but it is OK to cut slices since many people seemed to mangle the loaf in the tearing process. Top with butter/margarine (savory) or a fruit jam (sweet), if desired. De gustibus non testutantum est – Latin: “One cannot dispute taste.”
Community Q&A
-
QuestionHow long does the second rising take?
 Community AnswerIf you are only resting the dough before you shape it another time, 20 minutes should generally be okay. If you are proofing the dough right before baking, you will know when it is proofed if it very slowly bounces back when you poke it with your finger.
 -
QuestionHow long does it take to make this bread?
 QamarTop AnswererFor the whole process, it can take nearly 3-4 hours.
 -
QuestionCan I use regular salt in this recipe?
 Community AnswerYes, regular salt is fine. Use half a tablespoon of regular salt, as it is much denser than kosher salt.
Things You'll Need
- Mixer with dough hook, or a big bowl and large wooden spoon
- Rolling pin
- Bread sheet or cookie sheet
- Water spray bottle
References
About This Article
To make French bread, start by mixing bread flour, water, and yeast until the yeast dissolves. Once the mixture foams, add it to the bowl of a stand mixer along with more flour and some kosher salt. Then, mix the dough until the it starts to pull away from the sides. Keep mixing the dough for 10 minutes, then let it rise in a warm place for 2 hours. Next, deflate the dough with your fingers and let it rise 2 more times. Finally, shape the dough into loaves and allow them to rise before baking them in a 450° Fahrenheit oven. For tips on how to get the perfect brown, crispy crust on your bread, keep reading.
