wikiHow is a “wiki,” similar to Wikipedia, which means that many of our articles are co-written by multiple authors. To create this article, volunteer authors worked to edit and improve it over time.
wikiHow marks an article as reader-approved once it receives enough positive feedback. In this case, 100% of readers who voted found the article helpful, earning it our reader-approved status.
This article has been viewed 138,363 times.
Learn more...
Making your own wine at home is simple, fun, and worth every sip. A colorful and tasty addition to any wine rack, fruit wines also make fantastic cooking ingredients for sauces, marinades, salad dressings, and even desserts. While making fruit wine takes a lot of time, the process is easy to understand can be done right from home with simple ingredients. Homemade fruit wines make great gifts and provide interesting flavors. Make a cherry wine that will intrigue your party guests or enjoy it yourself!
Ingredients
- 16 cups cherries
- 2 cups honey
- 1 packet yeast
- Filtered water
Steps
Making Cherry Wine
-
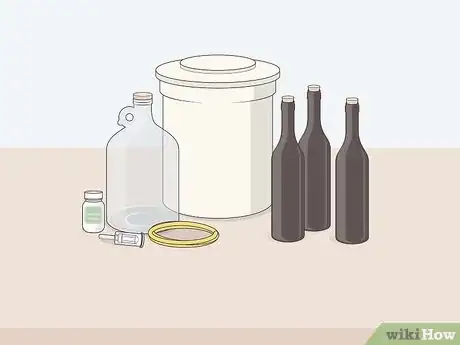
1Set up your space. Make sure you have a large clean counter space to work. You may need to gather some special winemaking supplies to help your wine ferment properly, but they should be relatively inexpensive. You will need:
- A 2 gallon (7.6 L) crock or glass jar
- A 1 gallon (3.8 L) carboy (a glass container with a small neck)
- An airlock
- A thin plastic tube to be used for siphoning
- Clean wine bottles with corks or screw caps
- Campden tablets (potassium or sodium metabisulfite[1] ) (optional)
-
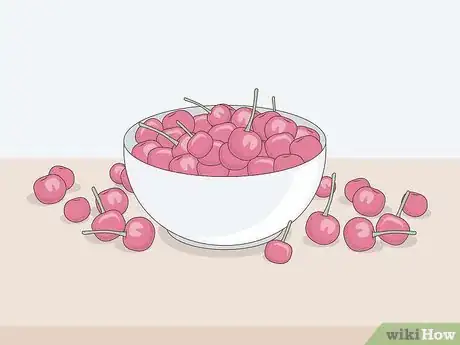
2Get your cherries. You can use fresh or frozen cherries. Here are some things to consider when choosing cherries:
- Frozen fruit is the best way to make country wines since it helps break down the fruit and promotes fermentation.[2] However, the cherries are picked when fully ripe and frozen immediately, instead of being allowed to ripen over several days on the store shelves.
- Frozen cherries already have the seeds removed, so there will be less work involved when using frozen cherries.
- You can also freeze fresh cherries, just make sure to take the seeds out first!
- If using frozen cherries, make sure your fruit has been in the freezer for at least 3 days before beginning the process.
Advertisement -
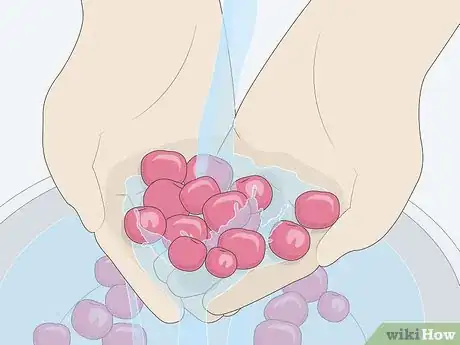
3Clean the fruit (optional). This step is only necessary if you are working with fresh cherries. Take off the stems and leaves and rinse the cherries thoroughly.
- Some winemakers choose not to wash the fruit before crushing. Since fruit has natural yeasts on its skin, it's possible to make wine using only the yeast from the fruit's skin and the air. However, washing the fruit and controlling the yeast you add allows you to ensure that the flavor of the wine will be to your liking
- Allowing wild yeast to grow can produce foul flavors.
- If you're up for an experiment, you could make two batches of wine, one with controlled yeast and one with wild, to find out which you like best.
-
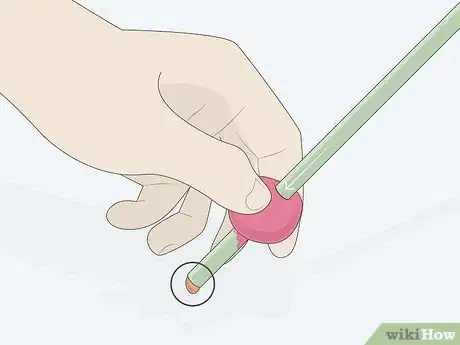
4Remove the seeds (optional). Again, this step only applies to those using fresh cherries. Removing the seeds can be tedious, difficult, and time-consuming. If you are using fresh cherries, try these methods to remove the cherry pits[3] :
- Use a toothpick, unbent paper clip, hair pin, or orange stick (as for manicures). Insert whichever tool you choose into the stem end of the cherry. You should feel it hit the pit. Twist your tool around the pit and pop it out. This is not easy. Be patient, experiment a bit for the twisting motion that works best for you.
- Insert a pastry tip or straw into the stem end of a cherry and push it through. The tip or straw should hit the pit and push it out the other side.
-
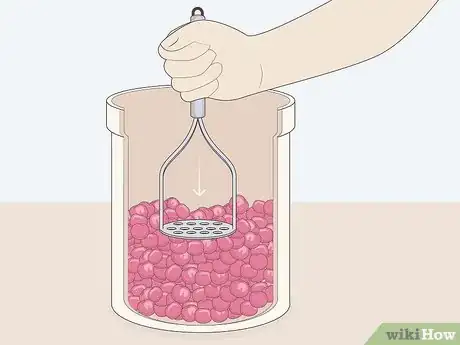
5Crush the cherries. Place your cherries into a crock and use a potato masher to crush the cherries until the level of the cherry juice is within 1 1⁄2 inches (3.8 cm) of the top of the crock.
- Top your crock off with filtered water if you don't have enough cherry juice to fill the crock almost to the top.
-
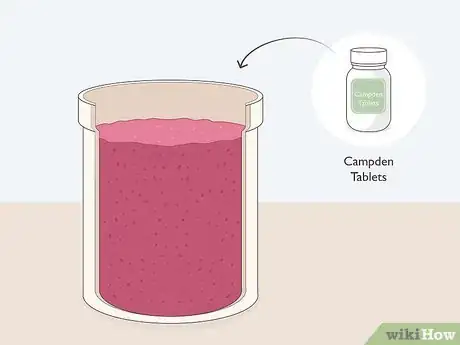
6Add your Campden tablet (optional). This releases sulfur dioxide into the mixture, killing wild yeast and bacteria.[4] If you're starting with fresh cherries and making wild yeast wine, don't do this.
- As an alternative to using a tablet, you can pour 2 cups of boiling water over the fruit.
- Using tap water can affect the taste of your wine since it contains additives. Be sure to use filtered or spring water.
-
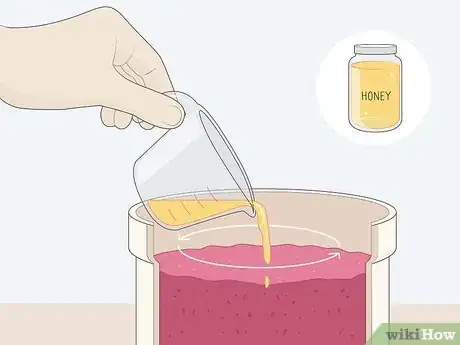
7Stir in the honey. Honey provides food for the yeast and sweetens your wine. The amount of honey you use will directly affect the sweetness of your wine. Here are some things to consider:
- If you prefer a sweeter wine, add more honey. If you don't like it as sweet, limit your honey to 2 cups.
- You can add sugar or brown sugar instead of honey if you'd like.
- You can always add more honey later if your wine doesn't come out as sweet as you like.
-
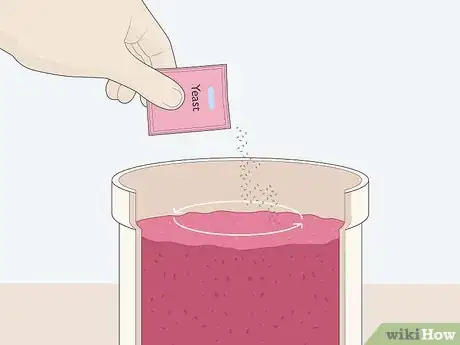
8Add the yeast (optional). If you're using your own yeast, now is the time to add it. Pour it into the crock and stir it into the mixture with a long-handled spoon.
- Only if you're making wild yeast wine can you skip this step.
Fermenting Cherry Wine
-
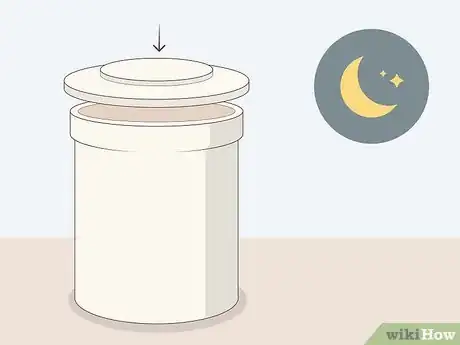
1Cover your crock and let it sit overnight. The smell of your fermenting wine can attract insects so be sure to close your container enough to keep insects out while still allowing air to flow in and escape. You can use a crock lid designed for this purpose or stretch a cloth or t-shirt over the opening and secure it in place with a large rubber band. Place the covered crock in a warm area with a temperature around 70 degrees overnight.
- Putting the crock in a cool place won't facilitate the growth of the yeast. Storing it in a place that's too warm will kill the yeast. The best bet is to store your fermenting wine in a place that is room temperature.
-
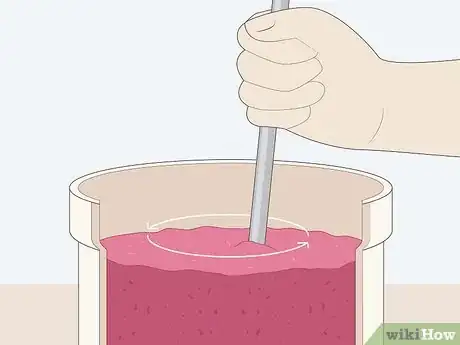
2Stir your mixture a few times per day. Now that your wine is fermenting, your winemaking process will move a lot slower. The day after you make the mixture, uncover it and stir it thoroughly before covering it again. Repeat this process every 4 hours or so the first day, then keep stirring a few times per day for the next 3 days.
- The mixture should start bubbling as the yeast moves into action.
- This is the fermentation process that will lead to delicious wine.
-
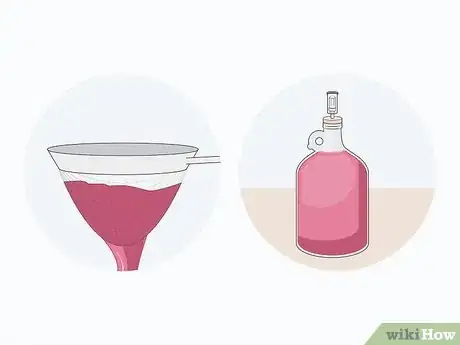
3Strain and siphon the liquid. When the bubbling slows down, about 3 days after it begins, it's time to strain out the solids and siphon the liquid into your carboy for longer-term storage.
- Once you've siphoned it into the carboy, affix the airlock to the opening to allow for the release of gas while preventing oxygen from coming in and spoiling your wine.
- If you don't have an airlock, you can use a small balloon placed over the opening. Every few days, pull off the balloon to let out the collected gas and replace it right away.
-
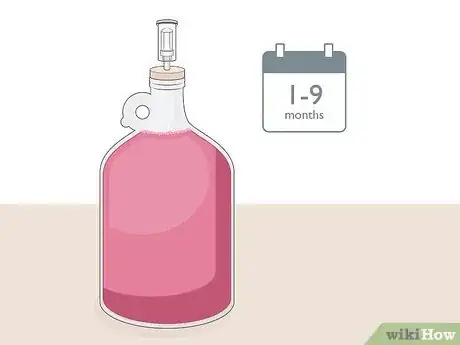
4Age your wine. Let the wine age for at least one month. It's better if you can let it age for up to nine, during which time the wine will mellow, enriching the taste.
- If you used extra honey in your wine, it's better to age it on the longer side, or it may taste overly sweet.
-
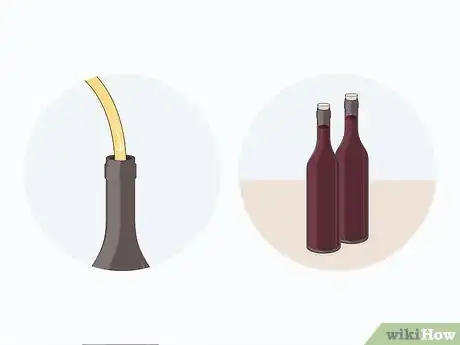
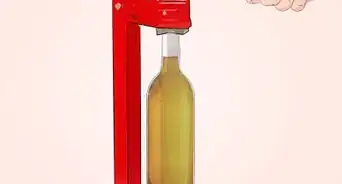
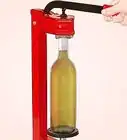
5Bottle the wine. To prevent the wine from catching a bacteria that could cause it to turn to vinegar, add a Campden tablet to the mixture as soon as you remove the airlock. Siphon the wine into your clean bottles, filling them almost to the top, and cork them immediately. Allow the wine to further age in the bottles or enjoy it now![5]
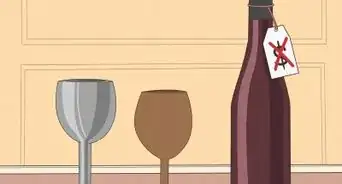
- Use dark bottles to preserve the color of red wines.
Getting Creative with Cherry Wine
-
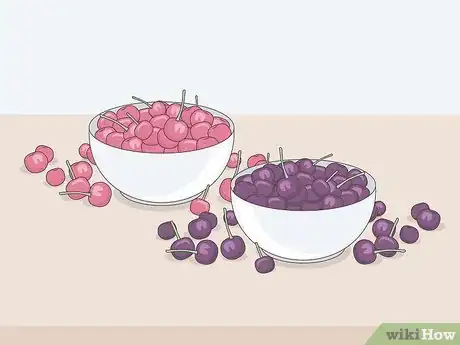
1Experiment with different types of cherries. There are a few different kinds of cherries on the market these days, and using a particular type will influence the taste of your wine. Here are some things to consider:
- Try black cherries or sweet cherries for a sweeter wine.
- Morello cherries work well for a dry wine.
-
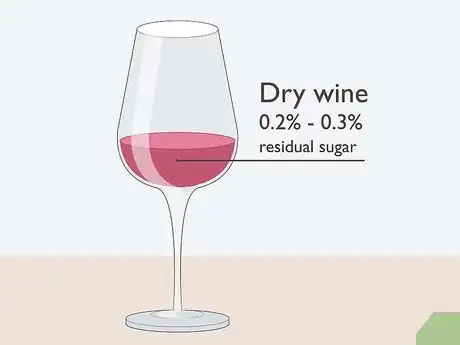
2Make a "dry" wine. A dry wine is simply a wine that has no residual sugar, meaning it isn’t sweet.[6] To make a dry wine, let your mixture ferment completely, allowing the yeast to consume all of the sugar. Here are some things to consider when making "dry" wine:
- After about 2 weeks most of the sugar will have been consumed by the yeast and fermentation will slow, making it easier to keep track of the falling sugar level of your wine. Tracking the sugar level will give you an idea of how your fermentation has been progressing.
- You may wish to stop the fermentation early and leave a bit of residual sugar in your wine.
- The fermentation is considered done when you either reach your desired sugar level or go "dry" at 0° Brix on the wine scale.[7]
- A wine with 0.2% residual sugar contains two grams of sugar in a liter of wine. Dry wines are typically in the 0.2%-0.3% range, off-dry wines in the 1.0%-5.0% range, and sweet dessert wines are normally 5.0%-10%.
- There is no "correct" sugar level for your wine, it just comes down to your personal preference.
-
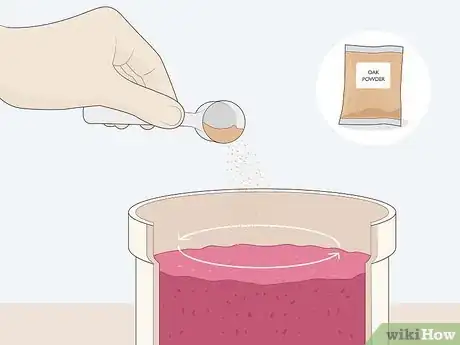
3Oak your wine! You can give your wine an intriguing flavor by adding small amounts of oak during the fermenting process. Here are some things to consider:
- Use oak powder. This way, you won't risk over-oaking your wine. The oak powder will also sink to the bottom of your crock during fermentation, making siphoning easier.
- When adding oak powder to a batch of homemade wine, you'll want to add anywhere from 4 to 20 grams per gallon, depending on the type of wine (white vs. red) and desired flavor. Generally speaking, for six U.S. gallons of wine you would add about 40 to 50 grams of oak powder for a white wine, or 70 to 85 grams of oak powder for a red wine.
Community Q&A
-
QuestionWhere can I get oak powder and campden tablets?
 Community Answereckraus.com/french-oak-powder-3-oz .Good product at a great price, shipping to anywhere. Also tablets, just look at all the great stuff they sell!
 -
QuestionWhat should I do if the balloon has inflated three days after I finished the wine making process?
 Kelley PriceCommunity AnswerRack it and let it sit longer. It's still fermenting and can pop a cork or explode a bottle if you try to bottle it.
 -
QuestionCan I use dried cherries to make wine?
 Community AnswerI would advise against it. Dried cherries have had all of their delicious juices removed by dehydration (and with it some of the flavor).
Things You'll Need
- A 1 gallon (3.8 L) carboy (a glass container with a small neck)
- An airlock
- A thin plastic tube to be used for siphoning
- Clean wine bottles with corks or screw caps
- Campden tablets (optional)
Warnings
- Don't bottle your wine before it has finished fermenting.⧼thumbs_response⧽
- Don't filter without a reason or too soon.⧼thumbs_response⧽
- Don't try to speed up fermentation by turning up the temperature.⧼thumbs_response⧽
- Always store your wine in sterilized jars or bottles.⧼thumbs_response⧽
- Take care not to let flies or insects get to your wine, this will spoil it. And it's just plain gross.⧼thumbs_response⧽
- Don't use tools or containers made out of resinous wood, they can spoil the wine's flavor.⧼thumbs_response⧽
- Don't sell your wine, this is illegal.⧼thumbs_response⧽
References
- ↑ https://winemakermag.com/629-should-i-add-campden-tablets-each-time-i-rack-my-wine-and-how-do-i-measure-the-level-of-sulfite-in-my-wine
- ↑ https://winemakermag.com/464-making-country-wines-tips-from-the-pros
- ↑ https://www.thekitchn.com/3-ways-to-pit-cherries-without-a-cherry-pitter-221160
- ↑ http://www.theguardian.com/science/2013/oct/25/science-magic-wine-making
- ↑ http://www.theguardian.com/science/2013/oct/25/science-magic-wine-making
- ↑ http://vinepair.com/wine-101/dry-wine-guide/
- ↑ http://morewinemaking.com/articles/Marking_the_end_of_fermentation
About This Article
To make cherry wine, place the cherries into a 2 gallon glass jar, use a potato masher to crush them, and top off the jar with filtered water. Next, add a Campden tablet, honey, and yeast to the jar and let the mixture sit overnight. Then, stir the mixture every 4 hours for the next 3 days as your wine ferments. Finally, strain out the solids and siphon the liquid into a carboy for longer-term storage. Let the wine age for at least 1 month before enjoying it! For tips on bottling your cherry wine, read on!
