This article was co-authored by wikiHow Staff. Our trained team of editors and researchers validate articles for accuracy and comprehensiveness. wikiHow's Content Management Team carefully monitors the work from our editorial staff to ensure that each article is backed by trusted research and meets our high quality standards.
There are 17 references cited in this article, which can be found at the bottom of the page.
This article has been viewed 19,762 times.
Learn more...
Sweet, crisp and tantalizingly tart, apple pulp is useful for preparing an array of delicious apple-based recipes, from ciders and butters to cakes and candies. There are a couple different ways to reduce whole apples to a usable size and extract their full flavor—the quick and easy way, using a cider press or pulper machine, and the traditional way, which involves boiling apple segments until they’re soft enough to mash.
Steps
Using a Cider Press or Pulper
-
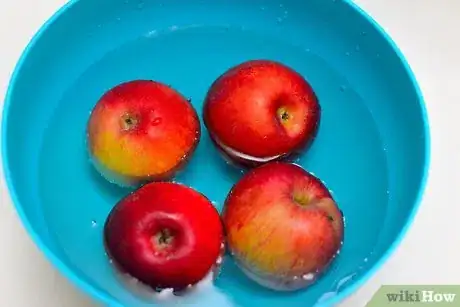
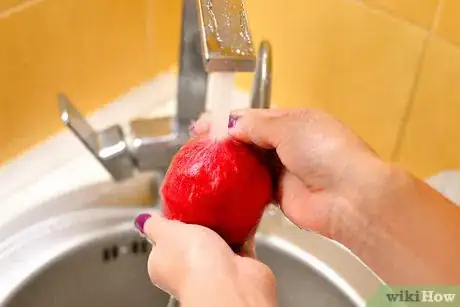
1Wash the apples. Place the apples in a colander and run them under a stream of cool water to remove any dirt or waxy residue clinging to the outside. Toss the apples occasionally or turn them by hand to make sure the water touches every part of the fruit. Afterwards, shake off the excess water.[1]
- A preliminary washing is essential, even if you’re using store bought apples.
- If there’s too much water clinging to the newly-washed apples, the pulp may come out slightly soupy.
-
2Remove the stems and bruised spots. Use a sharp paring knife or a pair of kitchen scissors to snip off long stems. Slice bruises and bad spots down to the healthy flesh. You want to start with as much good, usable fruit as possible.
- Some mild bruising is okay if you plan on pulping the apples for their juice.
Advertisement -
3Position a bucket under the pulper. This will be used to catch the pulp as it emerges from the machine. Be sure to equip yourself with a container spacious enough to hold all the pulp you intend to produce. A standard 5 gallon (18.9 L) bucket (about 19L) will be about the right size to fit most presses and pulpers.[2]
- For more compact machines, try a mixing bowl or storage container in place of a bucket.
- Clean out the inside of container thoroughly with soap and warm water before using it to collect any materials you’ll be consuming or cooking with.
-
4Drop the apples into the pulper. Most pulpers and crushers are designed with a wide mouth to accommodate several pieces of fruit at once. Even so, you’ll probably have to add more apples in waves so as not to overload the machine.[3]
- If you’re using an electric pulper, make sure it’s plugged in prior to putting the apples in.
-
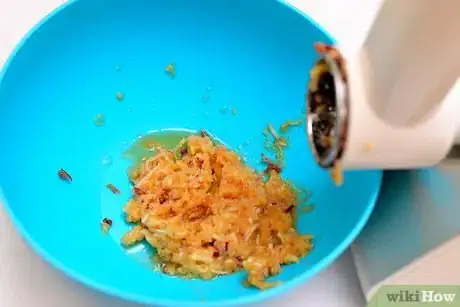
5Crush the apples. Once the apples have been loaded, switch the pulper on (for an automated machine) or turn the crank to begin the pulping process The irregularly-shaped pulverizer inside will rotate as they pass through, reducing them to a moist pile of shavings.[4]
- For your own safety, keep your hands clear of the pulper once the apples have been added and the pulverizer is engaged.
-
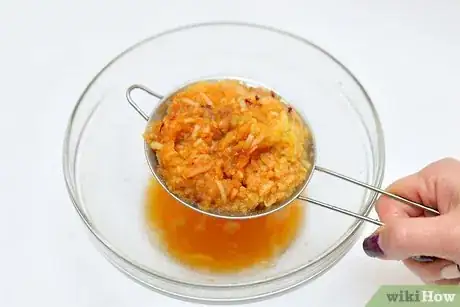
6Strain the pulp thoroughly. Since you started with whole, fresh apples, the resulting pulp will be full of seeds and flecks of tough skin. You can remove these unusable bits by running the pulp through a food mill or fine mesh strainer. Force as much of the pulp through the strainer as you can, then dispose of what’s left.[5]
- To maximize the amount of pulp you end up with, make sure you don't let any good fruit left behind in the pulper go to waste.
- A cider press will take care of the work of wringing the liquids out of the pulp for you, which can save you a lot of time and effort if you plan on using the juice separately.[6]
Mashing the Apples by Hand
-
1Wash the apples and slice off the bad spots. Give the apples a quick rinse in a colander to make sure they’re free of dirt. Remove all stems, bruises, and damaged or rotten spots you come across using a sharp paring knife.[7]
- Be careful not to cut away too much flesh while peeling bad spots.
- You might also choose to pick out stray seeds at this point, though it’s not a necessity, as they’ll come out later during the straining process.
-
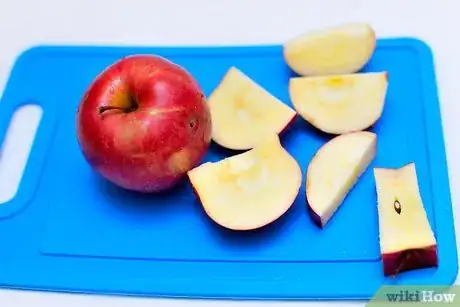
2Quarter the apples. Take a sharp knife and cut each apple in half vertically. Then, take those halves and cut them through the center once more. Cutting the apples to a smaller size increases their surface area, which allows them to cook down faster and more evenly.[8]
- Discard any sections that appear rotten or worm-eaten.
-
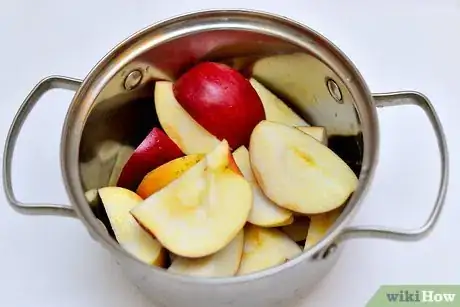
3Place the apples in a deep pot. Whatever pot you choose should have enough room to hold the quartered apples, along with a few ounces of water. Once you’ve got all of the apples in the pot, set it directly over one of the central burners of the cooktop.
- If you’re preparing a small batch of pulp, you might be able to get by with a simple saucepan.
-
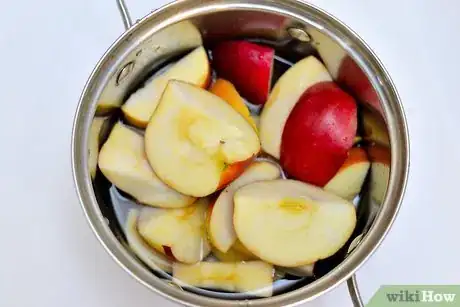
4Cover the apples with water. Add just enough water to fill in the cracks between the uppermost layer of apples pieces. The idea is cook the apples until they're no longer tough without causing them to become overly watery. Let the apples sit for a minute or two before turning on the cooktop.[9]
- Avoid submerging the apples completely. Doing so may dilute the natural flavors of the pulp and juice.
- A splash of lemon juice or distilled white vinegar can help prevent the apples from browning as they simmer.[10]
-
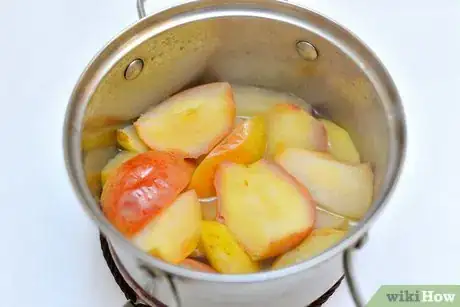
5Boil the apples for 15-20 minutes. Heat the water until it just begins to bubble around the edges. As the apples simmer, the flesh will begin to soften and come loose from the skin. Leave the pot uncovered during this time to allow excess moisture to escape.[11]
- Exact cook times may differ depending on the number and texture of the apples you’re simmering and the amount of water in the pot.
- Keep a close eye on the apples as they boil. If they start falling apart, there’s a good chance they’re overcooked.
-
6Remove the pot from the heat. Turn off the cooktop and give the apples time to begin cooling. It’s best to put off pulping the apples until most of the steam has dissipated. Otherwise, you could easily burn yourself.
- Always use potholders or another protective surface when handling hot cookware.
-
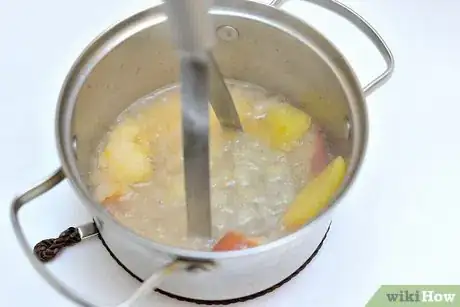
7Mash the apples to a coarse pulp. Use a potato masher or the backside of a serving spoon to break the cooked apples into tiny pieces. Mashing not only reduces the apples to a smaller size but also releases more of their natural sugars, resulting in a sweeter pulp.[12]
- Alternatively, you could send the apples for a quick trip through a food processor until the pulp reaches your desired consistency.[13]
-
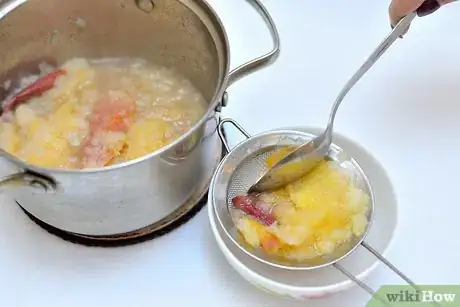
8Strain to remove the seeds and skin. Place the apples in a food mill or strainer and continue straining until only the fruit remains. You’ll be left with a moist, flavorful pulp with a texture similar to chunky applesauce.[14]
- If you’re using a basic handheld strainer, use a blunt or heavy object, like the backside of a serving spoon or the underside of a (clean) bowl, to force the pulp through the openings.
- Be sure to inspect your pulp for inedible debris before eating, storing, or cooking.
Storing and Using Apple Pulp
-
1Store unused pulp for later. If you're not planning on using your apple pulp right away, place it in an airtight Tupperware container or Ziploc bag and make room for it in the refrigerator. Since any apple byproducts you whip up won't have the benefit of preservatives, it's best to try to use them up within about one week.[15]
- Make sure the container you're storing the pulp in is properly sealed. As they begin to decay, apples release ethylene gas which can cause other fruits and vegetables to go bad much faster.
- You can also try freezing the pulp and thawing it out whenever you want to add it to recipes.
-
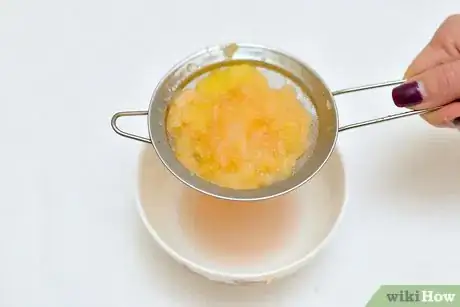
2Strain the juice from the pulp. Transfer the pulp to a wire strainer and use the bottom of a bowl or another heavy object to press out the liquid. You can also scoop the pulp into a cheese cloth and set it inside a bowl to filter out naturally. Funnel the juice into a separate container and refrigerate.[16]
- Drink up while the juice is fresh, or add mulling spices to make homemade apple cider.
- If you're looking for a more grownup way to enjoy your apple juice, try fermenting your own hard cider.[17]
-
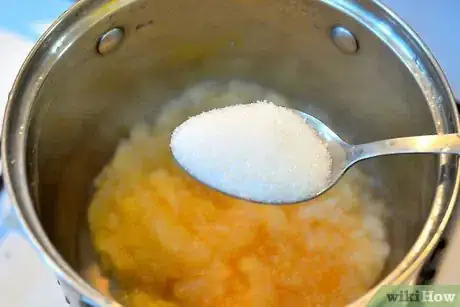
3Make all-natural applesauce. While cooking the apple sections, add granulated white sugar, brown sugar, a cup of water, a dash of salt, and one whole cinnamon stick. Simmer the ingredients together for 20-30 minutes, then mash them together as usual. Chill for one hour before savoring.[18]
- A few strips of lemon zest or a splash of juice can brighten up the flavors of your applesauce and help the spices stand out.[19]
- Serve homemade applesauce with breakfast or as an after-dinner treat, or fill a few jars to have a ready supply of wholesome baby food on hand.
-
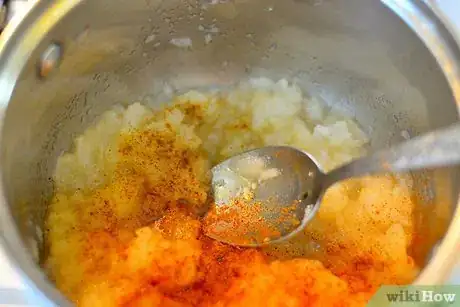
4Can your own apple butter. Combine fresh apple pulp with brown sugar, cinnamon, nutmeg, allspice, maple syrup and a splash of apple cider vinegar. Simmer the mixture until it begins to brown and develops a thick, gel-like consistency. Spoon the apple butter into mason jars, secure the lids and boil briefly to lock in freshness.[20]
- Apple butter makes a perfect companion for biscuits, toast, oats, and even cakes and other desserts.
Warnings
- If you’re pulping homegrown apples, avoid using fallen fruit picked up off the ground. These may be diseased, contaminated with animal droppings or infested with insects.⧼thumbs_response⧽
- Take caution anytime you’re working with sharp knives in the kitchen.⧼thumbs_response⧽
Things You'll Need
- Whole, fresh apples
- Cider press or fruit pulper
- Large bucket
- Large pot
- Food mill or wire strainer
- Colander
- Potato masher
- Paring knife
- Spoon
- Cutting board
- Mixing bowl
References
- ↑ http://www.myfearlesskitchen.com/how-to-wash-produce/
- ↑ https://www.youtube.com/watch?v=HVvbjnf08xw
- ↑ https://www.almanac.com/blog/editors-musings/blog-apple-cider-pressing
- ↑ https://www.youtube.com/watch?v=j6orhmNkrf4
- ↑ https://www.alexandracooks.com/2010/11/23/homemade-applesauce/
- ↑ https://www.almanac.com/blog/editors-musings/blog-apple-cider-pressing
- ↑ https://andhereweare.net/how-to-make-hard-cider-from-whole-apples/
- ↑ http://www.myrecipes.com/how-to/video/peeling-coring-chopping-an-apple
- ↑ http://www.cooks.com/recipe/fk33v9ej/apple-butter.html
- ↑ http://www.seriouseats.com/2015/09/how-to-prevent-apple-pear-browning.html
- ↑ http://toriavey.com/toris-kitchen/2013/12/old-fashioned-homemade-apple-juice-leather/
- ↑ http://toriavey.com/toris-kitchen/2013/12/old-fashioned-homemade-apple-juice-leather/
- ↑ http://amelialoftus.com/cider.html
- ↑ https://www.alexandracooks.com/2010/11/23/homemade-applesauce/
- ↑ https://anrcatalog.ucanr.edu/pdf/8229.pdf
- ↑ https://www.tablespoon.com/recipes/homemade-apple-juice/bcf44468-1eed-479a-88d6-2bd4c3cfacd3
- ↑ http://homebrewexchange.net/content/how-make-hard-cider
- ↑ http://thepioneerwoman.com/cooking/homemade-applesauce/
- ↑ http://www.simplyrecipes.com/recipes/applesauce/
- ↑ http://www.foodnetwork.com/recipes/apple-butter-3415197
