This article was co-authored by wikiHow Staff. Our trained team of editors and researchers validate articles for accuracy and comprehensiveness. wikiHow's Content Management Team carefully monitors the work from our editorial staff to ensure that each article is backed by trusted research and meets our high quality standards.
This article has been viewed 63,471 times.
Learn more...
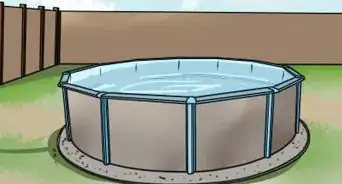
Keeping up with your swimming pool can seem like a monumental task. However, you can quickly and easily lower calcium hardness by removing water from the pool and replacing it with freshwater. Once you have your pool chemicals in balance, maintaining the pool is as simple as testing the chemicals in the water, adjusting them as necessary, and keeping the pool clean!
Steps
Testing Calcium and Chemical Levels
-
1Use a strip or chemical test to check the calcium levels in your pool. Purchase a calcium hardness test kit from the home improvement store or pool center. Use the kit to gather water from the pool, and add the chemicals or test strip to the water. Then, wait for the strip or the water to change colors, and match the color to the label on the packaging of the kit. The calcium hardness should be around 250-350 parts per million (PPM). If the hardness is above 350 PPM, you will need to lower it.[1]
- If the calcium levels in your pool are regularly above 350 PPM, do a calcium hardness test for your tap water. Some areas have very high levels of calcium in the public water supply, which will cause higher calcium levels in your pool.
-
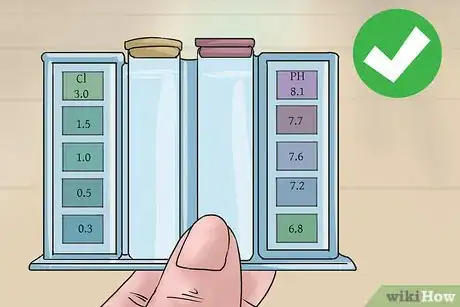
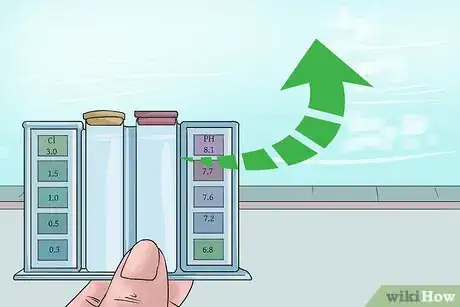
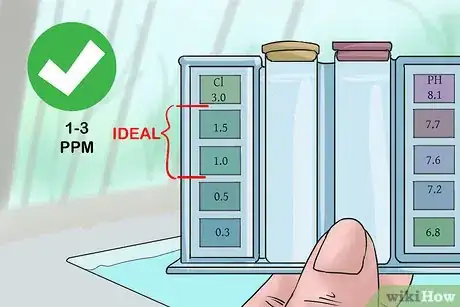
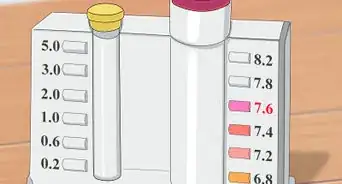
2Test the pH, alkalinity, and chlorine levels of the pool. Changes in pH, chlorine levels, and alkalinity can be a symptom of calcium hardness. Using a test kit from the home improvement store or pool center, gather water from the pool. Then, add chemicals or place a test strip into the water, and wait for the strip or water to change colors. Compare the color to the package to find the pH, chlorine levels, or alkalinity level of the water.[2]
- In general, the pH should be between 7.2-7.4.
- Chlorine levels should be between 1-3 PPM.
- The alkalinity level should be between 80-120. For pools with calcium hardness issues, try to keep the alkalinity level as close to 80 as possible.
Advertisement -
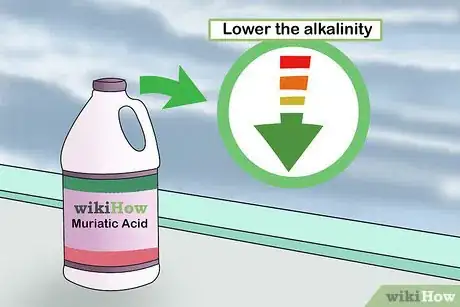
3Add muriatic acid if you need to lower the alkalinity of the water. If you find that your calcium levels are still high, you can adjust the alkalinity of the pool to control calcium hardness. For a pool with high calcium levels, add 2-3 capfuls of muriatic acid to lower the alkalinity to around 80. Be sure to wait at least 12 hours before testing the alkalinity again.[3]
- You can find muriatic acid in most home improvement stores or pool centers. If you have troubling finding it, try searching online.
-
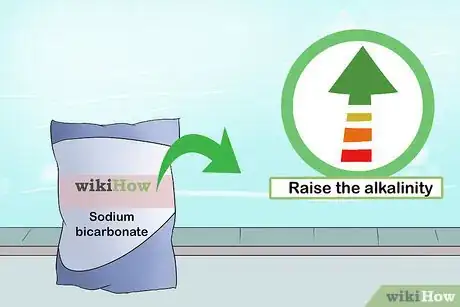
4Put sodium bicarbonate in the water if you want to raise the alkalinity. If you add too much muriatic acid, the alkalinity of the pool can drop below 80. Add 2-3 capfuls of sodium bicarbonate, also known as baking soda, to the pool water, and wait 12 hours before testing the alkalinity of the pool again.[4]
- If the alkalinity is still slightly low, add an additional capful and wait 12 hours to test the water.
- You can find small boxes of sodium bicarbonate at the grocery store. If you want to buy in bulk, look for multi-packs at the home improvement store or order a large box online.
-
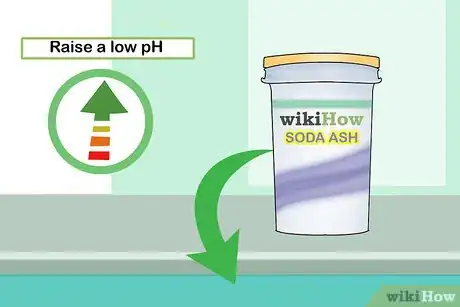
5Pour soda ash into the water to raise a low pH. If the pH of your pool is below 7.2, add 2-3 capfuls of soda ash to the water. Then, wait at least 12 hours to test the pH again. If it’s still low, add an additional capful of soda ash and wait another 12 hours to test the water.[5]
- You can find soda ash at most pool centers. If you’re having trouble finding it, order from an online pool supply retailer.
-
6Monitor and adjust the chlorine levels as needed. The chlorine level should be around 1-3 PPM when tested. If the chlorine is low, increase it by adding chlorine tablets to the skimmer basket. If it’s high, remove the chlorine tablets from the basket for 12 hours. Then, retest the water to ensure that the chlorine is between 1-3 PPM.[6]
- If you don’t have any chlorine in your pool and the chlorine level is still high, purchase a chlorine neutralizer, such as sodium sulfite, from a pool center. Read the directions on the package to figure out how much to add to the pool to lower the chlorine levels to a reasonable level.
- Chlorine is important for balancing the effects of calcium hardness. These 2 chemicals work together to make sure that the pool water is clean and safe to swim in.
Replacing and Treating Water
-
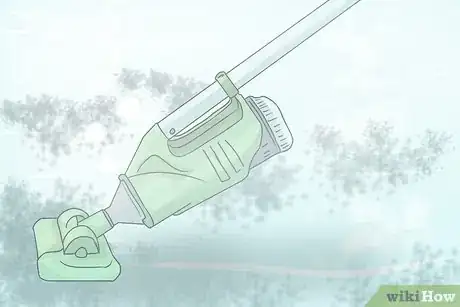
1Vacuum the pool thoroughly and scrape or chip off any calcium deposits. Before you adjust the calcium in your pool, use a small hammer or paint scraper to chip away at large calcium deposits on tile or plaster. Then, thoroughly vacuum the pool using a suction or pressure vacuum with a brush attachment to remove debris and scum from the lining.[7]
- Although high levels of calcium can’t hurt you, you may want to try to clean the pool without getting into the water. If you do get into the pool, rinse your body with fresh water afterwards, and be sure to wash your bathing suit.
-
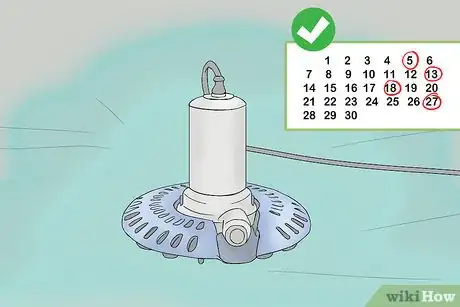
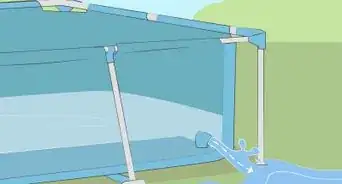
2Drain some of the water from your pool using a hose or pump. Get a water pump or a use a hose to make a siphon, and place it in the pool. Place the discharge end of the hose or pump in a well-draining area, and wait until the water is about 4–6 inches (10–15 cm) lower than the original height.[8]
- If you have a very large pool, or a pool with a deep end, you may want to remove 1–2 inches (2.5–5.1 cm) more.
- Never drain your pool completely unless you are planning to do structural adjustments. Draining all of the water can cause the pool to lift from its foundation because of a loss of weight.
-
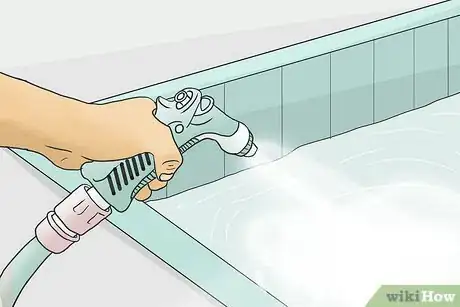
3Use a hose to refill the pool with fresh water from a spigot. Attach a garden hose to an outdoor hookup, and place the end of the hose into the pool. Turn on the spigot and let the water run from the hose into the pool until the water has reached its original height.[9]
- The fresh water entering the pool will dilute the calcium levels, making the parts per million much lower.
- Avoid overfilling the pool, which can cause the rest of the chemicals to become imbalanced.
-
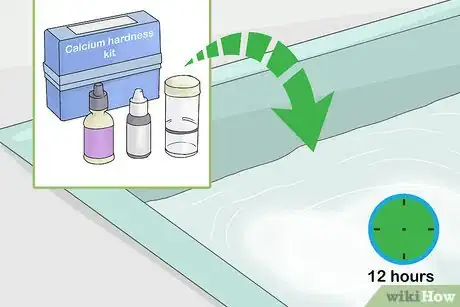
4Test the calcium hardness in the pool using a test kit. About 12 hours after you finish the water replacement, use a calcium hardness test kit to gather the newly diluted water in a container. Then, insert a test strip or add the chemicals in the kit to the water, and wait for it to change colors. Match the color with the corresponding one on the package to see the calcium level in parts per million (PPM).[10]
- For most pools, you should aim for around 250-350 PPM.
- You can find calcium hardness test kits, and other chemical test kits for your pool, at most home improvement stores or pool centers.
Monitoring Calcium Levels
-
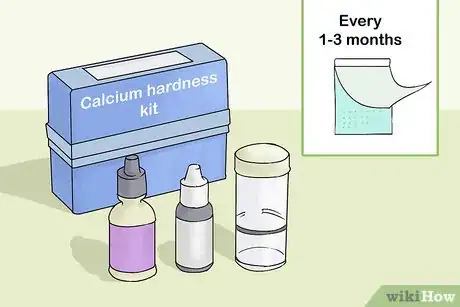
1Test the calcium levels in your pool once every 1-3 months. Using a test kit from a home improvement store or pool center, collect the water in a cup and test it. Depending on the type of kit, you might simply place a test strip in the water, or you might have to add chemicals. Wait for the strip or water to change colors, and then compare the color to the label on the packaging to find the calcium level.[11]
- If you have frequent issues with high calcium levels, testing once every 2 weeks can help you to maintain the calcium level.
- Avoid testing too often. Calcium levels can fluctuate for a number of reasons, and you shouldn’t be alarmed my minor increases or decreases.
-
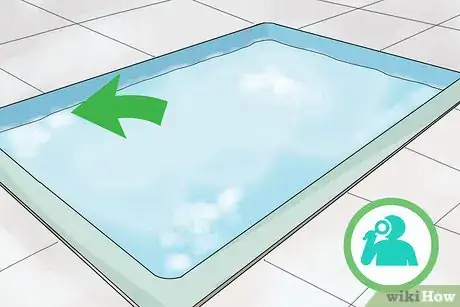
2Keep an eye out for a calcium film on the pool liner or equipment. One of the first signs of calcium hardness is a thin, white film, called scale or scum, that coats the lining and equipment of the pool. When you see this film forming in your pool, immediately vacuum the affected areas, and test the water with a calcium hardness test.[12]
- It’s important to remove the scale as soon as possible to prevent hard calcium deposits from forming, which can ruin some pool surfaces.
-
3Brush and vacuum the pool at least once per week to remove debris. Natural materials like leaves and dead bugs can release chemicals when they begin to decay in the pool. Use a pool vacuum with a brush attachment to remove them from the bottom of the pool as quickly as possible. Use the brush to scrub away calcium and algae deposits before they get too large.[13]
- Try to remove leaves and bugs from the pool with a skimmer net before they have a chance to sink to the bottom. This will make your pool look cleaner and can keep the chemicals in balance.
Things You’ll Need
- Calcium, alkalinity, pH, and chlorine test kits
- Pool vacuum with brush attachment
- Small hammer or paint scraper
- Water pump or hose siphon
- Garden hose
- Muriatic acid
- Sodium bicarbonate
Warnings
- Always be careful when handling pool chemicals. Wear gloves if you have sensitive skin, and keep your hands away from your face after touching the chemicals.⧼thumbs_response⧽
References
- ↑ https://www.popularmechanics.com/home/lawn-garden/how-to/a7671/how-to-get-your-swimming-pool-ready-for-summer-8692427/
- ↑ https://www.popularmechanics.com/home/lawn-garden/how-to/a7671/how-to-get-your-swimming-pool-ready-for-summer-8692427/
- ↑ https://www.popularmechanics.com/home/lawn-garden/how-to/a7671/how-to-get-your-swimming-pool-ready-for-summer-8692427/
- ↑ https://www.popularmechanics.com/home/lawn-garden/how-to/a7671/how-to-get-your-swimming-pool-ready-for-summer-8692427/
- ↑ https://www.betterhealth.vic.gov.au/health/healthyliving/swimming-pools-water-quality
- ↑ https://www.betterhealth.vic.gov.au/health/healthyliving/swimming-pools-water-quality
- ↑ https://youtu.be/nsm9vRz8MHQ?t=34
- ↑ https://youtu.be/qArcEmqMUKo?t=163
- ↑ https://youtu.be/qArcEmqMUKo?t=163
- ↑ https://www.popularmechanics.com/home/lawn-garden/how-to/a7671/how-to-get-your-swimming-pool-ready-for-summer-8692427/
- ↑ https://youtu.be/qArcEmqMUKo?t=17
- ↑ https://www.betterhealth.vic.gov.au/health/healthyliving/swimming-pools-water-quality
- ↑ https://www.betterhealth.vic.gov.au/health/healthyliving/swimming-pools-water-quality
About This Article
Keeping up with your swimming pool might seem overwhelming, but lowering the calcium hardness in your pool is a relatively easy process. If you notice any lumps of calcium on the tile or plaster of your pool, scrape it off with a paint scraper. Then, vacuum the pool's lining using a suction or pressure vacuum. You can do this while the pool's full. Once you’ve gotten rid of the excess calcium, drain 4 to 6 inches from your pool with a hose or pump and refill it with fresh water. Wait 12 hours, then, test the calcium hardness again with a test kit to make sure the calcium hardness is within the limit. For more tips, including how to use a calcium hardness test kit, read on!
