This article was co-authored by Sasha Blue. Sasha Blue is a Professional Body Piercer and the Owner of 13 Bats Tattoo and Piercing Studio in the San Francisco Bay Area. Sasha has over 20 years of professional body piercing experience, starting with her apprenticeship in 1997. She is licensed with the County of San Francisco in California.
wikiHow marks an article as reader-approved once it receives enough positive feedback. This article received 11 testimonials and 100% of readers who voted found it helpful, earning it our reader-approved status.
This article has been viewed 1,280,777 times.
Everyone has insecurities about getting their belly button pierced, especially since there’s always a chance it’ll get infected. Don't worry! Here are some short steps to follow on how to keep it clean and avoid infection.
Steps
Getting the Piercing
-
1Get permission. If you are under 18, make sure you get permission from a parent or guardian before you get the piercing. You need to have this approval so that you don't waste your time taking care of a piercing that you'll just have to take out anyway.
-
2Do your research. Find a piercer with a good reputation at a reputable tattoo or piercing shop. Read customer reviews online to find out information about the piercer's reputation, and make sure the piercer has completed an apprenticeship with a reputable piercer.Advertisement
-
3Check out the shop. It is very important for a piercing/tattoo shop to be sterile and clean. If you go to the shop and it does not appear immaculately clean, don't get a piercing there.
-
4Make sure sterile utensils are used. When you get the piercing, make sure that the piercer opens up a package of unused, sterile needles to use for your piercing. This is very important to prevent the spread of infection and disease.[1]
-
5Expect a little pain. The piercing itself will hurt minimally. The initial healing and swelling are the worst part.
-
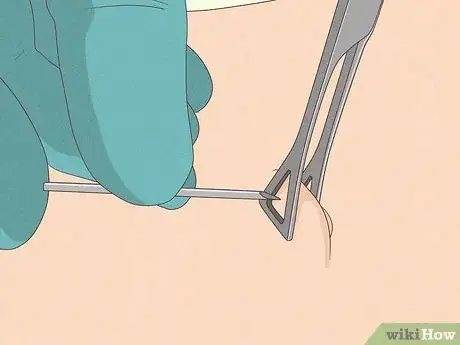
6Don't be surprised. For the actual piercing, the piercer will take a clamp and put it on your belly button to hold it in place. This protects you from jerking when the piercing happens.
-
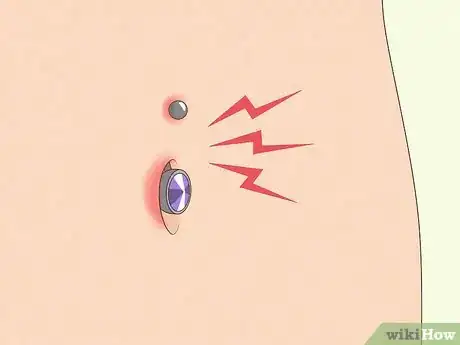
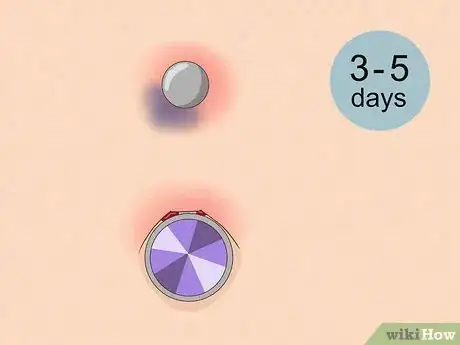
7Know what to expect. There will be more symptoms for the first 3-5 days immediately after getting the piercing. Expect to see swelling, light bleeding, bruising, and tenderness, especially during this initial period.
-
8Expect some discharge. Even if you follow these steps and do exactly what the aftercare sheet says, there could still be a whitish goo that come out of piercing hole. This is normal and is not an infection. Just make sure that it is not puss.
Cleaning it Properly
-
1Wash your hands. Always wash your hands with soap before cleaning or touching the piercing or jewelry.[2] Never touch the piercing except during moments of cleaning.
-
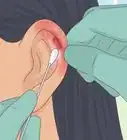
2Rinse the area. Wash the piercing with a basic soap with no dyes or extra chemicals (that is not antibacterial soap) once or twice a day. Remove any crust on the piercing with a cotton swab or Q-Tip. Then gently clean the site with the basic soap and water.[3] Avoid tugging on the piercing; this will be painful and slow the healing.
-
3Make sure the soap suds get in the holes. The easiest, gentlest way to do this is to half-fill a cup with soapy water, gently place it over the piercing, and lightly swish it around. It may hurt a little if the piercing is fairly new, but the pain will wear off in a few days.
-
4Rotate the jewelry. When the piercing is wet from cleaning, gently turn the jewelry in the piercing hole. This will prevent it from scabbing over and getting too crusty.[4]
-
5Dry the piercing properly. Dry the piercing after cleaning with a paper towel or napkin instead of a bath towel or a cloth. Towels can contain germs and bacteria, so it is better to use a disposable paper product instead.
-
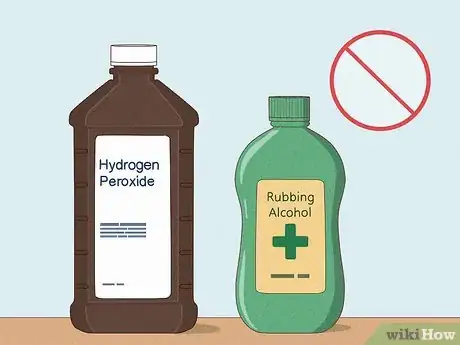
6Avoid hydrogen peroxide or rubbing alcohol. These solutions can slow the healing process and kill new, healthy cells.[5]
Avoiding Things that Might Aggravate the Piercing
-
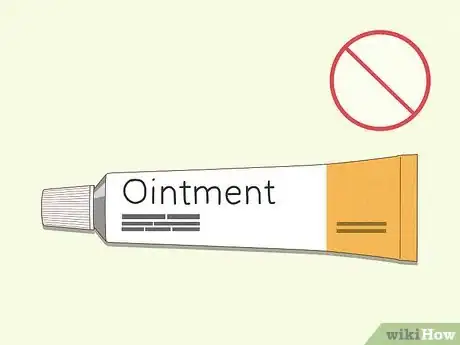
1Avoid ointment. This will prevent oxygen, which is essential to the healing process, from reaching the piercing.[3]
-
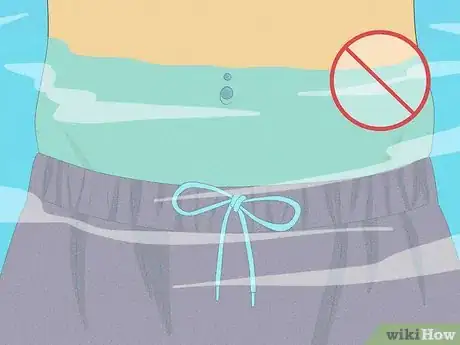
2Avoid swimming. Whether it’s a chlorinated pool, a hot tub with bromine, or a natural river, it’s best to avoid getting anything besides soapy water in your piercing.[3]
-
3Avoid touching your piercing. The only time you should touch your belly button ring is when cleaning it.[3] Always remember to wash your hands beforehand.
-
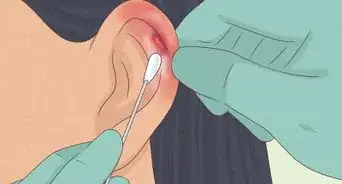
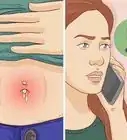
4Keep an eye out for infection. If there is clear or semi-white liquid, it means it's healing. If it's yellow, green, or smelly, it may be infected. In this case, go to a doctor,[3] or visit your piercer and discuss the proper care.
Wearing the Right Jewelry
-
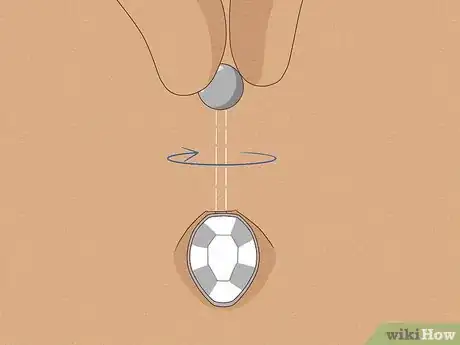
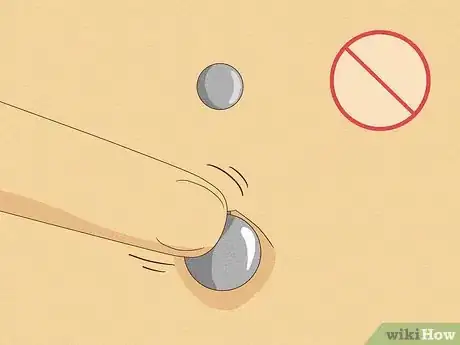
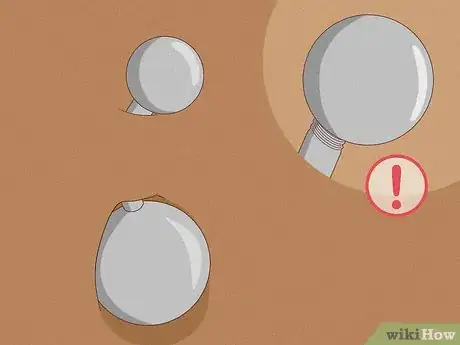
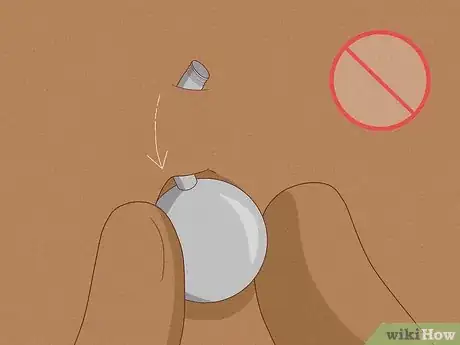
1Check the balls regularly. Occasionally, the balls on naval piercing bars can become unscrewed or loose over time. It is important that you regularly check to make sure they are tight. Use one hand to hold the bottom ball in place and use the other hand to tighten the top ball.
- Note: To tighten the balls, remember twisting to the right tightens and twisting to the left loosens.
-
2Keep your jewelry in! Don’t remove the jewelry during the healing process. Though many piercings heal within six weeks, others can take months and the piercing can close within minutes if the jewelry is removed too soon.[3] Check with your piercing artist (or read the paperwork you should have gotten with the piercing) for an exact timeline.
- If you want a new look, and your piercing does not hurt when you touch it, you may unscrew the balls from the barbel and change them, but leave the barbel in place at all times. Changing it will irritate the piercing and may introduce bacteria to the wound.
-
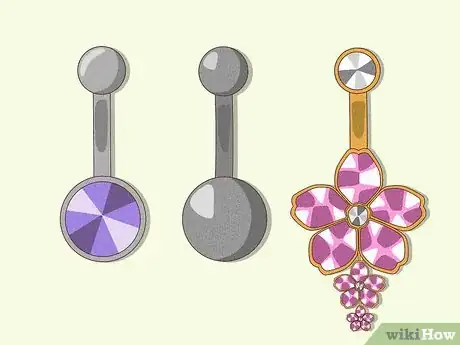
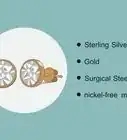
3Choose the right style for you. Once the initial healing process is over, you can pick any of the many styles of jewelry for your belly button piercing. Just keep in mind if you have metal allergies or sensitivities to certain materials.
Expert Q&A
-
QuestionHow do you reduce swelling from a piercing?
 Sasha BlueSasha Blue is a Professional Body Piercer and the Owner of 13 Bats Tattoo and Piercing Studio in the San Francisco Bay Area. Sasha has over 20 years of professional body piercing experience, starting with her apprenticeship in 1997. She is licensed with the County of San Francisco in California.
Professional Body Piercer Whatever you do, don't touch the piercing! Swelling is a normal reaction in the early days of your piercing. If needed, take an over-the-counter, non-steroidal anti-inflammatory medication like ibuprofen or naproxen sodium to help the swelling go down.
 -
QuestionWhen should I clean it?
 Community AnswerClean it twice a day but not more often because that could cause discomfort or infection.
 -
QuestionWhat kind of soaps should l use to clean my piercing?
 Community AnswerUse an antibacterial soap that is free of dyes. It should be natural, organic, or biodegradable.
References
- ↑ Sasha Blue. Professional Body Piercer. Expert Interview. 25 November 2019.
- ↑ Sasha Blue. Professional Body Piercer. Expert Interview. 25 November 2019.
- ↑ 3.03.13.23.33.43.5MayoClinic.com: Piercings and how to prevent complications
- ↑ http://uhs.berkeley.edu/home/healthtopics/bodypiercing.shtml
- ↑ http://uhs.berkeley.edu/home/healthtopics/bodypiercing.shtml
- ↑ Sasha Blue. Professional Body Piercer. Expert Interview. 25 November 2019.
About This Article
Before cleaning your navel piercing, wash your hands with soap and water. Wash the piercing with water and mild soap once or twice a day and remove any crust around the piercing with a damp cotton swab. While the jewelry is still wet, gently rotate it to keep it from scabbing over. Pat the piercing dry with a clean paper towel after you clean the area. Avoid cleaning the piercing with harsh disinfectants, such as rubbing alcohol or hydrogen peroxide. Don’t touch your piercing any more than you have to and avoid swimming or soaking in a bath until it has fully healed. If you see signs of infection, such as worsening pain, swelling, redness, or yellow or green discharge from the piercing, see your doctor.

