This article was co-authored by Kanika Khurana. Kanika Khurana is an Interior Designer and the Owner of Kanika Design. With over 12 years of experience, Kanika specializes in remodeling, refurnishing, and color consulting. Kanika holds a Bachelor’s Degree in Psychology from San Francisco State University, a Redesign and Home Staging Certification, and an Associate Degree in Business Administration from Cañada College.
This article has been viewed 48,643 times.
Wallpaper border is commonly used to decorate the top edge of a wall, but you can also use it halfway down the wall to add visual interest to the room and to separate the wall into two distinct spaces. Installing a wallpaper border in the middle of the wall is fairly simple, but you need to take extra precaution to make sure that the border is even and parallel to the floor and ceiling.
Steps
Preparing the Space
-
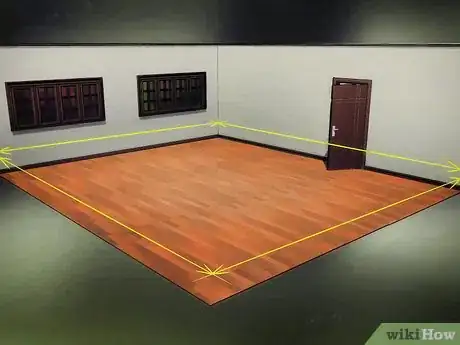
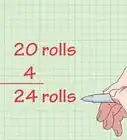
1Figure out how much paper to buy. Measure the width of the walls you plan on applying the border to and add about 1.5 feet (0.5 m). (45.7 cm) for every 15 feet (4.6 m). (4.5 m) you measure. Many manufacturers sell borders in 5 yard (4.6 m). (4.5 m) spools, and having the extra length makes it easier to match the pattern when you start a new spool.
-
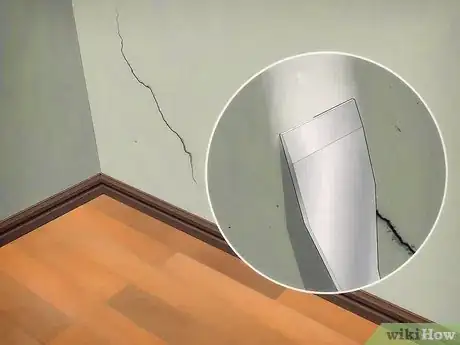
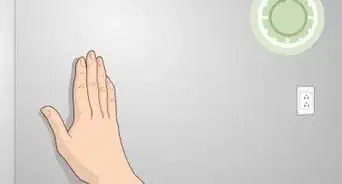
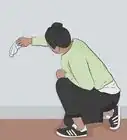
2Examine the wall for imperfections. Focus on the middle section of the wall that you plan on applying the border to and correct any problems you find.
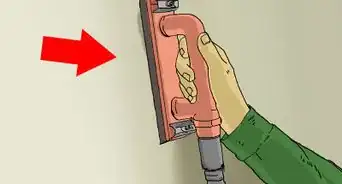
- Fill in any cracks in your paint with joint compound, sanding it down and painting over it after the joint compound dries.
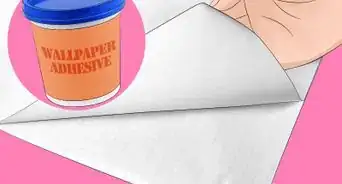
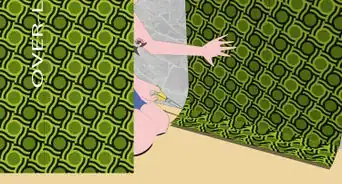
- Glue peeling wallpaper down by applying a small amount of wallpaper paste to the back. Even though the peel may be at the top or bottom of the wall, away from where the border will be, pasting down the edges now will prevent the paper from peeling up toward the center or along the corners later on.
Advertisement -
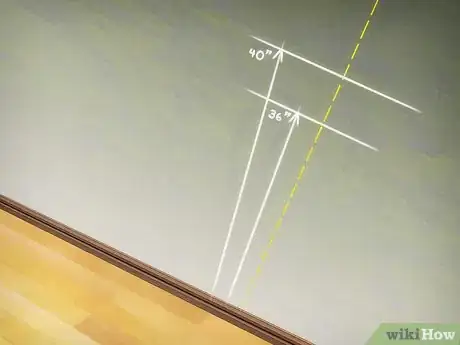
3Decide where you want the border to be. Generally, borders placed in the middle of the wall are about 36 to 42 inches (91.4 to 106.7 m) above the floor, but the height you choose is up to you.
-
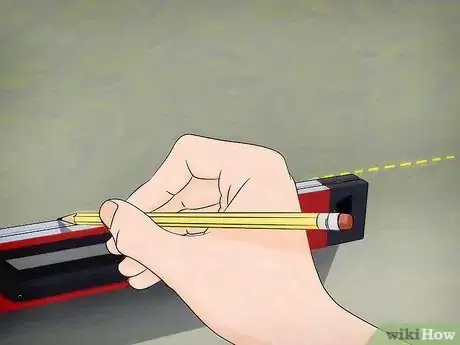
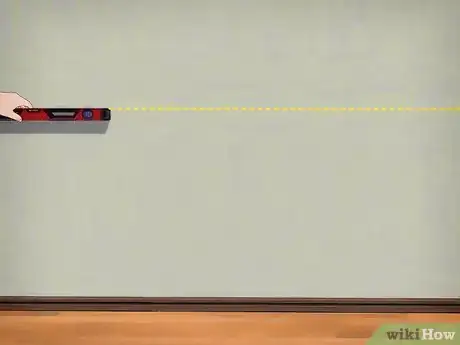
4Use a level to draw a straight line. Place the level in the corner of the wall, just below the height you want the top edge of the border to sit at. When the bubble in the level is centered, lightly draw a line with pencil along the top edge of the level.
-
5Continue marking the wall or walls using the level. Slide the level along the wall, connecting the lines and making sure that the bubble of the level is centered as you go along. When you finish, there should be a light line spanning across your walls.
-
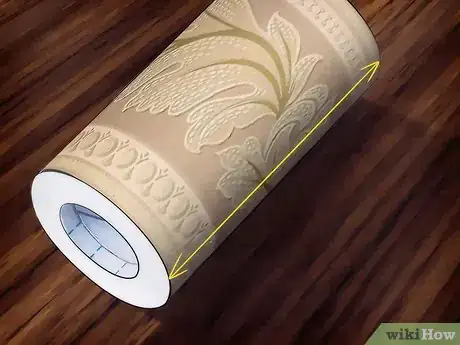
6Measure the height of the border. Allow it to expand by applying paste to the back if it is un-pasted or by soaking it in water for 10 seconds if pre-pasted. All the moisture to soak into the paper border for 5 minutes before measuring the height of the border from top to bottom.
-
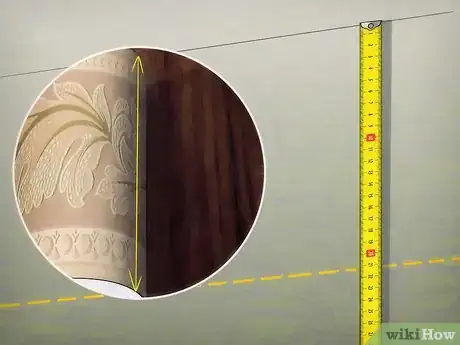
7Draw a second line parallel to the first. Subtract 1/2 in. (1.27 cm) from the height of the border, and use this figure to determine how far below the top line to draw the bottom.
-
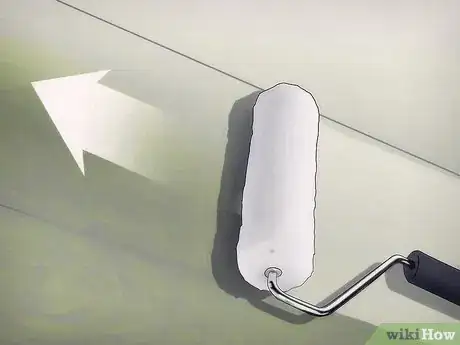
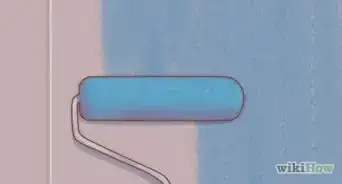
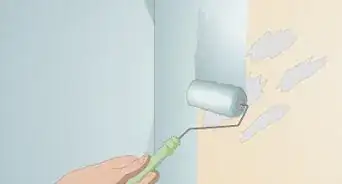
8Prime this mid-section of your wall with wallpaper primer. Use a small paint roller to apply the milky primer to the section of wall in between the two lines, careful to avoid letting it stray outside the space.[1] Primer will stain the wall, and you will be able to see any uncovered primer if it is hit by the right sort of light. Let the primer dry before applying the border over it.
Preparing Unpasted Border
-
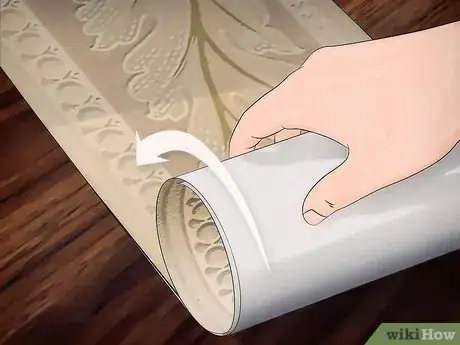
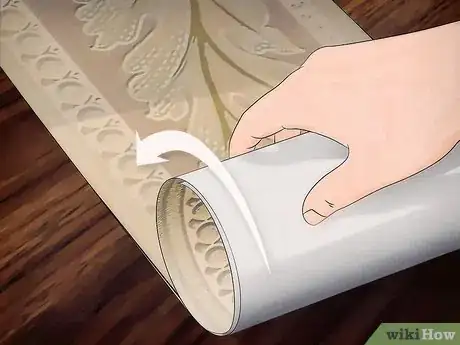
1Unfurl the wallpaper border. Reverse-roll it so that the underside faces out. This process helps to flatten out the paper. As you work with it, you should also check the border for scratches or other flaws. When finished, unroll the paper and allow it to lie flat with the underside facing up.
-
2Apply an appropriate paste to the back of the paper. The best paste to use will vary depending on the conditions of the wall you plan on attaching it to.
- If applying the border to a painted wall, a standard wallpaper paste should be fine.
- If applying the border to a papered wall, you may need to apply a specialized vinyl-to-vinyl paste.
-
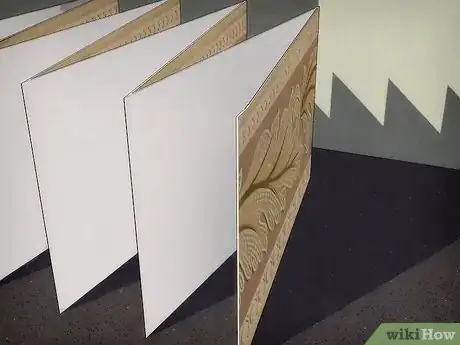
3Loosely fold the border into accordion folds. Do not let paste get on the front of the border. Folding the border keeps the paste moist.
-
4Allow the border to sit for five minutes. During this time, it will relax and expand.
Preparing Pasted Border
-
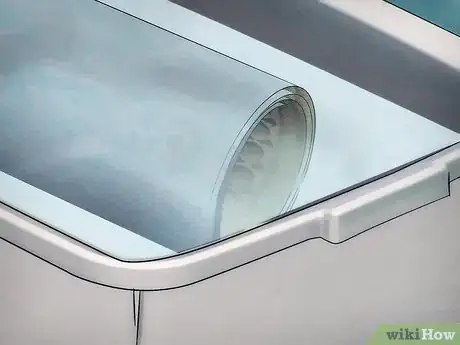
1Reverse-roll the border to flatten it out. Keep the border rolled with the glue side facing up.
-
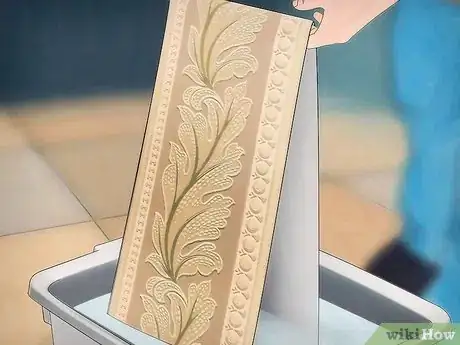
2Activate the paste. Dunk the roll in a shallow tray of water. Allow it to stay submerged for about 10 seconds before removing it from the water.
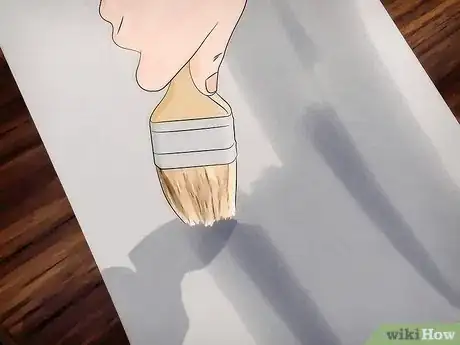
- Alternatively, you can unroll the paper without dunking it in water and apply a special paste-activating gel to the glue side of the border with a paintbrush.[2]
-
3Carefully unroll the paper. Fold the glue side inward without creasing it, and allow the border to relax and expand for about 5 minutes.
Apply the Border
-
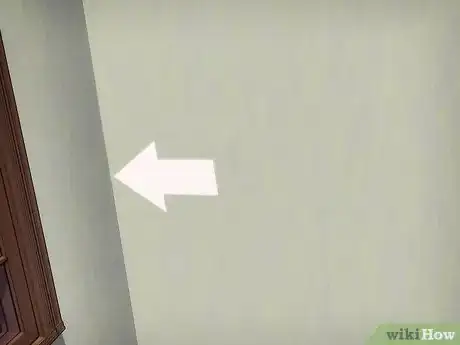
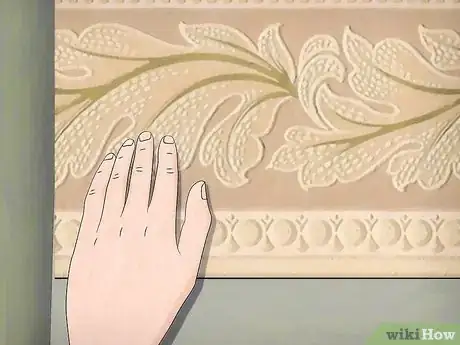
1Begin in the corner. Take the top corner edge of the wallpaper and place it so that it just barely covers to top guide line you drew on the wall. Smooth the edge of the border along the corner of the wall, keeping it parallel with the corner line of the wall.
-
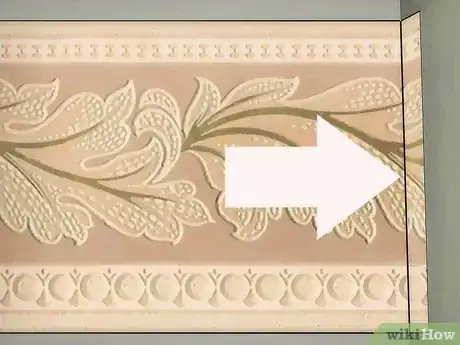
2Gradually apply the strip of wallpaper to the wall. Press it down as flat against the wall as possible as you move along the length of the wall, but do not press it so hard that you stretch the paper. Make sure that the top edge of the border stays parallel with your guiding line, as well.
-
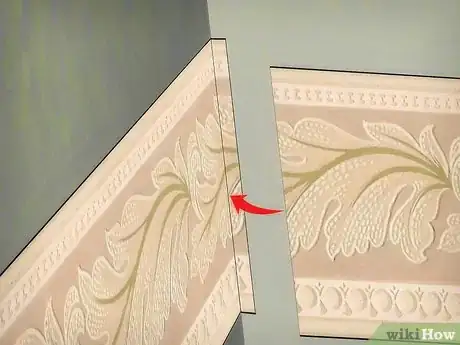
3Allow for overlap at each corner. Cut the border so that there is an extra 1/8 in. (3.175 mm) extending onto the next wall.
-
4Apply the next strip of border at the exact corner of the wall. Do not start at the edge of the previous strip. Instead, allow the two strips to overlap, matching the patterns up as best as possible.
-
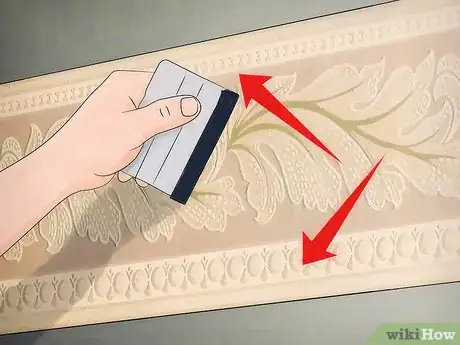
5Work out any air bubbles. You can use a specialized smoothing tool or a moist sponge to accomplish this.
-
6Splice seams together. Often enough, a strip of wallpaper border may end in the middle of a wall instead of a corner. Splicing strips together makes the seam less obvious.
- Place a small strip of wax paper under the end of the bottom strip.
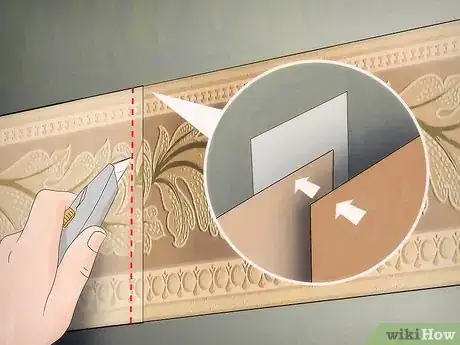
- Lay the new strip over the old strip, allowing for an overlap of 1 or 2 in. (1.27 to 5.02 cm). Match the design on your new strip with the ending design of the old strip.
- Cut away excess paper at the overlap using a razor blade. Keep the cut straight down and do not cut through the wax paper. Discard the excess paper and wax paper when done.
- Use a soft cloth or seam roller to flatten the edge.
-
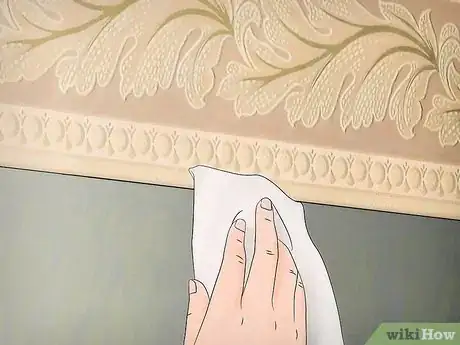
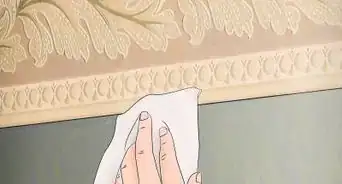
7Clean off any extra paste. Gently wipe excess paste from the front of the border and from the wall using a damp sponge before the paste dries.
Expert Q&A
-
QuestionHow do you paint a wall with wallpaper borders?
 Kanika KhuranaKanika Khurana is an Interior Designer and the Owner of Kanika Design. With over 12 years of experience, Kanika specializes in remodeling, refurnishing, and color consulting. Kanika holds a Bachelor’s Degree in Psychology from San Francisco State University, a Redesign and Home Staging Certification, and an Associate Degree in Business Administration from Cañada College.
Interior Designer Try to find colors that will complement the color of your wallpaper border using a color wheel, or you could try going to a paint store and asking a professional to find a color match to your wallpaper.
Things You’ll Need
- Wallpaper border
- Level
- Pencil
- Yardstick or meter stick
- Razor blade
- Smoothing tool
- Seam roller
- Sponge
- Wax paper
- Sandpaper (optional)
- Putty knife (optional)
- Joint compound (optional)
- Paint (optional)
- Bucket of water (optional)
- Paste (optional)
