This article was co-authored by Guy Gabay and by wikiHow staff writer, Eric McClure. Guy Gabay is a Solar Energy Contractor and the CEO of AmeriGreen Builders, a full-service solar energy, roofing, HVAC and window installation company based in the greater Los Angeles, California region. With over eight years of experience in the construction industry, Guy leads the AmeriGreen team focusing on bringing an educational approach to energy efficient home upgrades. Guy holds a B.S. in Marketing from California State University - Northridge.
There are 27 references cited in this article, which can be found at the bottom of the page.
This article has been viewed 214,712 times.
If you don’t have the luxury of living in a tropical wonderland, your swimming pool probably needs to be heated. While gas-powered and electric heaters work just fine, you can save a ton of money by switching your pool’s heating system over to solar energy. The upfront cost may be bigger than you’re hoping for, but solar panel pool systems pay for themselves over time. They’re also better for environment! If you don’t have the funds to have proper solar panels installed, you can always make your own DIY solar heating system for less than $100 to keep your pool warm.
Steps
Choosing Your Solar Panels
-
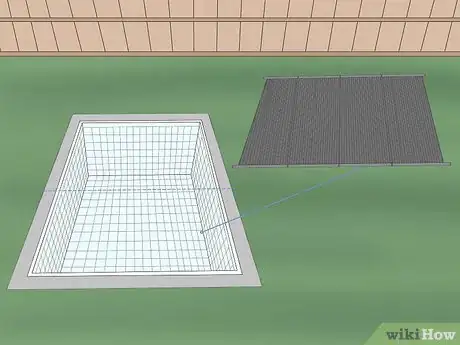
1Measure your pool’s dimensions to find the size of the solar panels you need. To have a noticeable impact on your pool water’s temperature, your solar panels must be at least half as big as your pool’s area. For example, if your pool is 10 by 15 square feet (0.93 by 1.39 m2), your pool’s total area is 150 square feet (14 m2). This means that you need at least 75 square feet (7.0 m2) to heat your pool. Measure your pool and multiply the length and width. Divide this in half to find the minimum size of the panels.[1]
- Solar panels for a pool can be installed on a roof or on the ground. Take a look around your yard and at your roof to see if you’ll have enough space for some solar panels.
- The bigger your panels are, the more often you can use solar energy to heat your pool. If your panels match 50% of your pool’s area, you can use the panels to heat your pool for roughly 6 months a year.
- If you plan on using your pool year-round, you may need solar panels that match 100% of the pool’s area. The good news is that if you can use your pool year-round, it probably means you live in a sunny area where you don’t need to heat the water a whole lot.[2]
-
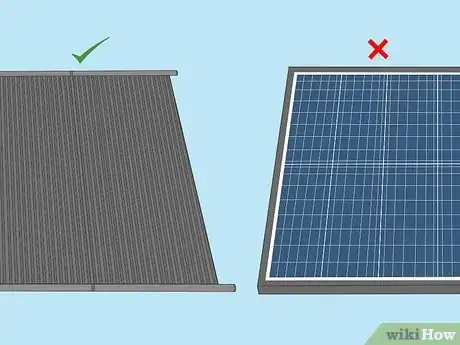
2Pick unglazed solar panels unless you’re heating a hot tub. Glazed solar panels are covered in glass, which helps trap heat when it’s cold out. These panels are more expensive than unglazed panels, but they’re usually necessary for heating a building in the winter. Luckily, unless you’re heating a hot tub or you plan on swimming in the winter, you can use the cheaper unglazed panels to heat your pool.[3]
- You may want to select glazed solar panels if you live in a colder climate and plan on using your pool during the fall or spring when temperatures are cooler. For less adventurous swimmers, unglazed panels are more than enough, though.
- This is a big part of why it’s efficient to install solar panels for your pool. Unglazed panels typically cost around $1,500-3,000. Glazed panels often costs $10,000 or more! Since you normally don’t swim when it’s cold out, the costly glazed system is almost always unnecessary.
Advertisement -
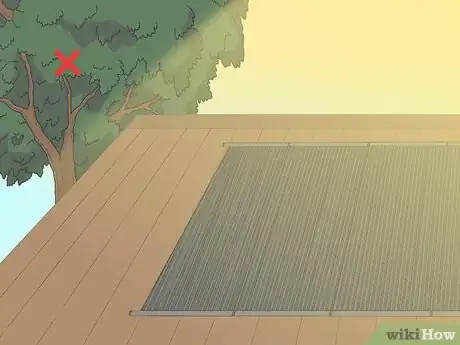
3Find an unobstructed and sunny part of your yard or roof for the panels. For solar panels to be effective, they typically need at least 4 hours of sunlight a day.[4] Look for a sunny part of your yard or roof where the panels won’t be covered by tree branches or shadows to map out some strong prospective locations.[5] [6]
- Your solar panels don’t have to go near the pool! For example, you can set the panels on the side of your roof facing away from the pool.
-
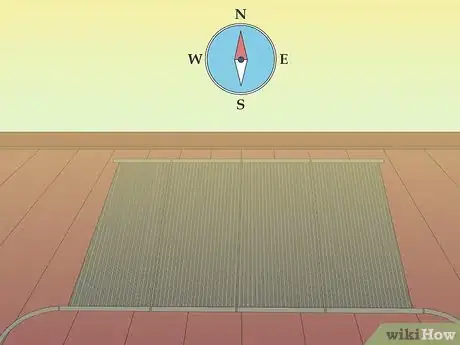
4Plan to orient the panels at an angle towards the sun. If you live north of the equator, the panels need to face south and vice versa. So if you live in Massachusetts and your roof is oriented north-south, place the panels on the southern side of your roof. If you live in Peru and your roof faces east-west, you may need to place the panels on the ground so that they can face north.[7]
- The further north or south you are, the higher the angle of your solar panels needs to be. For pool heating, this is generally not as important as the cardinal direction of the panels, though.
- All of this is good to keep in mind even if you end up going the DIY route and you don’t get those big solar panels installed.
-
5Look up your local building codes to determine if you need permits. In some regions, you need to apply for a permit to have solar panels installed. Contact your local building department and ask them about what you need to apply for a solar panel installation permit. In most cases, you can fill out and submit the necessary permits online.[8]
- Solar panel contractors may be able to help you out with this process, or even do it for you! You may want to talk to a contractor first and ask them about what the permit and licensing process looks like where you live before you file anything with your state or local government.
- In many cities and countries, you must hire a licensed contractor to install the solar panels.
Hiring a Solar Energy Contractor
-
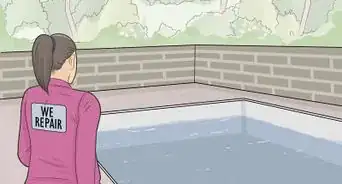
1Hire a pro to stay safe and make sure the job is done right. Installing solar panels to heat a pool is a big project. It involves connecting expensive solar panels to pipes that run through a sequence of valves to feed hot water into your pool. Installing the pump and filter also involves messing around with your building’s electrical system. Hire a solar panel contractor to ensure that your solar panel system is safely installed and operating correctly.[9]
- There are solar panel DIY kits you can buy and install yourself, but this is a huge undertaking that will be difficult for even the most seasoned builders.[10] It’s also dangerous to install these panels yourself if you plan on putting them on the roof. You’ll need to hire an electrician to check the wiring anyway, so you aren’t saving much money by installing the panels yourself.[11]
-
2Look up licensed solar contractors in your area and get some quotes. Contact 3-5 solar energy contractors in your area and explain that you’re looking into pool heating systems. These contractors typically offer free estimates, so have some technicians come out and take a look at your pool. Tell them how many panels you’re looking for and where you’d like to install the panels. Get your quotes and compare the costs between contractors.[12]
- Between the price of the panels and the cost of installation, you can expect to spend $3,000-4,000 on your pool’s solar panel system. Keep in mind, this will pay for itself in 1-7 years depending on the fuel costs where you live and whether you’re currently using a gas or electric pool heater. The upfront cost is big, but solar energy eventually pays for itself!
- If you live in a major city, your local government may have a database of registered contractors you can work with. Poke around online or call your local building department to see if your city has something like this.[13]
-
3Sign a contract once you find a contractor and price you like. Once you’ve met with a few contractors, choose your favorite based on their installation options and price. The contractor will draw up a contract for the work. Look through the contract to make sure everything is in order and sign it. If you’re waiting to hear back about building permits, work can start once they’re approved by your local building department.[14]
- You’ll be able to choose any custom components for your solar panel system before signing the contract. The big decision to make is whether you want a digital or automated control system for the panels. If you go old school, you’ll need to turn a valve by hand to turn the panels on. If you get a digital or automated system, you won’t really need to worry about turning the panels on or off depending on the weather.
- Be sure to check both the performance warranty and the product/materials warranty.[15]
-
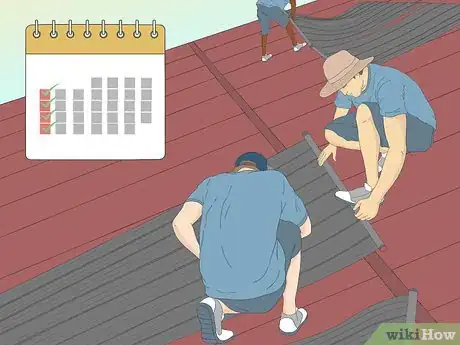
4Wait 1-5 weeks for the installation crew to set up the panels. The contractors will get to work on installing your solar panels. This can take anywhere from a few days to a month depending on how many panels you’re having installed. Give the contractor time to put your panels up, install the piping, and connect it to your pool’s pump.[16]
- It typically takes a little longer to install solar panels if they’re on your roof.
- This shouldn’t be too invasive for you. Almost all of the work takes place outside, so you won’t need to stay at a hotel or anything like that.
-
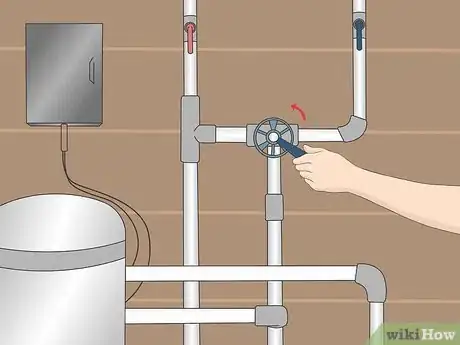
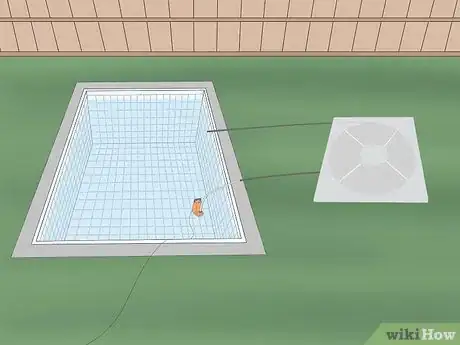
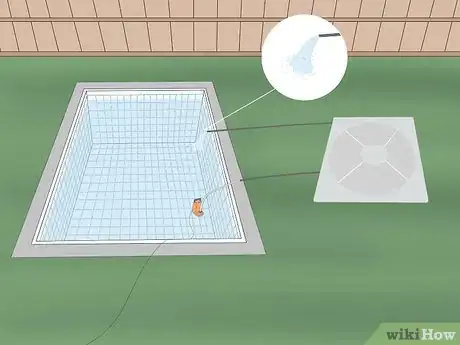
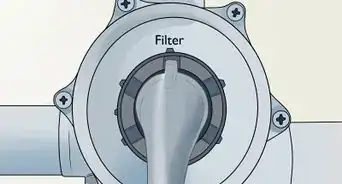
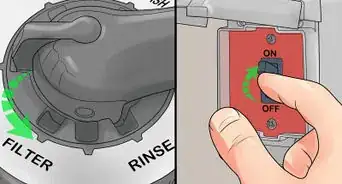
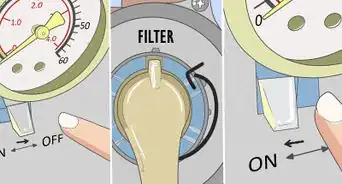
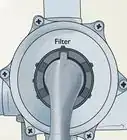
5Use the solar bypass valve to turn your solar panels on or off. Once the panels are installed, the contractor will show you where the bypass valve is located. If you have a traditional solar panel system, you turn it on by rotating the solar bypass valve so that the pipe is open. When the bypass valve is open, water in your pool runs through a pipe and goes up to the solar panels. The water heats up literally underneath the panels. Then, it runs through an outlet pipe and enters your pool.[17]
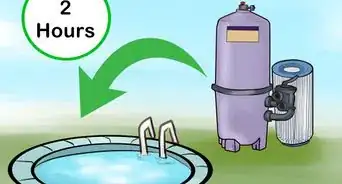
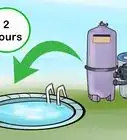
- There’s typically no need to keep the panels running when you don’t plan on swimming. If you do want to go for a dip, open the bypass valve and let the water circulate for 30-60 minutes before getting in your pool.
- If you have an automated solar panel heating system, you don’t need to worry about turning the panels on or off. They’ll kick on automatically whenever the water temperature gets too low.
- If you have a digital control panel for your solar power heating system, you can use the controls to turn the panels on and set the temperature.
- There may be some variation from setup to setup, but in general, every solar panel system that heats a pool operates the same way. If water is diverted away from the panels, the system is off. If water runs underneath the panels, the system is on.
Making a DIY Solar Water Heater
-
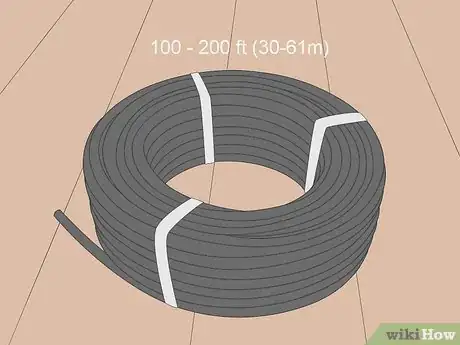
1Purchase 100–200 ft (30–61 m) of black drip tubing to make the panels. You can easily build a DIY solar panel for your pool without spending thousands of dollars on actual panels, permits, and contractors. To make the panels, purchase 100–200 ft (30–61 m) of black drip tubing, which is also known as irrigation tubing. You can get one big roll, or two smaller rolls—it doesn’t really matter.[18]
- The black drip tubing will work like the coils inside of a solar panel. You are going to use a submersible pump to run the pool water through the tubing before returning it to the pool. With a few small coils, you can reasonably add 10-15 °F (5-6 °C) to your pool’s water![19]
- Generally speaking, 100 feet (30 m) of drip tubing should be more than enough to noticeably increase your pool water’s temperature. However, the more tubing you use, the hotter your water will be when you run the DIY solar panels.
- This entire project should cost $25-100, depending on how fancy you want to get with the frame and the pump.[20]
-
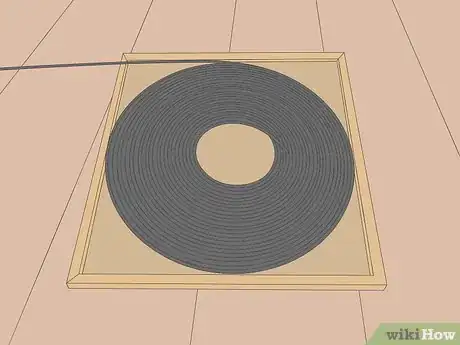
2Use a plywood sheet to build the frame for the solar panel. Wrap each set of tubing into a coil on the ground. Measure the shape to find the dimensions of the frame you need. Then, buy a plywood sheet that matches these dimensions. You can use the plywood on its own as your frame, or you can drill wood beams around the plywood to create a recessed space for the coils.[21]
- For 200 ft (61 m) of tubing, you will need a frame that’s roughly 4 by 8 feet (1.2 by 2.4 m).
- You can also nail black pool noodles around a sheet of plywood to make your frame.
- The frame will help the tubing coils sit flush and help them retain heat, but you can still add a few degrees to your pool’s temperature without the frame. You will have some messy tubing hanging out next to your pool, though.
-
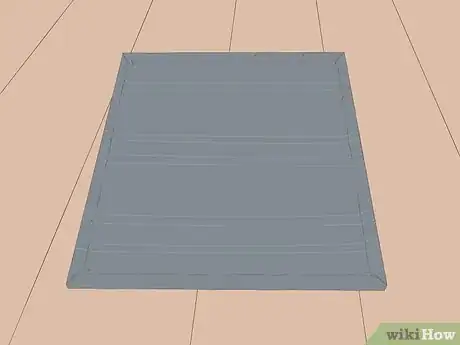
3Lay tar paper down over the plywood for maximum heating efficiency. To increase the efficiency of your DIY panels, purchase a roll of black roofing tar paper. Spread the paper out over your frame and use a staple gun to attach it to your frame. Use a utility knife or scissors to trim the paper so it sits flush on your frame.[22]
- Do this in the shade! Tar paper gets really hot when it’s sitting out in the sun and you may burn your hands if you do this in an uncovered part of your yard.
- On a roof, tar paper’s job is to propel water and keep your roof from being exposed to extreme weather. Here, the tar paper will retain heat from the sun and keep the tubing hot when it’s sitting out on the sun.
-
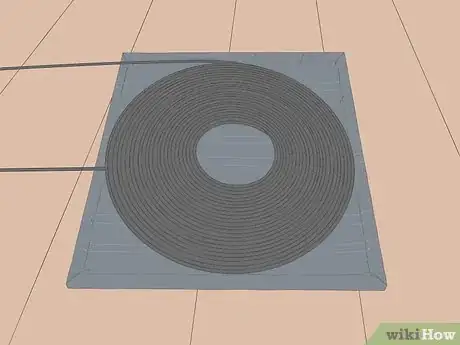
4Roll your tubing into a tight coil or two in the middle of your frame. Place one end of the tubing in the center of your frame. Hold it in position and wrap the working end of the tubing around the open end to make a circle that’s roughly 6–12 inches (15–30 cm) in diameter. Then, continue rotating the tubing to make a sequence of concentric circles with your tubing. Stop when you reach the edge of your frame, or when you’re down to the last 6–8 feet (1.8–2.4 m) of tubing.[23]
-
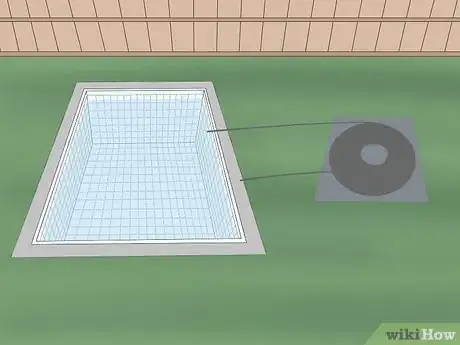
5Leave enough tubing on the working end to reach your pool. Make sure there is at least 6–8 feet (1.8–2.4 m) of tubing hanging out from the exterior layer of your coil when you’re done wrapping it up so that you can reach the edge of your pool. How much tubing you need hanging off depends on where you’re going to set the panel up.[24] The more tubing you have hanging off the coil, the further away from the pool you can place your DIY solar panel.
- You want the tubing far enough away from the pool that water won’t splash on it, which can cool the tubing off as it sits in the sun. The exact location of your panel doesn’t matter so long as the panel is getting some sun.
-
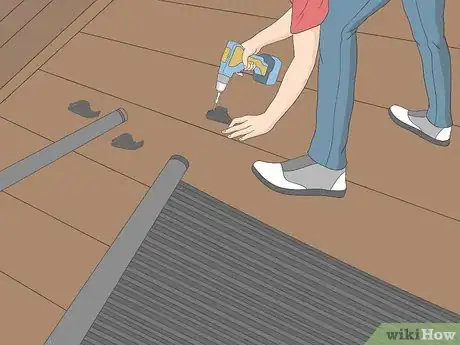
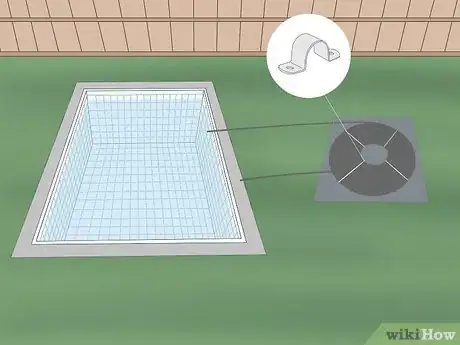
6Fix the coil to your frame using clamps or lengths of wood. Pick up a few dozen cheap, flexible hose or pipe clamps from a construction supply store. For every section of your coil, wrap a clamp over the tubing and drill it into the panel to keep the coil in place.[25] You can also skip the clamps and simply drill some wood beams over the coils and into the edges of your frame to hold the coils down.[26]
- Another option is to use a few dozen zip ties to wrap each layer of coils together and let the tubing rest on top of your frame. It’s really up to you. It doesn’t matter how the tubing is connected to the frame so long as it stays coiled up.
-
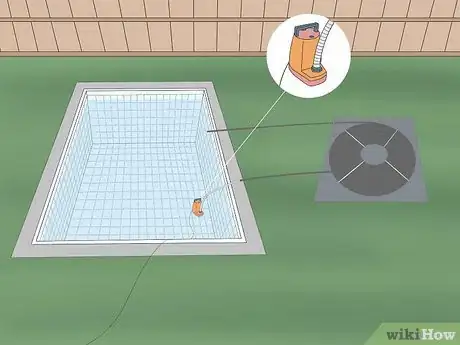
7Connect a submersible pool pump to the tubing in the middle of the coil. Get a submersible pump and connect the hose that came with it to the pump’s outlet valve (or “water out” valve). Then, connect the other end of the hose to the open end of the tubing in the middle of your coil. Depending on the style of your pump, you may need to use a valve or adapter to hook the pump’s hose up to the drip tubing.[27]
- Submersible pool pumps are typically used to drain in-ground pools.[28] If you have an in-ground pool, you should already have a submersible pool pump laying around somewhere.
- You can also run a regular garden hose from the pump to the drip tubing and connect the two using a drip tubing fitting for a garden hose.[29]
-
8Wrap the coils and frame in plastic wrap to turn the heat up if you’d like. To increase the temperature of the water, wrap the frame and tubing together in plastic wrap. This will help insulate the tubing and ensure that it gets as hot as possible in the sun.[30]
- Don’t worry if the plastic wrap isn’t airtight on the frame or if you have a gap where the tubing slides over the frame. Even a little bit of insulation will help increase the temperature.
-
9Hang the end of the tubing over the edge of the pool and turn the pump on. Take the open end of the tubing and slide it over the side of your pool. Turn your submersible pump on and lower it into your pool. The water in your pool is how being heated by solar power! The pump is pulling water out of your pool and running it through the tubing. The water heats up inside the tubing and comes out the other end to increase the overall temperature of the water.[31]
- When you want to use your pool, turn the pump on and let it run for at least 1 hour before getting in the water.
Expert Q&A
-
QuestionWhere should I place the solar panels?
 Guy GabayGuy Gabay is a Solar Energy Contractor and the CEO of AmeriGreen Builders, a full-service solar energy, roofing, HVAC and window installation company based in the greater Los Angeles, California region. With over eight years of experience in the construction industry, Guy leads the AmeriGreen team focusing on bringing an educational approach to energy efficient home upgrades. Guy holds a B.S. in Marketing from California State University - Northridge.
Solar Energy Contractor Take the orientation of your home, the location of your roof, and the obstructions in the area into account when you’re determining where to place the panels.
 -
QuestionDo pool solar panels ruin roofs?
 Community AnswerIt depends on what kind of roof you have. If you have an iron roof, you need a special coating, especially if you have a salt-water pool.
 -
QuestionWhen heating the pool should I run the pump all the time, or only below a certain ambient temperature?
 Community AnswerIf you run the pump from 8:00 AM to 8:00 PM, you likely won't notice any difference vs. running it full-time, except on your power bill.
Things You’ll Need
Making a DIY Solar Water Heater
- Black drip tubing
- Plywood
- Measuring tape
- Drill
- Wood screws
- Submersible pump
- Drip tubing adapter
- Garden hose (optional)
- Drip tubing coupler (optional)
- Wood boards (optional)
- Tar paper (optional)
- Staple gun (optional)
- Utility knife or scissors (optional)
- Plastic wrap (optional)
References
- ↑ https://www.energy.gov/energysaver/solar-swimming-pool-heaters
- ↑ http://www.fsec.ucf.edu/en/consumer/solar_hot_water/pools/sizing.htm
- ↑ https://www.energy.gov/energysaver/solar-swimming-pool-heaters
- ↑ https://news.energysage.com/many-sunlight-hours-need-calculating-peak-sun-hours/
- ↑ https://www.energy.gov/energysaver/solar-swimming-pool-heaters
- ↑ Guy Gabay. Solar Energy Contractor. Expert Interview. 4 August 2020.
- ↑ https://shop.solardirect.com/pdf/pool-heaters/solar-pool-heaters/Heliocol-Installation-Manual.pdf
- ↑ https://www.energy.gov/energysaver/building-codes-and-regulations-solar-water-heating-systems
- ↑ https://www.energy.gov/energysaver/solar-swimming-pool-heaters
- ↑ https://www.energy.gov/energysaver/solar-swimming-pool-heaters
- ↑ https://evergreensolar.com/how/diy/
- ↑ https://www.solarpowerrocks.com/solar-questions/heres-get-multiple-solar-quotes-check-math/
- ↑ https://www.nyserda.ny.gov/All-Programs/Programs/NY-Sun/Solar-for-Your-Home/How-to-Go-Solar/Find-a-contractor
- ↑ https://www.bloomberg.com/news/articles/2016-04-06/7-things-to-know-before-installing-solar-panels-on-your-roof
- ↑ Guy Gabay. Solar Energy Contractor. Expert Interview. 4 August 2020.
- ↑ https://news.energysage.com/how-long-does-it-take-to-install-solar-panels/
- ↑ https://youtu.be/9a6RTJvblcg?t=178
- ↑ https://youtu.be/Vj4tYQ0bdCg?t=76
- ↑ https://youtu.be/PyE9dJaqDnU?t=345
- ↑ https://youtu.be/PbAimKCUdcQ?t=40
- ↑ https://youtu.be/PyE9dJaqDnU?t=39
- ↑ https://youtu.be/PyE9dJaqDnU?t=104
- ↑ https://youtu.be/PyE9dJaqDnU?t=155
- ↑ https://youtu.be/PyE9dJaqDnU?t=184
- ↑ https://youtu.be/x9hb-ckXY1A?t=62
- ↑ https://youtu.be/PyE9dJaqDnU?t=224
- ↑ https://youtu.be/PbAimKCUdcQ?t=91
- ↑ https://youtu.be/VVxgYx-TBR8?t=9
- ↑ https://youtu.be/x9hb-ckXY1A?t=272
- ↑ https://youtu.be/PyE9dJaqDnU?t=12
- ↑ https://youtu.be/x9hb-ckXY1A?t=309
- ↑ https://www.nytimes.com/2008/05/18/nyregion/nyregionspecial2/18Rpools.html
