This article was co-authored by Crystal Chadwick. Crystal Chadwick is a Licensed General Contractor and the Owner of Yin & Yang Construction out of Salt Lake City, Utah. With over 16 years of experience in the construction industry, she specializes in remodels, repairs, and handyman services. Crystal leads her team with vision and a detail-oriented approach, allowing them to provide quality work and design to their clients.
There are 8 references cited in this article, which can be found at the bottom of the page.
wikiHow marks an article as reader-approved once it receives enough positive feedback. In this case, 83% of readers who voted found the article helpful, earning it our reader-approved status.
This article has been viewed 425,386 times.
Linoleum, a term that originally referred to a natural material made from linseed oil, pine rosins, and other organic materials, is now used as a general term for both the original material and for a variety of modern substitutes made from vinyl plastic. These flooring materials, widely used for their affordability, water-tightness, and durability, are generally installed by securing them over an existing floor or subfloor with strong adhesive. Though linoleum is fairly easy to install compared to more expensive alternatives, it can present unique challenges for those inexperienced in home improvement. Start with Step 1 below to learn how to effectively install your own linoleum floor.
Steps
Preparing Your Floor for Installation
-
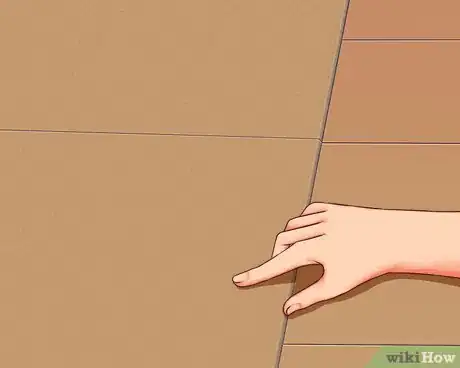
1Acclimate your linoleum to the room. Linoleum and its synthetic alternatives are soft, pliable, and flexible when compared to most other flooring materials. In fact, they're so flexible that they will actually shrink and expand ever-so-slightly with changes in temperature.[1] Though these changes are imperceptible to the naked eye, they can cause minor issues when it comes to installing and maintaining your floor. Because of this, you'll want to give your linoleum a chance to reach its "resting" size by storing it in the room you intend to use it in for about 24 hours prior to installing it.
-
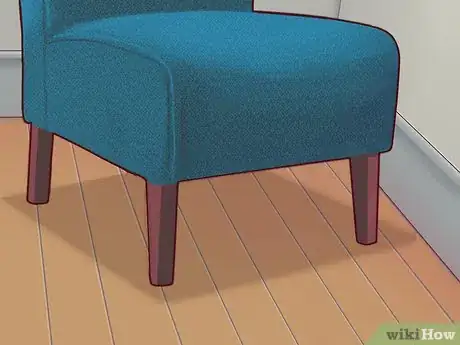
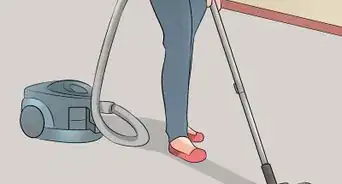
2Remove any furniture, appliances, and doors. Before beginning the process of laying down your linoleum flooring, you'll want to completely clear your work area from any possible obstructions. For most rooms, this will mean removing any furniture or floor decorations (e.g. rugs, etc.), along with any appliances that are connected to the floor, like toilets or pedestal-style sinks. Finally, you will probably want to remove any doors from their hinges, especially if they open inward, to ensure that you're able to comfortably work all the way to the edge of the room.
- When it comes to preparing your work area, be conservative. Spending a little extra time removing items that may not be completely necessary to remove is almost always a better use of time than halting your work later on to, for instance, uninstall a toilet that's in your way.
Advertisement -
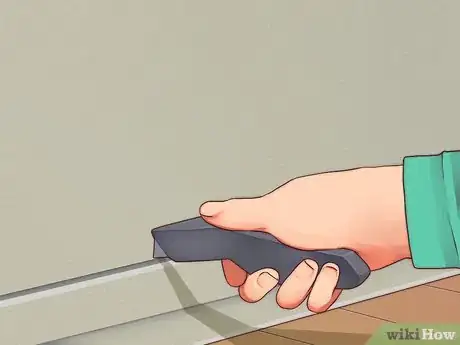
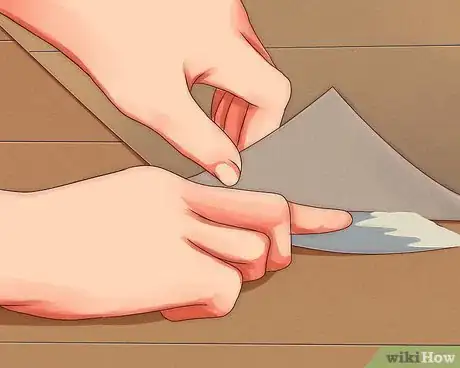
3Detach any baseboards. Next, remove any baseboards — the small wooden "trim" pieces at the bottom of a wall — that run along the edges of your floor. Usually, this can be accomplished by carefully prying with a pry bar, flat head screwdriver, or sturdy putty knife. To prevent damage to your wall, try inserting a small block of wood behind your prying tool as you work the baseboard away from the wall. This keeps your tool from scratching against the wall and provides additional leverage.[2]
- While you are working on your baseboards, take the opportunity to also remove any outlet covers that could be damaged by your linoleum flooring installation project.
-
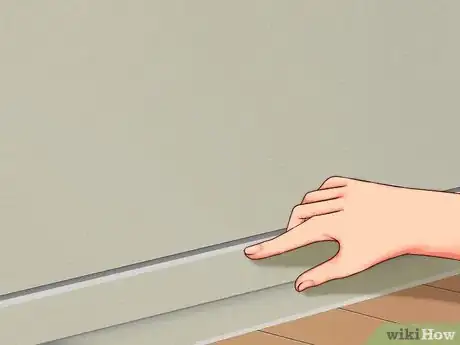
4Remove baseboard nails. After you remove your baseboards, quickly examine your bottoms of your walls near the floor to look for any leftover nails sticking out of the wall. Carefully pull these nails out of the wall with a pair of pliers, the "claw" end of a hammer, or a similar prying tool. If left in, these nails can present problems when attempting to lay your linoleum flat against the wall.
-
5Patch up pre-existing flooring material. Linoleum must be laid over floor that's as close to perfectly smooth and even as possible.[3] If it isn't, the underlying imperfections will eventually be reflected in the linoleum itself, resulting in unsightly bumps, ridges, soft spots, and so on. If you plan to lay your linoleum over the existing floor, check it to make sure that it is level and free of imperfections. If you plan to lay it over the subfloor, remove your existing flooring and check whether the subfloor is in good condition. If your floor or subfloor isn't completely even and level, you may want to try fixing minor issues with the tips below:[4]
- Concrete floors: Level high spots with a grinder or masonry chisel. Fill in small holes or cracks with additional concrete.
- Wood floors: Use an embossing leveler to fix minor dents and indentations. For more serious issues, use plywood underlayment (see below).
- Existing linoleum floors: Repair worn sections of floor or indentations with an embossing leveler (apply with a straightedge trowel). If any sections are damaged or loose, remove the linoleum and work off of the subfloor.
-
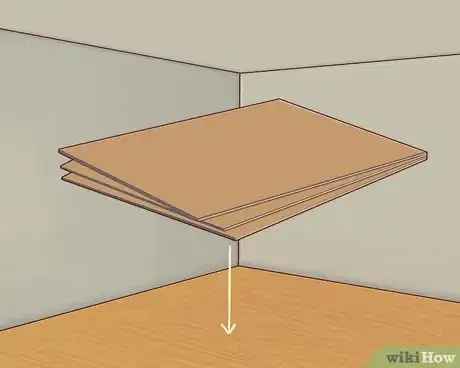
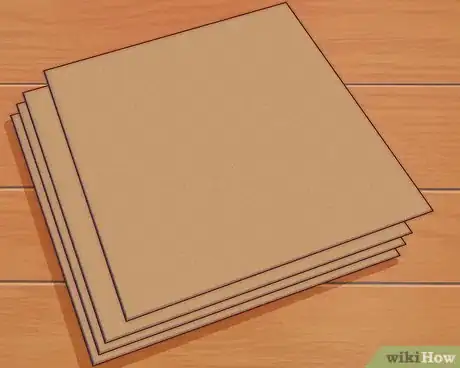
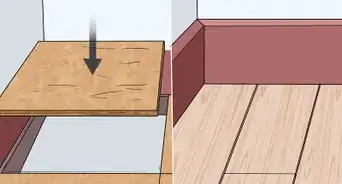
6Use a plywood underlay, as an alternative. Some floors and subfloors just aren't suitable for supporting linoleum flooring — either they're too worn or damaged to easily repair or you'd like to keep the floor material for use in other projects. In these cases, it's usually best to use a plywood underlayment to support the linoleum. Cut 1/4 inch (0.63 centimeter) underlayment-grade plywood to fit the floor area you plan to cover with linoleum, then lay this over the existing floor or subfloor. This provides a smooth, even surface for the linoleum to rest on, bypassing the problems of using a damaged or worn floor entirely.
- For tight seams for your plywood pieces, use a pneumatic stapler about every 8 inches (20.3 cm) along edges.
- Don't forget that using an underlayment will raise the level of the floor slightly, which may require you to shave off a small amount of material from the bottoms of any doors in the room.
Laying Linoleum
-
1Determine the amount of linoleum you'll need. Now that your floor is ready for linoleum to be installed, it's time to measure it so that you'll know precisely how much linoleum to use and exactly how to cut it. You have several options for measuring your floor — just a few are listed below. Regardless of which method you use, it's important to make your measurements as accurate as possible so that your linoleum will fit precisely against your walls and appliances.
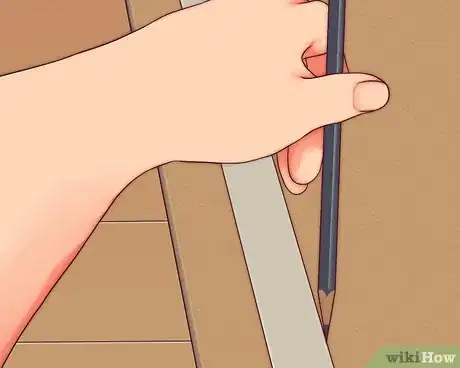
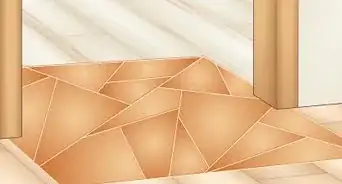
- One option for measuring your floor is to lay down a large sheet (or sheets) of a heavy paper like butcher paper across the area of floor you intend to cover with linoleum. Use a pencil to precisely trace the edges of the floor area. Cut the shape of your floor area from your paper, then use this as an outline when you cut out your linoleum.
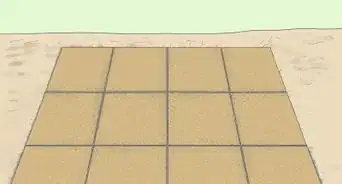
- Another option is to use a tape measure to obtain measurements for all of the sides of your flooring area. Sketch these results on a piece of paper and use your measurements to cut your piece of linoleum. This method is especially handy for square or rectangular sections of floor — all you need to do is measure two perpendicular sides and you'll know exactly how much to cut.
-
2Mark your cutting lines on your linoleum. Once you have a paper outline of your floor area or precise measurements and a rough sketch, you're ready to mark your linoleum material with its final shape. Use a washable marker to trace your paper outline or use a straightedge and tape measure to draw lines according to the floor measurements you took. Linoleum is usually sold in 6 or 12 foot (1.8 - 3.6 meter) wide rolls, so it should be possible to mark and cut linoleum flooring for most small spaces and rooms (e.g., bathrooms, hallways, etc.) in one seamless piece. For larger projects, it's OK to use two or more pieces.
- It's almost always a good idea to mark your linoleum floor pieces about an inch or two wider than they need to be. While it's fairly easy to trim the edges of the linoleum to make it fit your floor space, there's no way to make a piece of linoleum that's too small bigger, so be conservative when cutting your linoleum.
-
3Cut your linoleum. Once you know the exact dimensions of the floor area you intend to cover, you can begin cutting your linoleum. Note that, for the most accurate fit, it's best to use linoleum that's been allowed to acclimate to the room for about a day (see above). Use the measurement or outline you took to cut your linoleum in as few separate pieces as possible.
- To cut your linoleum, use a sharp utility knife or a hooked linoleum knife and cut along your pre-marked lines. Use a straightedge to ensure an accurate cut. If you have some handy, put an extra layer of plywood underneath your linoleum as you cut it to avoid gouging your floor.
-
4Lay your vinyl down and trim to fit. Carefully move the cut linoleum piece(s) into position and lay it down. Work the linoleum around any corners and obstructions, taking care not to crease it. If you marked and cut your linoleum so that you have an extra inch or two on every side, the extra material will lay up against the walls. Use your linoleum-cutting tool to carefully trim the edges of your linoleum so that it lays flat on the floor and is flush against the edges of the flooring area. Below are a few tips for trimming your linoleum to fit snugly:
- Straight walls: Use a straightedge or straight piece of wood (like a 2x4) to crease the linoleum against the corner where the wall meets the floor. Cut along the crease.
- Inside corners: Use V-shaped cuts to shave excess material off of the linoleum where it meets the inside corner. Cautiously remove thin strips of material until the linoleum just lays flat against the floor.
- Outside corners: Make a vertical cut inward from the corner at a 45o angle. Shave material off from both sides of the corner until the linoleum sits flat against the floor.
-
5Apply adhesive. Now, peel back half of your floor. Use a notched trowel to spread adhesive on the underside of the linoleum.[5] Follow the linoleum's recommended directions for use — some linoleum is meant to have adhesive applied evenly across the entire underside, while other types of linoleum are meant to have adhesive applied only along the edges. Allow the adhesive to sit briefly (most adhesives used for this purpose recommend doing so to achieve the best hold), then roll it back down and carefully press it into its place on the floor. Repeat for the other half of the floor.
- Linoleum/flooring adhesive is almost always available at major hardware stores (often under the all-purpose name "flooring adhesive"). Always defer to the usage instructions included with the products you buy, including your adhesive. — if they vary from those presented in this article, err on the safe side by following them.
- For linoleum requiring adhesive all over its underside (rather than around the perimeter), leave a few inches along the edges without adhesive. Linoleum can shrink and expand slightly when exposed to glue, so wait to apply adhesive to the edges until this settling has occurred.
Finishing and Sealing Your Floor
-
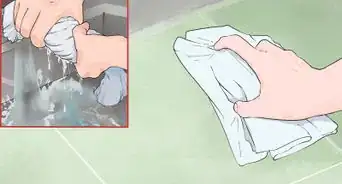
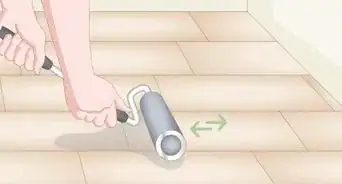
1Secure the linoleum with a roller. Use a heavy roller (a 100-pound model should work well) to remove air bubbles from the linoleum and securely adhere it to the floor or subfloor. Work from the middle of the floor to the edges, taking care to carefully roll over the entire floor. If this forces excess adhesive out from under the edges of the linoleum, use a solvent to dissolve it and remove it with a wet rag according to the manufacturer's directions.
-
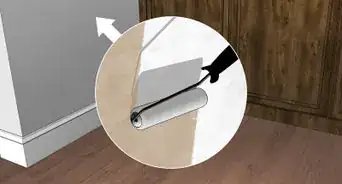
2Finish the linoleum sealant. To give your new linoleum floor a protective, glossy sheen that can add longevity, finish it with an approved linoleum sealant. Use a brush or roller to apply a thin, even coat over the entire piece of linoleum, taking care not to leave any spots bare. Work from the farthest corners of the floor inward to ensure that you don't have to step on any wet sealant.
- Pay extra attention to any seams in the linoleum — spaces where two pieces of linoleum rest against each other. If not sealed properly, these seams can become natural locations for peeling and water damage.
-
3Stay off of the floor for about 24 hours. As your sealant and adhesive dry, it's important to stay off of your new floor. Even after your sealant is completely dry, keep traffic to a minimum until the underlying adhesive sets completely. Replacing your furniture too early or walking excessively on the floor can cause the still-pliable flooring to deform as it dries, leading to permanent bumps and divots.
- Many flooring adhesives will be sufficiently dry in 24 hours, but some may require longer drying times. Always defer to your manufacturer's directions and err on the side of caution. Prolonging a minor inconvenience in the short term can save you problems in the long term.
-
4Replace baseboards, appliances, furniture, etc. When your new linoleum floor has completely dried, you can start getting your room back to normal. Replace your baseboards, appliances, furniture, electrical outlet covers, and any other items you removed from the room to prepare it for its new floor. Take care during re-installation not to scratch, mar or damage your linoleum.
- Keep in mind that some of the items you replace (especially doors and baseboards) may need to be slightly raised or altered to accommodate the slightly higher floor level.
- For very heavy furniture and appliances, use a piece of plywood to slide the fixture into place, rather than dragging it across the floor, as doing this can damage floors even after they've set.
- For specific help re-installing some common room fixtures, see our installation articles on baseboards, doors, and appliances.
-
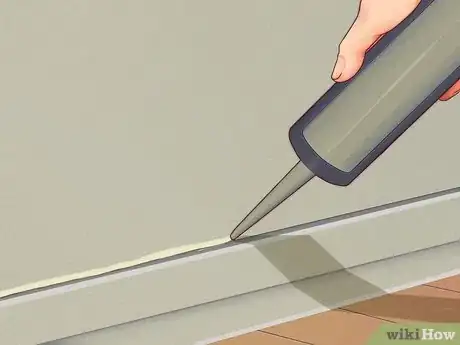
5Use caulk to seal the room's edges as needed. As you're returning your room to its original condition, don't forget that many room fixtures require their edges to be sealed with caulk to provide an air- and water-tight seal. Baseboards in particular can require extensive caulking, as can toilets, sinks, and other appliances that use water. Note that latex or acrylic latex-based caulk is usually best for most indoor projects.
Estimating the Amount of Linoleum You Need
-
1Use an online calculator. Though linoleum and vinyl flooring are fairly cheap compared to flooring options like hardwood and tile, you still won't want to spend any more money on your flooring project than necessary. Figuring out how much linoleum your project calls for beforehand can prevent you from wasting money on excessive flooring material and save you the hassle of having to run back to the hardware store if you don't have enough. For most projects, the easiest way to do this is simply to use an online calculator.
- Though online calculators will vary, most (including the one above) simply require you to input the length and width of your floor section (or sections) to receive a total estimate. For floor sections that are square or rectangular, you'll only need one length and width, but for a differently-shaped area of floor, you'll need to divide your square into rectangular sections and find a length and width for each to get an accurate total.
-
2Calculate your amount by hand. You don't need to use a calculator to figure out how much linoleum you need — it's also pretty easy to find this amount by hand. Use one of the equations below to determine exactly how much linoleum is necessary for your project depending on whether you're buying sheet linoleum by the yard or tiled linoleum.[6] Keep in mind that, regardless of the equation you use, your floor area value will be the length of your floor times its width (for each rectangular section of floor).
- For sheet linoleum: (Floor area)/9 = # of Square yards of linoleum needed
- For 9-inch tiles: (Floor area)/0.5626 = # of 9-inch linoleum tiles needed
- For 12-inch tiles: (Floor area) = # of 12-inch linoleum tiles needed
-
3Buy a little bit more than you think you need. As with all home improvement projects, it's a smart use of your time to buy just a little extra when you're shopping for linoleum flooring. Just as you might buy extra concrete when pouring a new driveway, buying extra linoleum gives you the ability to correct for small mistakes you might make and also accounts for minor errors you may have made during the process of calculating the amount of linoleum you need. In addition, extra linoleum can be stored almost indefinitely and used to patch minor damage to your floor, line the bottom of cabinets under your sink, and for a variety of other home-improvement projects.
Expert Q&A
-
QuestionHow do you make sure your flooring is straight?
 Crystal ChadwickCrystal Chadwick is a Licensed General Contractor and the Owner of Yin & Yang Construction out of Salt Lake City, Utah. With over 16 years of experience in the construction industry, she specializes in remodels, repairs, and handyman services. Crystal leads her team with vision and a detail-oriented approach, allowing them to provide quality work and design to their clients.
Licensed General Contractor Lay out your sheets of linoleum before applying any glue. This way, you can decide how you'd like your pattern to lay and make sure it fits appropriately.
 -
QuestionWhat I should I do if there are any cracks or gaps in the subfloor?
 Crystal ChadwickCrystal Chadwick is a Licensed General Contractor and the Owner of Yin & Yang Construction out of Salt Lake City, Utah. With over 16 years of experience in the construction industry, she specializes in remodels, repairs, and handyman services. Crystal leads her team with vision and a detail-oriented approach, allowing them to provide quality work and design to their clients.
Licensed General Contractor You should fill in any cracks and gaps with wood filler before you lay down the linoleum flooring.
 -
QuestionWhat is the best underlayment for linoleum?
 Crystal ChadwickCrystal Chadwick is a Licensed General Contractor and the Owner of Yin & Yang Construction out of Salt Lake City, Utah. With over 16 years of experience in the construction industry, she specializes in remodels, repairs, and handyman services. Crystal leads her team with vision and a detail-oriented approach, allowing them to provide quality work and design to their clients.
Licensed General Contractor OSB (Oriented Strand Board) is the best subfloor material for a linoleum flooring. Remember to always make sure your subfloor is smooth and level.
Warnings
- Linoleum flooring adhesive needs about 72 hours to cure. Never walk on it or place furniture on top of your linoleum floor before enough time has elapsed, or you may permanently add indentations to your flooring material.⧼thumbs_response⧽
Things You'll Need
- Birch plywood
- Pneumatic stapler
- Carpenter's square
- Linoleum
- Adhesive
- Hooked blade knife
- Straight edge ruler
- 100 lb. roller
- Linoleum flooring sealer
References
- ↑ http://www.ecofriendlyflooring.com/pdfs/linoleum_specs.pdf
- ↑ http://www.lowes.com/projects/bed-and-bath/Install-Sheet-Vinyl-Flooring/project
- ↑ Crystal Chadwick. Licensed General Contractor. Expert Interview. 16 March 2021.
- ↑ http://www.lowes.com/projects/bed-and-bath/Install-Sheet-Vinyl-Flooring/project
- ↑ Crystal Chadwick. Licensed General Contractor. Expert Interview. 16 March 2021.
- ↑ http://www.dummies.com/how-to/content/how-much-vinyl-flooring-do-you-need.html
- http://www.familyhandyman.com/floor/vinyl-flooring/how-to-install-a-sheet-vinyl-floor/view-all
- http://www.lowes.com/projects/bed-and-bath/Install-Sheet-Vinyl-Flooring/project
- http://www.hgtv.com/home-improvement/installing-natural-linoleum-flooring/index.html
About This Article
To install linoleum flooring, first let the flooring rest in the room for a full day so it acclimates to the room’s temperature. Next, cut the pieces of linoleum so they’ll fit in the places you want to cover and lay them out on the floor. Trim any edges that stick out or don’t lay flat, then apply adhesive to the back side of the linoleum, working on half the room at a time. Once the back is covered in adhesive, press the linoleum into place on the floor. Finally, use a heavy roller to remove any air bubbles, then seal the floor with a linoleum sealant. For tips on figuring out how much linoleum flooring you’ll need to buy, read on!

