This article was co-authored by wikiHow Staff. Our trained team of editors and researchers validate articles for accuracy and comprehensiveness. wikiHow's Content Management Team carefully monitors the work from our editorial staff to ensure that each article is backed by trusted research and meets our high quality standards.
There are 9 references cited in this article, which can be found at the bottom of the page.
This article has been viewed 48,058 times.
Learn more...
Suspicions about plastic rice being passed off for food went viral in 2017. However, food safety agencies have yet to find any evidence that supports the rumors.[1] If you want to stay on the safe side, you can test rice by making sure it sinks in water, boiling it, and heating it on a hot skillet. While plastic beads that resemble rice do exist, they’re primarily used to cushion fragile items during shipping. You could purchase some online and set up a fun experiment. Try testing plastic and real rice side by side so you can clearly see the differences between them.
Steps
Trying the Water Test
-
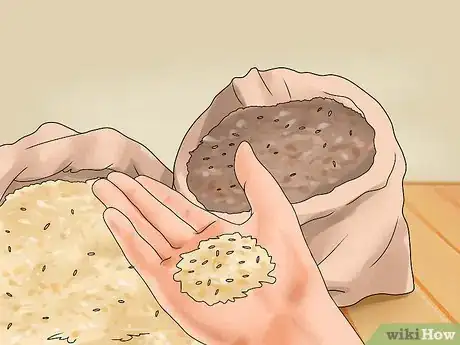
1Purchase plastic rice beads if you want a comparison. Plastic rice beads are available online and at some art supply stores. They’re used to cushion shipped cargo and for crafts projects.[2] When you conduct your experiments, you could compare a sample of plastic rice with the rice you want to test.
- Some people have seen videos of plastic rice beads being produced and assume that they're made just to be passed off as food. However, plastic rice beads are more expensive to produce than actual rice, so it wouldn’t be profitable to try to substitute plastic for the real thing.
-
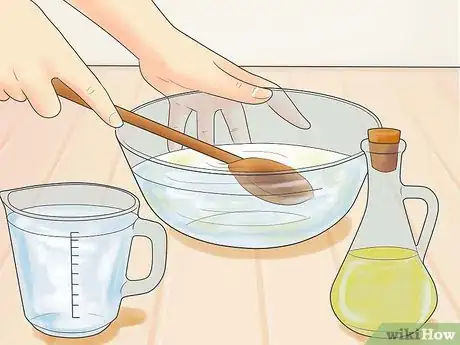
2Add rice to a glass of water. If you just want to test a small amount, drop a tablespoon of rice into a glass of water.[3] To test a larger batch, add the rice to a large pot and cover it with 2 to 3 inches (5.1 to 7.6 cm) of water.
- If you’re also testing a sample of plastic rice, add it to a separate container of water.
Advertisement -
3Stir the water and let it settle. Mix up the rice and water for a few seconds. Then give the mixture about 30 seconds to stop swirling.[4]
-
4Look for grains that floats to the surface. Because of its density, rice sinks in water. If any grains float to the surface after the water settles, you should be suspicious. The difference will be obvious if you’re also testing a sample of plastic beads.[5]
- You might see bits and pieces of dirt and other debris float, but all the grains of rice should sink.
- Aside from verifying its authenticity, soaking and rinsing rice before cooking removes impurities and helps separate the grains. In the end, you'll have a fluffier, less sticky bowl of cooked rice.[6]
Observing Rice as It Boils
-
1Add rice to a pot or bowl of water. Combine equal parts of rice and water, or use whichever ratio you prefer to use when you normally cook rice.[7] Use a pot if you’re boiling the rice on the stovetop, or combine the rice and water in a microwave-safe bowl.
- Use a separate container to boil plastic rice beads if you’re testing a comparison sample.
-
2Cook the rice in the microwave or on the stovetop. Bring the rice to a boil over medium heat on the stovetop. Alternatively, you could microwave the rice on high for about 3 minutes.[8]
-
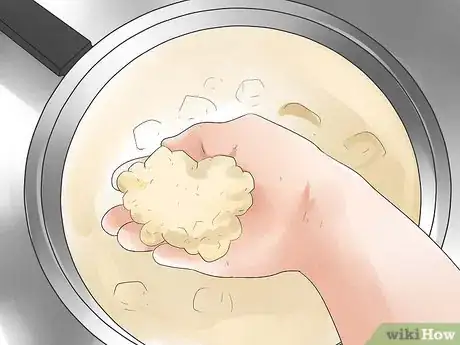
3Check the surface for a layer of thick residue. If you’re boiling the rice on the stovetop, check it after about 10 minutes, or take the bowl out of the microwave after 3 minutes. Skim the surface with a spoon to check for a layer of plastic residue.[9]
- When boiling rice on the stovetop, you might have to lower the heat to calm a rolling boil so you can see the surface clearly.
- If you’re testing a sample of plastic, you’ll be able to skim a thick layer of melted plastic from the surface. In addition, unlike rice, the plastic won’t start to fluff and absorb the water.
- Rice is starchy, and some stickiness or residue is normal, especially in short-grained varieties.[10] However, there’s a noticeable difference between a thin starchy residue and a thick layer of melted plastic.
Heating Rice on a Skillet
-
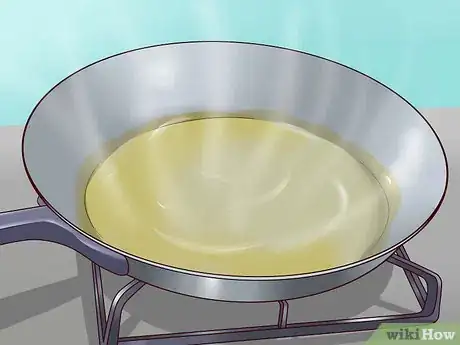
1Coat a skillet with oil and heat it on the stove. A tablespoon of oil should be enough to coat the surface of a skillet. Alternatively, you could coat the surface with cooking spray. After coating the skillet, set your burner to high heat and get your pan hot.[11]
-
2Cover the skillet with a single, thin layer of rice. When the oil becomes very thin and hot, add rice to the skillet. You’ll need to be able to observe individual grains, so don’t add too much rice.[12]
- If you’re testing a sample of plastic rice beads, heat them in a separate skillet.
-
3Check for grains that contract and melt. Plastic will begin to melt after a couple of minutes on the hot skillet. Look closely, and if there are any plastic grains, you'll be able to see them start to change shape and liquefy.[13]
- If you’re testing samples side by side, you’ll have no problem seeing the plastic rice beads contract and melt. Melting plastic also has a distinct smell, which you’ll also detect if you’re testing a sample of plastic rice beads.
References
- ↑ http://www.bbc.com/news/blogs-trending-40484135
- ↑ http://www.bbc.com/news/blogs-trending-40484135
- ↑ http://www.businesstoday.in/current/economy-politics/plastic-rice-in-andhra-pradesh-telangana-china/story/253880.html
- ↑ http://www.businesstoday.in/current/economy-politics/plastic-rice-in-andhra-pradesh-telangana-china/story/253880.html
- ↑ https://www.youtube.com/watch?v=hz7ru9P-U7M&feature=youtu.be&t=33
- ↑ http://www.thekitchn.com/yes-you-should-be-rinsing-your-rice-228083
- ↑ https://www.indiatimes.com/health/healthyliving/5-ways-to-identify-plastic-rice-to-rid-yourself-of-the-recent-plastic-rice-scare-323420.html
- ↑ https://www.youtube.com/watch?v=hz7ru9P-U7M&feature=youtu.be&t=74
- ↑ https://www.youtube.com/watch?v=hz7ru9P-U7M&feature=youtu.be&t=118
- ↑ https://www.jstage.jst.go.jp/article/fstr/15/3/15_3_299/_pdf
- ↑ https://www.indiatimes.com/health/healthyliving/5-ways-to-identify-plastic-rice-to-rid-yourself-of-the-recent-plastic-rice-scare-323420.html
- ↑ https://www.indiatimes.com/health/healthyliving/5-ways-to-identify-plastic-rice-to-rid-yourself-of-the-recent-plastic-rice-scare-323420.html
- ↑ https://www.youtube.com/watch?v=hz7ru9P-U7M&feature=youtu.be&t=170
- ↑ http://www.bbc.com/news/blogs-trending-40484135
About This Article
To identify plastic rice, drop a tablespoon of your rice into a glass of water and stir it for a few seconds. Wait about 30 seconds for the mixture to stop swirling. Then, look for any grains floating on the surface, which indicate that your rice isn’t real. While you’re cooking your rice, you should also look out for a layer of thick residue from melting plastic. If you’re boiling your rice on the stovetop, check it after 10 minutes. Or, if you’re cooking it in the microwave, check it after 3 minutes. For more tips, including how to test your rice while heating it on a skillet, read on!
-Step-7.webp)
-Step-6.webp)

-Step-10.webp)



-Step-11.webp)
