This article was co-authored by Lauren Kurtz. Lauren Kurtz is a Naturalist and Horticultural Specialist. Lauren has worked for Aurora, Colorado managing the Water-Wise Garden at Aurora Municipal Center for the Water Conservation Department. She earned a BA in Environmental and Sustainability Studies from Western Michigan University in 2014.
There are 7 references cited in this article, which can be found at the bottom of the page.
This article has been viewed 26,970 times.
Water chestnuts (Eleocharis dulcis) are native to Asia and make for a delicious ingredient in many Asian dishes. If you want to grow your own water chestnuts, the entire process takes up to 8 months. They thrive best in USDA zones 9-11, in which they're winter hardy. They need a frost free growing season of at least 7 months. To grow water chestnuts, you’ll need a large plastic container, potting mix, and water.
Steps
Creating the Water Chestnut Container
-
1Find a large container to house your water chestnuts. Purchase a large drum or plastic tub to house your water chestnuts. A 100 liter (26 US gal) container will yield 30-35 mature water chestnuts. If you want to grow more chestnuts, use a larger container.[1]
-
2Fill the container with an organic potting mix. Pour the mix into your container so that it’s 10–20 centimetres (3.9–7.9 in) high, then flatten the potting mix out with a spade. You can purchase a potting mix that’s high in organic material online or from a home and gardening store.[2]
- Look for a potting soil with a pH level of 6.5-7.2.[3]
Advertisement -
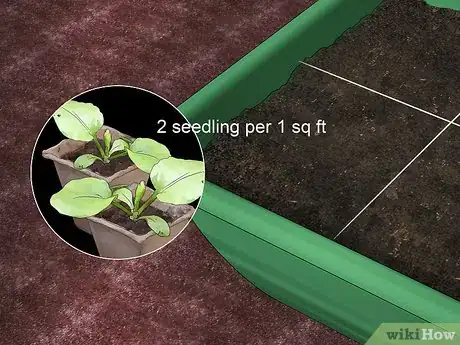
3Purchase 2 corms or seedlings per 1 square foot (0.093 m2) of potting mix. The water chestnut plant will start with a corm or seedling that you can buy online or at a gardening store. Water chestnuts propagate quickly, so you only need to get 2 seedlings or corms per 1 square foot (0.093 m2) in your container.[4]
- Corms are rounded bulbs that will grow a new plant. Seedlings, on the other hand, will already have green growth on the top.
- Corms and seedlings are planted and grown in a similar way, so choose depending on availability or cost.
- You can also find the bulbs at Asian markets. Look for them in the produce section.
Planting Water Chestnuts
-
1Plant the chestnuts in the early spring. Water chestnuts take at least 6-7 months to fully mature, so it’s necessary that you plant them in the early spring so that they are ready to be harvested in the fall, before the first frost.[5]
- If you miss your window to plant the chestnuts, you’ll have to wait another year during the next growing season. Alternatively, you can grow them in a greenhouse.
- If your area is prone to frost or cold temperatures during the spring and summer, you’ll have to grow your water chestnuts in a 70 °F (21 °C) room.
- Plant your water chestnuts in full sun or partial shade.
-
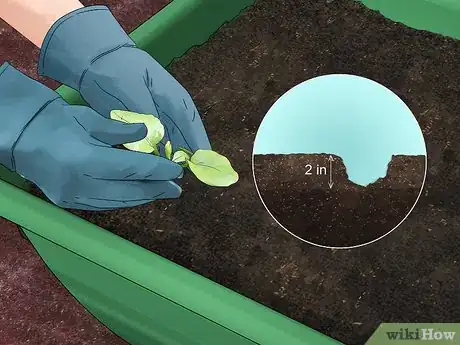
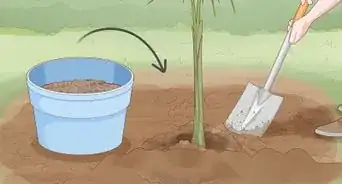
2Dig a 5 centimetre (2.0 in) deep hole and plant your chestnuts in them. Use a spade to dig a hole that’s large enough to fit the water chestnut corm or seedling. Finish planting the water chestnut plant by covering the corm or bulbs with soil. Pack it down with a spade.[6]
-
3Space your corms or seedlings far apart if planting more than 1. If you are planting more than 1 water chestnut plant, space them as far apart as you can so they both have enough space to grow. You should only plant 2 corms or seedlings per 1 square foot (0.093 m2).[7]
- Overcrowding your water chestnut plants will reduce the yield.
-
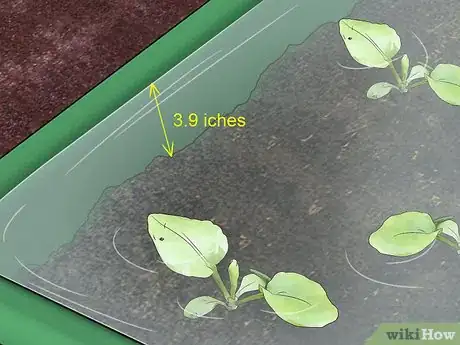
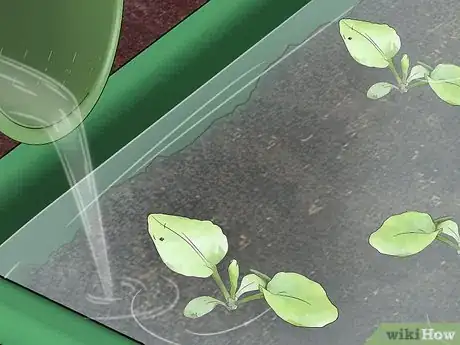
4Fill the container with water with 10 centimetres (3.9 in) of water. Pour room temperature water into the container so that you don’t shock the seedlings or corms. Use a measuring stick or tape measure to double check that the water is 10 centimetres (3.9 in) high.[8]
Harvesting Water Chestnuts
-
1Re-fill the container as the water evaporates. It will take about 6 months for the water chestnuts to ripen enough to harvest. During this time, make sure to keep them constantly covered with 10 centimetres (3.9 in) of water. Measure the water once a week and refill the container when you notice the level dipping.[9]
-
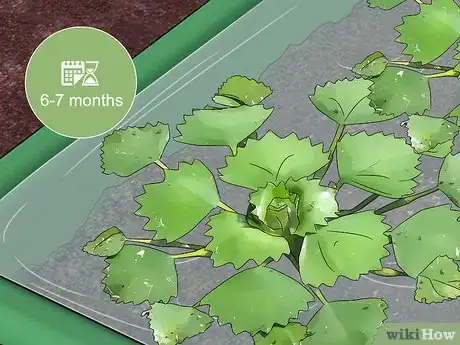
2Wait 6-7 months for new chestnuts to mature. If you’ve done everything correctly, new water chestnuts should have grown under the water. The leaves should be yellow when the chestnuts are ready.[10]
- If you don't wait, the chestnuts won't be ripe enough to eat.
-
3Drain the container. Tip the container over carefully outside and drain it of all the water. Gather up any stray water chestnuts that fall out of your container as you do this.[11]
- You don't have to drain all the water at first, just enough so that you can dig up the water chestnut plants.
-
4Uncover the water chestnuts. Pull the chestnut plants out of the dirt and place them in a dry container. Once you've dug them all up, sort through the dirt to find the water chestnuts that grew during the growing season.[12]
- The water chestnuts will vary in size so make sure to look through the dirt thoroughly.
- You can save larger water chestnuts and replant them during the next growing season.
-
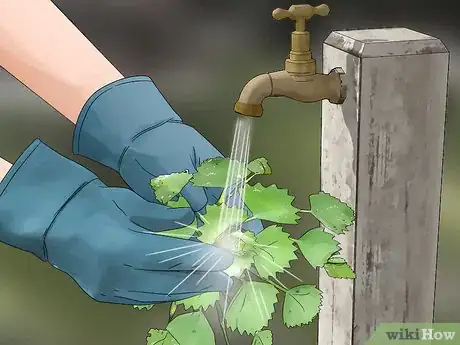
5Rinse the dirt off the chestnuts. Rinse the water chestnuts under the faucet with cold water before storing or eating them. Pat the chestnut's shell dry with a rag or paper towels.[13]
-
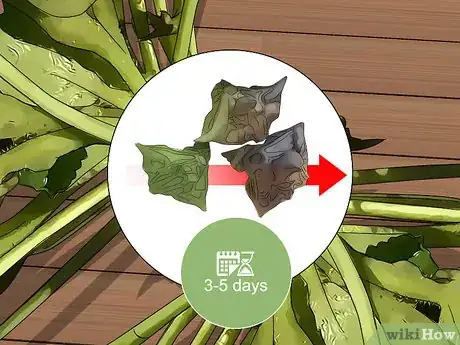
6Store the nuts in a shady place for 3-5 weeks to dry. Choose a well-ventilated area like a garage to dry your water chestnuts. Over this time, the chestnuts should harden and the leaves should turn brown. This drying process is necessary before you can cook and eat the chestnuts.[14]
- The chestnuts should be dark brown with a tough outer coating when they are ready to eat.
-
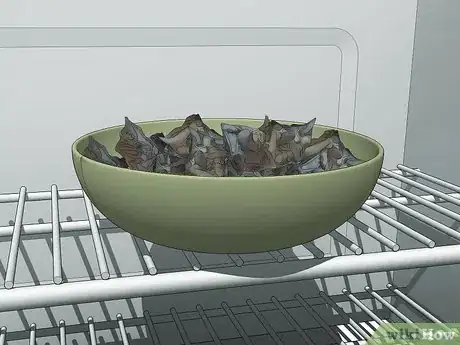
7Store dried water chestnuts in the refrigerator for 2-3 weeks. You can either use the chestnuts in a dish immediately or store them and use them later. Before using them in food, make sure that you rinse the chestnuts thoroughly under cold water to wash them.[15]
Community Q&A
-
QuestionHow can I plant water chestnuts?
 Addison SmithCommunity AnswerWater chestnuts require controlled irrigation and 220 frost-free days to reach maturity. Corms are planted 4-5 inches deep in soil, 30 inches apart in rows, with field flooded for a day. After that, the field is drained and the plants are allowed to grow until they are 12 inches high.
Things You’ll Need
- Large plastic tub or bin
- Water chestnut corms or seedlings
- Spade
- Potting mix
- Water
Warnings
- In most places, water chestnuts are considered an invasive species and should not be planted in the wild to preserve native plant life.[16]⧼thumbs_response⧽
References
- ↑ http://www.thesurvivalgardener.com/survival-plant-profile-water-chestnuts/
- ↑ https://youtu.be/dcLtmIFv0Yw?t=1m43s
- ↑ https://www.greenharvest.com.au/Plants/Information/Waterchestnuts.html
- ↑ http://www.thesurvivalgardener.com/survival-plant-profile-water-chestnuts/
- ↑ https://www.greenharvest.com.au/Plants/Information/Waterchestnuts.html
- ↑ https://www.greenharvest.com.au/Plants/Information/Waterchestnuts.html
- ↑ http://www.thesurvivalgardener.com/survival-plant-profile-water-chestnuts/
- ↑ https://youtu.be/dcLtmIFv0Yw?t=4m8s
- ↑ https://youtu.be/dcLtmIFv0Yw?t=4m8s
- ↑ http://www.thesurvivalgardener.com/survival-plant-profile-water-chestnuts/
- ↑ http://www.thesurvivalgardener.com/survival-plant-profile-water-chestnuts/
- ↑ https://youtu.be/hocmorvUINk?t=2m12s
- ↑ https://youtu.be/irbJAAZjWpo?t=1m18s
- ↑ https://www.greenharvest.com.au/Plants/Information/Waterchestnuts.html
- ↑ https://www.greenharvest.com.au/Plants/Information/Waterchestnuts.html
- ↑ http://rfcarchives.org.au/Next/Fruits/WaterChestnut/GrowingWChestnuts9-96.htm


