X
wikiHow is a “wiki,” similar to Wikipedia, which means that many of our articles are co-written by multiple authors. To create this article, volunteer authors worked to edit and improve it over time.
This article has been viewed 33,416 times.
Learn more...
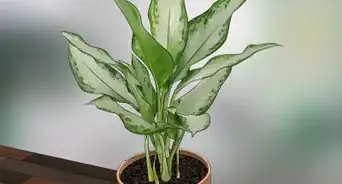
Houseplants are the perfect accent to everyone's home. Ivy specifically improves air quality and also has many health benefits such as anti-inflammatory qualities. These step-by-step instructions on how to grow ivy in a pot cover how to plant ivy in a pot, as well as basic care once the ivy is successfully planted.
Steps
Part 1
Part 1 of 2:
Potting Your Plant
-
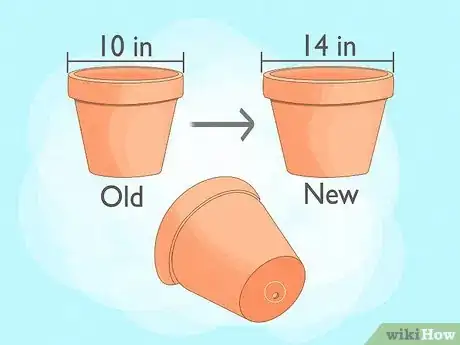
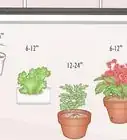
1Choose the right size pot. Make sure the new pot is 2 to 4 inches larger in diameter than the current pot or container it is in.
- Make sure there is a hole at the bottom of the pot for water drainage.
- If the pot is larger than 4 inches than the current one, it may take some time for the leaves to grow new sprouts because the roots will grow to fill the pot first.
- If this pot has been used before, make sure to wash it out with warm water and a mild soap before transferring your ivy into it.
-
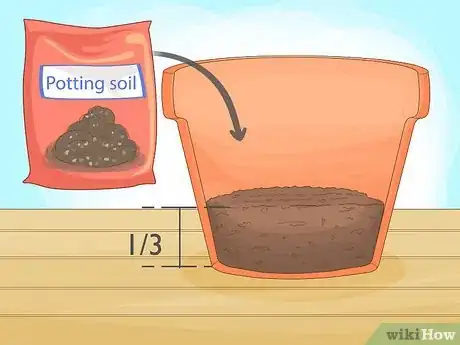
2Fill the pot about 1/3 of the way with houseplant potting soil.
- Houseplant soil mix can be purchased at most garden centers.
Advertisement -
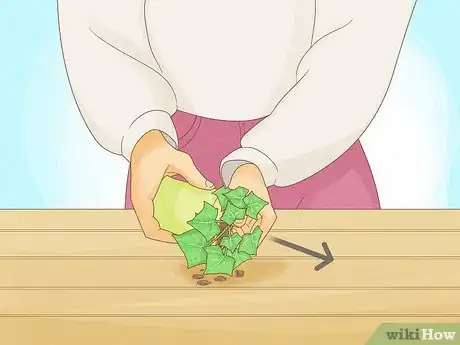
3Remove the ivy from its current pot. To do this, turn the pot that the ivy is currently in upside down and squeeze the size and/or tap on the bottom until the soil comes loose and you can remove the plant from the pot.
- This mass of soil and roots now removed from the pot is referred to as the "rootball".
-
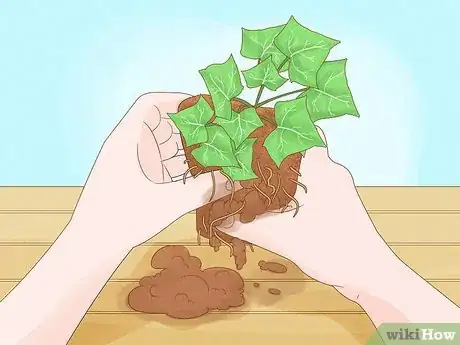
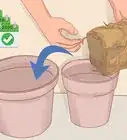
4Loosen the rootball. Use your fingers to loosen the rootball by squeezing and shaking the clumps of soil out from in between the roots.
- After removing some dirt, if the roots are still stuck together you should untangle by gently pulling them apart.
- In order to avoid a large mess, do this step over the pot or an old newspaper.
-
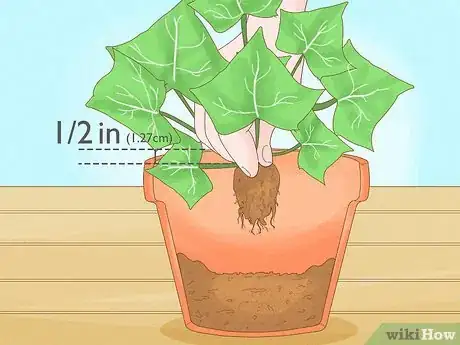
5Insert the rootball into the center of the pot. Check and make sure that the ball of roots is about ½ inch from the edge of the pot.
- Look from the top down over the pot to make sure that the ivy is centered in the pot.
-
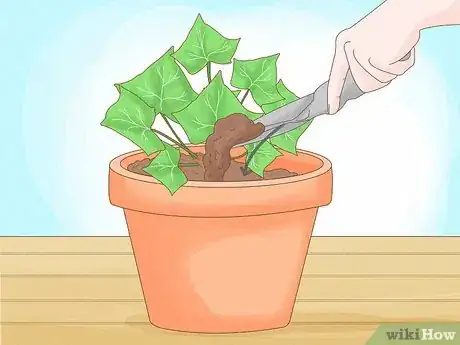
6Fill the rest of the pot with soil. Make sure to leave about ½ inch from the top of the soil to the top of the pot. This way, there will be room for water to absorb into the soil.
- If your plant is top heavy, you might want to "stuff" or "pack" the soil meaning filling the pot and then packing it down to be able to then fit more soil.
-
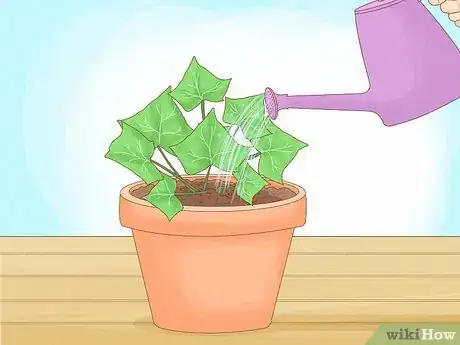
7Water your newly planted ivy. Place the pot in a drainage tray and water thoroughly.
- Thorough watering means water until it starts to seem out of the bottom of the pot.
- Plastic drainage trays can be found at most garden centers or anywhere you can purchase potting soil.
Advertisement
Part 2
Part 2 of 2:
Caring for Your Ivy
-
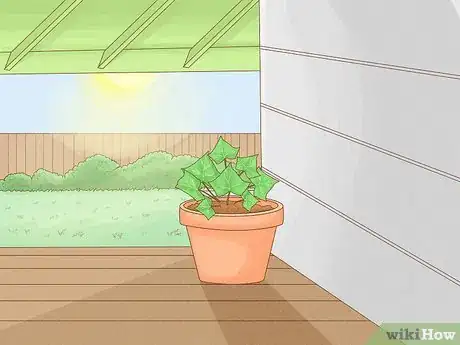
1Place the pot in a partly sunny spot in your home. Ivy, like all plants, needs light but cannot withstand the intensity of full sunlight. Ivy should have full sunlight for no more than 6 hours a day or shaded light all day.
- Ivy is delicate. If your ivy is placed in a full sun area for part of the day, make sure not let the soil dry out too much.
-
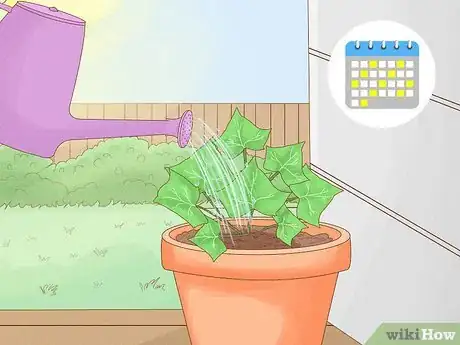
2Water your ivy as needed. This should be about every 2 days, or when the soil is dry to the touch.
- If you water your ivy more often than that or before the soil dries out, your plant can become susceptible to root rot.
-
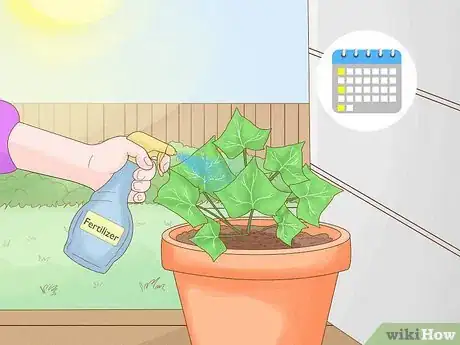
3Fertilize your ivy every 14 days. Many types of indoor plant food can be used to feed ivy plants. Make sure to read the directions for the individual plant food bought.
- Make sure to not overfeed your ivy. Overfeeding can also result in root rot but can also start to make the leaves mold.
Advertisement
About This Article
Advertisement
