This article was co-authored by Lauren Kurtz and by wikiHow staff writer, Amber Crain. Lauren Kurtz is a Naturalist and Horticultural Specialist. Lauren has worked for Aurora, Colorado managing the Water-Wise Garden at Aurora Municipal Center for the Water Conservation Department. She earned a BA in Environmental and Sustainability Studies from Western Michigan University in 2014.
wikiHow marks an article as reader-approved once it receives enough positive feedback. In this case, 98% of readers who voted found the article helpful, earning it our reader-approved status.
This article has been viewed 189,763 times.
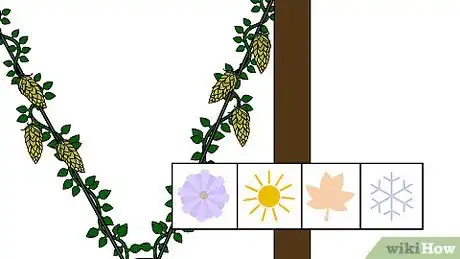
Hops is one of the basic ingredients in beer. If you're a home brewer, you may be interested in growing your own hops. They're able to thrive in any moderate climate and with minimal maintenance. Choose a sunny spot for planting, train the hops to grow up a trellis and perform basic maintenance to keep the plants healthy. Hops are ready to harvest in late summer in many regions.
Steps
Preparing the Planting Area
-
1Choose a sunny location to plant the hops. Scout out an area in your yard that gets at least 6 to 8 hours of direct sunlight every day. This is the minimum amount of sunlight needed for hops to thrive.[1]
-
2Select an area with plenty of sturdy vertical space. Hop bines can grow 25 feet (7.6 m) or higher into the air and weigh more than 20 pounds. You can choose a planting spot near your house, so you'll be able to lean a tall trellis against it. The trellis can also be propped up against a sturdy pole, fence or other structure close to the garden, if preferred.[2]Advertisement
-
3Make sure the soil is nutrient-rich and drains well. Hops thrive in light-textured, well-drained soil. If you often see water standing over the area after a heavy rain, the soil there doesn't drain well and isn't ideal for growing hops. Check the pH of the soil and aim for a pH of 6.0 - 8.0 for best results.
-
4Aerate the soil. Measure out the area where you want to plant the hops, then use a garden rake and hoe or a soil tiller to break up the soil. It should be loose, with no large clumps or dense spots. Remove stones and sticks from the area and pull out any weeds by the root.
-
5Fertilize the soil. Hops need a lot of nutrients to thrive, especially potassium, phosphates, and nitrogen. You can use manure compost or commercial fertilizer to enrich the soil. Fertilize the ground to a depth of at least 1 foot (30 cm).[3]
-
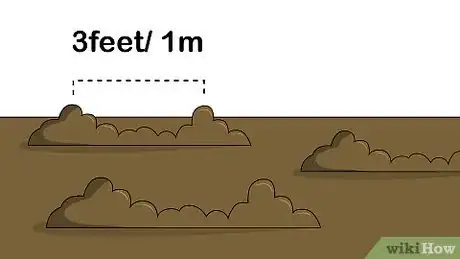
6Prepare soil mounds for each plant. Hops like to be slightly elevated and planted in mounds. Create one mound for each rhizome you plan to plant. The mounds need to be spaced about 3 feet (0.9 m) apart, so the hops have plenty of room to grow.
Planting Hops
-
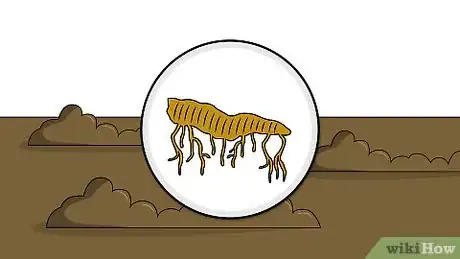
1Buy hop rhizomes in March or April. Hop plants are grown from hop rhizomes. Rhizomes are available early in the spring, when hop farmers dig them up and sell them to suppliers. Order rhizomes online or check with your local nursery.[4]
- Different varieties of hops have different flavors. Choose a variety that fits with the type of beer you want to create.
- Timing for planting may vary by regional climate.
-
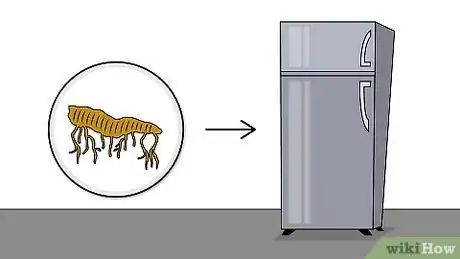
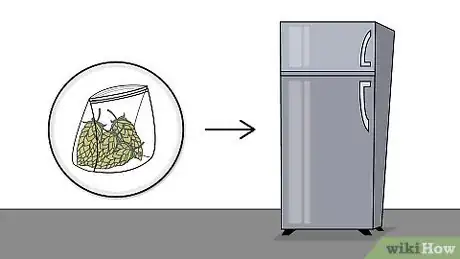
2Store the rhizomes in the fridge until you're ready to plant them. When your hops arrive, remove the rhizomes from the packaging and wrap them in damp paper towels. Store them in the refrigerator until you're ready to plant them to keep them from drying out.
-
3Plant hops in late spring after the last frost has passed. You can plant hops once the ground thaws and there's no danger of another frost. Plant hops directly in the ground rather than starting plants indoors.[5]
-
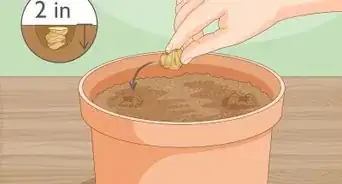
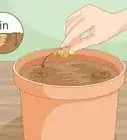
4Plant each rhizome in a 4-inch (122 cm) hole. Dig one 4-inch deep hole in each soil mound. Plant the rhizomes horizontally, with the root side down. Mound soil over the rhizomes and loosely pack it down, then cover with straw or a light mulch to inhibit weed growth.
-
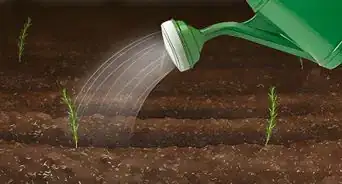
5Keep the soil consistently moist. Hops like a lot of water. Touch the soil each day and water it whenever it feels dry. If you live in a very warm or dry climate, you may need to water the mounds every day.[8]
-
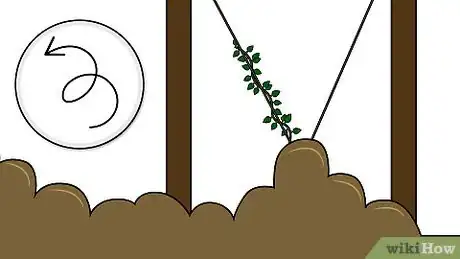
6Train the bines to grow up the trellis once they sprout. When the hop bines emerge and grow to about 6 inches (15.2 cm), they need to be "trained" around the trellis to help them grow vertically. Place the trellis near the plants and gently wrap them around its base.
- Continue training the hops for a few days. After awhile, they'll begin growing clockwise around the trellis on their own.
-
7Remove weak or damaged plants. If some of the shoots that sprout look damaged or weak, remove them rather than allowing them to take up space on the trellis. Each rhizome should produce between 4 and 6 healthy bines. They grow fast and need plenty of room.[9]
-
8Trim the bines to prevent disease. After a few months of growth, trim the leaves off the bottom 4 feet (1.2 m) of the bines. This prevents the plants from getting damaged by diseases or fungus that may be present in the soil.[10]
Harvesting and Drying Hops
-
1Examine the cones for ripeness in late summer. In the late summer, when it's time to harvest the hops, examine the cones on the bines to see if they are mature. Hop cones are ripe when they're dry, papery, aromatic, springy, and filled with yellow lupulin powder. Test one by cracking it open to see if it is ripe.
- Hop cones that are heavy and green aren't ready yet. Be patient; your hops might not ripen until early fall.
- First year plants may not yield a lot; they hit their peak during the second year.[11]
- Harvesting times may vary by regional climate.
-
2Pick the ripe hop cones. Gently twist off the ripe hop cones. Some will ripen more quickly than others, so leave the ones that still need time. Don't leave cones on the vine until they turn brown.[12]
- You can use a ladder to pick the hop cones that are out of reach.
- If it seems that all the hops are ripening at once, and you prefer not to use a ladder, cut the bines at their bases. Lay them flat and pull off the cones.
-
3Dry the hops out of direct sunlight with a fan. Place ripe hops on a flat surface away from sunlight. Make sure they are only a single layer deep. Turn on a fan and let it blow over the hops for a few hours. Flip them over and continue drying them on the other side. Continue drying and flipping the hops until there is no moisture left on their surface.[13]
- You may also store your hops in a paper bag in a cool, dark and dry place to let them dry out over the course of a few weeks.
- Check home-brewing websites for hop-drying kits that make the process faster.
-
4
Caring for the Plants after Harvesting
-
1Cut back the bines. When the harvest is over, cut them back to about 3 feet (0.9 m). The first frost will kill them, after which you can trim them back even further.[16]
-
2Cover the bines with a tarp. Once you've cut them back, cover the bines with a tarp or other protective covering for the rest of the winter. This will protect them from the worst of the frost.
-
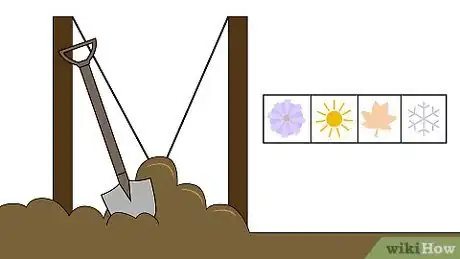
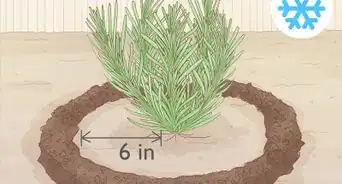
3Revive the hop plants in spring. Use a shovel to uncover the rhizomes and trim back the roots on each one. Fertilize the soil around them and mound it loosely into 1-foot hills. Add a layer of mulch and moisten the soil with water until the hop plants sprout once more.[17]
Community Q&A
-
QuestionCan the seeds from the cone be planted to yield rhizomes?
 Community AnswerYou can plant seeds but you'll want to get rid of the males and keep the flowering female plants. That's why they say producing rhizomes is easier.
 -
QuestionHow long does it take for hops seeds to germinate?
 Community AnswerHops seeds will give male and female plants and this will not be productive. Only a female plant should be used. It is better to buy rhizomes.
 -
QuestionWhat are the lowest temperatures at which hop plants will survive?
 Community AnswerThe hop plants cannot tolerate 40 degrees or below in Fahrenheit. If they are exposed to this accidentally, try to move them to a warmer area. They also cannot withstand temperatures over 70 degrees.
References
- ↑ http://beersmith.com/blog/2008/04/10/growing-hops-in-the-garden-how-to-grow-beer-hops/
- ↑ http://beersmith.com/blog/2008/04/10/growing-hops-in-the-garden-how-to-grow-beer-hops/
- ↑ https://www.morebeer.com/articles/growing_hop_rhizomes
- ↑ https://beerandbrewing.com/7-steps-to-growing-your-own-hops/
- ↑ https://beerandbrewing.com/7-steps-to-growing-your-own-hops/
- ↑ https://www.morebeer.com/articles/growing_hop_rhizomes
- ↑ https://www.morebeer.com/articles/growing_hop_rhizomes
- ↑ http://beersmith.com/blog/2008/04/10/growing-hops-in-the-garden-how-to-grow-beer-hops/
- ↑ https://www.morebeer.com/articles/growing_hop_rhizomes
- ↑ https://www.morebeer.com/articles/growing_hop_rhizomes
- ↑ http://beersmith.com/blog/2008/04/10/growing-hops-in-the-garden-how-to-grow-beer-hops/
- ↑ http://beersmith.com/blog/2008/04/10/growing-hops-in-the-garden-how-to-grow-beer-hops/
- ↑ http://beersmith.com/blog/2008/04/10/growing-hops-in-the-garden-how-to-grow-beer-hops/
- ↑ https://www.morebeer.com/articles/growing_hop_rhizomes
- ↑ https://beerandbrewing.com/7-steps-to-growing-your-own-hops/
- ↑ http://beersmith.com/blog/2008/04/10/growing-hops-in-the-garden-how-to-grow-beer-hops/
- ↑ http://beersmith.com/blog/2008/04/10/growing-hops-in-the-garden-how-to-grow-beer-hops/
