This article was co-authored by Marius Morf. Marius Morf is the Salon Owner of PREP in San Francisco, CA. Marius owns and operates 5 salons and has over 10 years of experience in the industry. Marius and his “salonbershops” serve all genders and ages and specialize in cuts, coloring, and general hair care.
There are 19 references cited in this article, which can be found at the bottom of the page.
This article has been viewed 356,872 times.
Justin Bieber's hair through the years has always been iconic. Wanna try out one of his famous styles yourself? Whether you're going for the classic Bieber bowl cut or one of his newer, shorter styles, we've got you covered. Keep reading to learn how you can rock a haircut that will have everyone singing "baby, baby, baby ohhh."
Steps
Young Justin Bieber Swoop
-
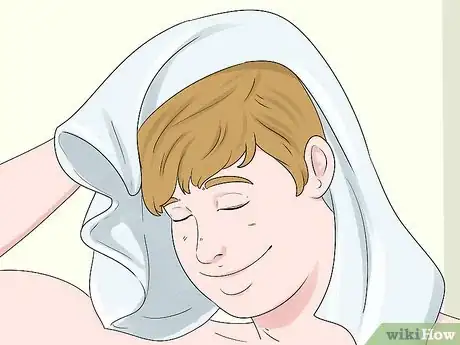
1Start with freshly-washed, towel-dried hair. Take a moment to brush out your hair so that it is free of any knots or tangles. Your hair should also fall over your eyes and past your ears.
- You want your hair to still be wet, but not dripping. If your hair is dripping, pat it dry with a towel.
-
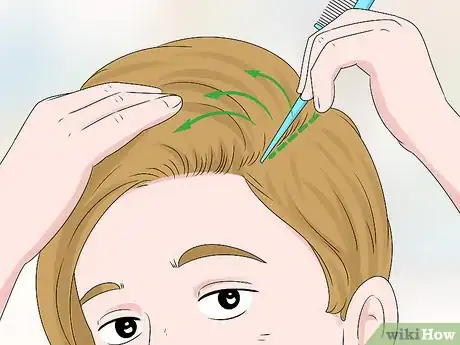
2Create a deep side part on the right side of your head. Use the handle of a rat-tail comb to create a deep side part on the right side of your head. Start the part on the right of your forehead and make it go straight back to your crown. Comb the hair above the part to the left, and the hair below the part straight down.[1]
- If you need to, use hair clips to hold the hair on top of your head out of the way.
- Justin Bieber's shaggy swoop is asymmetrical and angles to the right. If you want to make it angle to the left, then create the deep part on the left side of your head.
Advertisement -
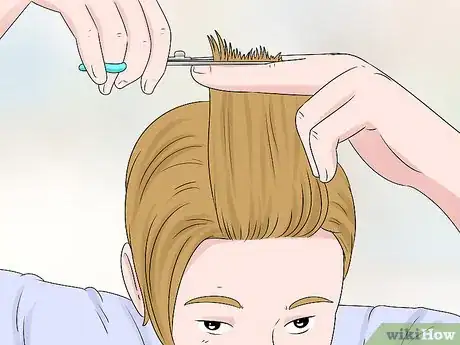
3Pinch your hair between your fingers and cut upwards into your hairline. Take a section of hair in front of your right ear. Pinch it between your middle and index fingers. Cut upwards into your hair, stopping just below your hairline. Work your way towards your ear.[2]
- If your hair is very long, cut it just below your hairline first.
- Work with 1/2-inch (1.3-cm) sections of hair.
-
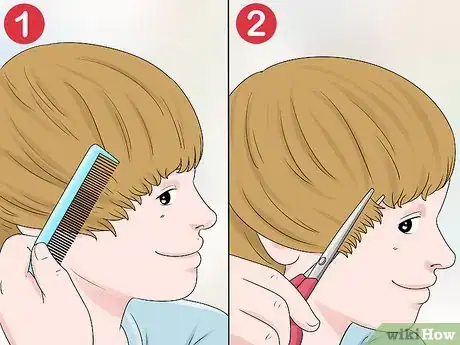
4Fold your ear down and continue to cut into your hairline. This time, comb the hair forwards a bit, so that it covers your ear. Continue to cut your hair towards your hairline. Use short snips so that you can accurately trace the curve.
- If you are doing this on someone else, it will be more comfortable if you angle the back of your hand against the client's head.
-
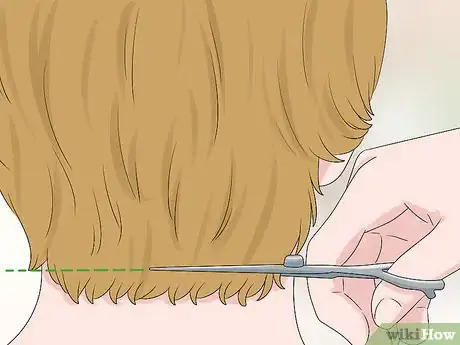
5Cut straight across the back of the nape, then continue on the left side. Comb the hair in the back of your head down, and cut straight across it, just below the hairline. Hold the scissors horizontally for this, not upwards. When you reach the left side of your head, cut it using the same technique as you did for the right side.[3]
-
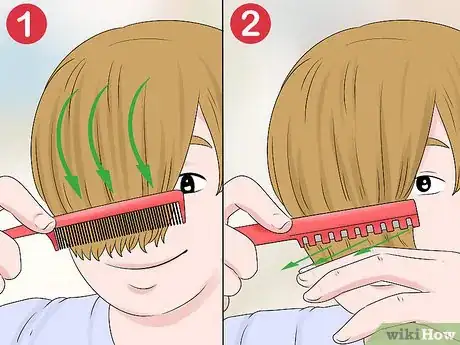
6Comb your bangs forward, and cut them at an angle with a razor comb. Brush your bangs forward, starting from the back of your crown. Pinch the right side of your bangs between your middle and index fingers. Cut the hair above your fingers with a razor comb. Start about 1 inch (2.5 cm) above your fingers on the right side, and finish just above your fingers on the left. Continue to cut across your bangs in this fashion. With each section, begin cutting where you left off at the previous section.[4]
- If you made your part on the left side of your head, then begin cutting the bangs on the left side. Angle them to the right.
- If the ends are too jagged, pinch your bangs between your middle and index fingers, and cut upwards into them with scissors. Keep a steady hand while trimming.
- Your bangs should be long enough to fall across your eyes. If your hair grows fast, however, you might want to cut them a little shorter.
-
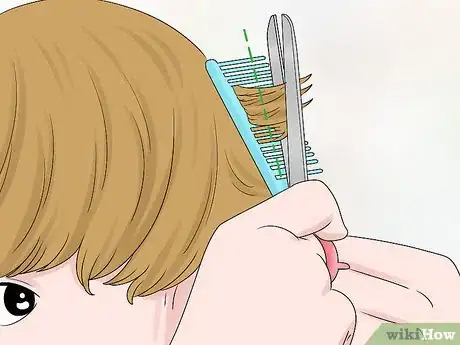
7Layer the hair around the sides and nape to reduce volume. Brush your bangs out of the way. Pinch the hair in front of your right ear between your middle and index fingers. Angle your hand away from the top of your head, then cut the hair that's sticking out of your fingers. Work your way around your head until your reach the left side.[5]
- Angle your hand so that you are cutting the hair towards the bottom of your head shorter.
- You only need to cut the hair from your hairline up to wherever your fingers end.
-
8Blend the layers in the back of your head. Run a comb up through the hair in the back of your head, starting at the bottom hairline. Cut the hair that is sticking out of the comb with scissors. How far up your head you go depends on the exact look you want, the shape of your head, and where the layers left off.[6]
- Alternatively, you can try doing this step with a trimmer and a long guard.
-
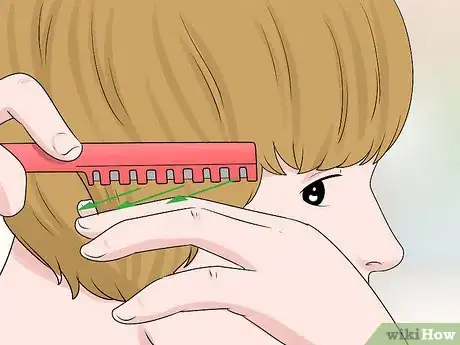
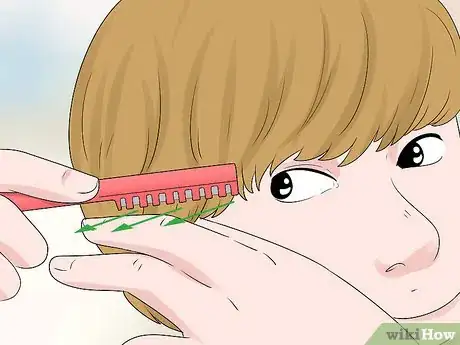
9Feather your hair with a razor comb. Starting from the bangs, pinch small sections of hair between your fingertips, and run a razor comb down their length. When you finish the bangs, you can feather the hair in front of the ears to blend everything in.[7]
-
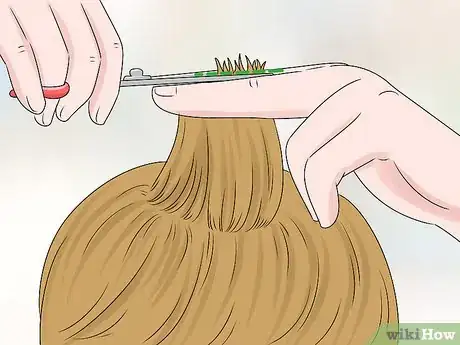
10Trim the hair on the top of your head, if needed. Comb the hair on the top of your head forward, starting at the back of your crown. Pinch a strand of hair from this section between your middle and index fingers, then cut whatever is sticking out of your fingers. Work your way right-to-left, front-to-back.[8]
- How far down you cut your hair depends on the length of your bangs. Slide your fingers up along the hair section until they are level with the cut ends of your bangs.
- Use good quality trimmers for an even, clean and perfect cut.
Cutting Justin's Quiff or Undercut
-
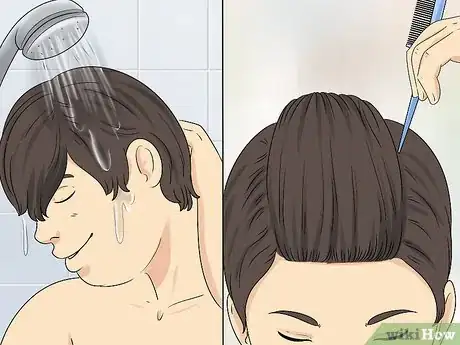
1Wash your hair, then create a deep side part on each side of your head. Wash your hair first, then dry it off with a towel. Use the handle of a rat-tail comb to create 2 deep side parts, 1 on each side of your forehead. Comb the hair on the sides and back of your head straight down. Brush the hair on top of your head straight back so that the parts are visible.[9]
- If your hair won't hold the parts, secure the hair on the top of your head with hair clips.[10]
- If your falls past your shoulders, you may want to cut it to about bob-length to make it more manageable.
- The back of your crown is right where the top of your head starts to curve down.
-
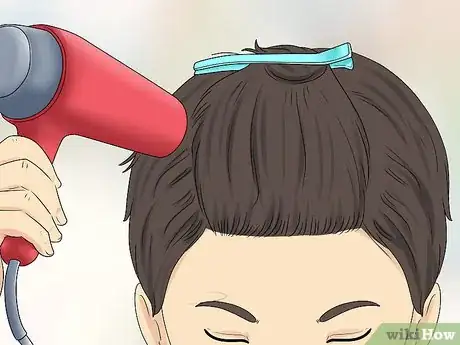
2Blow-dry your hair to set the parts. Pop a narrow, directional nozzle attachment onto your hairdryer. Use a comb to brush the hair on the sides and back of your hair downward as you blow-dry them. If you left the clips out, take a moment to blow-dry the hair on top of your head upwards. Make sure that the parts are neat and clear.[11]
-
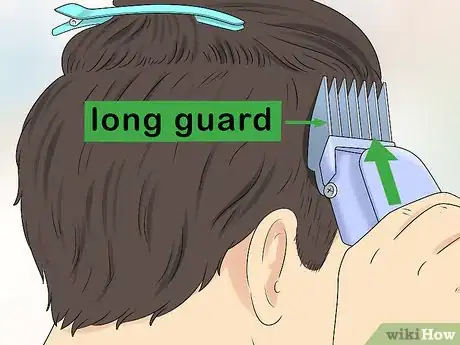
3Trim the hair on the sides and back of your head with a trimmer. Start with a long guard to trim your hair down to about 0.8 inches (2.0 cm). Do the sides first, then the back. Move the trimmer upwards as you cut into the hair, and comb the hair back down after each stroke.[12]
-
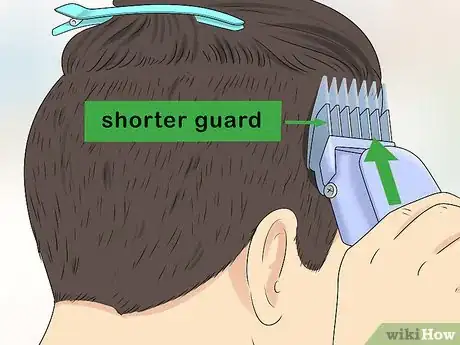
4Create a fade by switching the guard to a shorter one. You want to get your hair to be about 0.4 inches (1.0 cm) long here. Use the same upward motion as before, but only go about halfway up the sides and back of your head. This will help create the fade.[13]
- Blend the fade with a medium-length guard. Use upward, sideways, and angled strokes to trim the hair until the transition between long and short is smooth.
-
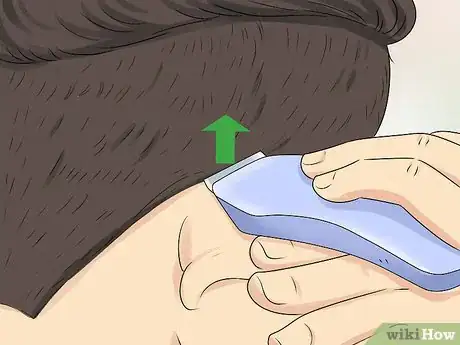
5Remove the guard and fix the hairline and sideburns. Switch the guard out for the shortest length you can find, or remove it entirely. Pull your ears forward as you trim the hair behind them. Follow your hairline to create a clean, neat edge. As you reach the back of your nape, use short, upward strokes to clean up the edge.[14]
-
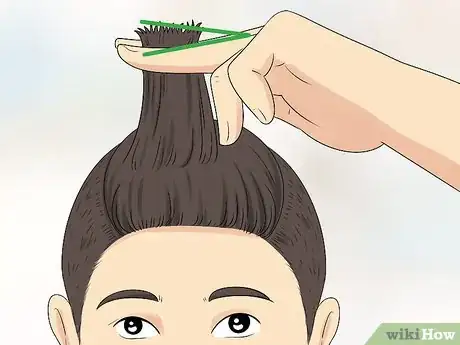
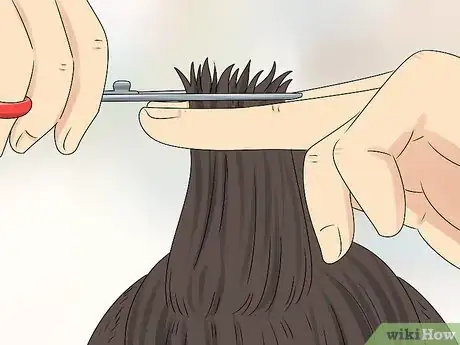
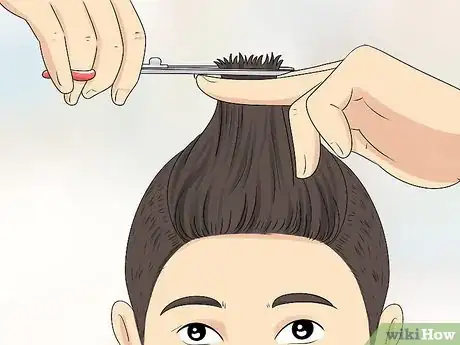
6Pinch a section of hair from the top of your head between your fingers. Make a V-shape with your middle and index fingers. Pinch a thin section of hair from the top of your head between your fingers. Slide your hand upwards until you get the length you want. How long you make your hair depends on which version of Justin's hair you want.
- If you used clips to hold the hair on the top of your head, be sure to remove them first.
- Where you grab this hair does not really matter, but somewhere from the back would be a good place to start.
-
7Cut the hair above your fingers, then move onto the next section. Use a pair of sharp hairdresser scissors to cut the hair that's sticking above your fingers. Let go of your hair once you have cut it, then grab another section and cut it in the same fashion.[15]
- Use a few strands from the already-cut section as a guide for cutting the next section. Cut the longer hair until it is level with the shorter hair.
-
8Adjust the length of your cut to mimic Justin's different styles. Most of Justin Bieber's styles were similar in that they were long on the top, and short on the sides and back. Some years, he cut the hair in the back and on the sides shorter, while other years he left the hair longer. Sometimes he even added a fade.
- Look at reference pictures, then cut the hair shorter where it needs to be.
Styling Your Hair Like Justin
-
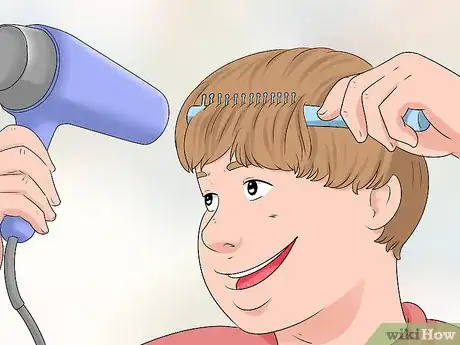
1Blow-dry your hair downwards with a round brush to style his shaggy swoop. Apply a volumizing styling mousse to damp hair first. Next, blow dry your hair while running a round brush under it. Be sure to comb your bangs over your face to get his trademark look.[16]
-
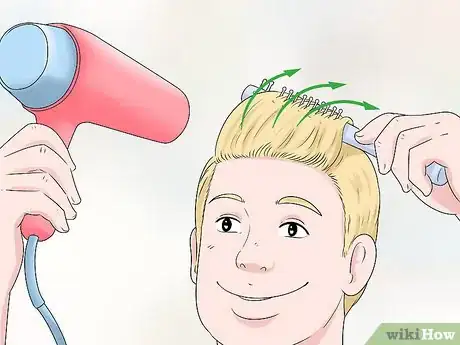
2Blow-dry your hair upwards with a round brush to get his trademark quiff. Use your fingers and hairdryer to dry your hair upwards. While your hair is still damp, run a round brush through your hair. When you reach your bangs, roll the brush backwards so that they stick up, then finish blow-drying your hair.[17]
-
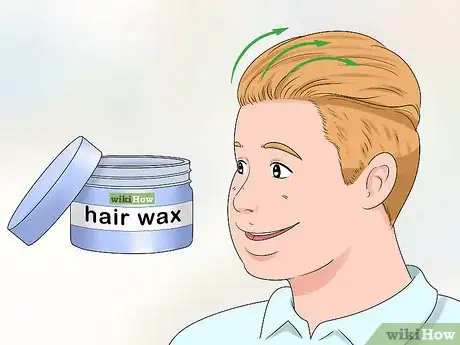
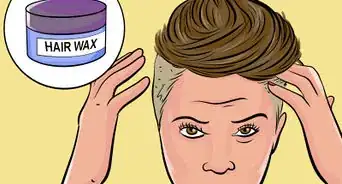
3Use wax or pomade to sculpt your quiff. Place a quarter-sized amount of hair wax in your hands and then rub it between your palms. Grab pieces of hair with your hands and pull them upwards and/or forwards to create the style you want.[18]
- Use a comb as needed to brush your bangs up and back.
- You can use a little but of styling wax to set his other styles, such as his shaggy swoop cut.
-
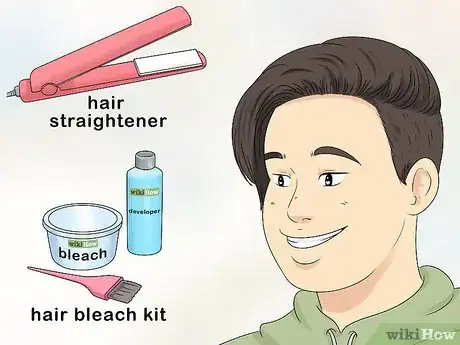
4Straighten and bleach your hair if you want the 2018 cut. Get your hair wet, then blow-dry it straight using a directional nozzle attachment. Be sure to comb your hair forward as your dry it. Finish off by straightening your hair, then combing it off to the side.[19]
- Never straighten your hair while it is wet. Blow dry it first, then apply a good heat protectant.
- You don't have to bleach your hair if you don't want to.
-
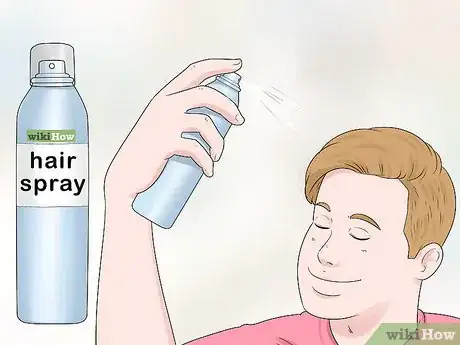
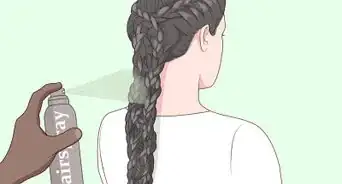
5Set your style with hairspray, if desired. Regardless of which style you chose, you should use a lightweight hairspray to avoid weighing your hair down. If you styled his quiff, then a strong-hold hairspray will also work.
Community Q&A
-
QuestionWho are the best stylists in Garden Ca to get the 2013 Justin Bieber haircut?
 Community AnswerJust find a stylist with good reviews and bring in a picture of the haircut you want.
 -
QuestionWhat 's the name of the Justin Bieber haircut?
 Dayna RobertsCommunity AnswerThe Justin Bieber haircut is like a swept over bowl cut.
 -
QuestionWhat is Justin Bieber's hair color?
 Community AnswerJustin Bieber's hair color is a dark blonde and is often bleached out lighter.
Things You'll Need
Creating Justin's Shaggy Swoop
- Comb
- Hairdryer
- Directional nozzle attachment
- Hairdressing scissors
- Razor comb
- Hair clips (optional)
Cutting Justin's Quiff or Undercut
- Rat-tail comb
- Hairdryer
- Directional nozzle attachment
- Trimmer
- Long, medium, and short guards
- Hairdressing scissors
- Hair clips (optional)
Styling Your Hair Like Justin
- Hairdryer
- Directional nozzle attachment
- Round brush
- Hair wax or pomade
- Hairspray
- Flat iron (optional)
References
- ↑ https://www.youtube.com/watch?v=7Vx5KErzwBo&feature=youtu.be&t=28s
- ↑ https://www.youtube.com/watch?v=7Vx5KErzwBo&feature=youtu.be&t=45s
- ↑ https://www.youtube.com/watch?v=7Vx5KErzwBo&feature=youtu.be&t=2m10s
- ↑ https://www.youtube.com/watch?v=7Vx5KErzwBo&feature=youtu.be&t=5m28s
- ↑ https://www.youtube.com/watch?v=7Vx5KErzwBo&feature=youtu.be&t=7m57s
- ↑ https://www.youtube.com/watch?v=7Vx5KErzwBo&feature=youtu.be&t=20m5s
- ↑ https://www.youtube.com/watch?v=7Vx5KErzwBo&feature=youtu.be&t=16m23s
- ↑ https://www.youtube.com/watch?v=7Vx5KErzwBo&feature=youtu.be&t=20m40s
- ↑ https://www.youtube.com/watch?v=G5frRzhSNJ8&feature=youtu.be&t=30s
- ↑ https://www.youtube.com/watch?v=6KPicgmD2zI&feature=youtu.be&t=35s
- ↑ https://www.youtube.com/watch?v=G5frRzhSNJ8&feature=youtu.be&t=45s
- ↑ https://www.youtube.com/watch?v=b0ZMJScU4HA&feature=youtu.be&t=15s
- ↑ https://www.youtube.com/watch?v=b0ZMJScU4HA&feature=youtu.be&t=28s
- ↑ https://www.youtube.com/watch?v=6KPicgmD2zI&feature=youtu.be&t=50s
- ↑ https://www.youtube.com/watch?v=G5frRzhSNJ8&feature=youtu.be&t=1m20s
- ↑ https://www.youtube.com/watch?v=7Vx5KErzwBo&feature=youtu.be&t=23m30s
- ↑ https://www.youtube.com/watch?v=G5frRzhSNJ8&feature=youtu.be&t=1m35s
- ↑ https://www.youtube.com/watch?v=G5frRzhSNJ8&feature=youtu.be&t=2m40s
- ↑ https://www.youtube.com/watch?v=wRPQG0FSaQ4
