This article was co-authored by wikiHow Staff. Our trained team of editors and researchers validate articles for accuracy and comprehensiveness. wikiHow's Content Management Team carefully monitors the work from our editorial staff to ensure that each article is backed by trusted research and meets our high quality standards.
wikiHow marks an article as reader-approved once it receives enough positive feedback. In this case, 90% of readers who voted found the article helpful, earning it our reader-approved status.
This article has been viewed 156,708 times.
Learn more...
Delicious, delectable blackberries are one of summertime's sweetest treats. However, because their natural growing season is so short, it's tricky (if not impossible) to get good blackberries throughout the rest of the year. Make the most of your summer harvest — freezer your blackberries when they're at their ripest to ensure you've got great-tasting fruit all year round! See Step 1 below to get started!
Steps
Freezing Unsweetened Blackberries
-
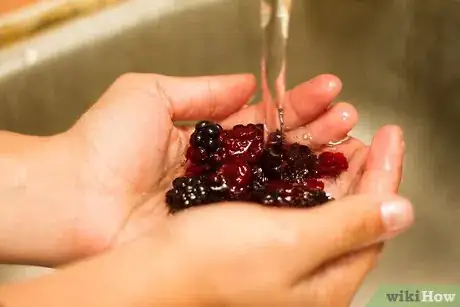
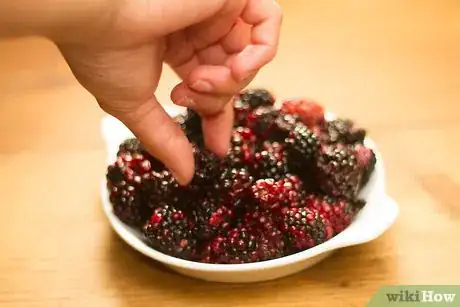
1Wash the berries gently. When you've picked (or bought) a selection of ripe, juicy blackberries, give them a gentle (but thorough) washing. Pour the berries into a colander and run cool water over them while you gently shake them or sift through them with your fingers. Allow to drain well and gently pat dry with a soft towel to remove excess moisture.
- As you wash and dry your berries, take the opportunity to remove any rotten, under-ripe, or damaged berries. You'll also want to remove any leaf litter, dirt, or other debris.
-
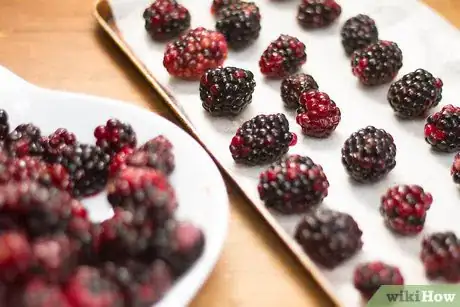
2Spread the blackberries on a baking tray or sheet. Line a metal pan or tray with parchment paper and spread your blackberries out on it so that none are touching each other. Do not forget the parchment paper -- without it, the berries will freeze to the pan and can break up when you try to remove them.
- If you have too many blackberries to give each their own space on your baking tray, it's alright to simply pour them all over the tray. However, if you want separate, individual blackberries later, you'll have to break up the frozen block of berries that you'll get from this method.
- If you've got lots of berries that you want to keep separate, an even better idea is to lay down a second layer of parchment paper over the top of your first layer of berries to double your working space.
Advertisement -
3Place the blackberries into the freezer. Set your tray on a level surface in your freezer (so that your berries don't roll to one side of the tray) and allow your berries to freeze completely. You may want to leave your blackberries in the freezer overnight to ensure that they're completely frozen through. If you do this, don't forget about them — left uncovered in the freezer, berries can easily develop freezer burn within a few days.[1]
-
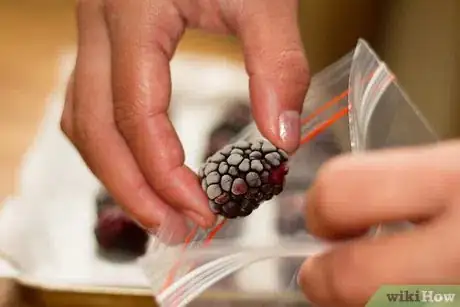
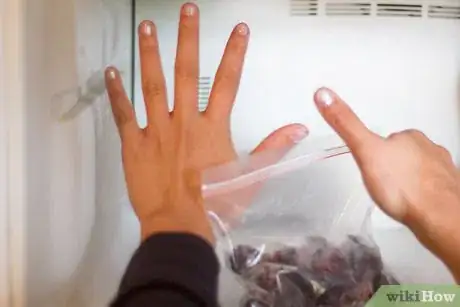
4Transfer berries into a freezer-proof bag. When your berries are frozen solid, pour them into a plastic freezer bag. Squeeze as much air as you can out of the bag, then seal it and return it to the freezer. The thicker the plastic and the less air in the bag, the better — thin bags and air pockets can both contribute to freezer burn.
- If you own a vacuum-sealing device (like, for instance, the FoodSaver), use it here to remove the air from your bag for the absolute best possible protection against freezer burn.
- Alternatively, if you're not worried about your berries freezing together, you can skip the baking sheet altogether and simply place the washed and dried berries into a freezer bag directly. If you do this, the berries will freeze together into a large block, which can hurt their visual presentation, but shouldn't effect their taste.
-
5Freeze for up to six months. Berries frozen this way are good for at least six months, though some sources recommend using them up to eight months after the date of freezing.[2] The frozen berries can be used in cooking and baking recipes (like blackberry pie, for example) and can even be enjoyed as a semi-thawed dessert on their own or with a sprinkling of sugar.
- As a general rule, you shouldn't thaw berries before using them in baking recipes, as this can throw off their moisture content.[3] For more information on using frozen berries, see the corresponding section below.
Freezing Sweetened Blackberries
-
1Rinse and dry the berries as normal. Sweetening your blackberries before freezing them helps keep the berries' natural color and texture intact through the freezing process. It also makes the berries last longer in the freezer.[4] Freezing sweetened berries requires the same washing process as for unsweetened berries: gently rinse and drain the berries, then allow to air dry or gently pat with a soft towel to remove any moisture.
- As above, you'll also want to remove any unripe or overripe berries before proceeding, as well as any leaf matter or debris.
-
2Mix with sugar. Next, add your berries to a large mixing bowl and add about 1/2 to 3/4 cups sugar for every quart of berries (as a reminder, one quart is equal to four cups). Mix the berries and sugar thoroughly, but very gently — your goal is to coat the berries with sugar, not to mash them into a jam or paste. The sugar should combine with the natural moisture of the berries (along with the juice of any berries that do break) to form a syrupy mixture that should cover the berries.
-
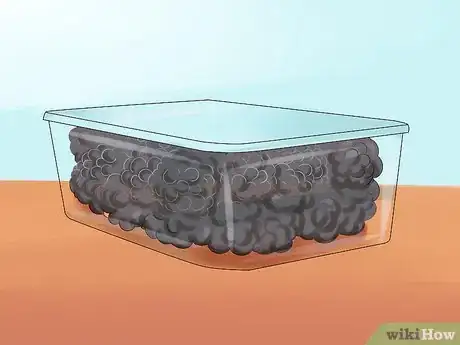
3Pack the berries into bags or airtight containers. Next, pour the berries into seal-able, airtight plastic containers (like, for instance, Tupperware. Try to fill the containers nearly to their tops — leaving about 1⁄2 inch (1.3 cm) of head space or less is ideal.[5] The less air remaining in the container, the better, but resist the urge to force the berries into a container that's too small for them, as this can crush the berries.
- You can also use plastic freezer bags as described above, though, with sweetened berries, this can become somewhat messy.
- There's no need to freeze sweetened blackberries separately, since the sugar helps protect their appearance and texture from the effects of freezing. However, if you especially want separately-frozen berries, you can still use the baking sheet method described above without harming the berries.
-
4Freeze for up to nine months. Sweetened blackberries should last for a minimum of nine months, though some sources say that they can last up to a full year.[6] The sweetened berries can be used like unsweetened berries in a wide variety of baking recipes or enjoyed on their own. However, if using the berries in baking recipes, it's important to remember to take the sugar you added to the berries into account and adjust your recipe accordingly.
- Because of this point, you may find that it's a wise idea to label your freezing container with a volume of berries in the container and the amount of sugar added along with the date of freezing.
Using Frozen Blackberries
-
1Don't thaw berries for most baking recipes. As noted above, when you use frozen berries in baking recipes, you'll almost never want to thaw them before adding them to the recipe. Doing this creates extra moisture in the recipe and can lead to a final product that's mushy or watery.
- Some people find that thawing their berries about halfway in the microwave before baking produces great-tasting results without adding too much moisture.[7] If you want to try this, note that the exact amount of time you'll need to keep your berries in the microwave for will vary based on the number of berries you have and the power of your microwave.
-
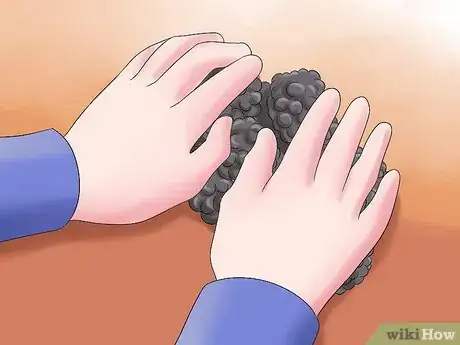
2Roll frozen berries in flour to prevent bleeding. Sometimes, when using frozen berries in baking recipes, the berries can "bleed", producing discolorations throughout the batter.[8] Though this won't effect their taste, it can make the finished products a little less appealing to look at. To minimize the effects of bleeding, try gently rolling your frozen berries in flower before adding them to your baking recipe. This helps contain the berries' moisture, minimizing bleeding.
-
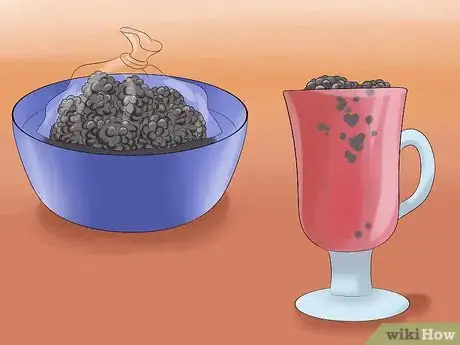
3Thaw berries for liquid recipes. There are some instances where you'll want to thaw your berries before using them in your recipe. Usually, these are cases where the extra moisture that comes from thawing is a benefit to the dish, like blackberry sauces and toppings for ice cream, shortcake, and so on. To quickly thaw blackberries, place them in an airtight plastic bag (or keep them in their original freezer bag) and submerge them in cold water for about 10-15 minutes.
- To keep the bag of blackberries from floating and thawing unevenly, you may want to weigh it down with a heavy dish or bowl.
-
4Thaw berries intended for raw consumption. Another situation in which you'll want to thaw your blackberries is if you intend to eat them raw. Though frozen berries make a great summertime treat, sometimes there's nothing like ordinary berries. For raw berries, you may want to use the quick thawing method above, or simply leave them on the kitchen counter overnight. Dumping your berries in a container of cool, clean water after thawing them to wash away any frost or debris leftover from freezing. At this point, you may also want to sift through your berries and remove any crushed or damaged ones.
- Don't be put off by the soft, juicy appearance of thawed blackberries. Though they may not look as pristine as fresh berries, if they were fresh when they were frozen, they're safe to eat.
Community Q&A
Did you know you can get answers researched by wikiHow Staff?
Unlock staff-researched answers by supporting wikiHow
-
QuestionDo you wash blackberries before you freeze them?
 wikiHow Staff EditorThis answer was written by one of our trained team of researchers who validated it for accuracy and comprehensiveness.
Staff Answer wikiHow Staff EditorStaff AnswerMost advice recommends washing blackberries before freezing because this ensures they’re clean. It is also a good idea to remove any leaf matter, twigs and foreign objects from the blackberries as you wash them. To wash them, place the blackberries into a colander and fill a sink with cool/cold water. Dunk the colander into the water, covering the berries, and pull out. Repeat this several times. This gentle dunking action will help keep the delicate berries intact. Drain the water well. You can either allow the berries to air dry after or pat gently with some kitchen paper towel.
 -
QuestionCan I freeze whole blackberries?
 wikiHow Staff EditorThis answer was written by one of our trained team of researchers who validated it for accuracy and comprehensiveness.
Staff Answer wikiHow Staff EditorStaff AnswerYes, you certainly can freeze whole blackberries. You’ll need to wash them first and ensure they’re properly dried, as damp or wet berries risk sticking together and forming a clump when frozen. Then, arrange each berry individually across a parchment lined baking sheet, making sure not to touch any berry to another berry. Transfer the baking sheet to the freezer and freeze the berries (leave for 8 hours or overnight). Once frozen, the individual berries can be removed from the baking sheet and transferred to your choice of storage container, then returned to the freezer. They’ll stay whole and won’t clump together when following this method. For full instructions with images, check out the steps above.
 -
QuestionHow do you clean wild blackberries?
 wikiHow Staff EditorThis answer was written by one of our trained team of researchers who validated it for accuracy and comprehensiveness.
Staff Answer wikiHow Staff EditorStaff AnswerThe best way to clean wild blackberries is to soak them in cool water because they may contain small bugs. To do this, fill a large bowl of cool water, about three quarters of the way. Then add the blackberries gently. Leave to soak and scoop off all the leaf matter that rises. Use your hands to gently move the berries around and the bugs, etc. will float to the surface of the water. Tip the water out into a colander to catch the blackberries, then repeat the process another time to be sure they’re really clean. Once done, you can allow the blackberries to dry on a kitchen towel and then they’re ready for use.
Things You'll Need
- Fresh blackberries
- Baking tray/cookie sheet
- Baking paper/parchment paper
- Freezer bag
- Freezer
- Sugar (optional)
- Airtight plastic container (optional
References
- ↑ http://www.raspberryblackberry.com/local.cfm?doc=webdocs%2Ffreezingberries.htm
- ↑ http://www.raspberryblackberry.com/local.cfm?doc=webdocs%2Ffreezingberries.htm
- ↑ https://www.thekitchn.com/bakers-tip-how-to-best-use-frozen-berries-for-offseason-baking-177519
- ↑ http://www.raspberryblackberry.com/local.cfm?doc=webdocs%2Ffreezingberries.htm
- ↑ http://www.raspberryblackberry.com/local.cfm?doc=webdocs%2Ffreezingberries.htm
- ↑ http://www.raspberryblackberry.com/local.cfm?doc=webdocs%2Ffreezingberries.htm
- ↑ http://www.raspberryblackberry.com/local.cfm?doc=webdocs%2Ffreezingberries.htm
- ↑ https://www.thekitchn.com/bakers-tip-how-to-best-use-frozen-berries-for-offseason-baking-177519
- http://www.raspberryblackberry.com/local.cfm?doc=webdocs%2Ffreezingberries.htm
About This Article
To freeze blackberries, start by washing them in a colander and removing any damaged berries. Next, spread your blackberries out on a baking sheet lined with parchment paper. Then, place the tray flat into the freezer so the berries don't roll to one side, and leave them to freeze overnight. Once they're frozen solid, transfer them to a freezer bag and remove as much air from the bag as possible before sealing it. Afterwards, store your blackberries in the freezer for up to 6 months. For tips on how to freeze sweetened blackberries, keep reading!
