This article was co-authored by Mike Katona. Mike Katona is a DIY Home Improvement Specialist and the Co-founder of ShabbyChicHouse. With experience dating back to the early 2000s, he specializes in building new homes, home design, and decor. Mike has been featured in publications such as Real Homes and MSN Lifestyle. He has also been named one of Feedspot's Top 100 Home Improvement Bloggers.
This article has been viewed 93,914 times.
Framing a room with wood is something that can be done by most who enjoy do-it-yourself projects. A framed room can be an economical task and cost-effective to heat and cool. There are 2 methods that can be used to frame a wall: conventional framing and advanced framing. Learn how to frame a room with either method to add an addition onto your home or to make rooms in an unfinished basement or garage. Either method can done on your own without additional assistance from an expensive contractor or carpenter.
Steps
Planning Your Room
-
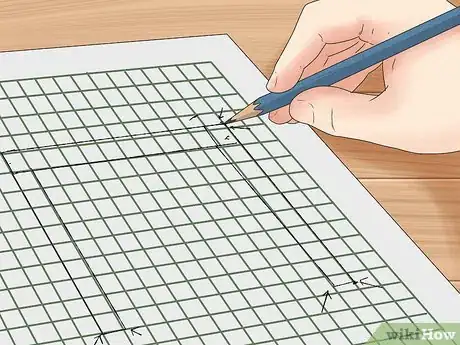
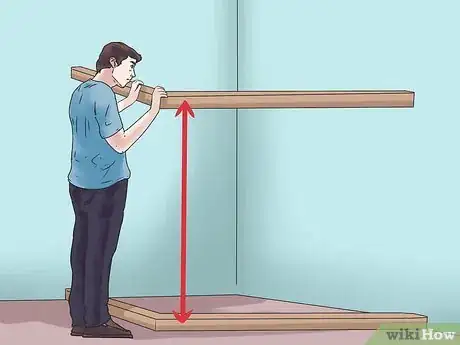
1Use a pencil and graph paper to draw up the plans for the new room. There are also computer programs available that you can use. Plan for windows and doors, such as how wide, how tall, how far the windows are off the floor, and where they will be placed in the room.[1]
- Before you start framing out a room, you should submit your building and electrical plans to your local building inspector. This plan should include wall dimensions, windows, doors, fire places and any electrical work that will be done. Also check with your city/building inspector to see if your city has a certain width requirement.[2]
- If you are framing out a room in your basement, it is essential to resolve any water issues before you get started. If you proceed without properly addressing leaks, you can run into mold and other major issues down the road.[3]
-
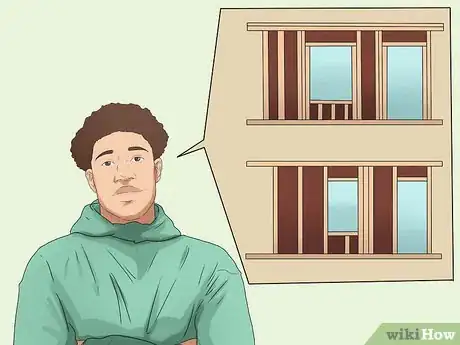
2Determine which framing method you will use to frame the room.[4]
- The conventional framing method uses 2-by-4 studs on 16-inch (40.64 cm) centers. It uses more wood than the advanced-framing method and has less space between the studs for insulation.
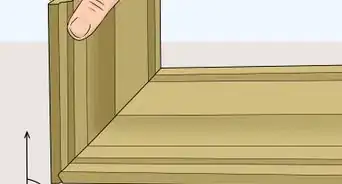
- The advanced-framing method uses less wood by using studs on 24-inch (60.9 cm) centers and open corners. The advanced-framing method may be considered by some to be structurally inferior; however, it meets the structural codes of most areas. High-wind areas and areas with seismic activity may be exceptions.
Advertisement -
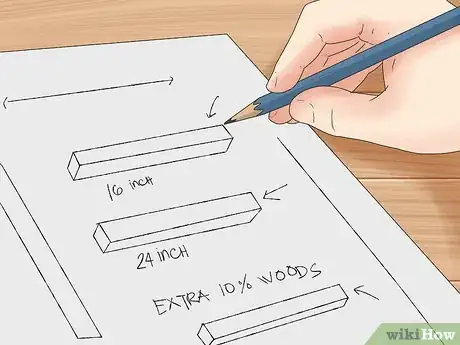
3Calculate and procure the lumber needed for your room-framing project.[5]
- Once you have determined the framing method, determine the number of studs you will need and add 10 percent. Extra wood will give you what you need for headers, fire blocking, and short studs above and below windows and doors.[6]
- Buy treated boards for the base plate of each wall.
Creating Room Frames
-
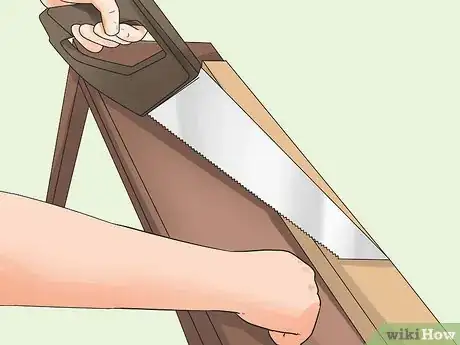
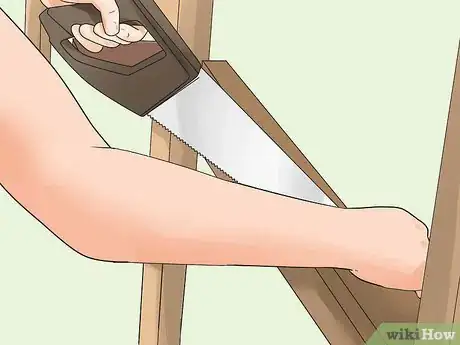
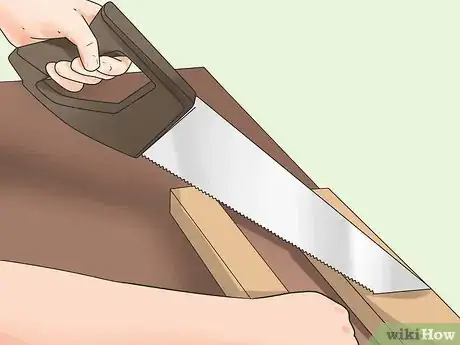
1Cut the studs to length.[7]
- For example, if you are cutting studs for an 8-foot (2.44 m) wall using the conventional-framing method, the length of the studs would be 91.5-inches (232.41 cm). This is subtracting 4.5 inches (11.43 cm) for the bottom plate and 2 top plates.
- For the advanced-framing method, subtract 3 inches (7.62 cm) from 8 feet (2.44 m).
-
2Cut the top and bottom plate boards to the length of the wall.
-
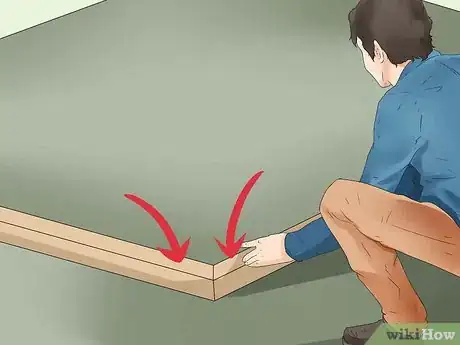
3Set the 2 boards on edge next to each other.
-
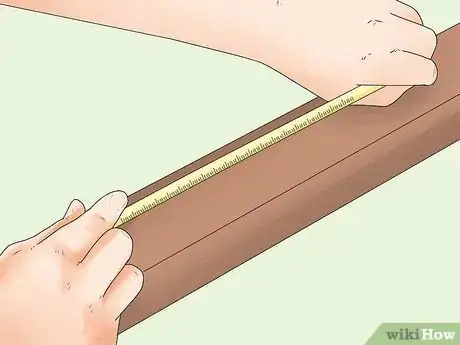
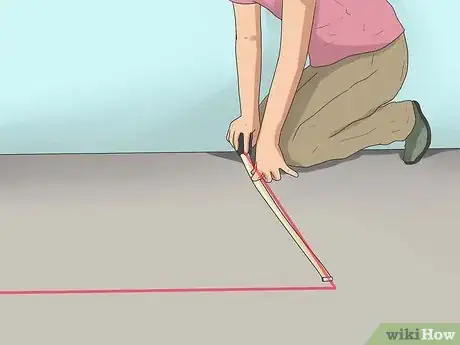
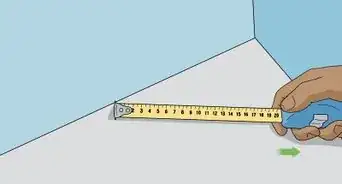
4Run a tape measure the length of the boards.
-
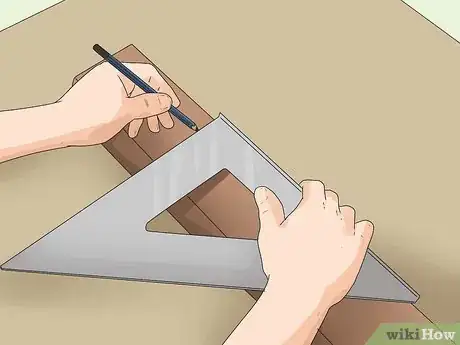
5Use a pencil and speed square, and mark where studs, channels, and corners will be placed.
- Channels are used where 1 wall will meet another in the middle of a wall.
- Corners are used at the end of a wall.
-
6Separate the top and bottom boards.
- Place the bottom board where you will raise the wall.
-
7Place the studs in between the top and bottom plates, and use the pencil marks as a guide.[8]
-
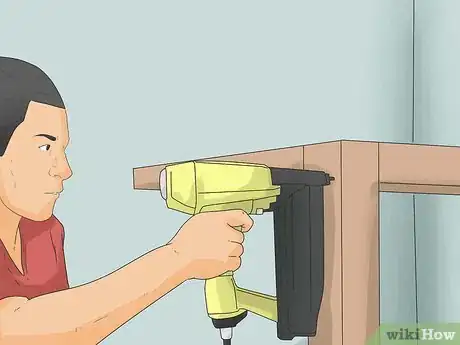
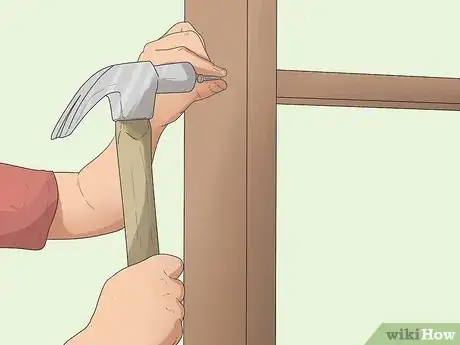
8Use a nail gun or a hammer and common nails to fasten the studs to the top and bottom plates.
-
9Cut fire blocks the length of the distance between the studs.
- Measure the space between each stud to be sure of the distance before you cut the block for that space.
-
10Nail the fire blocks into place between the studs.
- Stagger the fire blocks, and place the blocks near the middle of the wall.
Placing Room Frames
-
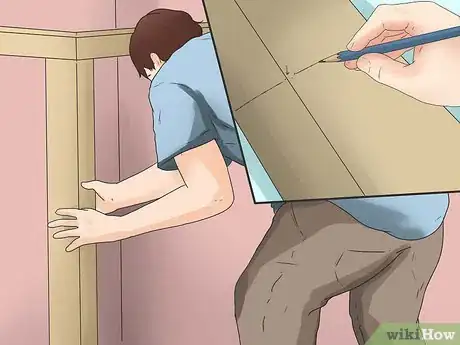
1Measure the wall diagonally both ways.
- If the 2 measurements do not match, pull or push the top or the bottom of the wall until they do. This will square the wall.
-
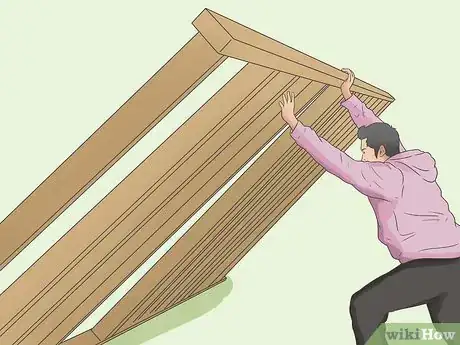
2Raise the completed wall, and brace it into place.
-
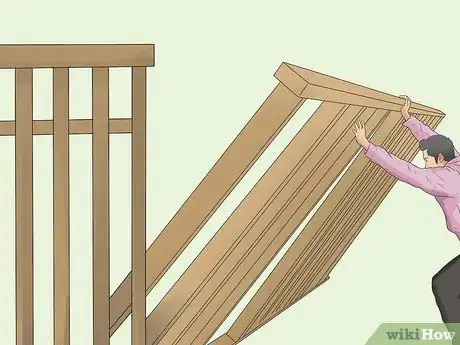
3Frame the remaining walls of the room, and allow for doors and windows. Raise them to meet the first wall.
Things You'll Need
- Graph paper or building computer program
- Pencil
- Lumber
- Saw
- Speed square
- Tape measure
- Hammer or nail gun
- Common nails
- Goggles
- Gloves
References
- ↑ https://www.youtube.com/watch?v=7A1eTf3KQOM
- ↑ Mike Katona. DIY Home Improvement Specialist. Expert Interview. 25 August 2021.
- ↑ Mike Katona. DIY Home Improvement Specialist. Expert Interview. 25 August 2021.
- ↑ https://extremehowto.com/a-smart-way-to-frame-a-corner/
- ↑ https://www.youtube.com/watch?v=2pStSkplfXY
- ↑ Mike Katona. DIY Home Improvement Specialist. Expert Interview. 25 August 2021.
- ↑ https://www.thisoldhouse.com/how-to/how-to-frame-walls-basement-room
- ↑ https://www.homedepot.com/c/ah/how-to-frame-a-wall/9ba683603be9fa5395fab907f17c5d1
