This article was co-authored by Ryaan Tuttle and by wikiHow staff writer, Sophia Latorre. Ryaan Tuttle is a Home Improvement Specialist and the CEO of Best Handyman, Inc. in Boston, Massachusetts. With over 17 years of experience, he specializes in building home service businesses, focusing on creating scalable and efficient brands. With the help of his global team, the companies have achieved over 10+ million in sales and received recognition through magazine features, and enjoy partnerships with wikiHow and Jobber field service software. Boston Magazine and LocalBest.com have named Best Handyman Boston the Best Handyman in Boston. Ryaan holds Construction Supervisor and Home Improvement Contractor Licenses.
This article has been viewed 68,058 times.
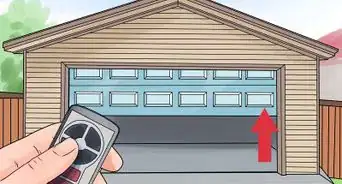
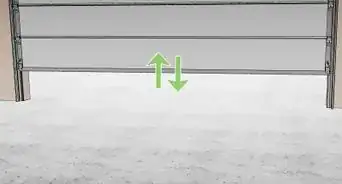
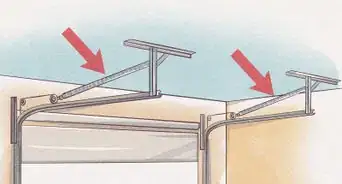
If your garage door isn’t operating properly, the torsion springs are likely to blame. If you’re concerned about tackling this project on your own, consider hiring out the job to a professional. Otherwise, replace both the left and right springs at the same time to save yourself from having to do the job twice. Remove the old springs and measure them while they’re relaxed. Only then will you be able to order replacement parts and install the new springs. Replacing your own garage door springs takes only a little time and effort and can save you hundreds of dollars.
Things You Should Know
- It’s usually going to be a good idea to have a professional do this since it requires special tools, you won’t save a lot of money doing this yourself, and it can be kind of dangerous if you don’t know what you’re doing.
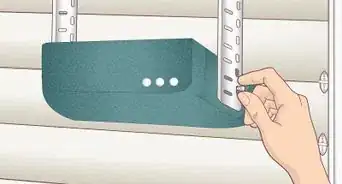
- Make sure to disconnect the power from the garage door motor before doing any work.
- You must clamp the door to the track to keep it secured while you work; it’s best to do this with each track that’s attached to your door.
- Unlock the nuts and bolts on the spring brackets to access it, and measure it when it’s entirely relaxed to find the length and diameter.
- Order a replacement spring directly from the manufacturer; you may need to dig around on the secondary market to find the exact spring you need.
- Slide the spring over the tube and lock it in place by securing the cones on the center bracket and torsion tube.
Steps
Removing the Old Springs
-
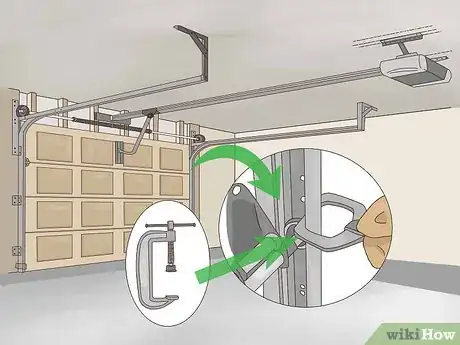
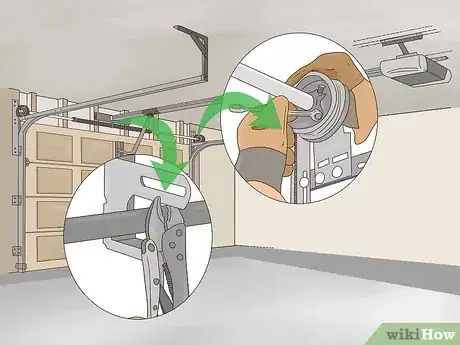
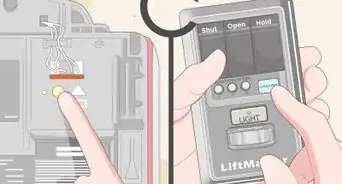
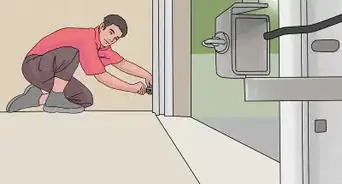
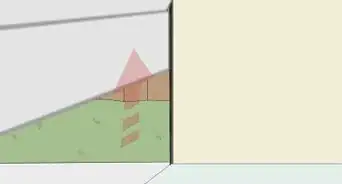
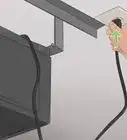
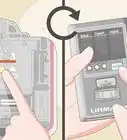
1Unplug the garage door opener and clamp the door to the track. Disconnect the garage door opener so the door remains closed. Use locking pliers or a C-clamp to secure the door to the track to keep it from opening when you release the tension on the springs.[1]
-
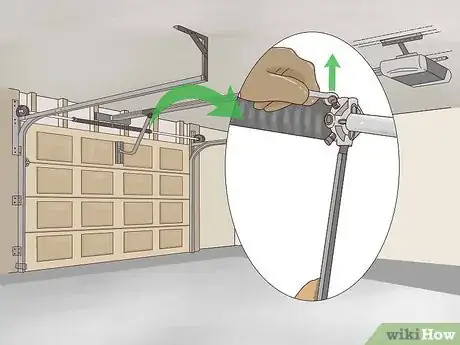
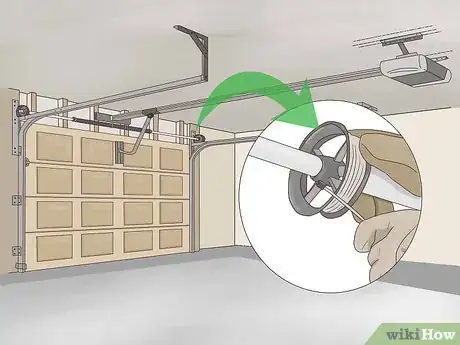
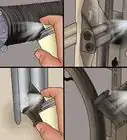
2Loosen the set screws while holding each spring with a winding bar. Position a sturdy ladder to the side of the springs, rather than working directly in front of them, for safety reasons. Put on eye protection and leather gloves. Push a winding bar into the bottom hole of the winding cone on the outside of 1 spring. Use a wrench to loosen the 2 set screws. Keep a firm grip on the bar as the the spring will expand powerfully as the screws are released. Repeat on the other side.[2]
- If you don’t have winding bars, you can make your own. Purchase 2 pieces of 18 in (46 cm) long metal bar stock with a 1⁄2 inch (1.3 cm) diameter. To ensure the bars fit securely into the winding cone holes, file down the ends.
- Using a screwdriver, pin punch, or plier handles to unwind the bars could result in serious injury, as these tools aren’t designed to hold the spring in place.
- Avoid standing on a bucket or chair to reach the springs. Use a sturdy ladder to minimize the risk of injury.
Advertisement -
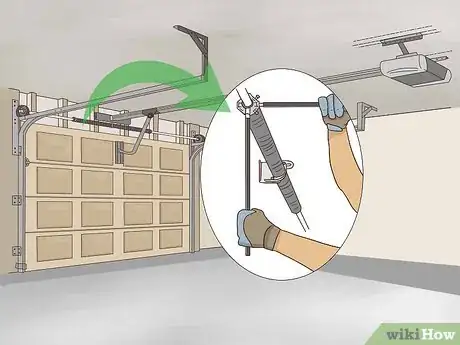
3Unwind each spring with the help of 2 winding bars. Position the second winding bar into a hole on the winding cone at a perpendicular angle to the first. Unwind the spring ¼ turn at a time, moving 1 winding bar to the next open perpendicular position after each ¼ turn. Repeat on the other spring.[3]
-
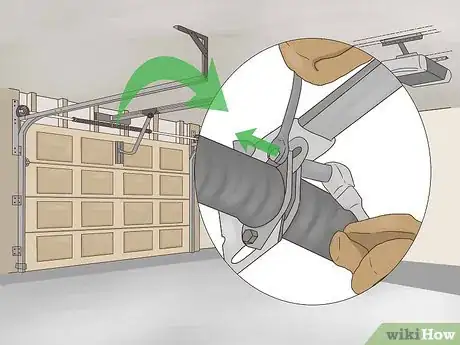
4Remove the nuts and bolts, then slide the springs to the end bracket. Using a wrench, remove the 2 nuts and bolts that secure each spring cone to the center bracket. Then, slide each spring toward the end bracket.[4]
-
5Secure the tube and remove the springs, cables, and cable drums. Use locking pliers or a C-clamp to secure the torsion tube to the center bracket to keep it from moving. Then, use a wrench to loosen the set screws on both lift cable drums. Disconnect the lift cables, then slide the cable drums and springs off the torsion tube.[5]
- Securing the tube is an essential step that will prevent the tube from moving around and potentially injuring you, so be sure to fully lock the tube in place.
-
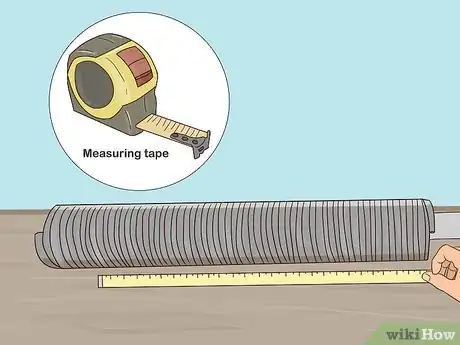
6Measure the length of the relaxed spring. Unfortunately, you can’t measure the springs while they’re installed as the tension on them would provide you with the wrong measurement. Now that you’ve removed the springs, use a tape measure to find the length of the entire spring, from one end to the other. You’ll need this information in inches to order replacement springs.[6]
- If one spring is broken, measure the other one for the most accurate numbers.
-
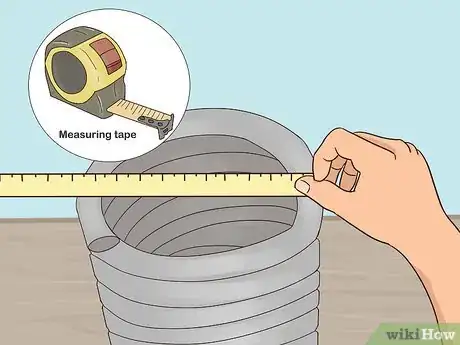
7Determine the inside diameter of the spring and the size of the coils. Run a tape measure across the opening at one end of the spring. Carefully measure the inside diameter of the spring so you can provide the supplier with this information. Then, use a tape measure to find the length of 10 coils on the spring. Divide the length by 10 to determine the measurement of a single coil.[7]
- Coil sizes range from 0.0135 to 0.625 inches (0.034 to 1.588 cm).
- The standard inside diameter of a torsion spring is 2 inches (5.1 cm). Many torsion springs are 24 inches (61 cm) long.
- If you suspect the coils are the wrong size, which could be contributing to the issues you’re having with the garage door, use the size and weight of the door to calculate the correct size from a spring weight manual.
-
8Order replacement springs. Many manufacturers and distributors only provide torsion springs to professionals, and won’t sell them directly to the customer. Luckily, they are available on the Internet, so search online to find replacement springs. Make sure they match the coil size, length, and interior diameter of the springs you removed. Also, be sure to order both a “left-hand” and a “right-hand” spring as the coils are wound in different directions.[8]
- It’s best to purchase double-life springs, which are stronger and last longer than standard springs. It’s worth the extra $50-$60.
- Ask the supplier for a recommendation on how many times to turn the springs to apply the right amount of tension when reinstalling them.
-
9Check for other worn or rusted components. While the tension is off the door, inspect the other components. If you notice any worn or rusted pieces, replace them before installing the new springs.
- For instance, if you spot a frayed cable, replace it now to avoid taking the door apart again later.
Installing the New Springs
-
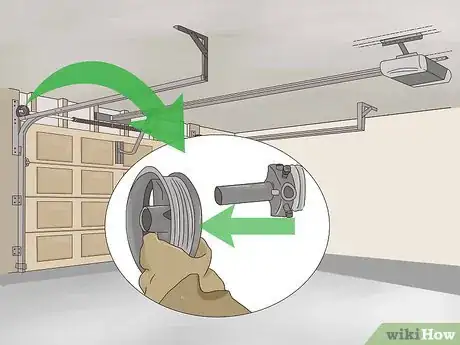
1Slide the left spring onto the tube and add the cable drum. When your new springs arrive, put the new left spring (the 1 with the end facing up and to the left) on the torsion tube, making sure that the stationary cone on the end of the spring faces the center bracket. After sliding the new spring into place, replace the cable drum and insert the torsion bar into the left bearing bracket.[9]
-
2Install the center bearing and the right spring, then secure the cones. Slide the torsion bar to the left then add the center bearing. Slide the right spring onto the bar and press the bearing into the stationary cone. Connect both of the stationary cones to the center bracket with the nuts and bolts you removed previously. Remove the locking pliers or clamp from the center bracket.[10]
-
3Thread the cables and tighten the drums. Run the lift cable between the roller and the doorjamb. Slip the lift cable stop through the cable slot on the drum. Then, attach locking pliers to the torsion tube to secure it in place. Spin the drum to wind the cable into the grooves, then tighten the set screws. Repeat on the other side, leaving the locking pliers in place.[11]
- For the door to operate properly, you need the same amount of tension on both sides, so take care to tighten each side evenly.
-
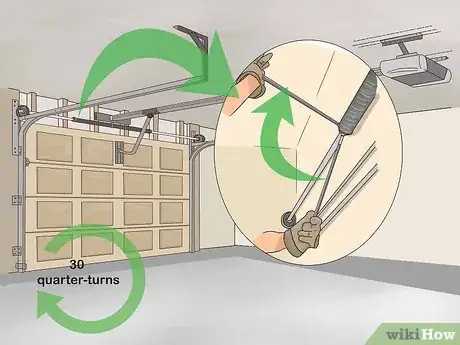
4Wind the springs. Insert 2 winding bars into the winding cone so they are perpendicular to each other. Use the bars to turn the spring ¼ turn at a time, moving the bars to new holes in the cone as necessary. Follow the supplier’s recommendation for the number of turns to complete. Repeat on the other spring.[12]
- Generally, you’ll need 30 quarter-turns for a 7 ft (2.1 m) tall door and 36 quarter-turns for an 8 ft (2.4 m) tall door.
- Winding the spring too tight could cause it to break and injure you, so be sure to follow the supplier’s recommendation and don’t over-wind the spring.
-
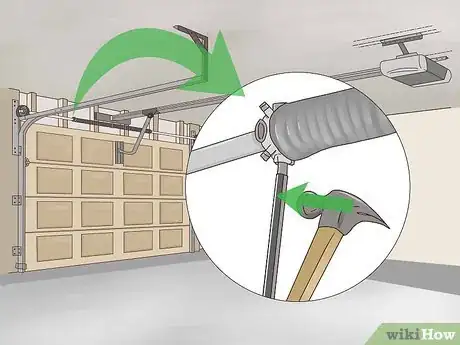
5Stretch the springs out 1⁄4 inch (0.64 cm). When the spring is fully wound, leave 1 winding bar in a slot of the cone that is perpendicular to the floor. Tap the winding bar with a hammer to stretch the spring 1⁄4 inch (0.64 cm) out from the center. Repeat on the other side.[13]
-
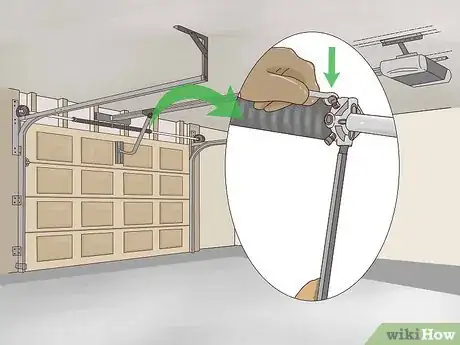
6Tighten the set screws. Use your fingers to tighten each set screw until it contacts the torsion tube. Then, tighten each screw ½ to ¾ turn more. Tightening the screws more than this could distort or puncture the torsion tube, so be sure to make less than 1 full rotation once the screws touch the torsion tube.[14]
-
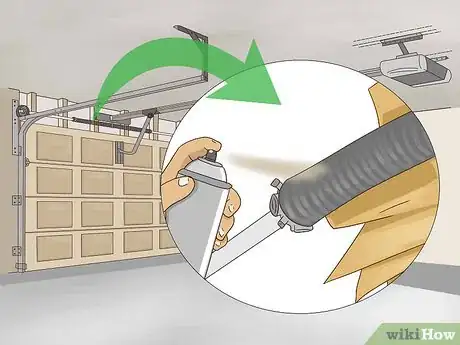
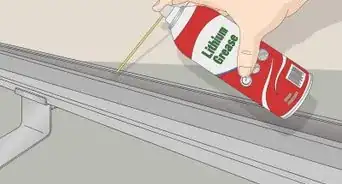
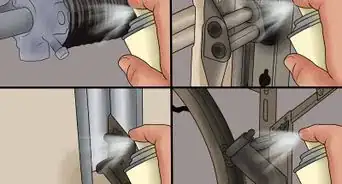
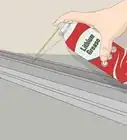
7Lubricate the springs. Slide a grocery bag or piece of cardboard behind the spring to protect the garage door. Spray each spring with garage door lubricant. Wipe off any excess, then repeat the process on the other side.[15]
-
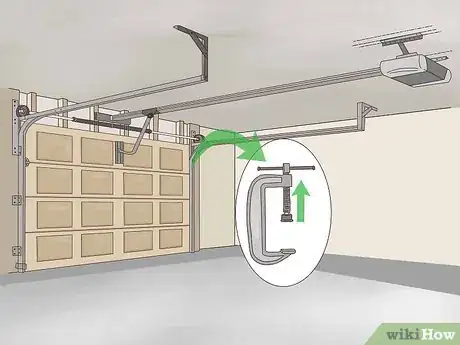
8Remove the clamps or pliers. It is now safe to remove the clamps or pliers you used to hold both the torsion bar and the garage door itself in place.[16]
-
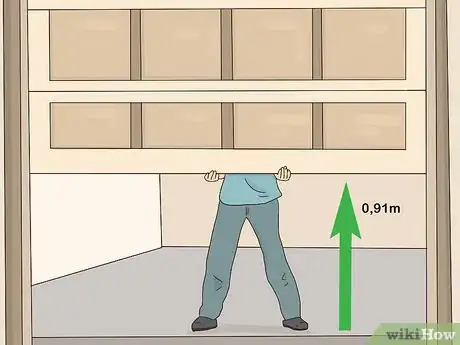
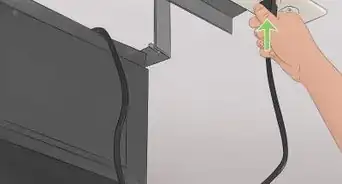
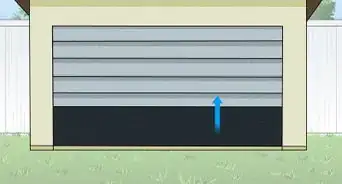
9Test the door and reconnect the opener. Lift the door up about 3 feet (0.91 m) high and let it go. If it stays in place, you did the job correctly. If it doesn’t, add a ¼ turn to each spring. Test the door again and add another ¼ turn if necessary. Once you’re satisfied, plug the garage door opener back in.[17]
Things You’ll Need
- Winding bars
- Locking pliers or C-clamp x 2
- Ladder
- Eye protection
- Leather gloves
- Wrench
- Measuring tape
- New springs
- Hammer
- Cardboard or paper bag
- Garage door lubricant
Expert Interview

Thanks for reading our article! If you'd like to learn more about working on your home, check out our in-depth interview with Ryaan Tuttle.
References
- ↑ https://www.naturalhandyman.com/iip/infgar/infgar1b.html
- ↑ https://www.naturalhandyman.com/iip/infgar/infgar1b.html
- ↑ https://www.familyhandyman.com/doors/garage-door-repair/advanced-garage-overhead-door-repairs/view-all/
- ↑ https://www.familyhandyman.com/doors/garage-door-repair/advanced-garage-overhead-door-repairs/view-all/
- ↑ https://www.familyhandyman.com/doors/garage-door-repair/advanced-garage-overhead-door-repairs/view-all/
- ↑ http://www.truetex.com/garage.htm
- ↑ http://www.truetex.com/garage.htm
- ↑ http://www.truetex.com/garage.htm
- ↑ https://www.familyhandyman.com/doors/garage-door-repair/advanced-garage-overhead-door-repairs/view-all/
- ↑ https://www.familyhandyman.com/doors/garage-door-repair/advanced-garage-overhead-door-repairs/view-all/
- ↑ https://www.familyhandyman.com/doors/garage-door-repair/advanced-garage-overhead-door-repairs/view-all/
- ↑ https://www.familyhandyman.com/doors/garage-door-repair/advanced-garage-overhead-door-repairs/view-all/
- ↑ https://www.familyhandyman.com/doors/garage-door-repair/advanced-garage-overhead-door-repairs/view-all/
- ↑ https://www.naturalhandyman.com/iip/infgar/infgar1b.html
- ↑ https://www.familyhandyman.com/doors/garage-door-repair/advanced-garage-overhead-door-repairs/view-all/
- ↑ https://www.familyhandyman.com/doors/garage-door-repair/advanced-garage-overhead-door-repairs/view-all/
- ↑ https://www.familyhandyman.com/doors/garage-door-repair/advanced-garage-overhead-door-repairs/view-all/
About This Article
If your garage door isn’t opening and closing properly, you’ll probably have to replace the torsion springs. You’ll want to replace both the left and right springs at the same time to save yourself having to repeat the job. Once you unplug the garage door opener and clam the door to the track to keep it from opening, you’ll need to release the springs by unscrewing the screw set holding them on and then unwinding each spring with your winding bar. After removing the rest of the hardware, you can slide the springs, cables, and the cable drums off. When the spring is off, you can measure its length, inside diameter and the size of the coils so you can buy the replacement springs. To install the new springs, you’ll need to slide them onto the tube along with the cable drum, center bearing, and cones. When everything is in place, thread the cables and tighten the drums before winding the springs. Finally, tighten the screw sets around the springs, lubricate them, and remove the clamp keeping the garage door closed. To learn how to test your garage door, keep reading!
