This article was co-authored by Nick Yahoodain and by wikiHow staff writer, Christopher M. Osborne, PhD. Nick Yahoodain is a General Contractor and the CEO of Advanced Builders & Contractors in Los Angeles, California. With over 16 years of experience, Nick specializes in large residential projects such as new construction, developments, major renovations, additions, and hillside construction. Advanced Builders & Contractors is a member of the BBB, is licensed by the Contractors State License Board, and is fully bonded and insured. Advanced Builders & Contractors has been featured on NBC News, Elle Decor, Architectural Digest, and Voyage LA.
There are 7 references cited in this article, which can be found at the bottom of the page.
This article has been viewed 15,858 times.
Especially if you live in an older home, knowing how to repair plaster walls—especially when they develop cracks—is a valuable skill. Fortunately, with the right knowledge, the average DIYer can successfully repair cracks in plaster walls. If the plaster is cracking because it’s pulling away from the wall, you'll need to stabilize it first. If you're sure the plaster is securely attached to the wall, however, you can go straight to prepping the crack for repairs.
Steps
Stabilizing the Surrounding Plaster
-
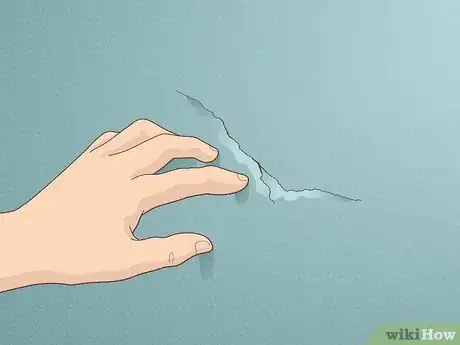
1Tap and press on the plaster to see if it’s detached from the wall. Press your fingers against the plaster in several spots in about a 1 ft (30 cm) radius around the crack. Take note of any spots that you can press inward toward the wall structure. Follow up by tapping your knuckles against the plaster in the same area around the crack, listening for any spots that sound hollow.[1]
- Soft or hollow spots indicate that the plaster has pulled away from the wood lath (horizontal strips of wood) that hold it against the wall’s framing studs (vertical structural beams). These detached areas must be repaired before addressing the crack.
- If the surrounding plaster is solidly in place with no problem spots, move on to cleaning and prepping the actual crack.
- If there’s visible damage around the crack, such as crumbling pieces of plaster, these need to be removed, which means you’re actually facing a different task: repairing a hole in a plaster wall.
-
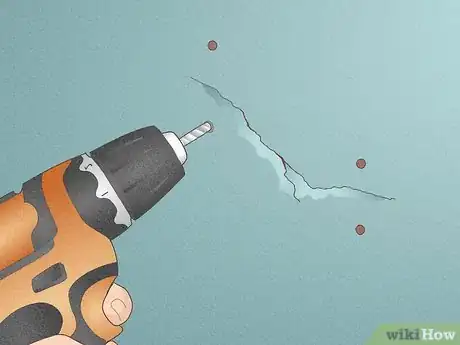
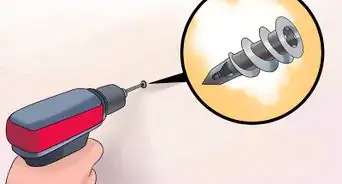
2Drill pilot holes down into the wood lath along both sides of the crack. Secure a 1⁄8 in (3.2 mm) masonry bit into your drill and drive a hole into the plaster about 1 in (2.5 cm) from the crack. Feel for the resistance to increase when you push through the plaster and into the wood lath. Put the drill in reverse and spin it out of the pilot hole. Make additional holes on both sides of the crack, spacing them about 3 in (7.6 cm) apart.[2]
- Some of your pilot holes may go into empty gaps between the strips of lath—when this happens you’ll feel no resistance once you punch through the plaster. Mark these holes with a pencil so you don’t bother putting screws into them.
Advertisement -
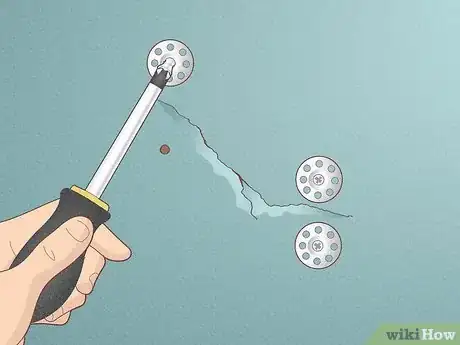
3Install concave “plaster buttons” with drywall screws into the wood lath. A plaster button is a slightly bowl-shaped plastic or metal disc made to help hold plaster against its lath backer. With the “bowl” facing upward, feed a 1.25 in (3.2 cm) drywall screw into the hole in the center of the button. Drive the screw into one of the pilot holes completely so that the head of the screw is lower than the surrounding plaster surface.[3]
- Repeat this process with all the unmarked pilot holes.
- Plaster buttons have a concave shape specifically so that the head of the screw ends up below the surface of the surrounding plaster, which makes it easier to conceal when finishing the repair.
- Plaster buttons are also called plaster washers.[4]
-
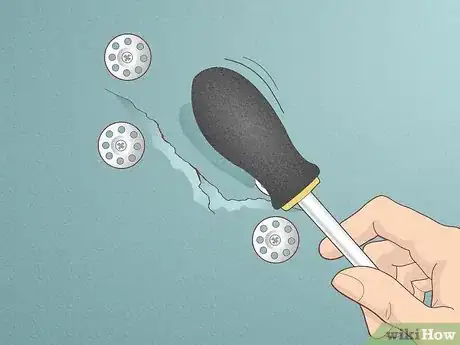
4Test the plaster again to confirm it’s secure against the lath. Once the screws and plaster buttons are in place, press and tap against the area surrounding the crack again. It should feel completely solid against the lath. If it still feels detached, the lath is likely damaged and more extensive (and less DIY-friendly) repairs are needed. This is probably a good time to call in a pro![5]
Cleaning and Prepping the Crack
-
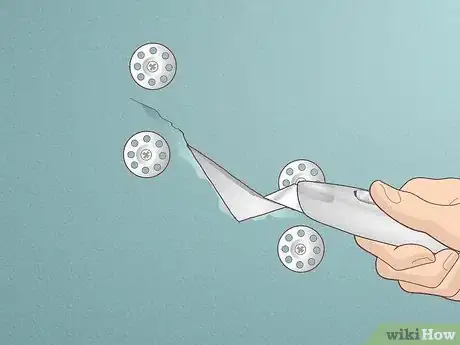
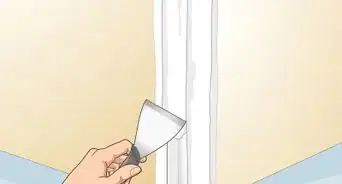
1Widen the crack slightly into a V-shaped channel with a knife. Insert the tip of your utility knife or corner of your small joint knife straight into the crack. Tilt the knife so it’s at about a 60 degree angle to the plaster surface, then run it along one side of the crack to carve out a bit of additional plaster from that side. Repeat the process on the other side so that the crack becomes a V-shaped channel, similar in appearance to a river valley.[6]
- A utility knife is a handheld tool with a retractable blade. A joint knife has a wide, flat blade and is similar in appearance to a paint scraper. Joint knives come in a variety of small, medium, and large widths.
-
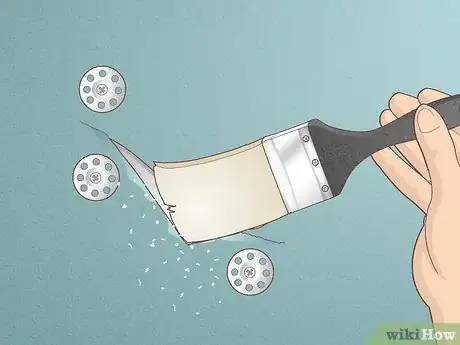
2Brush or vacuum out any loose bits of plaster or debris in the crack. Use a hand broom, paintbrush, or even an old toothbrush to sweep out the inside of the V-shaped channel. Alternatively, use a vacuum cleaner’s hose attachment or a wet-dry vacuum to suck out all the loose stuff in the crack.[7]
- Don’t skip this seemingly minor step! Otherwise your patching material won’t adhere well to the existing plaster.
-
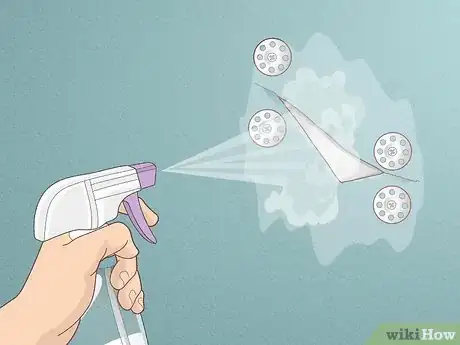
3Moisten the area of the crack lightly with water. Fill a spray bottle with water and use it to spritz the crack and the plaster surrounding it. Slightly wetting down the old plaster prevents it from quickly leaching out the moisture from the patching material.[8]
- Alternatively, spray the area with heavily-diluted PVA drywall primer. Add 1 part PVA to 10 parts water and spritz it on lightly with a spray bottle. Adding PVA may enhance adhesion between the old plaster and the patching material.
Repairing the Crack
-
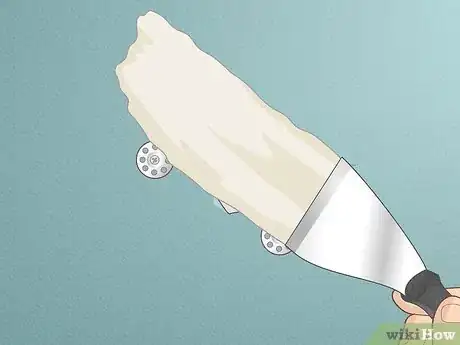
1Press joint compound firmly into the crack with a small joint knife. Buy a pre-mixed container of joint compound since this is a smaller job, or mix up a small batch of your own by combining the dry mix and water according to the product instructions. Scoop up a glob onto your joint knife, then press it into the crack so that it fills the entire void. Scrape away any large globs of excess compound around the crack, but leave behind a thin layer of compound on the surface of the crack and surrounding drywall.[9]
- Joint compound (also called drywall compound or “mud”) should be the consistency of cake frosting.
-
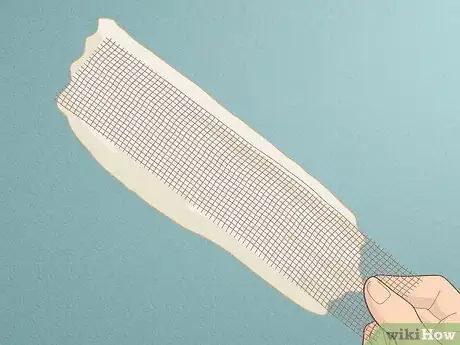
2Apply fiberglass tape over the crack if it’s more than 1⁄4 in (6.4 mm) wide. For a fairly straight crack of at least this width, cut a single strip of fiberglass joint tape that’s about 1 in (2.5 cm) longer than the crack on both sides. Lay it over the crack and use your joint knife to smooth and stick it to the wet joint compound you just applied. If the crack is more jagged, cut several strips of tape to cover it in a single layer—don’t overlap the tape in any spots.[10]
- If the crack is less than 1⁄4 in (6.4 mm) wide, skip the fiberglass tape. Instead, move on to letting the joint compound dry for 24 hours before adding another layer.
- Just a reminder: if you’re applying tape over the crack, DON’T wait for the joint compound to dry—apply the tape over wet joint compound.
- You can use paper joint tape instead of fiberglass if you wish, since it tends to create a stronger joint. However, fiberglass tape is easier to manage for most DIYers.
-
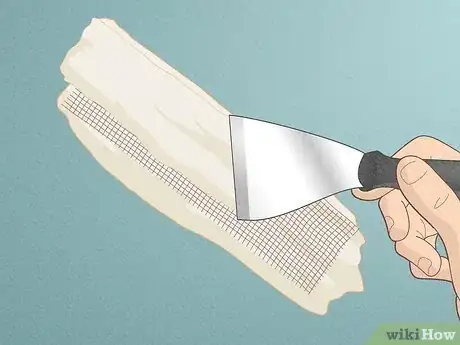
3Cover the tape with a layer of joint compound with your small knife. Take another scoop of joint compound onto your small joint knife, then smooth it over the entire surface of the fiberglass tape. Start near one end of the tape, spread the compound over the length of the tape in one motion, then cover the remaining tape near where you started. Allow the compound to overlap the edges of the tape by at least 1⁄2 in (1.3 cm) on all sides, but scrape away any globs of excess compound.[11]
-
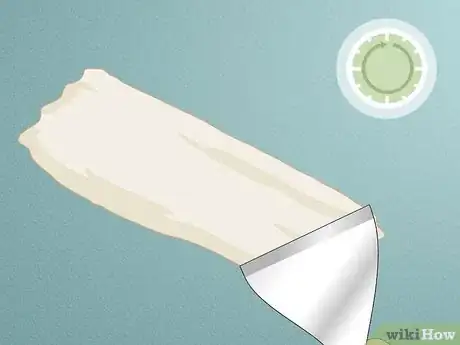
4Wait 24 hours, then apply a layer of joint compound with a wider knife. Switch out your small joint knife for a medium-width knife, then scoop up some more joint compound. Apply it in a smooth, even layer, this time overlapping the previous layer of joint compound by at least 1 in (2.5 cm) on all sides. Try to “feather” the edges lightly by pressing just a little bit more firmly on the knife at the edges of this second coat.[12]
- Feathering blends the joint compound into the surrounding plaster instead of leaving a raised edge that needs lots of sanding to blend in.
- Yes, it’s hard to wait 24 hours, but it’s important to let the previous layer of joint compound dry fully before applying the next one.
-
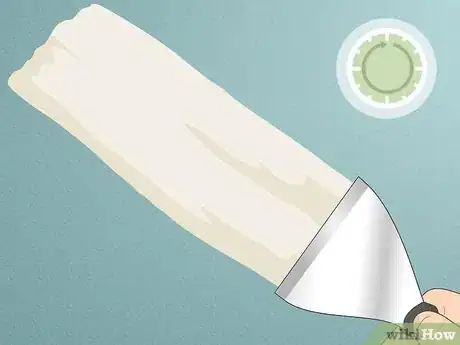
5Apply the final layer after another 24 hours, feathering it out gently. Use an even wider joint knife this time so that the final layer is at least 1 in (2.5 cm) larger on all sides than the last one. Work carefully to smooth out the surface as much as possible. Feather the edges of this layer by applying ever-so-slightly greater amounts of pressure to the knife as you work your way to each edge of the patching area.[13]
- Applying really smooth layers of joint compound, and especially feathering it just right, takes a good deal of practice. Do your best, but don’t worry if the results aren’t perfect—you’ll just have to do more sanding to smooth things out!
-
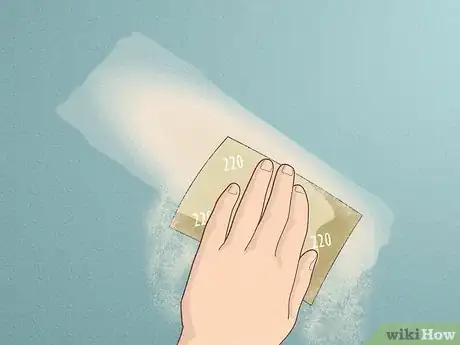
6Sand the fully-dried final layer to blend it into the wall. Wait another 24 hours before you begin sanding. Start with a 120-grit sandpaper, apply even pressure, and work in circular motions to knock down any bumps, ridges, or high spots in the dried joint compound. Follow up with 220-grit sandpaper to create a smooth surface. However, if the surrounding plaster has a slightly bumpy surface, skip the 220 paper so your repair doesn’t look too smooth.[14]
-
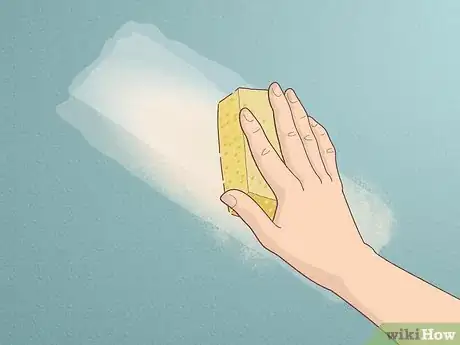
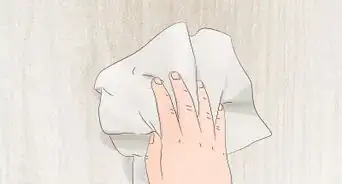
7Sponge off any dust and let the wall dry before priming and painting. Dampen the sponge (or a cloth rag) just enough so that it picks up all the sanding dust remaining on the wall. After letting it dry for about 15 minutes, the repaired area is ready for priming and painting. Be sure to brush 1-2 coats of primer (any general-purpose primer will do) onto the dried joint compound.[15]
- You may have to paint the entire wall if you want the repaired area to truly vanish, but you may be able to get away with painting just the repaired area with a color-matched paint.
References
- ↑ https://www.baltimoresun.com/news/bs-xpm-1999-12-05-9912030021-story.html
- ↑ https://www.moneypit.com/repair-cracked-plaster/
- ↑ https://www.oldtownhome.com/2012/4/17/Toolbox-Tuesday-Plaster-Buttons-to-Fix-Your-Crumbling-Ceiling/
- ↑ https://www.nps.gov/tps/how-to-preserve/briefs/21-flat-plaster.htm
- ↑ https://www.nps.gov/tps/how-to-preserve/briefs/21-flat-plaster.htm
- ↑ https://www.nps.gov/tps/how-to-preserve/briefs/21-flat-plaster.htm
- ↑ https://www.homedit.com/plaster-walls/
- ↑ https://www.realhomes.com/advice/fixing-problems-with-old-plaster
- ↑ https://www.nps.gov/tps/how-to-preserve/briefs/21-flat-plaster.htm
- ↑ https://www.moneypit.com/repair-cracked-plaster/
- ↑ https://www.baltimoresun.com/news/bs-xpm-1999-12-05-9912030021-story.html
- ↑ https://www.nps.gov/tps/how-to-preserve/briefs/21-flat-plaster.htm
- ↑ https://www.moneypit.com/repair-cracked-plaster/
- ↑ https://www.nps.gov/tps/how-to-preserve/briefs/21-flat-plaster.htm
- ↑ https://www.nps.gov/tps/how-to-preserve/briefs/21-flat-plaster.htm
- ↑ Nick Yahoodain. General Contractor. Expert Interview. 6 October 2020.
- ↑ Nick Yahoodain. General Contractor. Expert Interview. 6 October 2020.
