This article was co-authored by wikiHow Staff. Our trained team of editors and researchers validate articles for accuracy and comprehensiveness. wikiHow's Content Management Team carefully monitors the work from our editorial staff to ensure that each article is backed by trusted research and meets our high quality standards.
There are 14 references cited in this article, which can be found at the bottom of the page.
This article has been viewed 7,533 times.
Learn more...
Velux blinds are a line of specialty blinds intended to be paired with Velux roof windows and skylights. These minimalistic blinds units come sized-to-fit straight from the factory, which makes them a breeze to install yourself—there’s no need to even do any measuring! Just take a peek at the data plate on the upper righthand corner of your Velux window sash to find its sizing code and use this information to order a set of blinds in the correct dimension. Installing them is then as easy as snapping them into place and driving a few screws.
Steps
Buying Blinds in the Correct Size
-
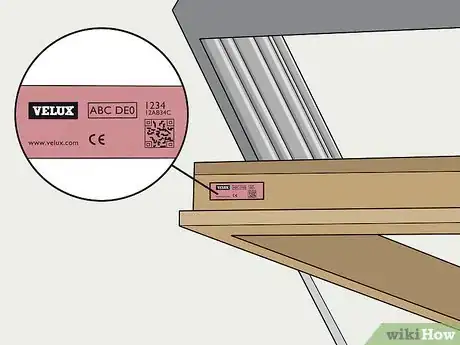
1Open your Velux window and look for the sizing code on the data plate. Velux blinds are specially designed to fit Velux roof and skylight windows, which are sold in standardized sizes. Crack your window open and locate the stamped data plate on the upper lefthand corner of the sash. This data plate contains a 2-part code that indicates the size of the windows you’re working with, and therefore what size blinds you’ll need to order.[1]
- Be sure to jot down your window’s sizing code so you don’t have to try to commit it to memory.
- A typical sizing code on a Velux window data plate looks something like this: “GGL MK08”[2]
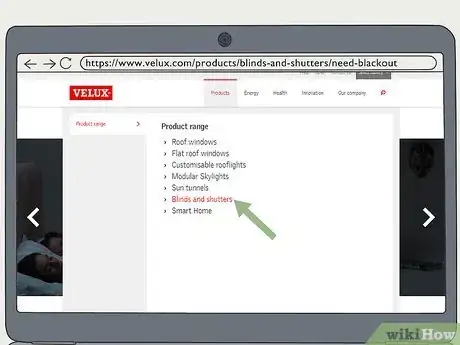
Tip: You can reference the exact specifications of every model of blinds manufactured by the Velux company on their official website.[3]
-
2Order a set of blinds using your window's sizing code. Head to the company’s website and click on the link titled “Blind Shop” to browse their selection. When you’ve found a set in a style you like, specify your window’s model and size by selecting the options corresponding to the 2 parts of your sizing code in the drop-down lists on the product page.[4]
- For most Velux products, the model is represented as a series of letters, while the size designation may contain either numbers or a combination of numbers and letters.
- Using the example above, “GGL” would refer to the specific model of your roof or skylight window and “MK08” would refer to the size.
Advertisement -
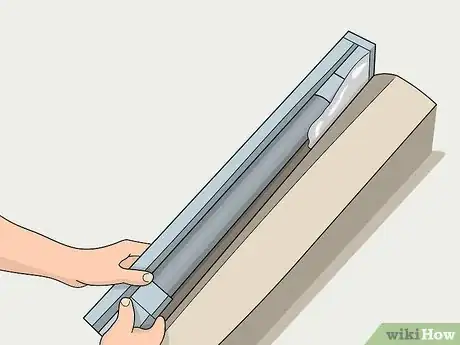
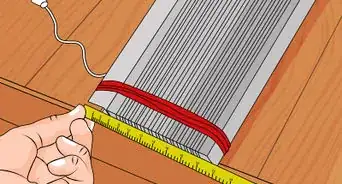
3Unbox your new blinds and sort out the contents of the package. Inside, you’ll find the blinds themselves, a pair of metal side rails, and a bag of screws that you’ll be using to fasten the blinds to your window. You’ll also find an illustrated instruction sheet, which will provide you with a helpful visual aid and walk you through every step of the installation process.[5]
- Velux also includes a 2-piece screwdriver with each of their products, so you should have everything you need to take care of the installation yourself.
Installing the Blinds
-
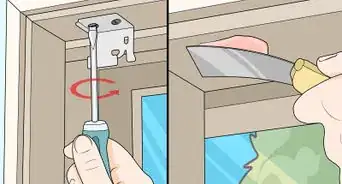
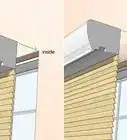
1Press the blinds unit into place around the tabs on either side of the window. Arrange the blinds so that it’s right-side-up, with the Velux logo facing you. Lift the unit up and align both ends with the raised tabs in the window’s upper corners, then push it straight back. You’ll hear a click when the blinds seat securely.[6]
- All Velux windows feature a pair of rectangular retention tabs at the top interior edges, which make it possible for the owner to easily install various styles of Velux blinds as needed.
- It shouldn’t take much pressure to connect the blinds to the tabs, so try not to be too forceful.
-
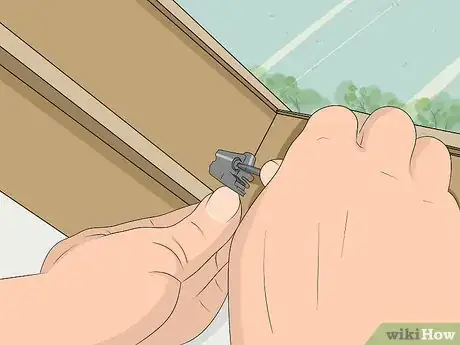
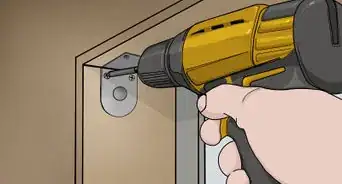
2Attach the 2 window clips to either side of the window’s bottom rail. These clips come joined by a small strip of plastic fresh out of the package. Snap or twist the 2 clips apart and position them on the lower portion of the window so that the downturned “legs” overlap the front edge of the rail. Use the included screwdriver and screws to secure the clips to inner edge of the window.[7]
- If you look closely at the window clips, you’ll see the tiny letters “L” and “R” indicating which clip goes on which side of the window.
- Double-check that both clips are flush with the bottom of the rail before you continue.
Warning: Make sure you’re screwing the window clips into the window unit, not the surrounding frame.[8]
-
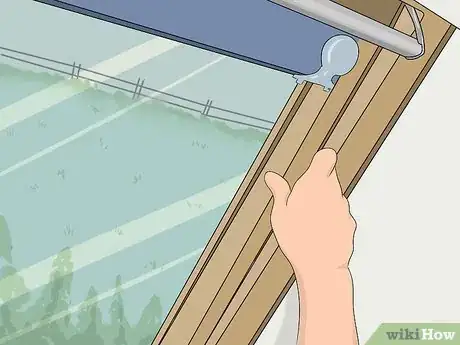
3Lock the first of the 2 side rails onto the blinds unit on one edge of the window. Hold the rail flat against the window stile (the vertical part of the window frame) and slide it upwards as far as it will go. The small channel on the top of the rail should intersect with the metal tab at the bottom of the blinds unit.[9]
- Be careful not to accidentally snag and trap the guidewires (which are spooled inside the red plastic reels) while installing the side rails. Doing so may cause your blinds to malfunction.
- The side rails are shaped to fit around either side of the window's top rail, which means they're not interchangeable. Keep this in mind while installing the first rail.
-
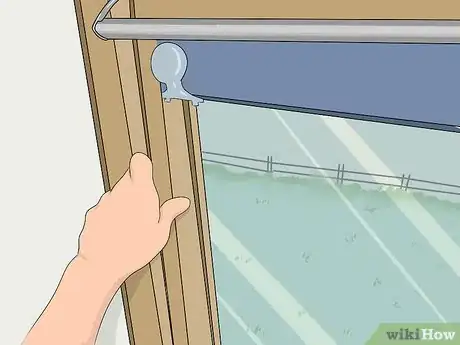
4Slide on the second side rail. Once you’ve successfully mounted the first rail, grab the second rail and put it in place just like you did the first. Slot the channel around the tab on the lower edge of the blinds and push it upwards until it seats. Make sure there are no gaps between the 2 sections of the frame.[10]
- Inserting both side rails will complete the framing of the blinds around the edges of the window unit.
-
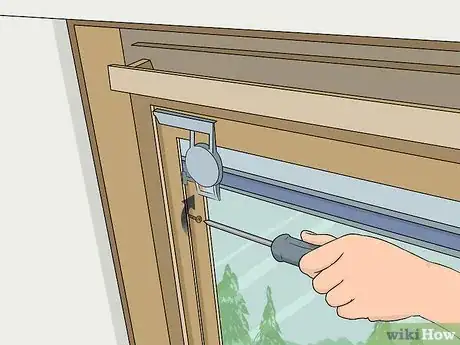
5Screw down both side rails using the included screws. Remove the remaining 6 screws from the bag and drive the first 3 into the trio of slots along the inner face of the first rail. Tighten each screw snugly, then jiggle the rail to ensure that it isn't loose. Do the same for the opposite rail when you’re finished.[11]
- An electric drill with a T10 driving bit will make this task much easier.[12]
- Avoid overtightening the screws, as this could cause damage to the rails or the underlying window stiles.
Using Your Velux Blinds
-
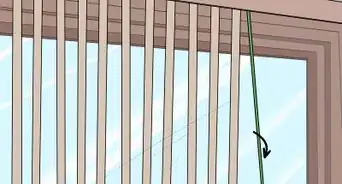
1Unwind the red plastic guidewire reels. Pull the reels outward to unclip them from their holders on either side of the blinds unit. Lower the reels slowly while allowing the thin guide wires inside to unravel to their full length. They should just reach the window’s bottom rail.[13]
- The twin guide-wires are responsible for guiding the movement of the blinds along the side rails and ensuring that they glide smoothly.
-
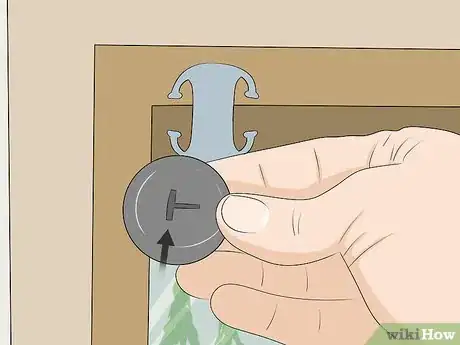
2Free the end tabs of both guidewires from the holder reels. Use the neighboring section of cord to gently pry the first tab out of its molded slot at the center of the reel. Then, remove the tab from the second reel. Dispose of the reels when you're done.[14]
- The red plastic reels are only there to keep the guidewires neatly wound and out of the way inside the product packaging, and are not a part of the actual blinds assembly.
-
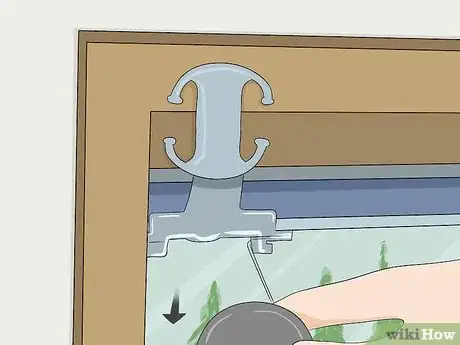
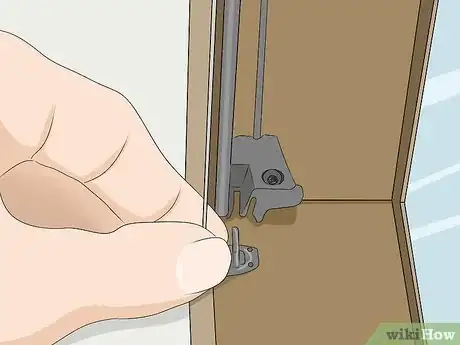
3Insert the end tabs on the guidewires into both window clips. Line up the tab’s vertical fin with the groove in the window clip and push it into the clip until it clicks. Repeat the process with the second guidewire.[15]
- Confirm that the 2 guidewires are neatly hidden inside the channels in the side rails. If they’re not, adjust the position of the wires themselves or the end tabs until they fit naturally.
- After connecting both guidewires, remove and dispose of the large red plastic clips that were housing the reels.[16]
-
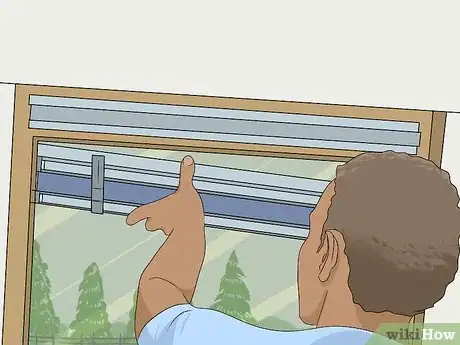
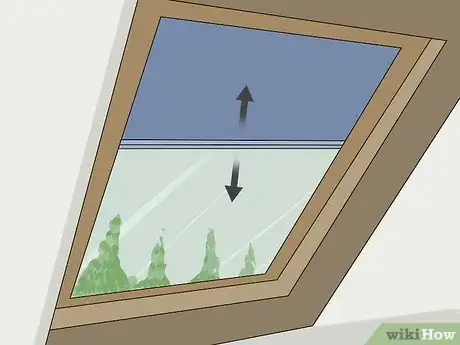
4Raise and lower your new blinds a few times to test them out. Take hold of the bottom edge of the blinds and use it to guide them up and down. They should track smoothly from top to bottom along the channels in the side rails, with very little resistance. It's as simple as that![17]
- If for some reason your blinds aren’t working the way they’re supposed to, get in touch with a Velux representative at 800-888-3589. You can also fill out a short customer service form if you’d prefer to communicate via email.[18]
Tip: If your blinds are catching, one or both guidewires may be misaligned. Try removing the guidewires in the reverse order that you put them in, straightening them out, and reinstalling them. Consult the included instruction sheet for reference.
Things You’ll Need
- Velux roof or skylight window
- Pencil and paper
- Velux blinds
- Included fastening screws
- Power drill with T10 driving bit (optional)
References
- ↑ https://www.youtube.com/watch?v=N2VVKHQvpDs&feature=youtu.be&t=4
- ↑ https://www.youtube.com/watch?v=n1tIDtsPEHI&feature=youtu.be&t=12
- ↑ https://www.veluxusa.com/professional/tools/architects/drawings-and-specifications
- ↑ https://velux.skylightblindshop.com/
- ↑ https://www.youtube.com/watch?v=eNxib3hETYo&feature=youtu.be&t=39
- ↑ https://www.youtube.com/watch?v=eNxib3hETYo&feature=youtu.be&t=149
- ↑ https://vimeo.com/102842247
- ↑ https://www.youtube.com/watch?v=dTI90-caeT4&feature=youtu.be&t=144
- ↑ https://www.youtube.com/watch?v=dTI90-caeT4&feature=youtu.be&t=166
- ↑ https://www.youtube.com/watch?v=eNxib3hETYo&feature=youtu.be&t=339
- ↑ https://vimeo.com/102842247
- ↑ https://www.youtube.com/watch?v=eNxib3hETYo&feature=youtu.be&t=428
- ↑ https://www.youtube.com/watch?v=dTI90-caeT4&feature=youtu.be&t=218
- ↑ https://vimeo.com/102842247
- ↑ https://www.youtube.com/watch?v=eNxib3hETYo&feature=youtu.be&t=495
- ↑ https://vimeo.com/102842247
- ↑ https://vimeo.com/102842247
- ↑ https://www.veluxusa.com/help/contact-us
