wikiHow is a “wiki,” similar to Wikipedia, which means that many of our articles are co-written by multiple authors. To create this article, volunteer authors worked to edit and improve it over time.
This article has been viewed 70,585 times.
Learn more...
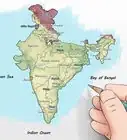
Maps have been a part of human culture for millenia. Whether it's to show terrain details in preparation for invasion, plotting trade routes across oceans, or even how to get from one station to an other, maps can be used for many purposes. Now you can learn how to draw your own!
Steps
Drawing a Topological Map
-
1Use a topological map to display routes. A topological map just shows routes from one point to another. It ignores any scale or even the real-life positioning of the locations. Probably the best example is the London Underground map.
-
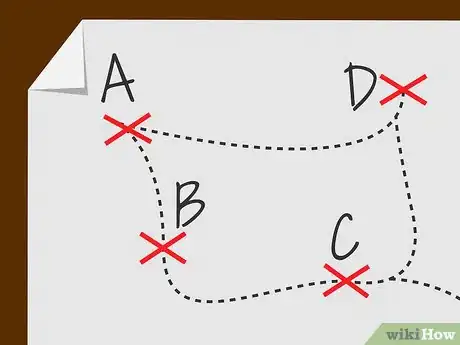
2Do some planning. To draw a topological map, you need to draw a symbol for each location, and a bunch of lines connecting them together (representing the routes between them). You need to plan this out so that you don't end up with a mess of lines. Remember: the position of the objects on the map does not have to correspond to their real-life locations.Advertisement
-
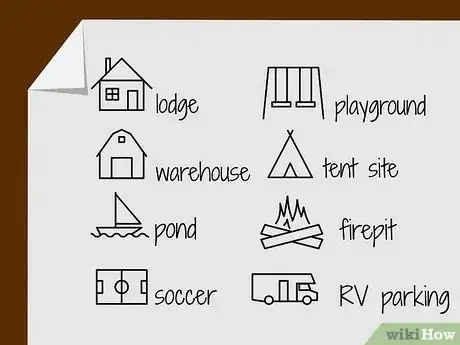
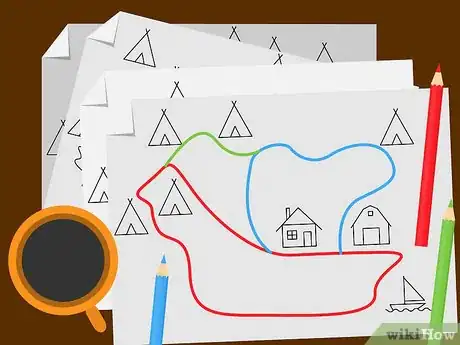
3Make some sketches. Try sketching it in different ways. It will help you to see what you can change to make it better. Try making the routes different colours to make them stand out, use different symbols for different types of objects, etc.
-
4Draw a neat version. This is the version that you will use as the actual map. Try to make it as neat as possible.
Drawing a Planimetric Map
-
1Use a planimetric map to show scale/position. A planimetric map is drawn to scale with the objects in the correct positions, but shows no indication of height. Imagine it like flying over the area and taking a photo. If you look at the photo, you can see where everything is in relation to each other, but because it is 2D, you can't see how high up things are.
-
2Decide on a scale. Wide area maps usually use 1:25,000 (4cm = 1km) or 1:50,000 (2cm = 1km) or even bigger. A small-scale map may use something like 1:100 (1cm = 1m) or 1:50 (2cm = 1m). Maps of really tiny stuff can use scales such as 10,000:1 (1cm = 1 micron), but you'll probably never need to draw something like this (unless you need to draw a map of a computer chip that does homework, or something similar).
-
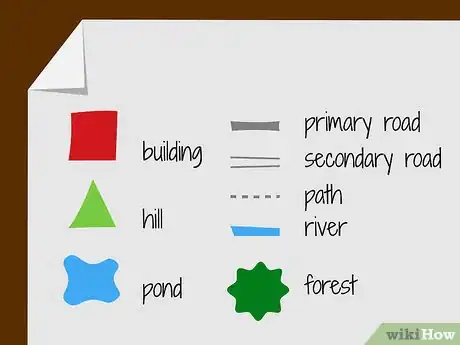
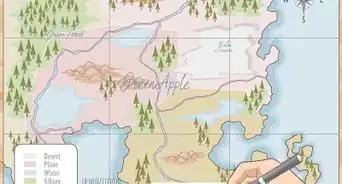
3Decide on a key. Having a key makes it easier to put stuff on your map, without having to draw it out in miniature. Some usual symbols include blue lines for rivers, squares for buildings, triangles for hills and mountains, etc.
-
4Pick a reference point. As everything is drawn to scale, you need to pick a reference point (usually the middle of the map, or a prominent feature). Imagine it like plotting a graph, you have to have an origin so that you know where the points are meant to go.
-
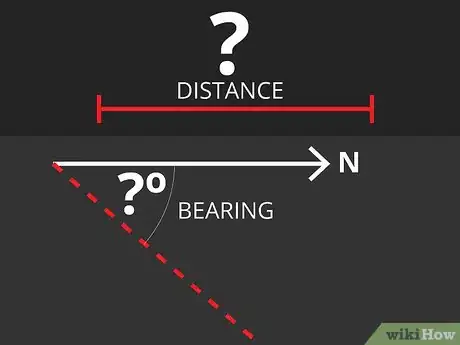
5Decide which objects you want on your map. For each object, you need to know it's distance from the reference point and it's bearing (the angle between a line connecting the object to the reference point and a line connecting the reference point to the North Pole. Measured clockwise from North).
-
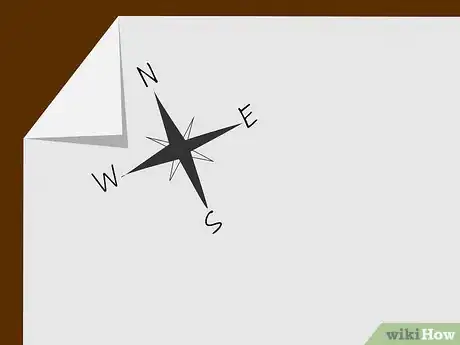
6Decide which direction on your map is North. Draw a little compass on the map to show which way it is.
-
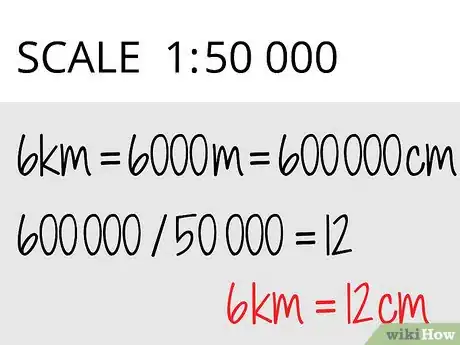
7Use your scale to convert the real-life distances into map distances. Say you have an object 6km away, and your scale is 1:50,000. 6km = 6000m = 600,000 cm. 600,000/50,000 = 12. the object should be 12 cm away on the map.
-
8Start drawing the objects onto the map. Say you have an object 6km away at a bearing of 255 degrees. Using the scale, it should be 12cm away from the reference point (see above). As the bearing is 255 degrees, it should be at an angle of 255 degrees clockwise from the North direction (usually towards the top of the map). You may wish to draw a faint pencil line from the reference point towards North. Measure the angles from this line. Remember: bearings are always given as clockwise angles.
-
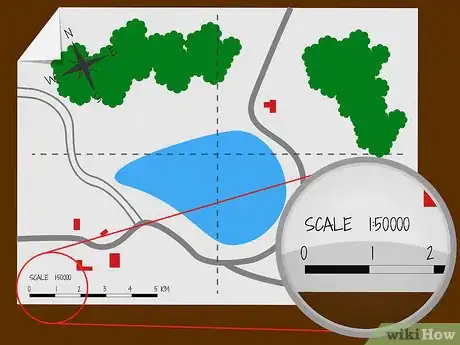
9Add a scale indicator. There are three ways of doing this (each example uses a scale of 1:50,000):
- Draw a square grid in the background. The lengths of the sides of the squares correspond to some distance, usually one kilometre. Make sure that you write down what this distance is, somewhere on the map. For the example, the squares would be 2cm across.
- Draw a scale bar on the map. This is a little bar, usually 1 or 2 cm across, labelled with how long it would be in real life. For the example, a scale bar 1cm long would be labelled 1/2 km.
- Write the scale (1:50,000) somewhere on the map. Some maps use a combination of these methods (e.g. the OS maps of Britain use all three).
Drawing a Topographical Map
-
1Draw a topographical map if height matters. A topographical map is similar to a planimetric map, but it shows the heights of objects above (and below) a chosen reference height, usually assumed to be sea level.
-
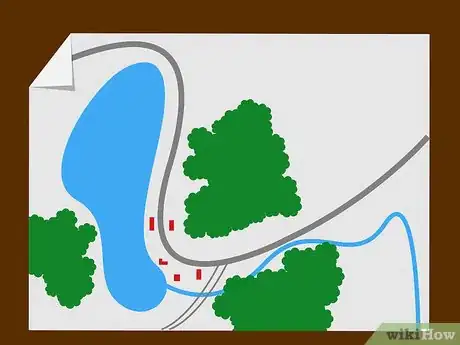
2Draw a planimetric map of the area. This will serve as the basis for a topographical map.
-
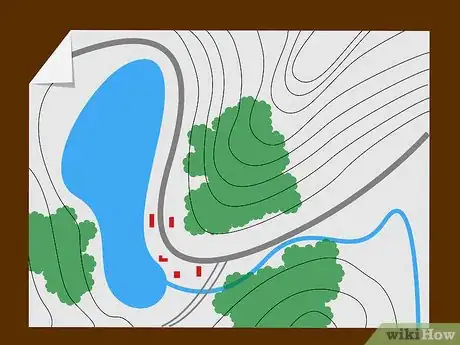
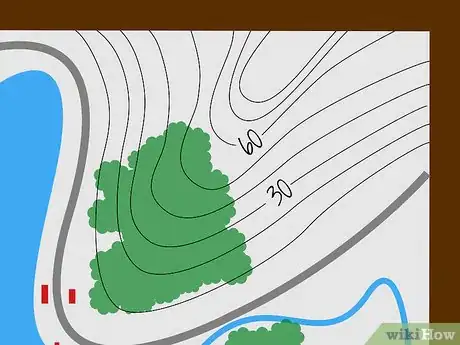
3Start plotting contour lines. A contour line connects areas of equal height. Make sure that they are well spaced (e.g. every ten metres). Contour lines may not cross over each other. The closer they are together, the steeper the ground is. The only time contour lines are allowed to touch is at a cliff edge, where the height changes very rapidly.
-
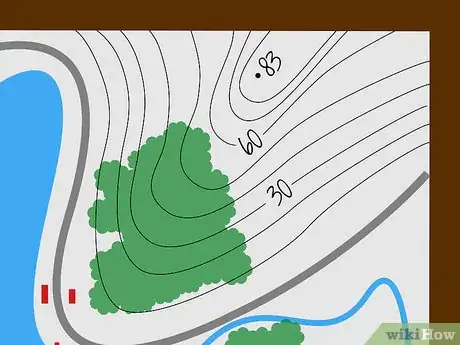
4Label the contour lines. Don't label every one, you'll be there forever. Usually, only every five or ten lines are labelled.
-
5Place a dot at the highest points of hills. Label these dots with the height of the hills.
- The picture shows the process of plotting contour lines.
Community Q&A
-
QuestionHow to differentiate between land forms marked by contour lines?
 Kathy5421Community AnswerYou should use a key, which is a chart that tells the reader what the icons are.
Warnings
- When drawing very large areas, there may be some distortion. This is due to the curvature of the Earth. In this case, you'll need some form of projection (e.g. Mercator projection) to make your map look more professional.⧼thumbs_response⧽
About This Article
To draw a simple topological map to display routes, start with some preliminary sketches so you can map out each location. Draw a symbol for each location and add lines to connect them, which represent different routes that can be used. Try making the route lines different colors so they stand out, and use a variety of symbols to represent different types of objects. Once you've got everything worked out, create a final version of the map that's as neat as possible. For tips on making other kinds of maps, like planimetric and topographical maps, read on!
