This article was co-authored by Alicia D'Angelo. Alicia D'Angelo is a makeup artist based in New York City. She currently works for teams with Dior Makeup, YSL Beauty and Pat McGrath Labs as well as bridal companies Once Upon A Bride and Miss Harlequinn. Her work has been featured in Today.com, New York Live, Forbes.com, VH1, MTV, Vevo, Entertainment Weekly, Refinery 29, and NYXCosmetics.com. She has a Visual Communications degree from FIDM-Los Angeles.
There are 14 references cited in this article, which can be found at the bottom of the page.
This article has been viewed 8,868 times.
Finding the perfect eyeshadow look may be tough if you have monolids, or eyes without a defined crease. It can be really frustrating when makeup tutorials create looks that involve blending eyeshadow around your crease, which doesn’t work well with monolids.[1] There’s no need to worry—you can make really beautiful and stylish eyeshadow looks as long as you follow the shape of your eye. Although it may take a bit of practice, you can start experimenting with different styles until you find something you like!
Steps
Reviewing the Basics
-
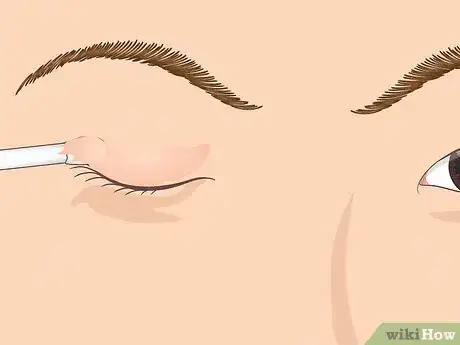
1Coat your eyelids with primer. No matter what type of eye you have, eyelid primer is a key ingredient to any good eyeshadow look.[2] Dab a thin layer of primer over your eyes to help eliminate some extra lid grease. Don’t apply too much, or else your eyelids make look cake-y before you even start brushing on your shadows![3]
- You can find eyelid primer online, or at any cosmetic store.
-
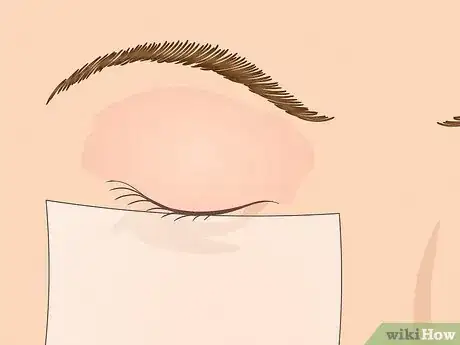
2Prevent fall-out with a sheet of blotting paper. Grab a sheet of blotting paper and press against your face, lining up directly beneath your upper lash line. As you apply different shadows, this paper will help catch any extra powder and prevent any from slipping into your eyes.[4]Advertisement
-
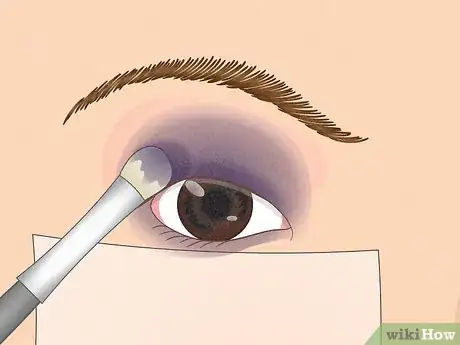
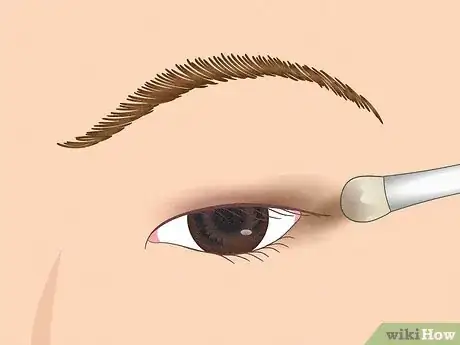
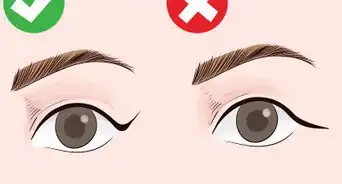
3Brush on the eyeshadow in the shape of your eye. Monolids don’t have creases, which can make eyeshadow application a bit tricky. Focus on applying eyeshadow in the direction and curve of your lash line, which can help make your eyes and makeup look more lifted.[5]
- You don’t need to worry about making a fake crease. There’s plenty of crease-less looks you can create on your own!
-
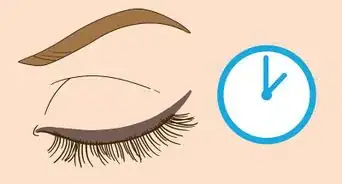
4Apply eyeshadow with your eyes open for a more realistic look. Unfortunately, monolids tend to hide some of the eyeshadow on your lids. In other words, some of the eyeshadow on your lids might not be visible once your eyes are open. To counteract this, apply the shadow with your eyes open. This way, you can be sure that your makeup will be visible to everyone.[6]
-
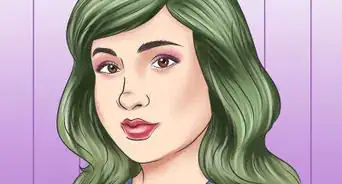
5Pick eyeshadow colors that go with your eye colors. Opt for purple shadows if your eyes are green, which really compliments the color. If your eyes are blue, reach for more dark or neutral colors, like coral.[7] Gray eyes look best with light gray and silver-blue shadows, while brown eyes look really good with dynamic shades, like dark brown, violet, and silver tones. If your eyes are hazel, opt for light pink or metallic-based shades.[8]
- You don’t have to follow these exact color suggestions. Pick colors that you enjoy, and that you’d like to go out and about in!
-
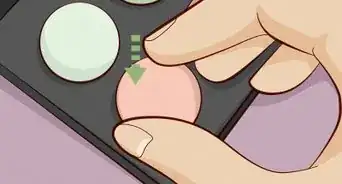
6Reach for shadows that mesh well with your skin tone. You can create really dynamic looks when you keep your skin tone in mind for looks. Bronze tones work well with fairer skin, while brown, cinnamon-colored shades are great with medium skin. If your skin is more olive-toned, reach for a light blue shadow, while tan skin is best complemented with gold tones.[9]
- These aren’t hard and fast rules, but they may help you figure out a good course of action for your eyeshadow.
-
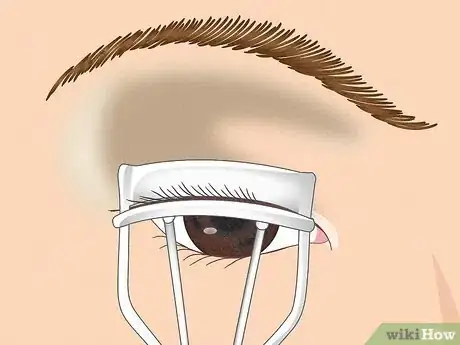
7Apply eyeliner and mascara to finish your look. Give yourself a fuller look by “tightlining” your shadow, or applying it on your upper waterline. Curl your lashes, then add some mascara by applying it upward, not outward.[10]
Smokey Eyeshadow
-
1Apply light eyeshadow onto the base of your eyelid. Grab a rounded, medium-sized eyeshadow brush and dip into a light, flesh-toned shadow. Brush on the shadow all over your lids in quick, horizontal strokes, working your way up to the brow bone.[11]
- This doesn’t have to be exact—you just want to create a base for the rest of your look.
-
2Buff a tan eyeshadow above where your crease would go. Even if you don’t have one, try to picture where your crease would form on your eye, or where your eyelid most naturally folds. Apply this tan shadow above where your “crease” would be, which will help you create a well-defined, smokey look. Focus your eyeshadow on the outer third of your eye, but lightly blend it across your eyelid as well.[12]
- You want this shadow to be above your “crease,” so it’ll be visible to the naked eye.
- This is known as your transition color, and will help tie the rest of your eye look together.
-
3Dab a dark brown shadow along the outside corner of your eye. Pat the color directly onto the outer corner with the same brush, blending it upwards so it’s above your imaginary (or visible) crease. Blend the shadow in horizontal motions above this crease line, which helps create a smokey, more defined look.[13]
- Always use light, feathering motions so your makeup doesn’t look too intense.
-
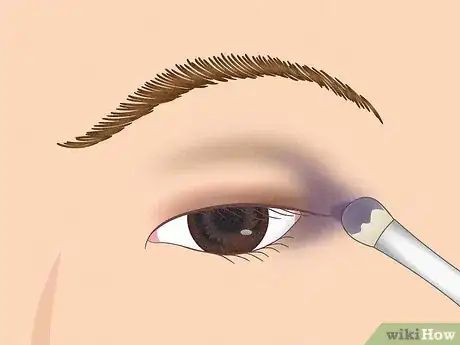
4Build up the smokiness along your outer corner with a deep purple. Move the same brush in smooth motions along the outer corner of your eye, working the shadow above your crease line as you go. At this point, you can make your eyes look a bit longer by applying the eyeshadow further out along the corners, or you can bring it up towards the brow bone to make your eye appear more rounded.[14]
-
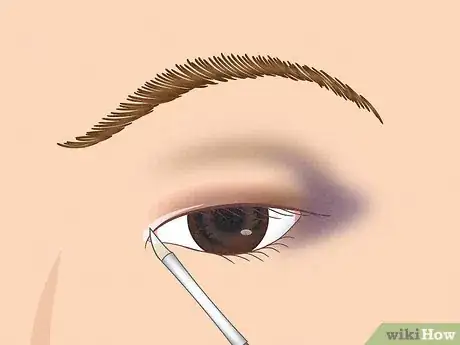
5Brush a white eyeshadow along your inner corner to serve as highlighter. Dip a very thin eyeshadow brush with curved bristles into a white eyeshadow, which will highlight your look. Apply the shadow along the curve of your inner eye, as well along the inner third of your lower lash line.[15]
- You can apply any extra eyeshadow along the top of your upper lid.
- If you have more sensitive eyes, try not to apply any makeup near your waterline—this may cause you to tear up, and will leave a lot of leftover gunk later on.[16]
-
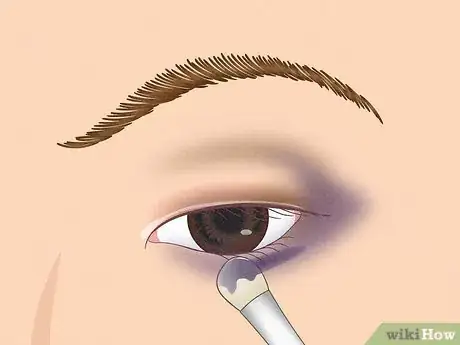
6Build your lower lash line with the same shades you already used in your look. Start by dipping a small brush with curved bristles into a neutral-toned eyeshadow and apply it in curved motions between your outer corner and lower lash line. Layer brown shades on top of the tan, blending it beneath your eye with smooth, curved motions. As you work, buff the shadow to the center of your lower lash line to create a really dynamic look. Finish up with the same purple shade you used, applying it close to your lower lashes as you blend it into your outer corner.[17]
-
7Apply a line of liquid liner along your upper lash line. Add the liner in small, gradual portions, keeping the line as thin and close to your lash line as possible. Work the liner down into your inner corner to create a really dynamic look.[18]
-
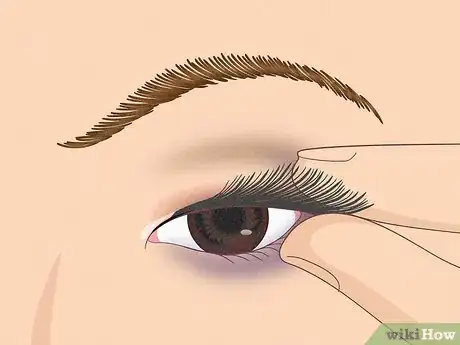
8Add false lashes to finish off your look. Squeeze your natural lashes in a curler, which will make it easier to apply the fake lashes. Apply a thin line of eyelash glue along the edge of your false lashes and stick them to your natural ones. These lashes really help your eyes pop.[19]
- As an alternative, you can finish off your look with sparkles and mascara instead of false lashes. If you’d like to make your look extra dynamic, apply a small amount of mascara along the outer section of your lower lashes.[20]
Natural Eye Makeup
-
1Apply a neutral-toned eyeshadow to your lid with your finger. Dip your finger into a cream-colored eyeshadow and lightly dab it over the surface of your upper eyelid. This may seem a little strange, but it helps provide a base for your natural look. Continue dabbing the eyeshadow over your lid, making your way up to the brow bone.[21]
- The eyeshadow likely won’t be super visible, which is normal.
-
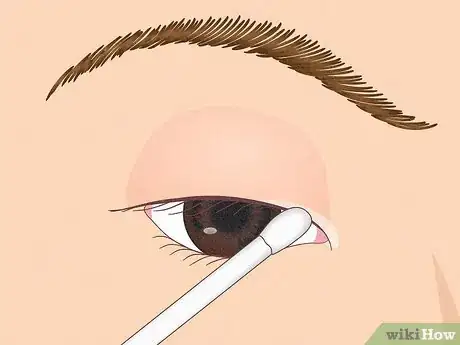
2Add highlighter to the inner corners of your eyes. Apply a creamy, light-colored highlighter directly to the inner corner of your eye, curving your way up to the edge of your upper lash line. You can also dip a thin, tapered brush into some highlighting powder, which you can brush on top of the cream you just applied.[22]
- If you want, you can apply highlighter over your lids until it’s in line with your pupil.
-
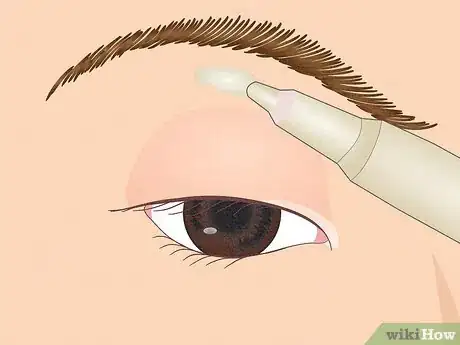
3Blend a dot of concealer beneath your eyebrow to brighten your look. Take a concealer pen and add a dot directly beneath the curve of your eyebrow. Grab a wide, rounded brush and blend the concealer beneath the thinner section of your brow with short motions until the product is no longer visible.[23]
- If you don’t have a concealer pen, you can brush a dot of concealer beneath your eyebrow with a separate brush.
-
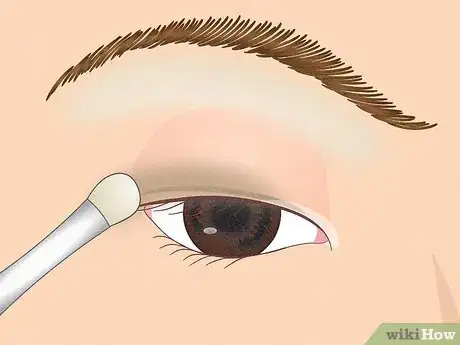
4Spread a deeper eyeshadow along your lash line.[24] Dip a thinner eyeshadow brush into a deep but natural-looking color, like taupe or green. Apply the shadow in short, even movements above the upper lash line, until you reach the outer corner. Don’t apply too much product at once—if you aren’t happy with the shade, you can always add more later on.[25]
- Eyeshadow is a great replacement for eyeliner when you’re creating a natural look.
-
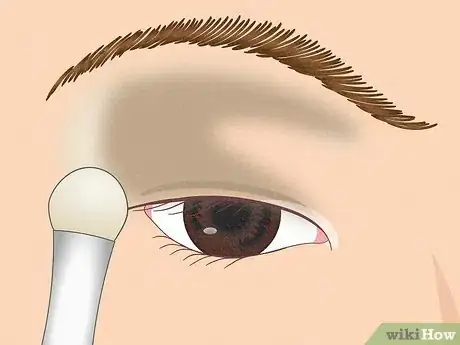
5Blend the eyeshadow along the outer third of your eyelid and brow bone. Grab a wider, rounded eyeshadow brush and brush the same shadow along the outer third of your eyes in wide, sweeping motions. This helps make your eyes look a bit more lifted, and gives your look a bit more depth.[26]
- For instance, if you lined your eye with taupe eyeshadow, you’d brush the same taupe eyeshadow along the outer third of your eye.
-
6Buff concealer into the outer corner to lighten up your look. Dip a wider, rounded makeup brush into the same concealer you used earlier, swiping it along the outer corner of your lower lash line. Move your brush back and forth to really buff the product into your skin.[27]
- If you want to make a bigger statement, you can line this same area of your eye with the same eyeshadow you used before.
-
7Make your eyelashes stand out with an eyelash curler. If you have monolids, your eyelashes probably aren’t very long. Don’t worry—it’s nothing an eyelash curler can handle. Grip the lashes in your curler and focus on curling them upwards to give yourself a more dynamic look.[28]
Expert Q&A
Did you know you can get expert answers for this article?
Unlock expert answers by supporting wikiHow
-
QuestionHow can I make my eyes pop with eyeshadow?
 Alicia D'AngeloAlicia D'Angelo is a makeup artist based in New York City. She currently works for teams with Dior Makeup, YSL Beauty and Pat McGrath Labs as well as bridal companies Once Upon A Bride and Miss Harlequinn. Her work has been featured in Today.com, New York Live, Forbes.com, VH1, MTV, Vevo, Entertainment Weekly, Refinery 29, and NYXCosmetics.com. She has a Visual Communications degree from FIDM-Los Angeles.
Makeup Artist & Hair Stylist
References
- ↑ https://www.insider.com/a-makeup-artist-shows-us-how-to-do-eye-makeup-for-monolids-2019-3
- ↑ Alicia D'Angelo. Makeup Artist & Hair Stylist. Expert Interview. 10 April 2020.
- ↑ https://www.glamour.com/story/how-to-do-a-smoky-eye-monolids
- ↑ https://www.insider.com/a-makeup-artist-shows-us-how-to-do-eye-makeup-for-monolids-2019-3
- ↑ https://www.seventeen.com/beauty/makeup-skincare/a28538366/monolid-eye-makeup/
- ↑ https://www.insider.com/a-makeup-artist-shows-us-how-to-do-eye-makeup-for-monolids-2019-3
- ↑ Alicia D'Angelo. Makeup Artist & Hair Stylist. Expert Interview. 10 April 2020.
- ↑ https://www.elle.com/beauty/advice/g26440/best-eyeshadow-for-eye-colors/
- ↑ https://www.instyle.com/beauty/makeup/eyeshadow-shade-you-should-try-your-skin-tone
- ↑ https://www.seventeen.com/beauty/makeup-skincare/a28538366/monolid-eye-makeup/
- ↑ https://m.youtube.com/watch?v=DBNaZMBjrN4&t=1m14s
- ↑ https://m.youtube.com/watch?v=DBNaZMBjrN4&t=1m40s
- ↑ https://m.youtube.com/watch?v=DBNaZMBjrN4&t=2m40s
- ↑ https://m.youtube.com/watch?v=DBNaZMBjrN43m30s
- ↑ https://m.youtube.com/watch?v=DBNaZMBjrN4&t=4m13s
- ↑ https://www.glamour.com/story/how-to-do-a-smoky-eye-monolids
- ↑ https://m.youtube.com/watch?v=DBNaZMBjrN4&t=5m16s
- ↑ https://m.youtube.com/watch?v=DBNaZMBjrN4&t=5m55s
- ↑ https://m.youtube.com/watch?v=DBNaZMBjrN4&t=6m13s
- ↑ https://www.insider.com/a-makeup-artist-shows-us-how-to-do-eye-makeup-for-monolids-2019-3
- ↑ https://www.insider.com/a-makeup-artist-shows-us-how-to-do-eye-makeup-for-monolids-2019-3
- ↑ https://www.insider.com/a-makeup-artist-shows-us-how-to-do-eye-makeup-for-monolids-2019-3
- ↑ https://www.insider.com/a-makeup-artist-shows-us-how-to-do-eye-makeup-for-monolids-2019-3
- ↑ Alicia D'Angelo. Makeup Artist & Hair Stylist. Expert Interview. 10 April 2020.
- ↑ https://www.insider.com/a-makeup-artist-shows-us-how-to-do-eye-makeup-for-monolids-2019-3
- ↑ https://www.insider.com/a-makeup-artist-shows-us-how-to-do-eye-makeup-for-monolids-2019-3
- ↑ https://www.insider.com/a-makeup-artist-shows-us-how-to-do-eye-makeup-for-monolids-2019-3
- ↑ https://www.seventeen.com/beauty/makeup-skincare/a28538366/monolid-eye-makeup/
- ↑ https://www.seventeen.com/beauty/makeup-skincare/a28538366/monolid-eye-makeup/
- ↑ https://www.seventeen.com/beauty/makeup-skincare/a28538366/monolid-eye-makeup/










-Step-20.webp)

