wikiHow is a “wiki,” similar to Wikipedia, which means that many of our articles are co-written by multiple authors. To create this article, volunteer authors worked to edit and improve it over time.
This article has been viewed 83,931 times.
Learn more...
Dry hay harvest and baling is an important part of life for ranchers and farmers who have foraging herbivorous animals, like sheep, cattle and horses. A good hay crop is defined by weather, field conditions and plant reseeding, as well as the farmer’s timing and hard work. Hay is usually stored in round or square bales that are created with modern machinery.
Steps
Cutting and Raking
-
1Check your machinery approximately one month before you plan to start haying. Delays in harvest due to broken parts or inadequate equipment can result in a late harvest or improperly dried hay.
- If there are legumes, such as alfalfa and clover, in your hay field, you may need to harvest slightly earlier, when they are at 10 to 20 percent of full flower.[1]
-
2Cut your hay when the leaves have developed fully and the seed heads have not fully developed. This is the point when the hay will offer the best nutrition for your animals.[2]
- Cutting the hay too early will result in lower yields.
- Cutting the hay too late will result in lower nutritive content, because the plant has begun focusing on seed production.[3]
Advertisement -
3Wait until you have at least three days of dry weather to cut your hay. It takes this amount of time to cure dry hay for baling and rain interrupts this process. There is usually a two-week window in which hay is in the perfect stage for cutting.[4]
-
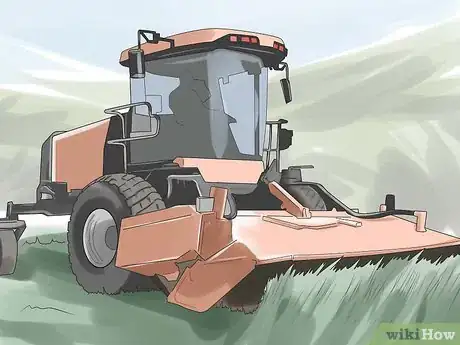
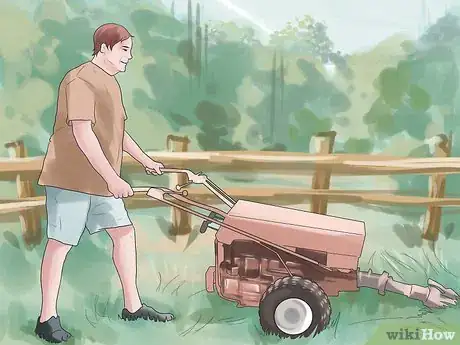
4Cut your pasture with a sickle mower, sickle haybine or rotary disk mower. Generally the size of your land determines which of these pieces of equipment you will need, in order of smallest to largest machinery and investment.
Tedding and Drying
-
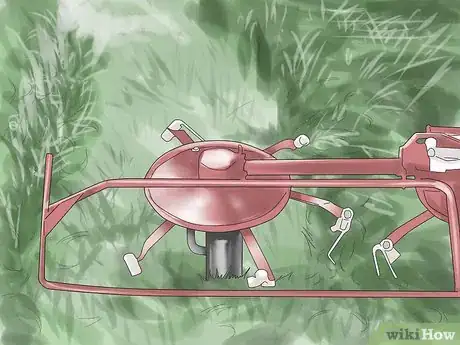
1Start tedding the hay the day within a day of cutting. A hay tedder is a tractor attachment or piece of machinery that aerates the hay. It spreads it out so light and heat can dry the hay out.
- A tedder and rake is often the same piece of equipment.
-
2Turn the hay one to three times over the next three days. Turning the hay with your tedder or rake will cause some quality loss, because the seeds and grass will fall through the hay onto the pasture. Only turn it according to what is necessary to cure it in your climate.
- If it rains, you may need to turn the hay an additional time to ensure it is dry before storing.
-
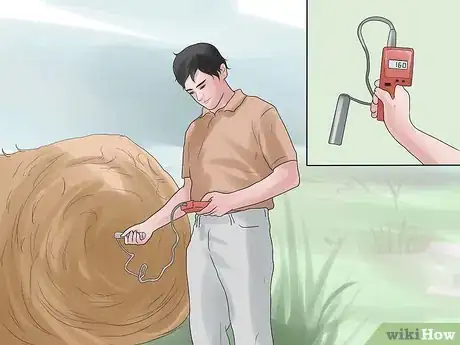
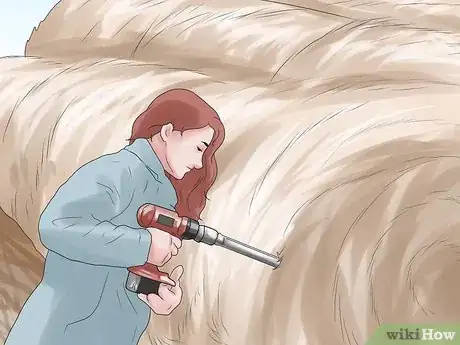
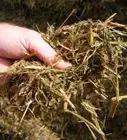
3Test the hay frequently to see what its internal moisture content is. It should be brittle and crisp, but not too easy to shatter in your hand. Baling the hay too early can result in spoilage, mold and even spontaneous combustion in your stacked bales.
- For an easy test, twist several stalks of mown grass, place it in a dry box with several tsp. of salt. Shake the container for one minute and if the salt remains dry, it is ready to bale.[5]
- For a scientific approach, purchase an electronic moisture tester at your local farm supply store or from a catalog. It should be below 22 percent moisture, usually baled at 15 to 18 percent moisture content.
- Hay that is too dry will result in extra breakage and lower quality of hay in bales.
-
4Rake the hay together in large windrows. Most balers need a wider windrow than the traditional mower can offer. You will get the densest bale with the highest quality hay by ensuring the windrow is sufficiently large for your baler.
Baler Options
-
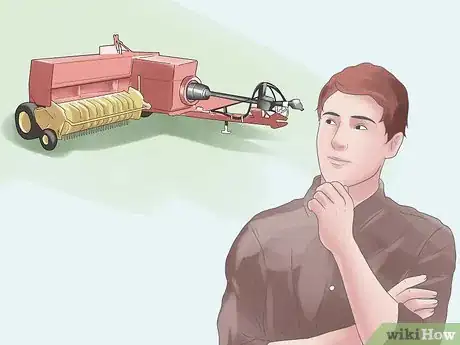
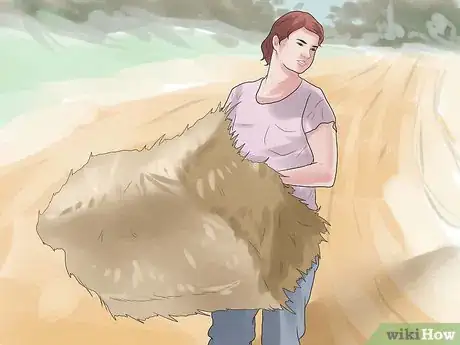
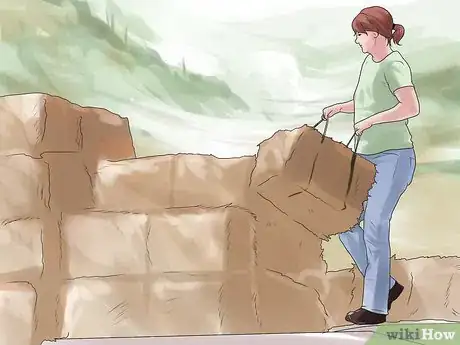
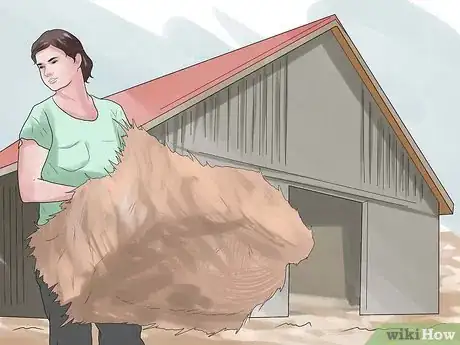
1Consider a small square baler if you have a small operation. In this case, you may be able to store the small bales inside a barn to preserve it.
-
2Use square bales if you keep goats and sheep. They can sometimes be pickier than cows or horses and consume the hay slowly.
-
3Pick small square bales if you want to market your hay to small livestock operations. You may be able to sell bales to horse owners, pet shops or people with small herds of cattle.
-
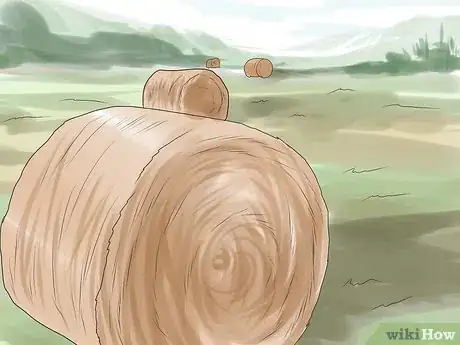
4Opt for large circular bales if you have a large farming and ranching operation. The baling of hay can be mechanized with a large baler, saving you time. These balers require a significant amount of investment in equipment.
- Large circular bales will also reduce the time it takes to feed. They are larger than square bales, so you will need to roll out a smaller number of them to feed your livestock.
-
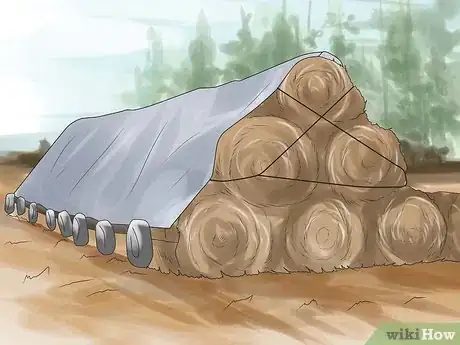
5Choose circular bales if you must store the hay outside. You can cover the hay with tarps, wrap it partially while you bale or arrange it in a stack so that water can pour off the top to avoid spoilage.
-
6Go for large circular bales only if you are able to cure the hay correctly. Round bales are denser and more likely to combust if baled when wet.
Baling
-
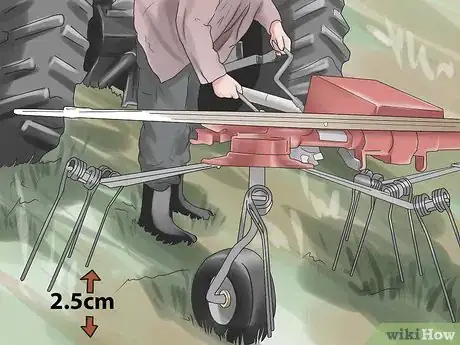
1Position your baler pick-up tines approximately one inch (2.5 cm) above the ground. You will eliminate wear on your baler and pick up less dirt.
-
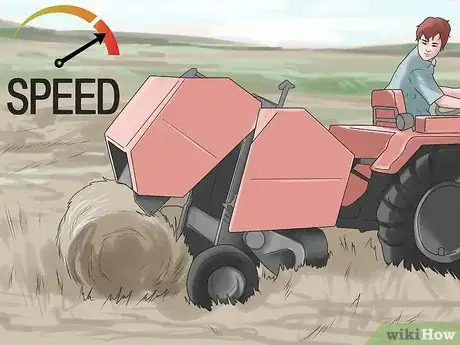
2Operate your baler at a consistent and moderate speed. You will have less pickup loss if the tines float at the same level and the hay lifts and flows into the bale chamber.
- You may need to drive more quickly with a round baler to reduce chamber loss.
-
3Check your baler after you do one to two bales. You want to check for width, density and chamber/pickup loss. Adjust the settings as needed to improve the quality of the bale.
-
4Leave the bales in the field to be picked up later or load them as you bale. Large round bales require larger machinery to lift and stack them.
Storage Conditions
-
1Store your hay under a roof if possible. It reduces the matter loss to two to ten percent.
-
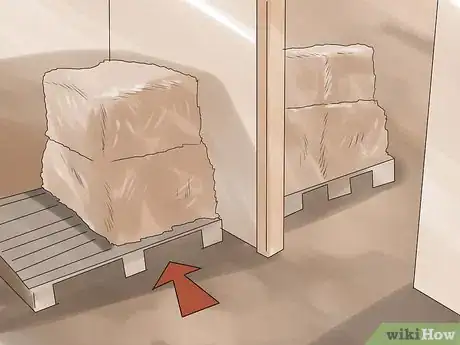
2Try to elevate your hay on a platform instead of placing it directly on the ground. Elevating the hay can reduce matter loss by up to 15 percent.
-
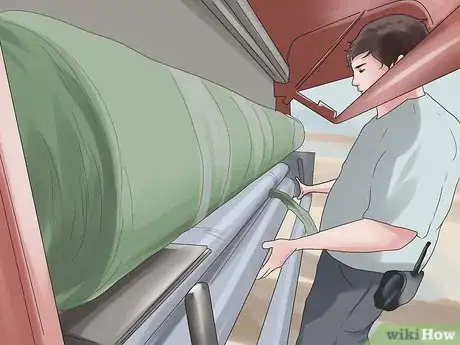
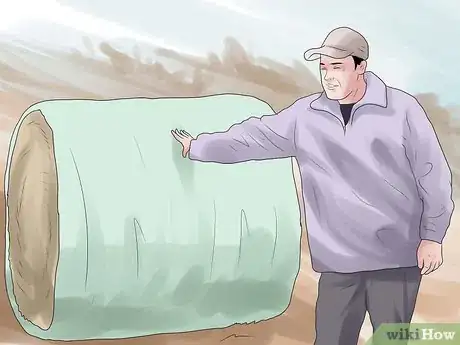
3Cover your hay in a bale sleeve or plastic wrap to reduce loss further. This may be even more important if you live in a wet climate.
-
4Cover your haystacks with tarps to decrease matter loss by up to 15 percent. Some of the water may pour off the top and get trapped in the earth below, resulting in matter loss at the bottom.
Community Q&A
-
QuestionWill a windrow that is to deep cause a small square baler to cause erratic or crooked miswrapped bales?
 Community AnswerIt is possible, it depends on how deep the windrow actually is. However, it shouldn't affect the bale quality too much.
Things You'll Need
- Mower, haybine or disk mower
- Tedder/rake
- Baler
- Salt
- Electronic moisture tester
- Tarps
- Bale sleeves
- Barn/roof
- Flatbed for moving bales
- Tractor
References
- ↑ http://www.motherearthnews.com/homesteading-and-livestock/growing-harvesting-baling-hay-zmaz75jazgoe.aspx?PageId=2#ArticleContent
- ↑ http://en.wikipedia.org/wiki/Hay
- ↑ http://extension.unh.edu/resources/files/resource001171_rep1484.pdf
- ↑ http://extension.unh.edu/resources/files/resource001171_rep1484.pdf
- ↑ http://www.motherearthnews.com/homesteading-and-livestock/growing-harvesting-baling-hay-zmaz75jazgoe.aspx?PageId=3#ArticleContent
About This Article
With modern machinery, cutting, baling, and storing your hay has never been easier. Cut your hay when the leaves have developed fully but before the seed heads have fully grown. This will provide the best nutrition for your animals. Wait until you have 3 days of dry weather so you can cure and bale the hay without it getting wet. Cut your hay with a sickle mower or sickle haybine if you have a small or medium-sized field or a disk mower, if you have a large field. Then, use a baler at a steady, moderate speed, which will be the most effective. Store your hay under shelter or cover it with a tarp sheet to protect it from the rain. For more tips, including how to cure your hay, read on!

