This article was co-authored by Ashleigh Grounds. Ashleigh Grounds is a Makeup Artist and Hair Stylist based in Austin, Texas. Ashleigh has over 11 years of cosmetology experience. She studied cosmetology in Dallas, Texas and completed a two-year hair salon apprenticeship in Kuala Lumpur, Malaysia with Toni & Guy Hair Salon. She is accredited by the International Board of Cosmetology, is a certified Babe Hair Extension Professional, and is a certified Brazilian Blow Out Professional. Ashleigh was voted the best Hair Stylist in Austin for 2012 by RAW Artists and was voted in the top 20 salons for 2020 in Austin by Expertise. Ashleigh's work has been featured in Talentmagazines, BlogTalkRadio, KXAN, and Studio 512.
There are 17 references cited in this article, which can be found at the bottom of the page.
This article has been viewed 74,156 times.
If you’ve struggled with cystic acne or regular breakouts, you know that not all makeup products can help you look and feel your best. If you want to completely cover up your acne scars for the day, you’ll need products that are mattifying, full-coverage, and long-lasting. Instead of swiping makeup onto your face, try pressing foundation, concealer, and powder into your skin to achieve smooth, even coverage. Combine these products and techniques with color-correcting fluids and scar filling products to instantly camouflage your scars. Have fun using these products to boost your confidence and let your beautiful self shine!
Steps
Selecting Makeup Products
-
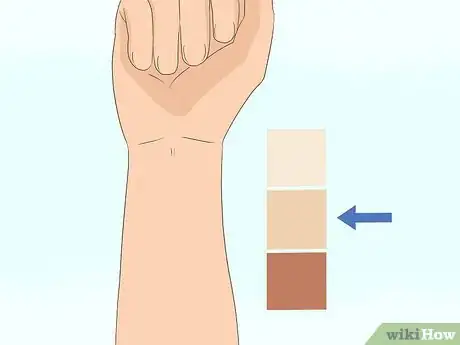
1Match your makeup to your skin tone. A close match between your concealer, foundation, and skin tone will give you the most natural look. Look at your inner wrist under natural light to determine whether you have warm, neutral, or cool undertones. Visit a beauty store and test out a variety of products that are designed to flatter your shade and undertones.[1]
- Note that some products change color slightly after 1-2 hours of contact with the oils in your skin. For instance, the perfect shade of foundation might get yellowy by the end of the day. Try out samples to see what looks and feels the best after a full day of wear.
- If your skin gets paler or darker depending on the season, pick one set of products to match your summer skin tone and another for your winter shade.
-
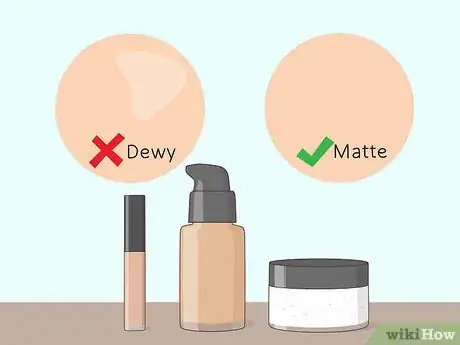
2Opt for mattifying concealers, liquid foundations, and setting powders. Makeup products that create a matte finish will visually soften and smooth the texture of your skin. Refrain from using dewy, luminous foundations and powders all over your face, since these tend to emphasize the texture of your skin.[2]Advertisement
-
3Pick products that are labeled as non-comedogenic or oil-free. Unfortunately, some makeup and skincare products can clog your pores, which can make your acne worse. Read the labels on the products you choose to make sure they say they're non-comedogenic or oil-free. This means they shouldn't clog your pores.[3]
- Most products will have this listed on the front, but it may be on the back label.
-
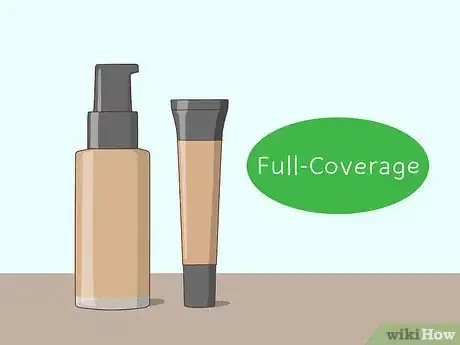
4Choose lightweight, blendable, full-coverage products. Full coverage cosmetics are desirable as they will create an even canvas of color across your face. This will make any indentations less noticeable. Look for a full-coverage product that still feels lightweight and blendable on your skin. Products that offer moisturizing or emollient properties will blend nicely without leaving a dry, cakey residue.
- Products with words like “camouflage” in the title are designed to cover up areas of discoloration, from dark spots to tattoos. These could be a good solution if your acne scars are significantly darker than the rest of your face.[4]
- If you want full coverage over your scars but lighter coverage on the rest of your face, try using a medium-coverage foundation or even a highly pigmented tinted moisturizer that is designed for layering.
-
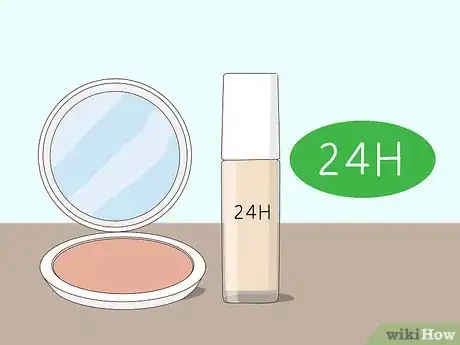
5Select long-lasting formulas. Many foundations and powders promise “24-hour coverage” or “long-lasting” coverage. Stick with a product like this to avoid midday touch-ups. Additionally, if you anticipate sweat, tears, or being around water, select waterproof cosmetics. However, don't wear waterproof products often, as they can clog your pores.[5]
- If you wear waterproof products, make sure you use a makeup remover that's formulated to remove them. If you leave makeup on your face, it may clog your pores.
-
6Choose a “pore-eliminating” foundation primer for your base layer. Makeup primers and foundation primers create a uniform base layer that other cosmetic products can be layered onto. Many primers enable long-lasting wear, and a primer described as “poreless,” “pore-eliminating,” or “skin-smoothing” will establish a smoother skin texture.[6]
- Primers help keep your makeup in place so it lasts longer.
- Primers won’t literally remove your pores but will instead fill them in, helping mask the indentations left by acne scarring and creating the appearance of a smoother canvas for cosmetics to be applied to.[7]
-
7Try concealers that are specially formulated for use on acne scars and breakouts. Look for a product containing phrases like “breakout concealer” or “acne concealer” on the labels. These are designed to treat current breakouts and prevent future irritations.[8] For deep scarring, silicone-based acne scar fillers apply a layer of silicone to the surface of your skin.[9]
- The silicone fills in any indentations from your scarring and leaves a smooth surface that you can apply foundation and other makeup products onto.
-
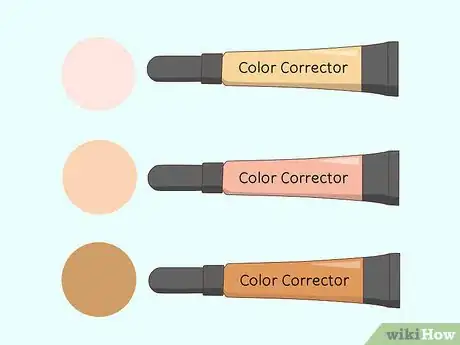
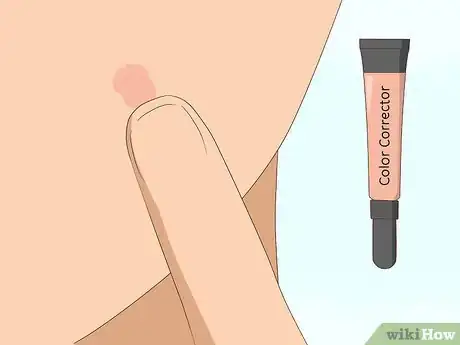
8Use a color-correcting concealer to cancel out dark spots. Acne has a cool tone, so using warm shades can balance it out. If you have light skin, use a golden peach concealer. For medium skin, choose a peach undertone. If your skin is dark, opt for a dark orange tinted color-corrector. Stipple the color-corrector onto clean, moisturized skin and seal it with a finishing powder. It might look a little odd at first, but once you layer foundation over the color-correcting product you’ll see the dark spots disappear.[10]
- If your acne scars are red, opt for a green- or yellow-based concealer to tone down the red.[11]
- Try not to blend the foundation into the color-correcting product below. The goal is to keep these layers separate so that they each do their job separately.
-
9Try airbrush makeup or spray-on foundation. Airbrush makeup kits are typically sold at professional-level prices and will require some practice before you achieve a flawless, evenly layered finish. But you can pick up a spray-on foundation product to get similar results. These types of products deliver a fine mist evenly across your skin, which can be layered for the perfect amount of coverage.
- Mist and spray foundations are pricier than liquid formulas but they allow you to emulate the look of airbrush makeup at home without the equipment investment.[12]
- Airbrush makeup tends to photograph well, so consider booking the services of a makeup artist for a special event.[13]
- If you’re a makeup artist, consider airbrush equipment an essential part of your kit. Clients typically pay more for airbrushing services. Your clients with acne scars may appreciate having the option to experience the pampering and uniform finish.
Preparing and Priming the Skin
-
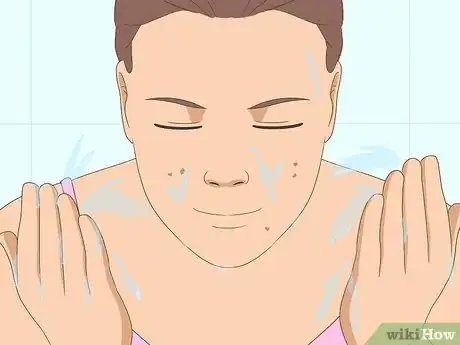
1Cleanse your skin first. Start with a clean, fresh face before putting on any makeup. You might rinse your face off with water or use a daily cleanser – follow whatever skincare routine your dermatologist recommends.[14]
-
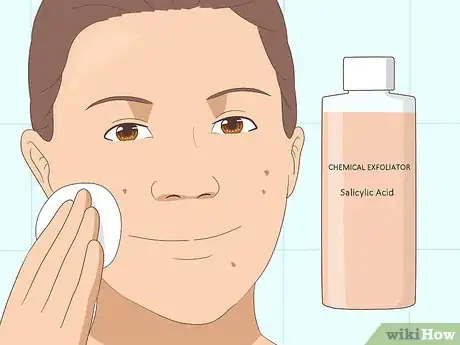
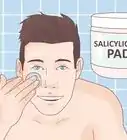
2Exfoliate your skin with a chemical exfoliator to remove dead skin cells. Choose a product that contains salicylic acid or a similar exfoliator. Apply a dime-sized amount to your face and scrub it into your skin. Rinse with cool water to close your pores.[15]
- The exfoliator will scrub away dead skin cells so your skin feels smoother and your pores are less likely to get clogged. Additionally, it will help fade your acne scars.
- You can use your exfoliator once a day until your skin looks clear. After that, it's best to use it just 2-3 times a week so you don't damage your skin.
-
3Moisturize your skin with a lightweight, hydrating product. Again, follow your dermatologist’s recommendations for the right daily moisturizer. It should contain SPF to prevent your acne scars from sun damage. Select something that melts into your skin and doesn’t leave a greasy residue.[16]
- It's also a good idea to moisturize your face at night. Just make sure you're using the lightweight, oil-free moisturizer recommended by your dermatologist.
-
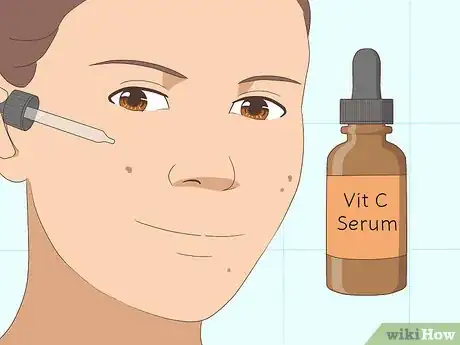
4Treat your skin with a serum that contains vitamin C or hydroquinone. Pick a healing serum that contains a lightening agent like vitamin c or hydroquinone. Additionally, check the label to see if it contains antioxidants. Apply a thin layer of serum to your face before you apply primer. Then, let it sit for a few minutes so it soaks into your skin.[17]
- You can also apply your serum at night before you go to bed.
-
5Apply primer to smooth your skin’s texture and provide a solid base. Foundation primers create a receptive base for the rest of your cosmetics to latch onto. Select a primer that has smoothing and “pore-eliminating” properties. Apply it all over your face with a stippling brush, pressing gently into your skin.[18] Let the primer dry and set before layering on other cosmetics.
Applying Concealer and Foundation
-
1Dot a color-correcting concealer onto dark spots and set with powder. If you’re going to use a peach or orange toned color correcting product to cancel out the cool, dark undertones of your acne scars, stipple it over the dark areas using a brush. Cover the centers and outer edges of the dark spots. Softly blend the product out at the edges using your fingertips. Push loose or pressed finishing powder into the product using a kabuki brush or powder puff.[19]
-
2Apply a mattifying, full-coverage concealer to your scars. As with the color-correcting product, use a stippling brush to press the concealer gently into your skin. Apply it selectively to the areas you’d like to cover up. Use your fingertips to gently pat the product into your skin.[20]
- If your concealer comes with a click-brush or sponge tip applicator, you can use this instead of a separate brush.[21]
-
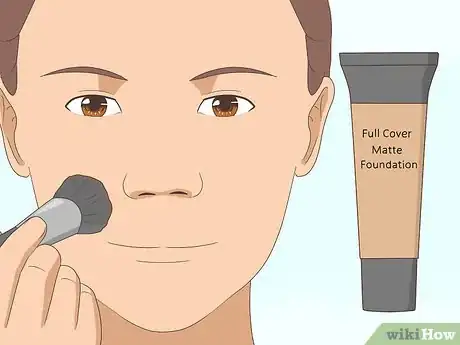
3Stipple a full-coverage mattifying liquid foundation to your entire face. Applying foundation with swiping and smearing motions will draw attention to the bumpy texture of your skin and won’t deliver even layers of coverage. Instead, press the product into your skin to make sure it gets into the deeper parts of the scarring.[22]
- Alternately use a beauty blending sponge in the same stippling motions. Make sure to wash it after each use to prevent bacterial growth.[23]
- You can layer buildable products for more coverage over darker spots. Allow the base layer to dry and then apply another layer to those specific areas.[24]
- If your skin is very oily, consider using a powder or pressed powder foundation to help absorb some of the oil.[25]
Setting Your Makeup
-
1Set the foundation with a matte pressed powder or loose powder. Tap a kabuki brush or powder puff into your chosen powder to pick up a thin layer of product. For loose powders, shake out a little product into the jar lid and press the brush into the lid. Then deliberately press the brush or powder puff into your skin. Move across your face until you get a complete layer of coverage.[26]
- Choose a translucent powder to set your makeup for a natural day look. If you're doing a night look, pick a powder that matches your skin tone for additional coverage. However, using a powder that's your skin tone can create a heavy look.
- Refrain from dusting powder all over with rapid motions. You might smudge some of the foundation or concealer you just carefully placed.
-
2Place highlighter strategically onto smooth areas of your skin. Although luminous products won’t provide good coverage for scarred areas, a dash of fluid or powder highlighter can restore a glow to your matte face. The trick is to place highlighter sparingly on smooth parts of your skin. It will help your favorite features stand out while drawing attention away from the scarring.[27]
- Try dotting highlighter along the tops of your cheekbones, above your browbone, or at the tip of your nose. You can also dab it in your inner eye and across your lid.
-
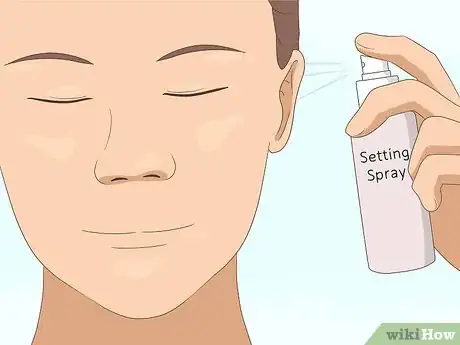
3Finish your look with a setting spray. A long-lasting setting spray will lock your makeup into place all day and all night.[28] That is, until you completely remove your makeup with a cleanser or makeup removing wipe.[29]
- You can actually use setting spray in lieu of powder if your skin tends to dry out.[30] However, a pigmented powder will add an extra layer of coverage.
Expert Q&A
-
QuestionWhat types of foundations should I look for if I want to cover up acne scars?
 Ashleigh GroundsAshleigh Grounds is a Makeup Artist and Hair Stylist based in Austin, Texas. Ashleigh has over 11 years of cosmetology experience. She studied cosmetology in Dallas, Texas and completed a two-year hair salon apprenticeship in Kuala Lumpur, Malaysia with Toni & Guy Hair Salon. She is accredited by the International Board of Cosmetology, is a certified Babe Hair Extension Professional, and is a certified Brazilian Blow Out Professional. Ashleigh was voted the best Hair Stylist in Austin for 2012 by RAW Artists and was voted in the top 20 salons for 2020 in Austin by Expertise. Ashleigh's work has been featured in Talentmagazines, BlogTalkRadio, KXAN, and Studio 512.
Makeup Artist & Hair Stylist If you have red acne scars, use a color-correcting primer that's green or yellow based to tone down the red, then put your foundation over that.
Things You’ll Need
- Foundation primer
- Foundation
- Color-correcting fluid
- Concealer
- Stippling brushes
- Pressed or loose powder
- Kabuki brush or powder puff
- Setting spray
- Highlighter
- Cleanser or makeup removing wipes
References
- ↑ https://www.allure.com/story/what-is-my-skin-tone
- ↑ https://www.refinery29.com/en-us/makeup-tips-for-acne-scars#slide-4
- ↑ https://www.aad.org/public/diseases/acne-and-rosacea/skin-care-habits-that-worsen-acne
- ↑ https://www.allure.com/gallery/best-concealers-for-acne-scars
- ↑ https://www.allure.com/gallery/best-concealers-for-acne-scars
- ↑ Ashleigh Grounds. Makeup Artist & Hair Stylist. Expert Interview. 22 April 2020.
- ↑ https://www.refinery29.com/en-us/makeup-tips-for-acne-scars#slide-1
- ↑ https://www.refinery29.com/en-us/makeup-tips-for-acne-scars#slide-14
- ↑ https://www.allure.com/gallery/best-concealers-for-acne-scars
- ↑ https://www.allure.com/gallery/best-concealers-for-acne-scars
- ↑ Ashleigh Grounds. Makeup Artist & Hair Stylist. Expert Interview. 22 April 2020.
- ↑ https://www.refinery29.com/en-us/makeup-tips-for-acne-scars#slide-23
- ↑ https://www.more.com/beauty/makeup/makeup-tools-products/everything-you-need-know-about-airbrush-makeup
- ↑ https://www.goodhousekeeping.com/beauty/makeup/a32862/cover-acne-scars-with-makeup/
- ↑ https://www.self.com/gallery/best-exfoliants-acne-prone-skin
- ↑ https://www.teenvogue.com/story/how-to-cover-up-body-acne
- ↑ https://www.allure.com/gallery/best-acne-scar-treatments
- ↑ https://www.refinery29.com/en-us/makeup-tips-for-acne-scars#slide-1
- ↑ https://www.allure.com/gallery/best-concealers-for-acne-scars
- ↑ https://www.goodhousekeeping.com/beauty/makeup/a32862/cover-acne-scars-with-makeup/
- ↑ https://www.health.com/beauty/best-concealers-for-acne-scars-hyperpigmentation
- ↑ https://www.goodhousekeeping.com/beauty/makeup/a32862/cover-acne-scars-with-makeup/
- ↑ https://www.refinery29.com/en-us/makeup-tips-for-acne-scars#slide-12
- ↑ https://www.health.com/beauty/foundations-cover-acne-scars
- ↑ Ashleigh Grounds. Makeup Artist & Hair Stylist. Expert Interview. 22 April 2020.
- ↑ https://www.goodhousekeeping.com/beauty/makeup/a32862/cover-acne-scars-with-makeup/
- ↑ https://www.teenvogue.com/story/how-to-cover-up-body-acne
- ↑ https://www.goodhousekeeping.com/beauty/makeup/a32862/cover-acne-scars-with-makeup/
- ↑ https://www.allure.com/gallery/best-concealers-for-acne-scars
- ↑ https://www.refinery29.com/en-us/makeup-tips-for-acne-scars#slide-18
