This article was medically reviewed by Jonas DeMuro, MD. Dr. DeMuro is a board certified Pediatric Critical Care Surgeon in New York. He received his MD from Stony Brook University School of Medicine in 1996. He completed his fellowship in Surgical Critical Care at North Shore-Long Island Jewish Health System and was a previous American College of Surgeons (ACS) Fellow.
There are 9 references cited in this article, which can be found at the bottom of the page.
This article has been viewed 67,949 times.
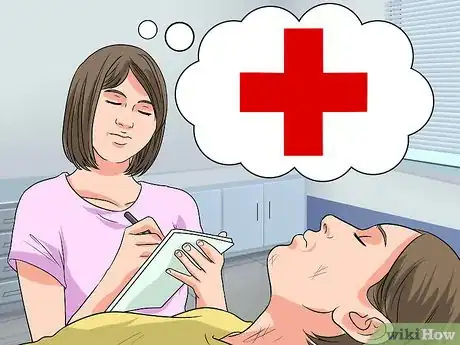
Experts agree that it's important to do a head-to-toe exam when giving first aid so you can identify all of the person's medical needs.[1] You can do a head-to-toe exam while you're waiting for medical help to arrive. During a head-to-toe exam, try to evaluate the person's physical and emotional trauma, as well as their level of distress. Research suggests that doing this initial assessment may help prevent further injuries and may help you target your first aid efforts.[2]
Steps
Conducting a Primary First Aid Survey
-
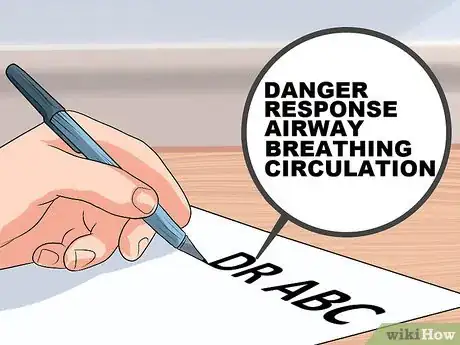
1Write down the acronym “DR ABC”. This is a useful way to remember the five steps for a primary first-aid survey. A primary survey should be performed as soon as you encounter an injured person, in order to determine if they are suffering from any life-threatening conditions.[3] The five letters stand for:
- Danger
- Response
- Airway
- Breathing
- Circulation
-
2Evaluate the situation to see if you put yourself in immediate physical danger by assisting the victim.[4] If so, either make the situation safe or do not help them.
- This guidance may seem cold-hearted. However, the reality of the situation is that it’s useless to attempt to help an injured person if you are only going to injure yourself in the process.
- For example, if the victim is in a precarious place or in a situation with a dangerous animal, you should first take steps to make the situation more safe before you conduct a head to toe exam.
Advertisement -
3Check the victim’s response to see if the victim is conscious. Verify the injured person’s level of consciousness and orientation. First, note if he is awake and alert by verifying that his eyes are open and focused.[5]
- Ask the individual to tell you his name, where he is at, what the date is and what he was doing before he was injured.
- If he can answer you properly, he is conscious. If not, there is a possibility he has suffered some cognitive damage.
-
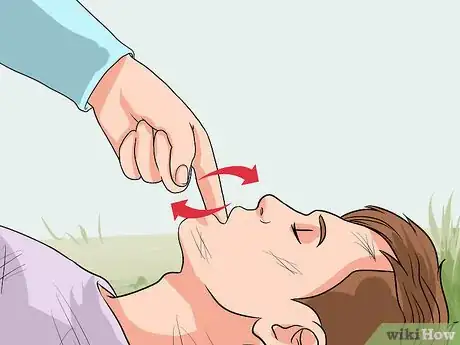
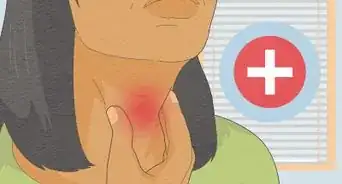
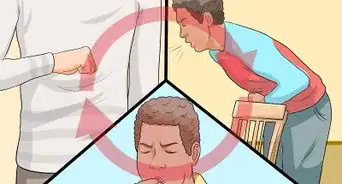
4Examine the victim’s airway to determine if he is breathing normally. If the victim is conscious and indicating that they are choking (hands around the neck, gasping for breath, etc.), their airway is probably obstructed. Clear the airway by inserting your pointer and middle finger into the victim’s mouth, and use a “sweeping” motion to clear the back of their throat. Common signs of choking in a victim are:
- Clasping hands around his neck.
- Struggling to breathe.
- It is useless—and potentially harmful—to administer mouth-to-mouth breathing (also known as “rescue breathing”) if the victim’s airway is blocked.
-
5Analyze the victim’s breathing. Put your hand or cheek next to their mouth and nose in order to feel their breath; you should also watch the rise and fall of their chest. You may need to put a hand on their upper chest to feel their breathing if their breaths are shallow.
- If the victim is struggling to breathe but their airway is not obstructed, tilt their head back and lift their chin. This will open the airway as much as possible.
- If the victim is not breathing at all, begin giving him cardiopulmonary resuscitation (CPR).
-
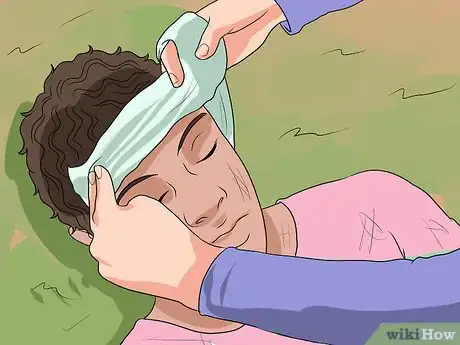
6Check the victim’s pulse (circulation) and examine their body for signs of bleeding. If the victim is visibly bleeding, try to stop the flow of blood by applying firm pressure[6] with a piece of cloth (a sleeve torn off of your shirt, for example).
- Once you have stopped the flow of blood, you should treat the victim for shock. Have them lie down in a safe place, then cover them with a blanket (or jacket) and elevate their feet about 4 inches.
- This will cause blood to flow to their head and reduce the symptoms of shock.
Questioning the Victim about the Incident
-
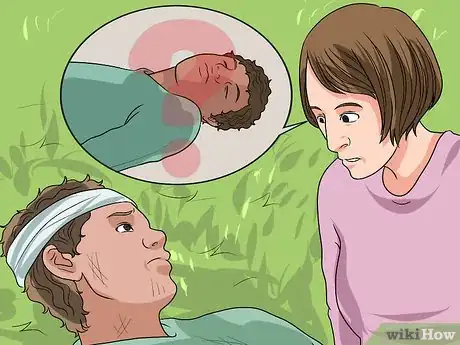
1Ask the victim about the history of the incident. Find out, in their words, what happened that caused the individual to be hurt or to feel unwell.[7]
- If the victim was hurt within view of others, ask witnesses to describe what happened.
- Use context clues to determine what injuries the victim could have sustained. For example, if the victim fell while rock climbing, fractured bones are likely.
-
2Ask the victim to tell you their personal medical history. This should include events that have before this particular incident.[8] Once emergency responders (usually EMTs or ambulance crews) arrive on the scene, be prepared to hand over your notes to them or to verbally describe the victim’s medical history. Ask specific questions; try asking:
- “Do you have any relevant allergies?”
- “Do you take any prescribed medications?”
- “Do you have any existing medical conditions that would affect this incident?”
- “When was the last time that you ate a meal? What did you eat?”
-
3Have the individual describe their symptoms to you. Often injured victims will have symptoms that are not found by a simple first-aid exam. Consequently, it is valuable to hear from the victim himself what hurts or what has been injured.
- Ask specific questions: where does the victim feel pain? At what point did the pain start?
Conducting a Secondary First Aid Survey
-
1Examine the victim’s body. Once you have determined that the hurt individual is not in immediate danger, can breathe, and has circulation, you can proceed with a more nuanced secondary survey: a detailed head-to-toe examination.[9] This will help you confirm that there are no smaller, lingering injuries or problems.
- Unless you have medical qualifications, you should note and record this information in order to pass it on to medical personnel when they arrive.
- The information you track in a Secondary survey will probably not reveal any immediately life-threatening problems. However, your observations could still provide emergency personnel with valuable information that will aid the victim’s recovery.
-
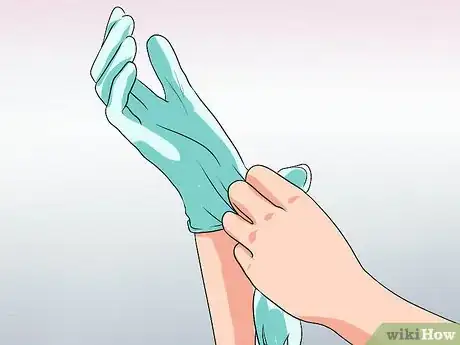
2Put on a pair of gloves before performing your head-to-toe assessment. This will prevent the spread of disease through contact with body fluids such as blood, urine, or vomit.
- If the body fluids of an infected individual enter through a break in your skin, there is a possibility of contracting a disease, so barrier protection is critical.
- You should use nitrile or latex gloves, which will protect your hands from touching blood and feces. However, if you or the victim has a latex allergy, opt for nitrile.
- There are also vinyl gloves, which can be included in first aid kits and also will protect you from blood and feces. They are not as robust as the other types of gloves and tear more easily, but feel free to use them, especially if your victim has no open wounds or exposed body fluids.
- You can also improvise gloves with plastic bags, dish gloves, or leather work gloves.[10]
-
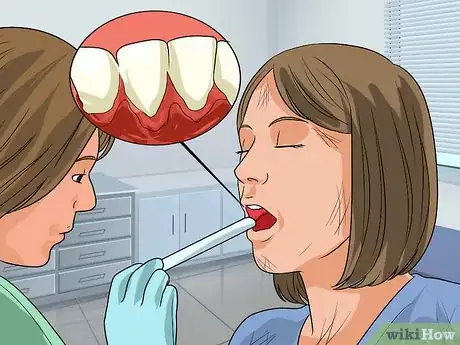
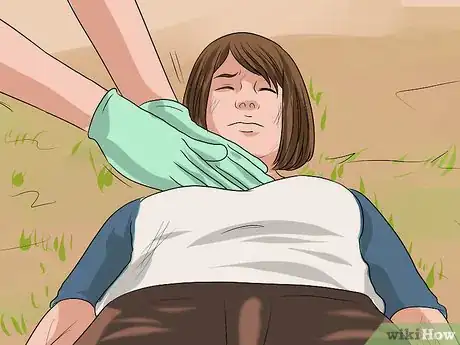
3Observe the injured person’s head for proper shape and symmetry. Abnormalities in this region can be a sign of damage to the skull or swelling in the brain. If you notice active bleeding in any locations on the head, apply pressure to the area to stop the blood flow. As you inspect the victim’s head:
- Whisper in his ear to check for hearing loss.
- Check his nose for any breaks or drainage.
- Observe the patient’s mouth for cuts, broken teeth, and blood.
- Prepare to relay all of this information to the EMTs or ambulance personnel.
-
4Look at the condition of the person’s skin. Check for cuts, scrapes, redness, bruising and irritation, as these can be signs of physical trauma.
- If the victim is bleeding, apply direct pressure to the wound, using a clean piece of cloth. If the cloth gets soaked with blood, do not remove it. Instead, apply another cloth on top of it.
- Take note of the color and temperature of his skin, as it may be abnormally hot or cold.
-
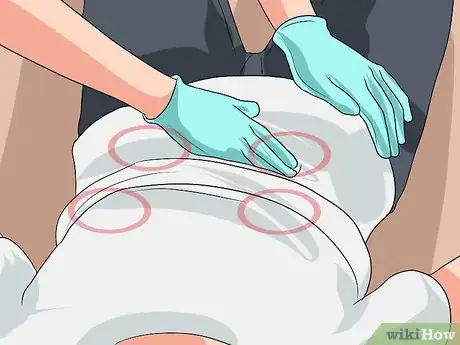
5Examine the person's chest. Look for any obvious cuts or bruises. Then, watch the person breathing to see if any part of the chest looks out of line or is moving differently than the rest of the chest. Divide the chest into four quadrants, and place your hand lightly on each section of the chest to watch for pain and unusual movement.[11]
- Listen for a strong heartbeat and any abnormal sounds such as wheezing, as these may be signs of inner damage. Report any abnormal sounds to the emergency personnel.
-
6Palpate the 4 quadrants of the person’s abdomen: upper left and upper right (including the shoulders and ribs, down to their waist) and lower left and lower right (including the lower ribs and stomach). You are checking for tenderness, swelling, and lumps.
- Place your head close to the abdomen and listen for any abnormal sounds, such as gurgling.
-
7Examine the pelvis. If the person is uncomfortable with you touching them in that area, do not continue with the exam. However, if they do not mind, put one of your hands on each side of the pelvis, and gently compress the pelvis together. If the person feels pain, stop here. If they do not, gently rock the hips from side to side and look for unusual movement.[12]
- If the victim complains of pain, or you notice abnormal signs, pass this information on to the emergency personnel.
-
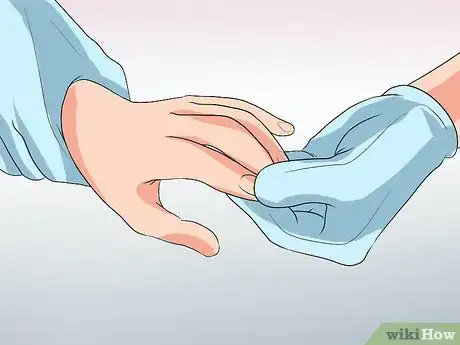
8Assess the person’s capillary refill by pressing on their fingernail. The fingernail will turn white when pressed and will immediately turn pink again if proper circulation is present. If the fingernail takes longer to regain its pink color, the individual may have a problem with their circulation.
- Check the pulse at the wrist: make sure that the pulse is present and regular. If the victim’s pulse feels weak or beats irregularly or slowly, pass this information to the emergency personnel.
-
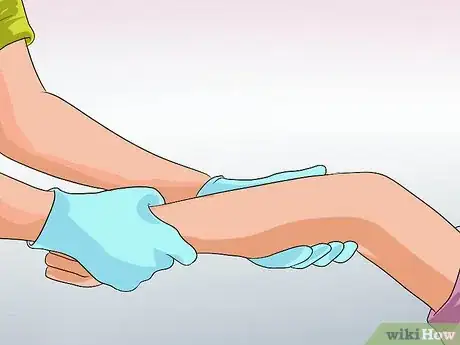
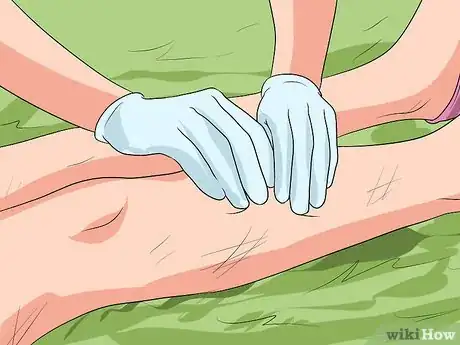
9Exam the bones of the arms and legs to check for breakage. Place a hand on each side of the limb and press inward, checking for flexing of the bone.
- Ask the person if they feel any pain when pressing.
- Do not press on areas where there is obvious protrusion of the bone, as it can do more damage.
Warnings
- Before performing a head-to-toe assessment you must ask the person for permission to help them. If the person is unconscious, permission is implied. If the patient is a child, and his parent is present, you must ask the parent for permission.⧼thumbs_response⧽
- If you help a person without first asking him, or his parent, you are at risk for being sued.⧼thumbs_response⧽
- This article is for informational purposes only. Potential first aid providers are encouraged to receive training in a certified First Aid/CPR course.⧼thumbs_response⧽
References
- ↑ https://chemm.nlm.nih.gov/appendix8.htm
- ↑ https://www.redcross.org/take-a-class/first-aid/performing-first-aid/first-aid-steps
- ↑ https://www.sja.org.uk/get-advice/first-aid-advice/how-to/how-to-do-the-primary-survey/
- ↑ https://www.firstaidforfree.com/the-four-steps-of-first-aid/
- ↑ https://www.ncbi.nlm.nih.gov/books/NBK538431/
- ↑ https://www.sja.org.uk/get-advice/first-aid-advice/how-to/how-to-do-the-primary-survey/
- ↑ https://www.sja.org.uk/get-advice/first-aid-advice/how-to/how-to-do-the-secondary-survey/
- ↑ https://www.sja.org.uk/get-advice/first-aid-advice/how-to/how-to-do-the-secondary-survey/
- ↑ https://ambulance.qld.gov.au/firstaid/hints.asp












Medical Disclaimer
The content of this article is not intended to be a substitute for professional medical advice, examination, diagnosis, or treatment. You should always contact your doctor or other qualified healthcare professional before starting, changing, or stopping any kind of health treatment.
Read More...