This article was co-authored by Vlad Gendelman, MD. Dr. Vlad Gendelman, MD is an Orthopaedic Surgery Specialist in Los Angeles, California. With over 15 years of experience, he specializes in general orthopaedic surgery, including orthopaedic trauma, sports injuries, and joint replacements. Dr. Gendelman holds a BS in Biology from the University of Southern California and received his Doctorate from the University of California at Irvine. He then completed his residency in Orthopedic Surgery at SUNY Downstate. Dr. Gendelman is board certified with the American Board of Orthopaedic Surgery and is a fellow of the American Academy of Orthopaedic Surgery. He is a member of the Los Angeles County Medical Association, the California Medical Association, California Orthopaedic Association, and the American Academy of Orthopaedic Surgery. Dr. Gendelman is a published author of multiple papers in the field of orthopaedic surgery.
There are 7 references cited in this article, which can be found at the bottom of the page.
This article has been viewed 105,665 times.
A wrist brace is a device that is used to support the wrist after injury or surgery, or in the event of chronic wrist pain, to prevent further damage and discomfort to the wrist or hand. Because most wrist injuries need to be immobilized to ensure full recovery, a wrist brace is worn to help stabilize your wrist and support its ligaments. Since wrist recovery takes anywhere several weeks to a few months, your wrist brace can become soiled, smelly, and dirty. To clean your wrist brace, you can wash it by hand or wash it in your washing machine.
Steps
Washing by Hand
-
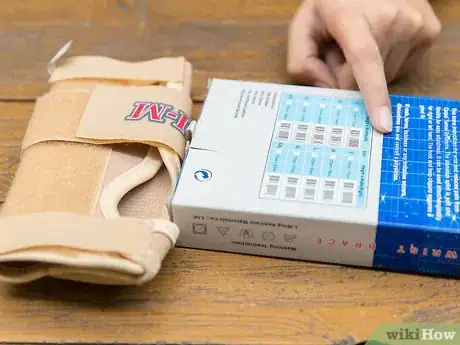
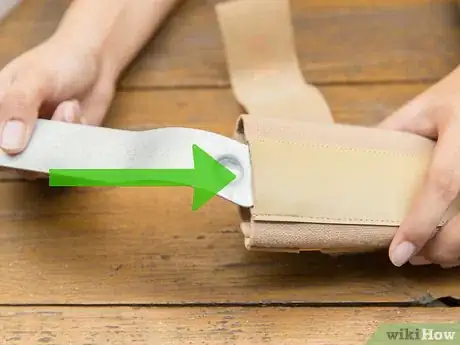
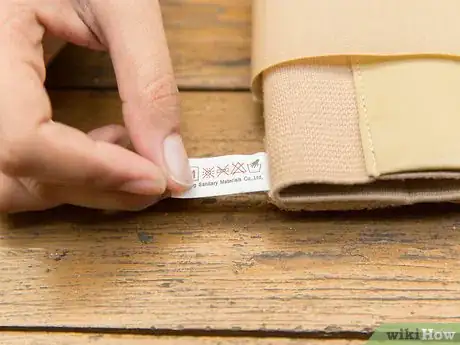
1Read the manufacturer's instructions. If there are instructions on how to clean the brace, read them carefully to ensure that you don't damage the fabric or structure. The fabric of your brace needs to remain both strong and flexible in order to support your wrist during daily activities or exercise.[1]
- You can find these instructions on the brace itself or enclosed within the product packaging.
- Usually these instructions will include specific information about the proper washing temperature, proper chemical detergents, and safe drying techniques.
-
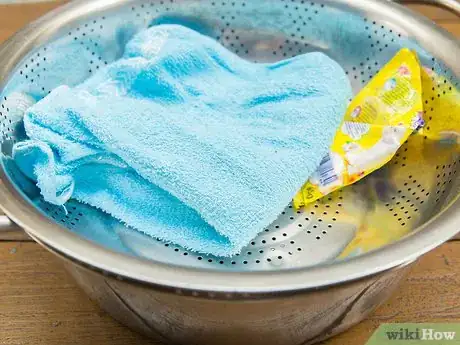
2Gather your supplies to prepare for washing. In order to wash the brace, you’ll need: laundry detergent, a clean cloth, a large bowl, and a colander. Gathering your supplies in advance will save you time and energy.
- Use only mild detergent, in order to protect the synthetic fibers of your brace and the skin of your hands.
- You may substitute 1 tablespoon (14.8 ml) of dish soap for laundry detergent.[2]
Advertisement -
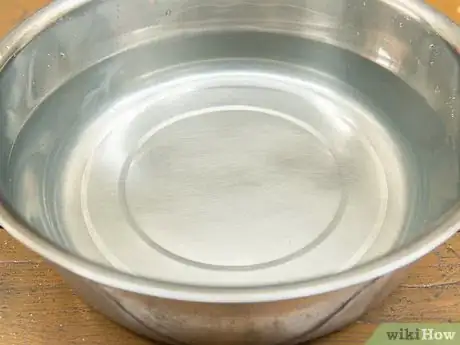
3Fill the bowl with warm (not hot) water. Most powdered detergents are designed for use with warm water, and warm water is recommended for man-made materials, as it removes stains and dirt with a lower chance of shrinking your brace than hot water.[3]
- You can also try a coldwater detergent as a more eco-friendly option, as a number of coldwater alternatives are equally efficient at cleaning fabrics.[4]
-
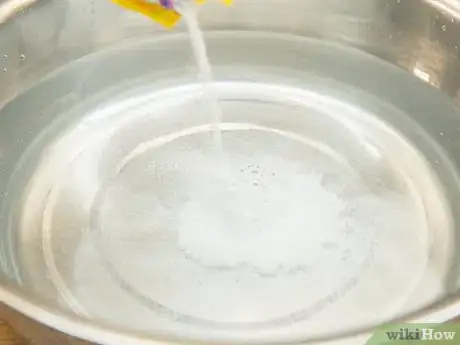
4Mix the ingredients together well with a large spoon or whisk. Make sure that the detergent fully dissolves to avoid leaving residue on the brace, which could damage the fabric quality and irritate your skin.
-
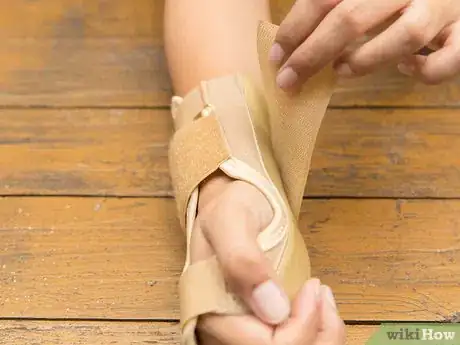
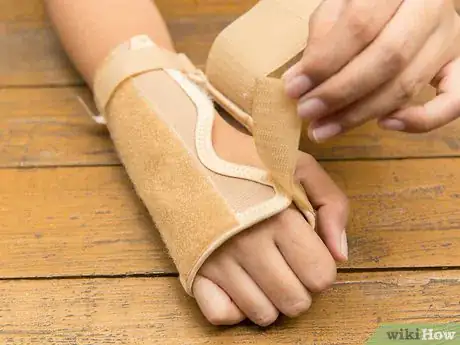
5Remove the brace from your wrist. Move with care and attention to your injury or pain, as your wrist will no longer have the support of the brace.
-
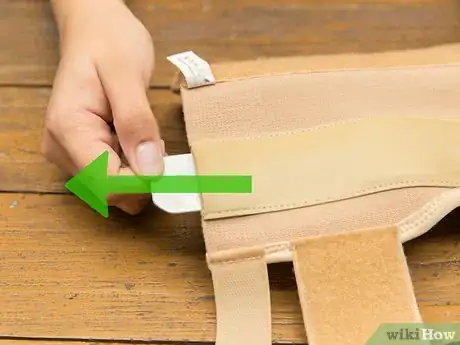
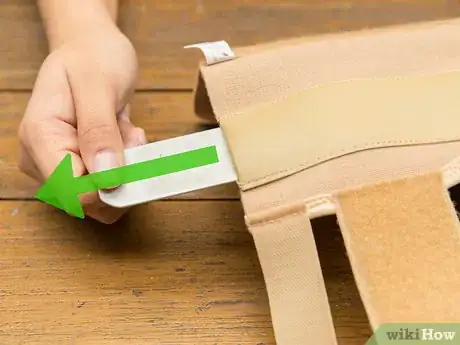
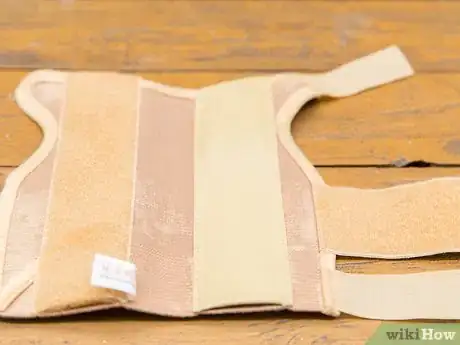
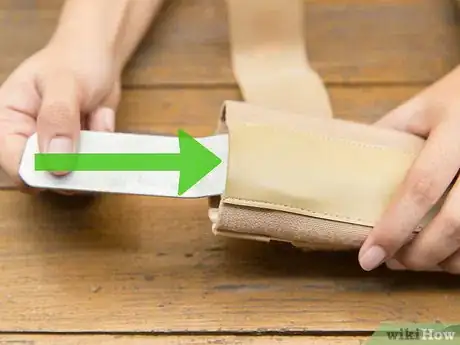
6Remove metal splints inside the brace, if necessary. The chemicals in your detergent may damage or rust the metal components of the brace. Take note of the proper location for the metal splints so that you can replace them correctly after washing.[5]
-
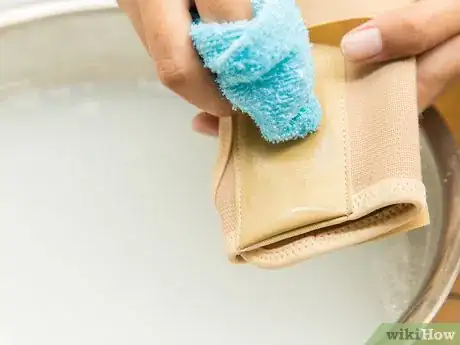
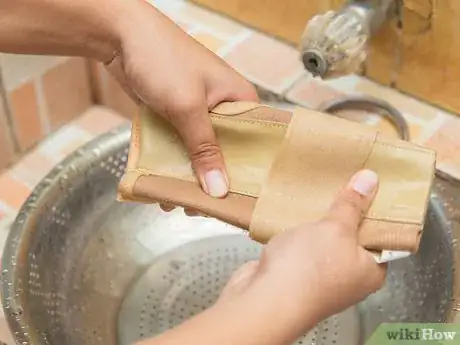
7Rub the cleaning solution on the wrist brace using a clean, lint-free cloth. Using the cloth, instead of just your hand, will reduce your exposure to potentially harsh chemicals and will ensure a more thorough clean.
- Avoid vigorous rubbing that may damage the fibers of the brace.[6]
- Pay attention to small, hidden areas, especially between the finger area, to fully remove dirt and bacteria.
-
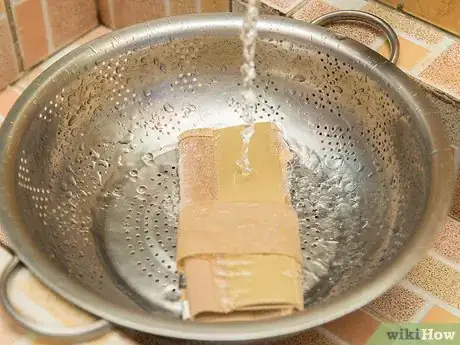
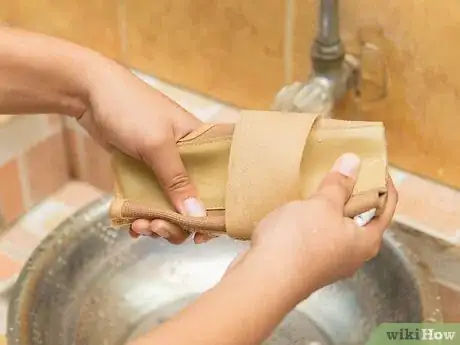
8Rinse the wrist brace. If your faucet has a sprayer, place the brace in the colander and rinse. If not, submerge the brace in a clean bowl of water and squeeze the water through until clear.[7]
- Rinse completely: residue remaining in the brace could irritate your skin.
- Avoid using running water, as the force of the water may stretch the fabric and reduce its effectiveness.[8]
-
9Squeeze excess water out of the brace. Avoid "wringing," or twisting while squeezing, in order to prevent damaging the brace. Twisting can pull the fibers of the fabric apart and weaken the brace's support structure.[9]
- Lay the brace flat on a dry towel, then gently roll the towel and brace together to remove more water.[10]
- Avoid hanging to dry, as the weight of the water may stretch the fabric. [11]
- Do not dry the brace in direct sunlight, as the artificial materials of the brace can shrink when exposed to hot temperatures, and the UV rays of the sun may bleach or lighten the colors of the brace.[12]
-
10Return the metal strips to the brace when it has completely dried, if necessary. The synthetic fabric will dry quickly in just a few hours, although be sure check interior of any splint pockets to ensure they are thoroughly dry. Dampness in those slots could damage the metal components and decrease the long-term usability of the brace.
Machine Washing
-
1Read all labels to ensure the brace can be safely machine washed. The label should indicate machine temperature and/or cycle setting, such as "Gentle Cycle."[13]
- If the label includes a water temperature, but not a cycle setting, you can assume the regular cycle is appropriate.
- Consider always using "Gentle Cycle" setting in order to protect the fabric fibers from too much agitation in the machine and to extend the life of your brace.
-
2Remove the brace from your wrist. Be sure to move with care and attention to your injury, as your wrist will no longer have the support of the brace.[14]
-
3Remove the metal splints from the brace. This will prevent damage to the metal splint inside the brace that is used for stabilizing and splinting the wrist. Additionally, removing the metal splints will protect the fabric from damage caused by any shifting of the metal components during the agitation cycle.
- Take note of the proper location for the metal splints so that you can replace them correctly after washing.[15]
-
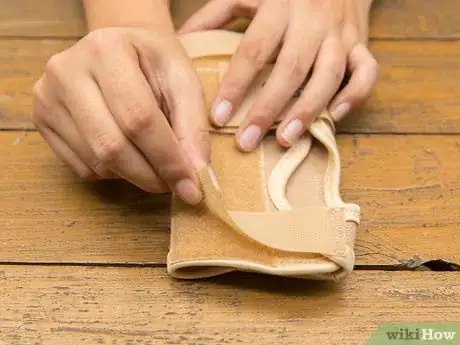
4Secure all fasteners on the brace before washing to prevent damage to the straps or fabric. Fasteners may catch on other fabrics in the wash or become twisted, which may stretch the brace components and impair the support structure of the brace.
- Consider putting the brace in a mesh lingerie wash bag or a pillowcase to protect the it and other wash items from becoming entangled or twisted.
-
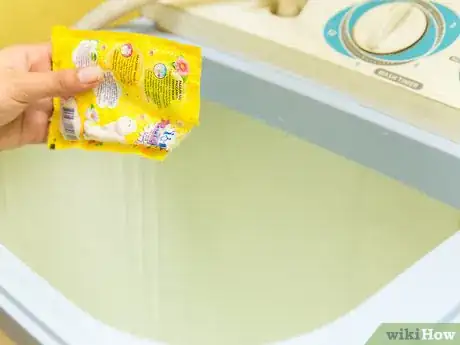
5Wash the brace in warm (not hot) water. Most powdered detergents are designed for use with warm water, and warm water is recommended for man-made materials.
- Avoid using hot water, as it can shrink and damage the brace.
- You can also try a coldwater detergent as a more eco-friendly option, as a number of coldwater alternatives are equally efficient at cleaning fabrics.[16]
-
6Use mild detergent that is safe to use on the brace's synthetic materials. Strong detergents or bleaches may harm the integrity of the brace and impact the effectiveness of the support.
- If your brace is particularly malodorous, you can add 1/2 cup of baking soda to the wash to freshen the material and increase the cleaning power of your detergent.[17]
-
7Squeeze excess water out of the brace. Avoid "wringing," or twisting while squeezing, in order to prevent damaging the brace. Twisting can pull the fibers of the fabric apart and weaken the brace significantly.[18]
-
8Lay the brace on a flat surface and allow to air dry. Place the brace somewhere shaded, with good air flow, to promote quick drying.[21]
- Do not dry the brace in direct sunlight, as the artificial materials of the brace can shrink when exposed to hot temperatures, and the UV rays of the sun may bleach or lighten the colors of the brace.[22]
-
9Return the metal splints to the brace when it has completely dried, if necessary. The synthetic fabric will dry quickly in just a few hours, although be sure check interior of any splint pockets to ensure they are thoroughly dry. Dampness in those slots could damage the metal components and decrease the long-term usability of the brace.
References
- ↑ Vlad Gendelman, MD. Board Certified Physician. Expert Interview. 17 July 2020.
- ↑ http://www.goodhousekeeping.com/home/cleaning/tips/a22511/new-uses-for-dish-soap/
- ↑ http://www.clean-organized-family-home.com/laundry-temperature.html#sthash.wl8YKOuV.dpbs
- ↑ http://www.smithsonianmag.com/smart-news/case-washing-clothes-cold-water-180955459/
- ↑ http://www.arthritisresearchuk.org/arthritis-information/arthritis-and-daily-life/splints/caring-for-your-splint.aspx
- ↑ http://www.goodhousekeeping.com/home/cleaning/tips/a31973/mistakes-hand-washing-clothes/
- ↑ http://www.goodhousekeeping.com/home/cleaning/tips/a31973/mistakes-hand-washing-clothes/
- ↑ http://www.goodhousekeeping.com/home/cleaning/tips/a31973/mistakes-hand-washing-clothes/
- ↑ http://www.goodhousekeeping.com/home/cleaning/tips/a31973/mistakes-hand-washing-clothes/
- ↑ http://www.goodhousekeeping.com/home/cleaning/tips/a31973/mistakes-hand-washing-clothes/
- ↑ http://www.goodhousekeeping.com/home/cleaning/tips/a31973/mistakes-hand-washing-clothes/
- ↑ http://www.arthritisresearchuk.org/arthritis-information/arthritis-and-daily-life/splints/caring-for-your-splint.aspx
- ↑ Vlad Gendelman, MD. Board Certified Physician. Expert Interview. 17 July 2020.
- ↑ Vlad Gendelman, MD. Board Certified Physician. Expert Interview. 17 July 2020.
- ↑ http://www.arthritisresearchuk.org/arthritis-information/arthritis-and-daily-life/splints/caring-for-your-splint.aspx
- ↑ http://www.smithsonianmag.com/smart-news/case-washing-clothes-cold-water-180955459/
- ↑ http://www.rd.com/home/cleaning-organizing/8-ways-to-boost-laundry-detergent/
- ↑ http://www.goodhousekeeping.com/home/cleaning/tips/a31973/mistakes-hand-washing-clothes/
- ↑ http://www.goodhousekeeping.com/home/cleaning/tips/a31973/mistakes-hand-washing-clothes/
- ↑ http://www.goodhousekeeping.com/home/cleaning/tips/a31973/mistakes-hand-washing-clothes/
- ↑ Vlad Gendelman, MD. Board Certified Physician. Expert Interview. 17 July 2020.
- ↑ http://www.arthritisresearchuk.org/arthritis-information/arthritis-and-daily-life/splints/caring-for-your-splint.aspx
- ↑ http://www.arthritisresearchuk.org/arthritis-information/arthritis-and-daily-life/splints/caring-for-your-splint.aspx
About This Article
To wash your wrist brace, scrub it with solution of water and dish soap using a lint-free rag. Then, rinse your brace, and let it dry on a flat surface. Alternatively, if your wrist brace is machine washable, wash it in your washing machine with warm water on a delicate cycle. Lay your brace flat to dry. Keep reading to find out what to do with the metal parts of your brace and why you should keep it out of the sun while drying.









Medical Disclaimer
The content of this article is not intended to be a substitute for professional medical advice, examination, diagnosis, or treatment. You should always contact your doctor or other qualified healthcare professional before starting, changing, or stopping any kind of health treatment.
Read More...