wikiHow is a “wiki,” similar to Wikipedia, which means that many of our articles are co-written by multiple authors. To create this article, volunteer authors worked to edit and improve it over time.
This article has been viewed 91,041 times.
Learn more...
Kitchen faucets can have two types of sprayers. Those that are attached to the main body of the faucet, and those that are located to one side of the faucet on the sink. Because both need to force the water through a series of small holes to produce the spray effect, they can quickly become clogged up with minerals and hard water deposits. When this happens, your sprayer may not work properly, or it may shoot the water out in odd angles, instead of straight down. If your sprayer is malfunctioning in this way, clean it to restore its function.
Steps
Examining the Sprayer Head
Some sprayer heads come loose from the rest of the faucet or sink, while others are integral and cannot be removed. Both can be cleaned, but the method of cleaning may differ.
-
1Pull out the sprayer and its hose so it is closer to you and easier to access.
-
2Look at the front section of the sprayer head where the aerator is located to check if the sprayer head is all in one piece, or if it appears to be in two pieces, with one piece very close to the spray portion.
- If the sprayer head is in two pieces, it more than likely comes apart.
- If it is in one piece, it will need to be cleaned intact.


Cleaning a Two-Piece Sprayer Head
Two-piece sprayer heads can be much faster to clean than one-piece sprayer heads because you can access all sides of the aerator when you take the piece apart.
-
1Grasp the two sections of the sprayer head. Hold the back section in your non-dominant hand and the front section, near the aerator, with your other hand.
-
2Twist the front aerator section to the left until it comes loose in your hand.
-
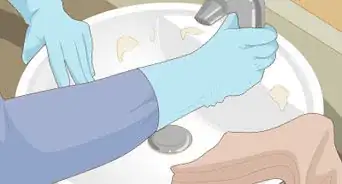
3Put down both pieces and put on protective rubber gloves.[1]
-
4Hold the aerator in your non-dominant hand.
-
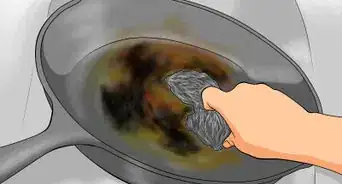
5Dip a small scrub brush or old toothbrush into a cleaning solution made for mineral deposits like CLR.[2]
-
6Scrub both sides of the aerator with the mineral deposit cleaner until it’s clean. The mineral deposits may appear whitish in color; the aerator is clean when no white crust is left.
-
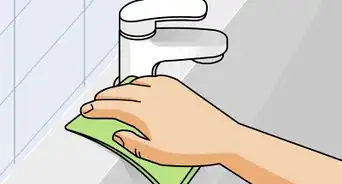
7Rinse the aerator with water.[3]
-
8Screw it back onto the sprayer head.


Cleaning a One-Piece Sprayer Head
Even if your faucet does not come apart at the head, it can still be cleaned if it has begun to malfunction.
-
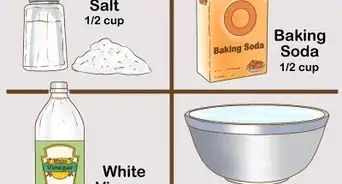
1Fill a large pot with a mineral deposit cleaner.[4]
-
2Dilute the cleaner with hot water according to the manufacturer's instructions.
-
3Pull the sprayer out of its holder and toward you for easier access to the head.
-
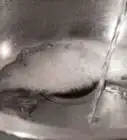
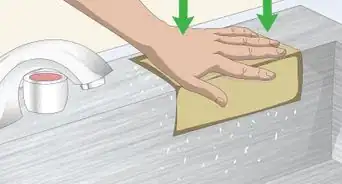
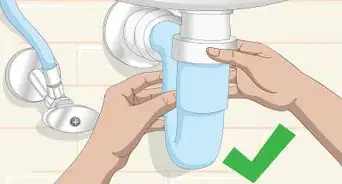
4Dip the sprayer head into the cleaning solution.[5]
-
5Leave it in place for 10 to 15 minutes to allow the solution time to dissolve the deposits inside and outside of the sprayer head.
-
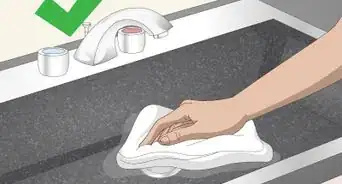
6Rinse the sprayer with clean water.


Community Q&A
-
QuestionWhat is a good mineral deposit cleaner?
 DvortygirlCommunity AnswerThe simplest and safest cleaner for hard water deposits is simply to soak in white household vinegar. If the faucet end isn't on a hose or doesn't easily disconnect, you can soak it by putting a little vinegar in a plastic bag and using a rubber band to hold it over the end of the sprayer or faucet. Leave it for awhile, and then brush it with an old toothbrush to dislodge the gunk.
Warnings
- Mineral deposit cleaners can be strong. Wear gloves and always dilute according to the manufacturer's instructions when using it to prevent injury.⧼thumbs_response⧽
Things You'll Need
- Mineral deposit cleaner like CLR
- Water
- Scrub brush or old toothbrush
- Pan


References
- ↑ https://www.cnet.com/how-to/why-you-should-always-wear-gloves-while-cleaning/
- ↑ https://www.consumerisminc.com/how-to-clean-a-kitchen-faucet-spray-head/
- ↑ https://www.consumerisminc.com/how-to-clean-a-kitchen-faucet-spray-head/
- ↑ https://www.thekitchn.com/how-to-clean-your-kitchen-sink-sprayer-246483
- ↑ https://www.thekitchn.com/how-to-clean-your-kitchen-sink-sprayer-246483