This article was co-authored by Angela Justice. Angela Justice is a Master Hair Stylist and the Owner of Payton Place Salon based in North Little Rock, Arkansas. With over 33 years of experience, she specializes in styling and cutting hair, coloring hair, providing hair repair and strengthening services, and installing tape-in hair extensions.
There are 8 references cited in this article, which can be found at the bottom of the page.
wikiHow marks an article as reader-approved once it receives enough positive feedback. In this case, 100% of readers who voted found the article helpful, earning it our reader-approved status.
This article has been viewed 81,814 times.
Routine hairbrush cleaning is an often-overlooked part of hygiene maintenance. From oil and grime build-up to dandruff and leftover hair product transferring between family members, roommates, or partners, routine cleaning of your hairbrush is important. An old hairbrush can be revitalized and its lifetime extended simply by removing collected hair, cleaning with an agent, and properly drying.
Steps
Removing Hair
-
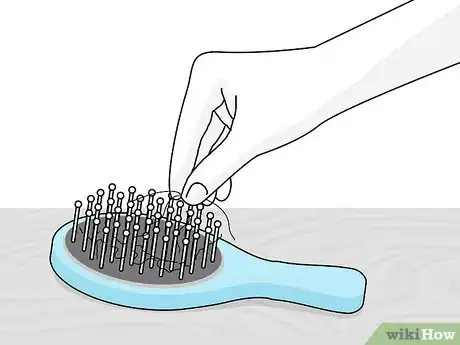
1Use your fingers if your hairbrush has a light layer of collected hair. Your fingertips are your most accessible and cost-effective tool. Start at the base of the cylinder or pad, grasp a clump of hair, and gently pry up and away. It’s important to take your time as hair strands break easily and will become difficult to remove. [1]
-
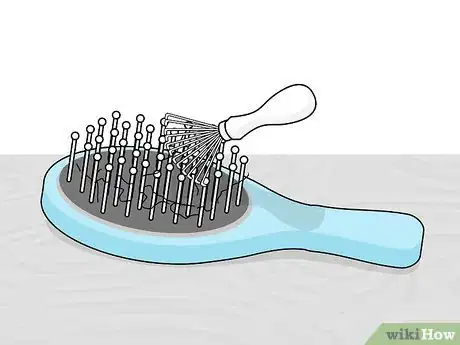
2Use a miniature hairbrush rake if your hairbrush has a substantial amount of collected hair. When it comes to hairbrush cleansing tools, the miniature hairbrush rake tops the list. While this tool is similar to a comb, it is far more effective. Cleaning rakes vary in size, as well as in single or dual sides. For bristled brushes or if you have multiple styles and sizes of brushes, a dual sided rake is more versatile.[2]Advertisement
-
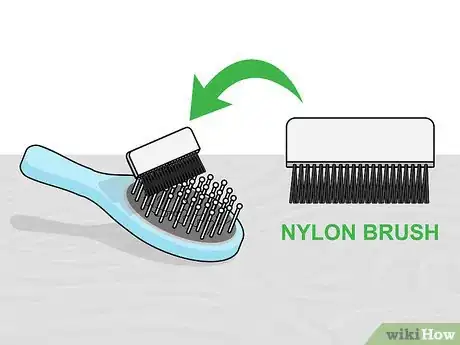
3Use a nylon brush if you already have one available. Hold the bristled hairbrush over the sink, a trash can, or take it outdoors. Brush the nylon brush through the bristles of your hairbrush. This will remove hair buildup, as well as dislodge skin and dandruff flakes. Continue brushing until the nylon brush rakes cleanly through the brush bristles.[3]
- Wash the nylon brush to remove debris and allow it to dry completely before reusing it for this purpose.[4]
-
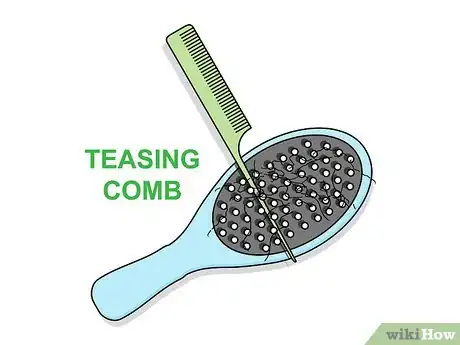
4Use a teasing comb for layers of hair that are tightly wound. Teasing combs are dual sided with bristles and a hair sectioning point called a rat tail. Beginning at the base of your bristled brush, slide the rat tail under the collected hair and gently pull away from the brush. Repeat this on all sides of the cylinder or across the entire face of the pad. Once you have loosened and lifted the hair from the shaft, simply use your fingers to roll the hair up and off. [5]
-
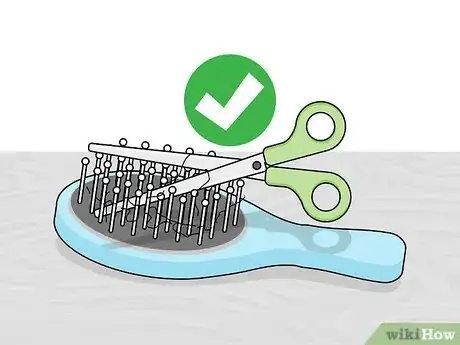
5Use scissors to help remove stubborn hair knots and clumps. Oftentimes, the hair will clump or knot in the process of removal. Make sure to have a pair of scissors handy for these occasions. Simple cut through the clump or knot to divide it into two or three sections. Be careful not to cut too much or the smaller pieces of hair may remain stuck.[6]
Cleaning Grime and Oil
-
1Use tea tree oil as an all-natural cleansing agent. Tea tree oil is an all-natural and highly-effective cleansing agent available at your local drug store or health foods market. Pour one cup of warm water into a medium sized bowl. Add a few drops of tea tree oil and stir to combine. [7]
-
2Use a shampoo and baking soda cleansing agent if you have sensitive skin. For those with sensitive skin or allergies, using your own shampoo, plus baking soda, is a safe and gentle option.[8] Pour one cup of warm water into a medium sized bowl. Add a teaspoon of shampoo and a teaspoon of baking soda and stir to combine.[9]
-
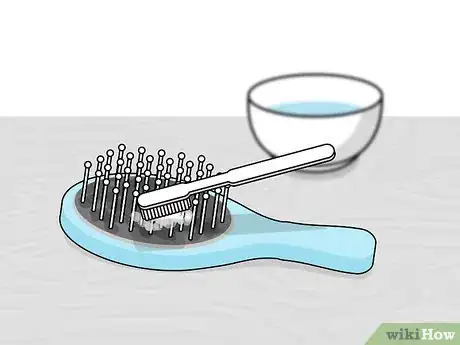
3Dip a clean toothbrush in the cleansing agent. Using a clean toothbrush, dip the brush end in the solution. Make sure that the toothbrush bristles are completely soaked with the cleansing agent. [10]
-
4Scrub your hairbrush between the bristles and on surface of the pad. Take the toothbrush and brush the cylinder or pad from the base, where the bristles are connected to the brush head, all the way to the top. This will remove oil, dandruff, and leftover hair product. Move around the hairbrush methodically to cover the entire surface. Make sure to include small circular motions to help dredge up heavily soiled brushes. [11]
-
5Soak your bristled hairbrush in the bowl of cleansing agent to remove loose particles and provide a deep clean. After scrubbing the bristled brush cylinder or pad, dip the head of your hairbrush into the cleansing agent. This will help to remove any loose particles, as well as provide a second rinsing, which is particularly useful on stubborn hair product build up. [12]
- If the hairbrush has a wooden handle or paddle, do not submerge the brush in the water. Most wooden brushes are coated in a moisture repellant, but they aren’t 100% resistant. Instead of submerging in the bowl of water, perform one or two additional toothbrush cleanings.
-
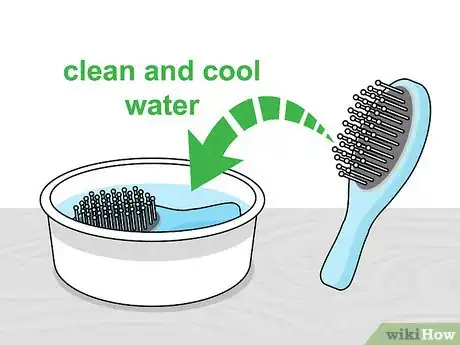
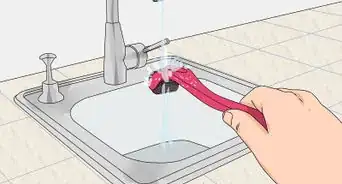
6Rinse your hairbrush in clean and cool water. Fill a second medium sized bowl with clean and cool water. Lower your hairbrush into the water gently submerging the entire bristled area. For circular brushes, you may have to twist your brush in your palms to make sure the entire area has been rinsed.[13]
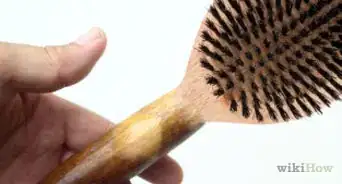
- If you have a wooden bristled brush, hold the brush bristle side down over a sink or a towel. Take a mist or spray bottle and soak the cleansed bristles until the water runs clear from the bristles. [14]
Drying Your Hairbrush
-
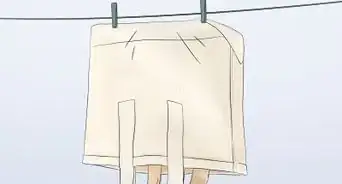
1Use a clean dry cloth to dry your hairbrush if you have a wooden handle or paddle. It's important to immediately remove any excess water that has collected in the bristles or on the pad of a wooden brush. Moisture can cling and seep into brush bristles, cloth brush pads, and wood causing mold and rot. Using a cloth, gently press between the bristles to reach the surface of the cylinder or pad. Make sure to use adequate pressure to soak up any excess moisture. [15]
-
2
-
3Use a hair dryer to quickly dry your hairbrush. If you need to use your brush right away, use a hair dryer set to its lowest setting to speed the drying process. Go back and forth over the brush a few times to blow out any remaining water drops and to ensure that the hairbrush is now damp rather than soaking wet.
Expert Q&A
-
QuestionHow do I stop hair build-up in my hairbrush?
 Angela JusticeAngela Justice is a Master Hair Stylist and the Owner of Payton Place Salon based in North Little Rock, Arkansas. With over 33 years of experience, she specializes in styling and cutting hair, coloring hair, providing hair repair and strengthening services, and installing tape-in hair extensions.
Master Hair Stylist Clean your hairbrush at least once every 2-3 months. Typically, this build-up comes from the products that you use to style your hair.
 -
QuestionHow do I clean a different type of hairbrush?
 Community AnswerThese steps apply to all different types of hairbrushes.
 -
QuestionCan I wash the brush with shampoo and water?
 Thalia.GraceCommunity AnswerNot really. The easiest way is to take a toothpick, your fingers, or something like that to jut take off the hair and put it in the trash can.
Warnings
- Do not clean a bristled brush with a shampoo containing silicone. The silicone will coat the bristles on the brush and they won't be as effective when brushing your hair.⧼thumbs_response⧽
- Only use a cool setting when drying with the hair dryer.⧼thumbs_response⧽
- Use caution with wooden bristle brushes.⧼thumbs_response⧽
Things You'll Need
- Bristled brush
- Nylon brush or comb
- 2 bowls or small containers
- Shampoo and baking soda or tea tree oil
- Toothbrush (clean)
- Towel
- Hair dryer
References
- ↑ https://www.realsimple.com/beauty-fashion/hair/tools-techniques/clean-hairbrush
- ↑ https://www.youtube.com/watch?v=KT1BNt-vIto
- ↑ Angela Justice. Master Hair Stylist. Expert Interview. 5 November 2021.
- ↑ https://www.youtube.com/watch?v=5cqT2pA4ud8
- ↑ https://www.realsimple.com/beauty-fashion/hair/tools-techniques/clean-hairbrush
- ↑ https://www.youtube.com/watch?v=fxuHNB_Lk5s
- ↑ http://cleanmyspace.com/how-to-clean-your-hairbrush/
- ↑ Angela Justice. Master Hair Stylist. Expert Interview. 5 November 2021.
- ↑ http://cleanmyspace.com/how-to-clean-your-hairbrush/
- ↑ https://www.realsimple.com/beauty-fashion/hair/tools-techniques/clean-hairbrush
- ↑ https://www.realsimple.com/beauty-fashion/hair/tools-techniques/clean-hairbrush
- ↑ https://www.realsimple.com/beauty-fashion/hair/tools-techniques/clean-hairbrush
- ↑ Angela Justice. Master Hair Stylist. Expert Interview. 5 November 2021.
- ↑ http://cleanmyspace.com/how-to-clean-your-hairbrush
- ↑ http://cleanmyspace.com/how-to-clean-your-hairbrush/
- ↑ Angela Justice. Master Hair Stylist. Expert Interview. 5 November 2021.
- ↑ https://www.realsimple.com/beauty-fashion/hair/tools-techniques/clean-hairbrush
