This article was co-authored by wikiHow staff writer, Glenn Carreau. Glenn Carreau is a wikiHow Staff Writer, currently based in Los Angeles. With over four years of experience writing for several online publications, she has covered topics ranging from world history to the entertainment industry. Glenn graduated with honors from Columbia College Chicago, earning a B.A. in Interactive Arts and Media and a minor in Professional Writing. Today, Glenn continues to feed her lifelong love of learning while serving wikiHow's many readers.
There are 10 references cited in this article, which can be found at the bottom of the page.
This article has been viewed 13,448 times.
Learn more...
Sublimation is the process of transferring a full-color design onto a t-shirt, and bleaching the shirt first can add to its aesthetic appeal. It's a fun way to express your creativity and expand your wardrobe! In a few simple steps, you can make your own custom-sublimated shirts. Read on for a complete guide to bleaching shirts for sublimation, from printing your design to bleaching techniques so you can create a unique DIY shirt at home.
Things You Should Know
- Prepare your design using design software. Print it on sublimation paper and cut it out leaving at least .25 inches (0.64 cm) of edge space.
- Place a piece of cardboard in your shirt to protect the back from the bleach. Then, add bleach using a paintbrush, a template, or a spray bottle.
- Soak the shirt in water and hydrogen peroxide to prevent the bleach from spreading. Then, wash and dry the shirt normally.
- Put butcher paper into the shirt and press it. Place your image face down where you want it and use the heat press to sublimate your shirt.
Steps
Print out and cut your sublimation image.
-
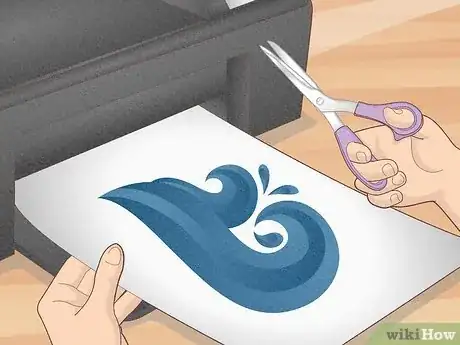
Preparing a design beforehand makes it easier to bleach your shirt. Use design software like Photoshop, Cricut Design Space, or Silhouette Studio to make a t-shirt design and format it as a PNG file. Then, print your chosen design on sublimation paper and cut it out. Leave at least .25 inches (0.64 cm) around the edge of the design as you cut. Don't worry—the white space won't transfer over.[1] X Research source
- You'll need a particular type of printer to make sublimation designs. Either purchase a sublimation printer (though they can be expensive) or invest in a cheaper Epson EcoTank printer and fill either with sublimation ink.
- Make sure your printer settings are correct. Select the matte paper setting and set the quality to "High" or "Best." If your design has words, print it mirrored or flipped horizontally, so they show up properly later.
- Your design will look faded and dark when it prints. This is normal! The full color will come out when you expose it to heat.
- You can also choose a design and send it to a sublimation printer if you don't have the equipment to print designs at home.
Insert cardboard into the shirt.
-
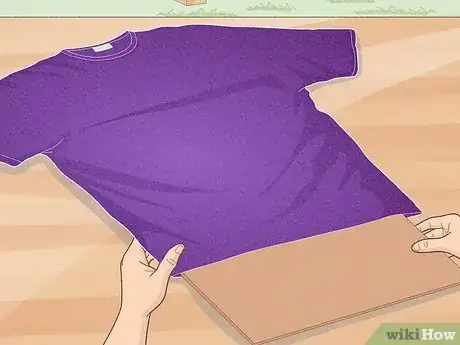
Cardboard protects the back of your shirt from getting bleached too. If you go ahead and bleach your shirt without preparing it first, you might end up with a huge bleach spot on the back of it! First, iron the shirt using the iron’s lowest setting to ensure there are no wrinkles before you bleach. Then, slide a piece of cardboard into the shirt and line it up so the cardboard and shirt lie flat.[2] X Research source
- Choose a 100% polyester t-shirt. Polyester handles sublimation much better than cotton. If you can't find one, you can go as low as 65% polyester and still get a good result.
Paint bleach on the design area to make a solid backgroud.
-
Trace around the design paper with the paintbrush, then fill in the space. Place the cut-out design wherever you want to print it on your shirt. Grab a paintbrush, dip it in flour, and trace around the edge of the design. Remove the design paper and use a paintbrush to bleach the area inside the outline. Add at least .25 inches (0.64 cm) of space around the edges, so the bleach spot is wider than the design![3] X Research source
- The design area is where your sublimation will eventually go. Touch up the edges of the design area and look for any spots you missed as you paint the shirt. The goal is to create a solid bleached design space.
- It's a good idea to outline the design with flour because it won't damage your sublimation paper, whereas any bleach that gets onto it could wreck the design.
- Do your bleaching outside. Sunlight and a breeze help the bleach dry faster.
Bleach the design area with a template if you don’t want to paint.
-
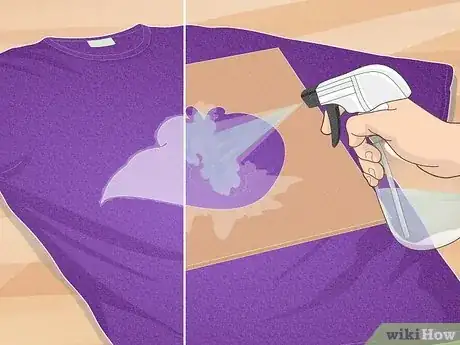
Templates help you create a neat alternative bleach design without painting. Pick a shape for the shirt's design area and trace it into the middle of a piece of cardboard. Then, cut it out. Place the cardboard over your shirt where you want the design to be and spritz bleach onto the shirt using a spray bottle. The cardboard will act like a stencil, creating a bleached design area for your sublimation.[4] X Research source
- This alternative to creating a solid design area is helpful if you'd rather not risk bleaching your design paper or you don’t have a paintbrush on hand.
- Since the stencil will keep excess bleach from spilling over the side of the design area, you can get clean lines even while applying bleach with a spray bottle.
Make a marble pattern with bleach if you like tie-dye.
-
Optionally, scrunch the shirt and spray it to get an artsy tie-dye effect. First, remove the cardboard from the shirt and crumple it up—the more wrinkles, the better. Then, lightly spray it with bleach. When you're done, flip the balled-up shirt and repeat the action. After you're done spritzing, flatten out the shirt and let it dry, flipping it between the front and the back, so both have a chance to set.[5] X Research source
- Wear protective rubber gloves while you handle a bleach-stained shirt.
- Make sure you don't completely saturate the shirt with bleach. Just spritz it a few times to lightly dampen the exposed fabric.
- This is an optional design choice. If you like your shirt with just a painted design area and some spray patterns, that's fine too.
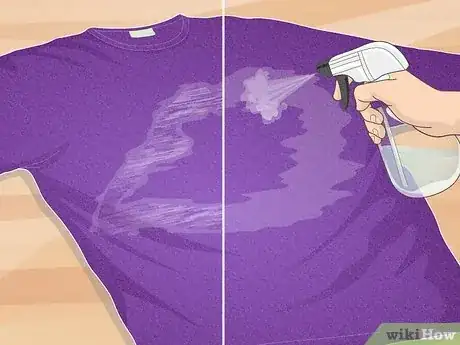
Spray bleach onto the shirt to give it a textured look.
-
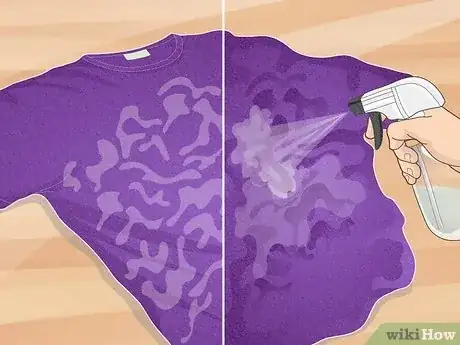
Decorate the shirt with a playful spot pattern by spraying it with bleach. Fill a clean, empty spray bottle (any kind will work) with bleach. Then, start spritzing it onto your shirt to produce a cool splotchy effect. Spray around the main painted-on design area and beyond; you can even get the back of the shirt to make the spray effect look more cohesive.[6] X Research source
- If you don't have a spray bottle on hand, you can also use your paintbrush to create a spray effect. Dip the brush in bleach and flick it over the shirt's surface so that droplets of bleach fall onto the fabric.
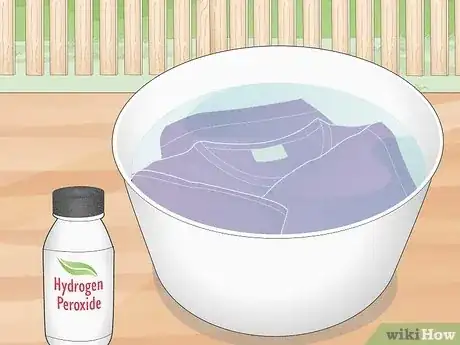
Soak the shirt with water and hydrogen peroxide.
-
Soaking the shirt stops the bleach from spreading any further. Wait a few minutes for the bleach to set—it typically only takes about 4 or 5 minutes for bleached areas to turn while. Then, when you're satisfied with the bleach design, dunk the shirt in a mixture of half hydrogen peroxide and half water (1 cup (240 mL) of each should be plenty.) Rinse off the shirt in water afterward.[7] X Research source
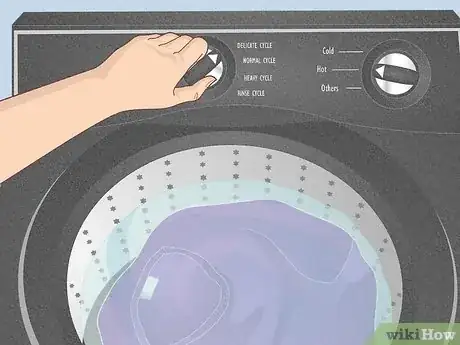
Wash and dry the shirt normally.
-
Clean the shirt and dry it to ensure it's ready for sublimation. After bleaching, dunking, and rinsing the shirt, toss it in the washing machine. Add a little bit of detergent and change the settings to ensure the shirt is washed with warm water, as this further stops the bleach from spreading and altering the design. When the wash cycle is over, move the shirt into the dryer until it's fully dried.[8] X Research source
- Once your shirt is dry, the bleaching process is finished! It's time to move on to sublimation at last.
Insert butcher paper into the shirt.
-
Butcher paper protects your shirt during the sublimation process. After all, you don't want any design ink to leak onto the back of your shirt in the finished product! Cut a sheet of butcher paper and insert it into the shirt. Then, use a lint roller to clear away any stray particles on the shirt, concentrating on the design area.[9] X Research source
Do a quick pre-press with your shirt.
-
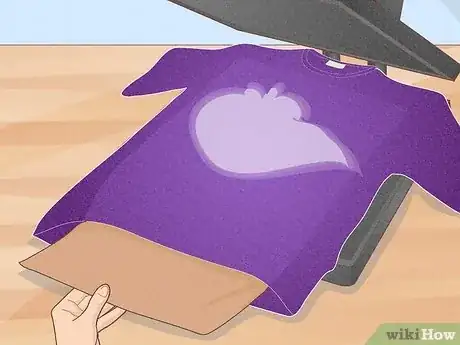
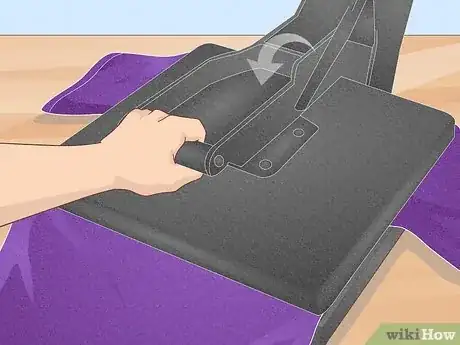
Set the heat to 400 °F (204 °C) and press the shirt for a few seconds. Prep your shirt for sublimating by pressing it briefly in your heat press. Once your heat press reaches the right temperature, lay another sheet of butcher paper over the top of your shirt and place it inside the press, with the paper facing up. Keep it in the press for 5 seconds, and then open the press once more.[10] X Research source
- You can leave the shirt in the press while you prepare it for the next step; just leave the top of the press open.
Transfer the image onto your shirt.
-
Use the heat press to sublimate your newly decorated shirt! Remove the old butcher paper and place your design face-down wherever you want it on the shirt. Hold it in place with a few pieces of heat tape. Then, lay a new sheet of butcher paper over the shirt and design and press the shirt for a minute. When the minute it is up, open the press and remove the design paper to view the finished product.[11] X Research source
- Remove the paper as fast as possible to avoid any image blurring.
- If you're sublimating multiple shirts, don't use the same sheet of butcher paper for all of them—the previous image might carry over onto a new shirt.
- Once your shirt is successfully sublimated, remove it from the press and spritz it lightly with hydrogen peroxide to help the design set quickly. After that, your shirt is done!
Things You'll Need
You Might Also Like
 How to Roll Up Shirt Sleeves: Style Your Dress Shirts, Sweaters & T-Shirts the Right Way

 Original or Fake? 10+ Signs Your Lacoste Polo Isn't Legit



References
- ↑ https://youtu.be/Msx7RunC2t0?t=111
- ↑ https://tshirtprofessional.com/how-to-bleach-shirts-for-sublimation
- ↑ https://tshirtprofessional.com/how-to-bleach-shirts-for-sublimation
- ↑ https://youtu.be/iPNvCYCfFKA?t=549
- ↑ https://youtu.be/I6UsLmbYiaE?t=397
- ↑ https://youtu.be/iPNvCYCfFKA?t=493
- ↑ https://tshirtprofessional.com/how-to-bleach-shirts-for-sublimation/
- ↑ https://youtu.be/I6UsLmbYiaE?t=505
- ↑ https://youtu.be/I6UsLmbYiaE?t=514
About This Article

