X
wikiHow is a “wiki,” similar to Wikipedia, which means that many of our articles are co-written by multiple authors. To create this article, 10 people, some anonymous, worked to edit and improve it over time.
This article has been viewed 48,258 times.
Learn more...
The single most common maintenance chore unique to the Royal Enfield motorcycle is adjusting the valves or tappets. There is nothing good about noisy valves. Valves that are too loose, or too tight, can be damaged. Let's make adjusting the valves as simple as it can possibly be.
Steps
-
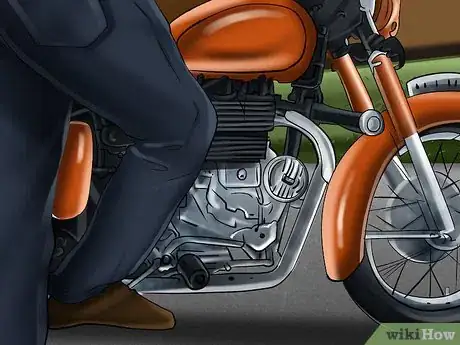
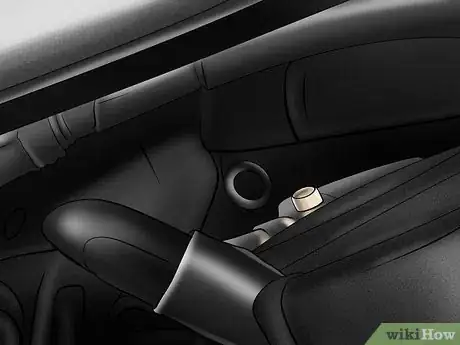
1Use the kickstarter, with the motor cold. Notice as you do whether the kicker just goes down without encountering very hard compression. If so, the valves may be too tight. If, part way down, the kicker comes to a point it takes effort to push past, the valves are not too tight. Now we have to find out if they are too loose.
-
2Start and ride the motorcycle. If the valves do not clatter more than seems reasonable, they are fine. If there's a racket, they're too loose. Now that the motor is warmed up, we're ready to adjust them.Advertisement
-
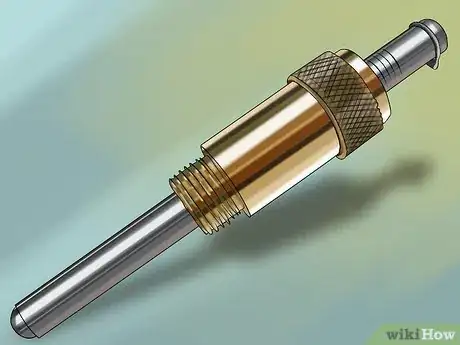
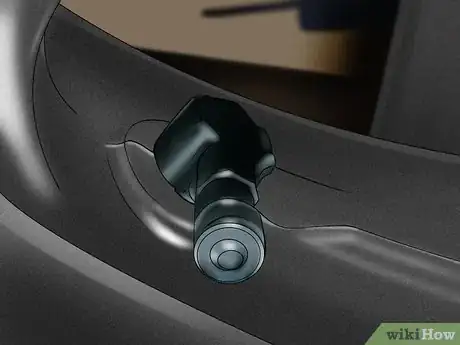
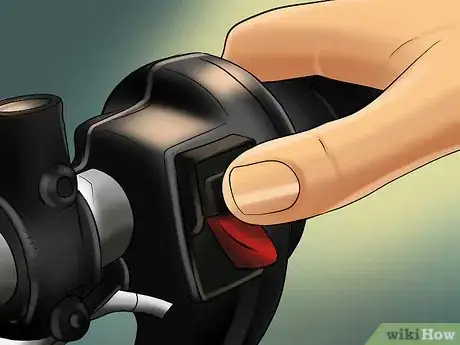
3Set the piston at Top Dead Center just as you do to start the motorcycle. Watching for the instant the amp meter flicks back to center is a good way to do this (remember, the ignition switch and the kill switch have to be "on" for the amp meter to work).
-
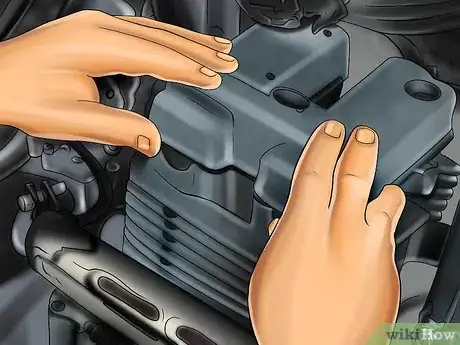
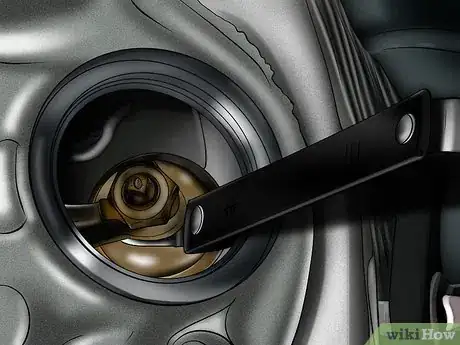
4Open the tappet cover and remove the spindle that holds it. That will give you more room to swing wrenches.
-
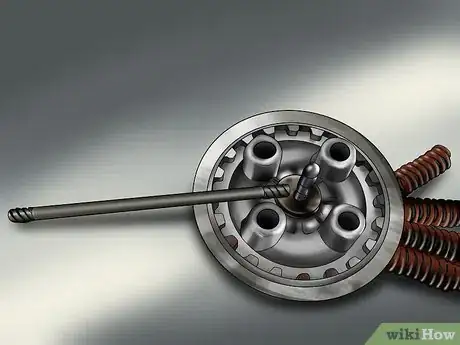
5Try rotating each push rod with your thumb. You should be able to just make them turn. If you can not make them move they are too tight. If you can make them spin freely, they are too loose.
-
6Back off the lock nut on the valve you want to adjust. You have to hold the top adjustment nut while you do this.
-
7Put one wrench on the top adjustment nut to hold it still. Put another wrench on the bottom adjustment nut. Turn the bottom nut counter-clockwise as viewed from above to loosen the valve. To tighten the valve, turn the bottom adjustment nut clockwise as viewed from above. Simple. When satisfied, tighten the lock nut.
-
8Now do it all again because tightening the lock nut will make the valve tighter! Sorry, that's just the way it is, we're not dealing with computer chips here. Getting the adjusters to just the right point where snugging up the lock night brings them to perfection takes even an expert a few tries.
-
9Start the motorcycle and go for a test ride. This is a matter of error and trial. Don't set the valves the night before and wait to test them until your mates arrive for the big ride the next morning!
Advertisement
Community Q&A
-
QuestionMy 1958 model Enfield is not starting, what could be the cause?
 Community AnswerTry the basics (spark, compression, fuel). After that you might want to look into setting the valve clearances.
Advertisement
Warnings
- The tappet cover on a Royal Enfield motorcycle is meant to be removed repeatedly. Do not glue down the gasket or over-tighten the cover itself. Vintage Royal Enfields actually had wing nuts holding the tappet cover on so that it could be removed without a wrench. Naturally, you burned your fingertips when you did that. Vintage motorcyclists were stout fellows.⧼thumbs_response⧽
- Since you will be using a wrench to remove the tappet cover, be careful not to nick the cooling fins. They are delicate and they will break. A bit of black paint usually disguises the damage adequately.⧼thumbs_response⧽
Advertisement
References
- http://www.royalenfields.com/2008/09/royal-enfield-maintenance-made-simple.html - Original source, shared with permission.
About This Article
Advertisement
