

Word 2013
Finalizing and Protecting Documents
Protecting your document
By default, anyone with access to your document will be able to open, copy, and edit its content unless you protect it. There are many different ways to protect a document, depending on your needs.
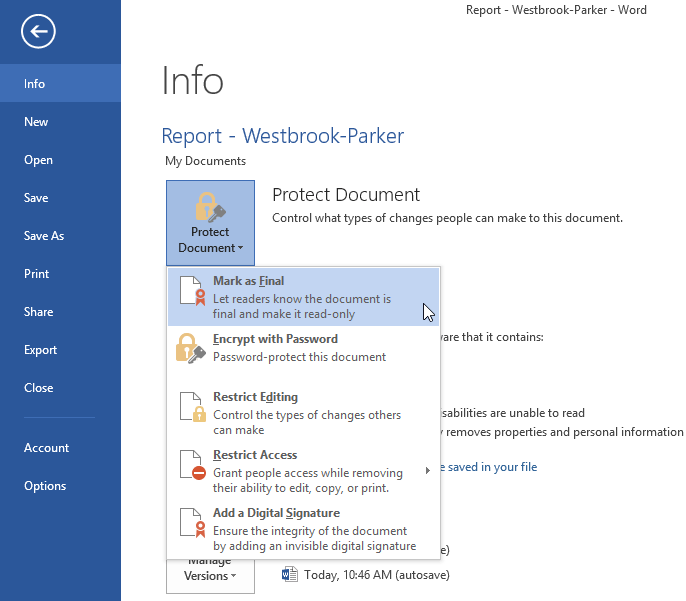
To protect your document:
- Click the File tab to go to Backstage view.
- From the Info pane, click the Protect Document command.
- In the drop-down menu, choose the option that best suits your needs. In our example, we'll select Mark as Final. Marking your document as final is a good way to discourage others from editing the file, while the other options give you even more control if needed.
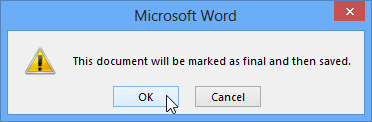
 Selecting Mark as Final
 - A dialog box will appear prompting you to save. Click OK.
 Clicking OK to save the document
 - Another dialog box will appear. Click OK.
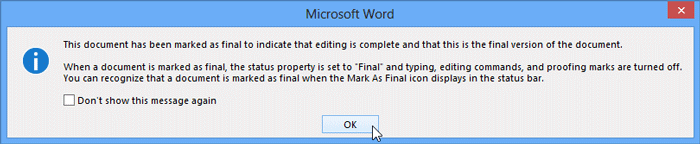 Clicking OK
 - The document will be marked as final.
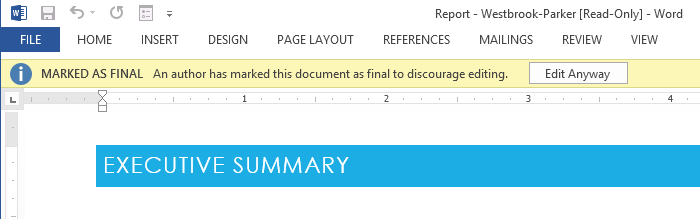 A document marked as final
Marking a document as final will not prevent someone from editing it. If you want to prevent people from editing it, you can use the Restrict Access option instead.


