

Word 2013
SmartArt Graphics
Introduction
Video: SmartArt Graphics
 Watch the video (4:32).
SmartArt allows you to communicate information with graphics instead of just using text. There are a variety of styles to choose from, which you can use to illustrate many different types of ideas.
To insert a SmartArt graphic:
- Place the insertion point in the document where you want the SmartArt graphic to appear.
- From the Insert tab, select the SmartArt command in the Illustrations group.
 Clicking the SmartArt command
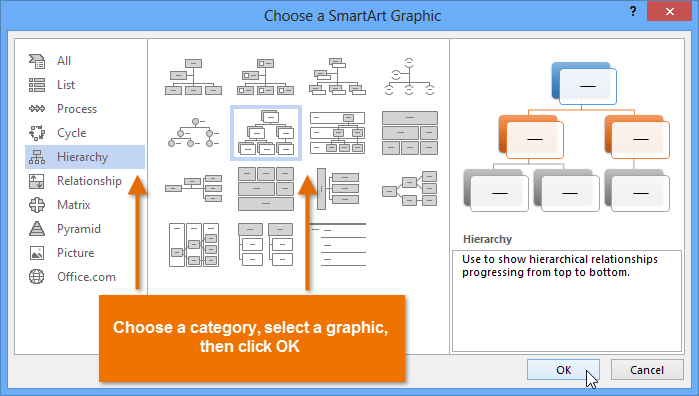
 - A dialog box will appear. Select a category on the left, choose the desired SmartArt graphic, then click OK.
 Inserting a SmartArt graphic
 - The SmartArt graphic will appear in your document.
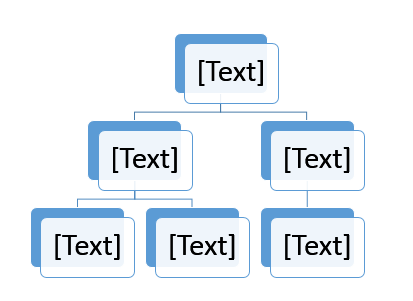 The inserted SmartArt graphic
To add text to a SmartArt graphic:
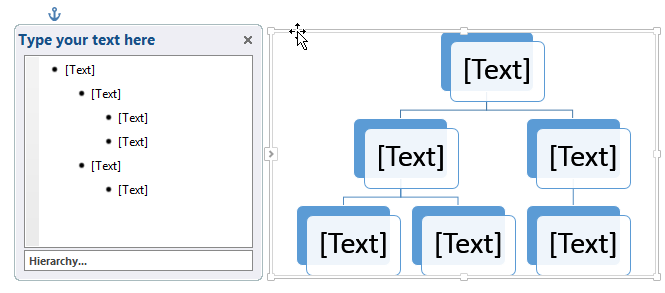
- Select the SmartArt graphic. The SmartArt task pane will appear to the left.
 The SmartArt task pane
 - Enter text next to each bullet in the task pane. The text will appear in the graphic and will resize to fit inside the shape.
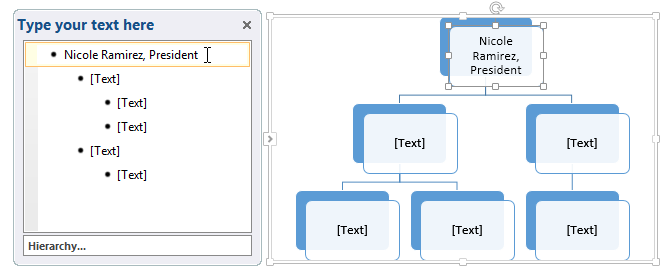 Adding text in the SmartArt task pane
 - To add a new shape, press Enter. A new bullet will appear in the task pane, and a new shape will appear in the graphic. You can delete any bullets you're not using to remove the shapes.
 Adding a shape
You can also add text by clicking on the desired shape and then typing. This works well if you only need to add text to a few shapes. However, for more complex SmartArt graphics, working in the task pane is often faster.


